Phone and cup holder
11 March 2023Tech projects
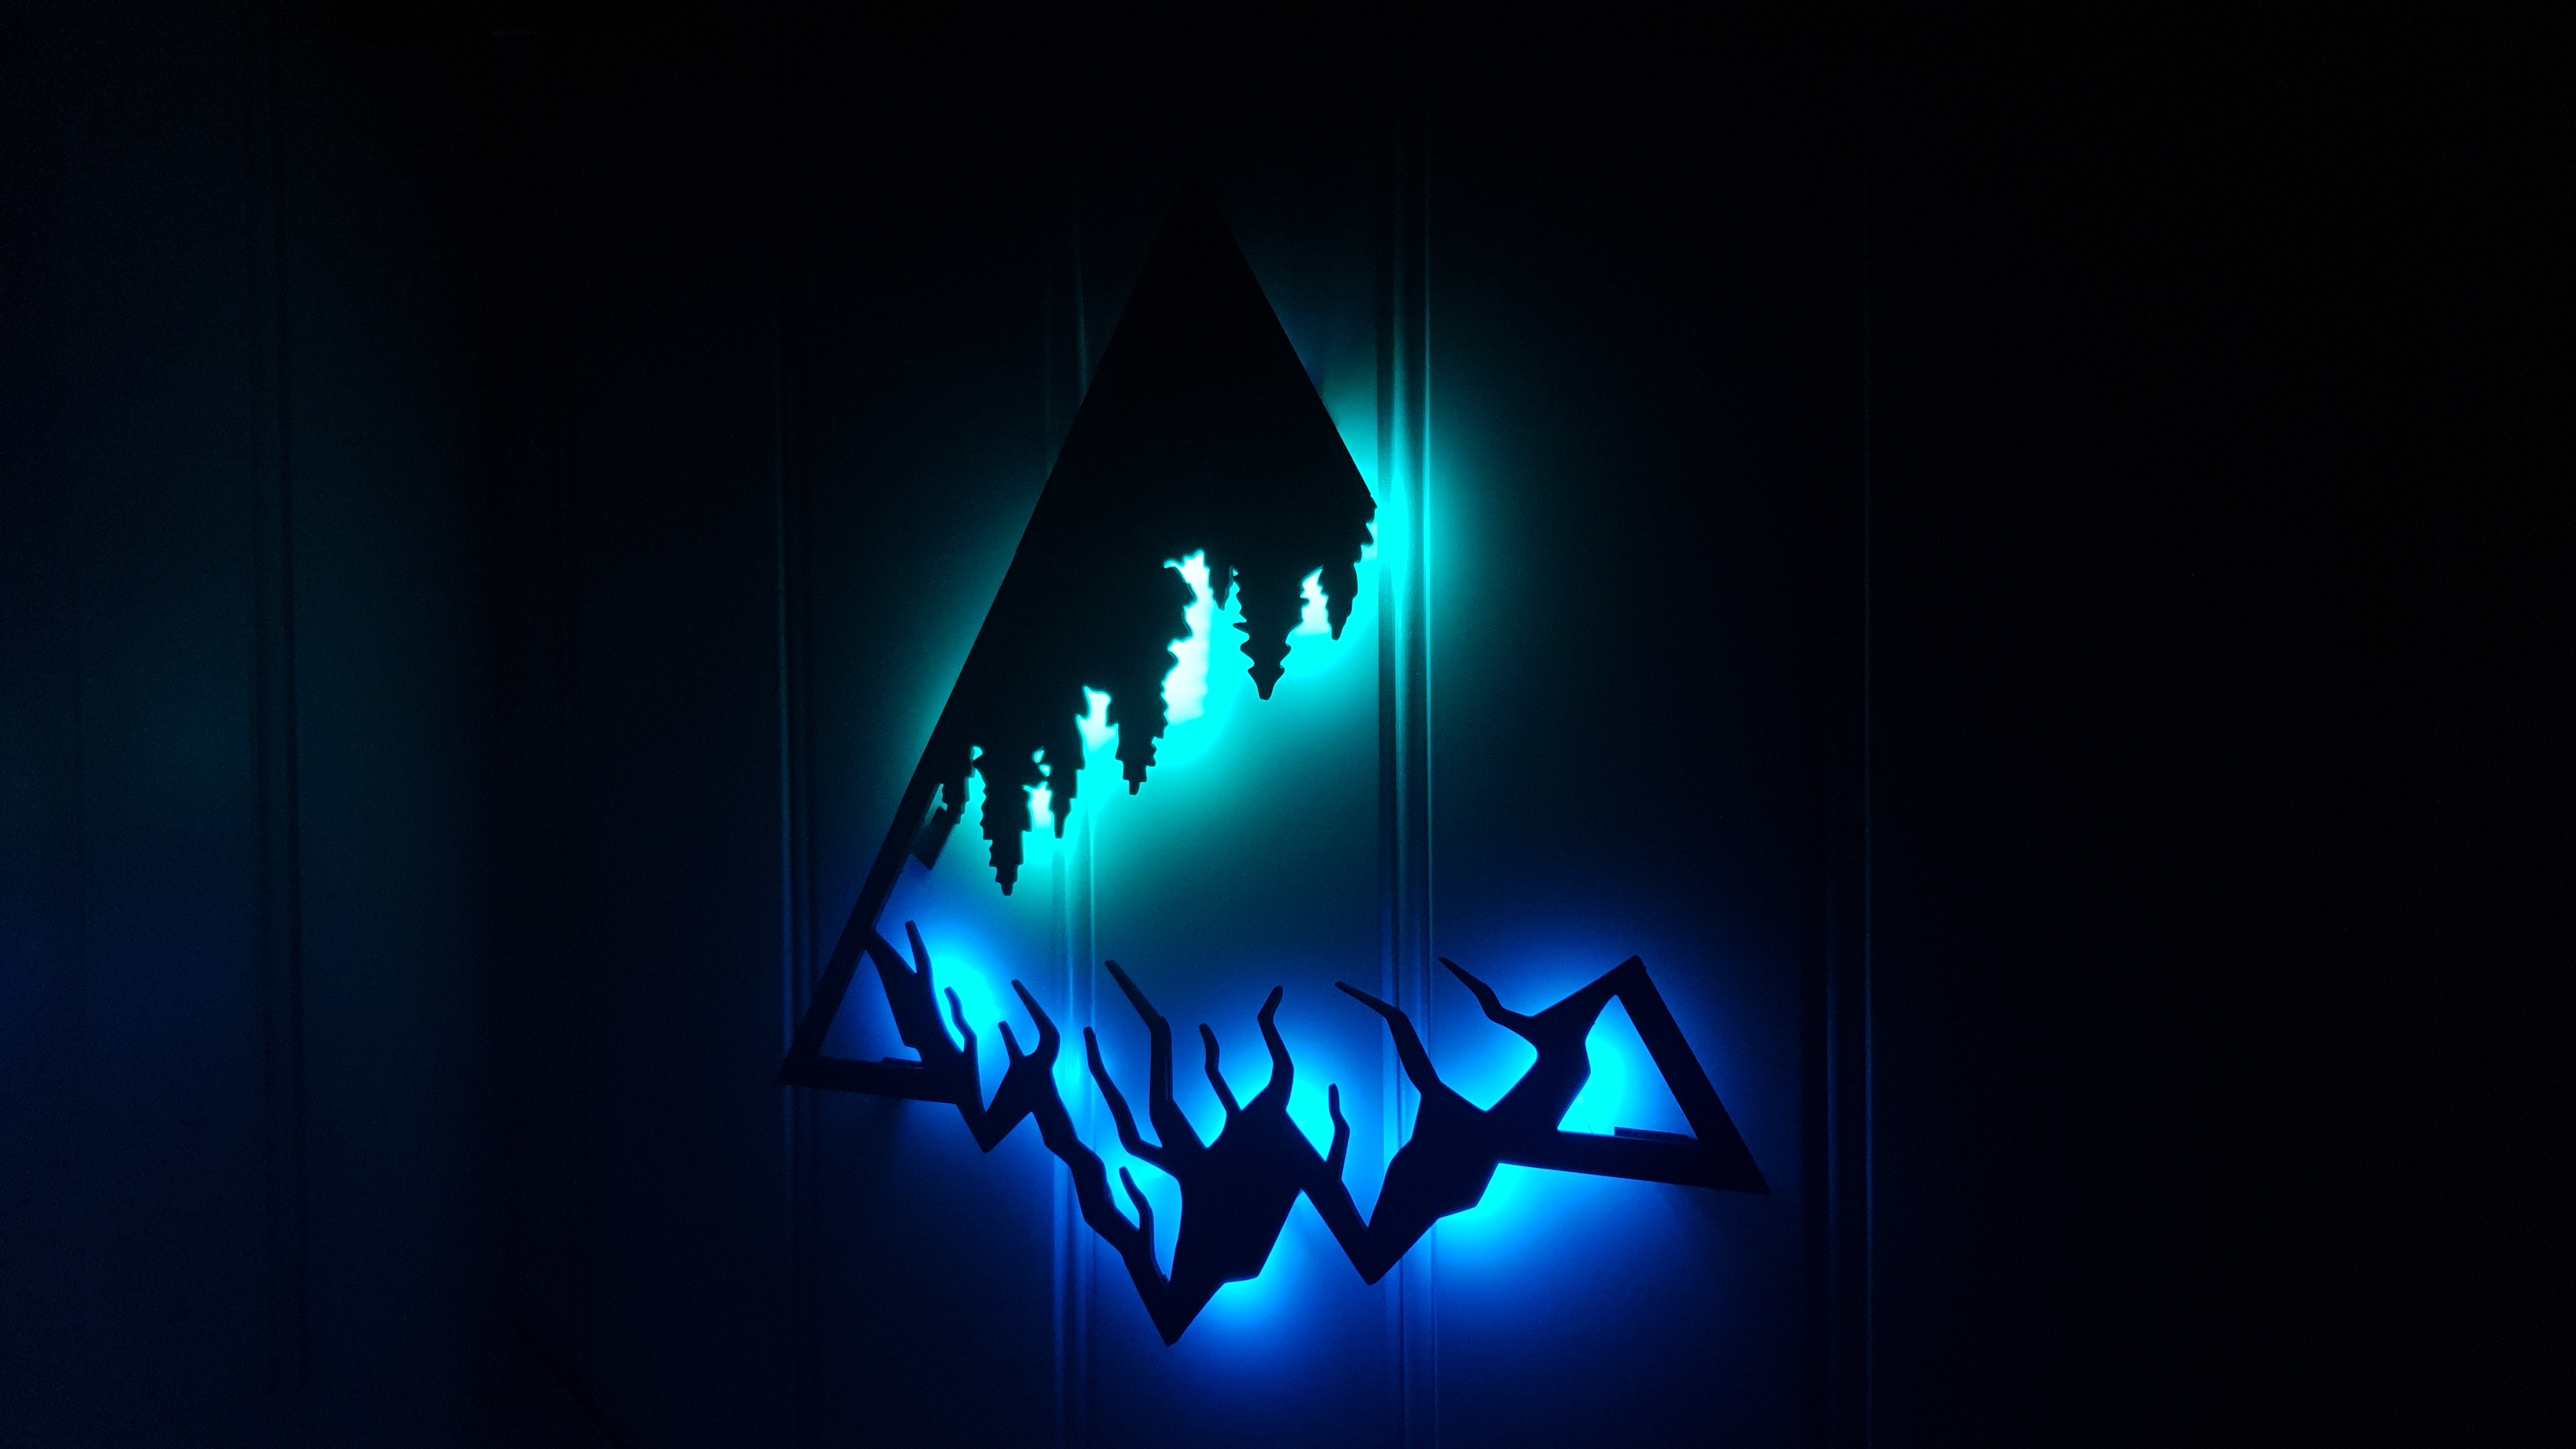
Mountains backlight
06 July 2022Tech projects
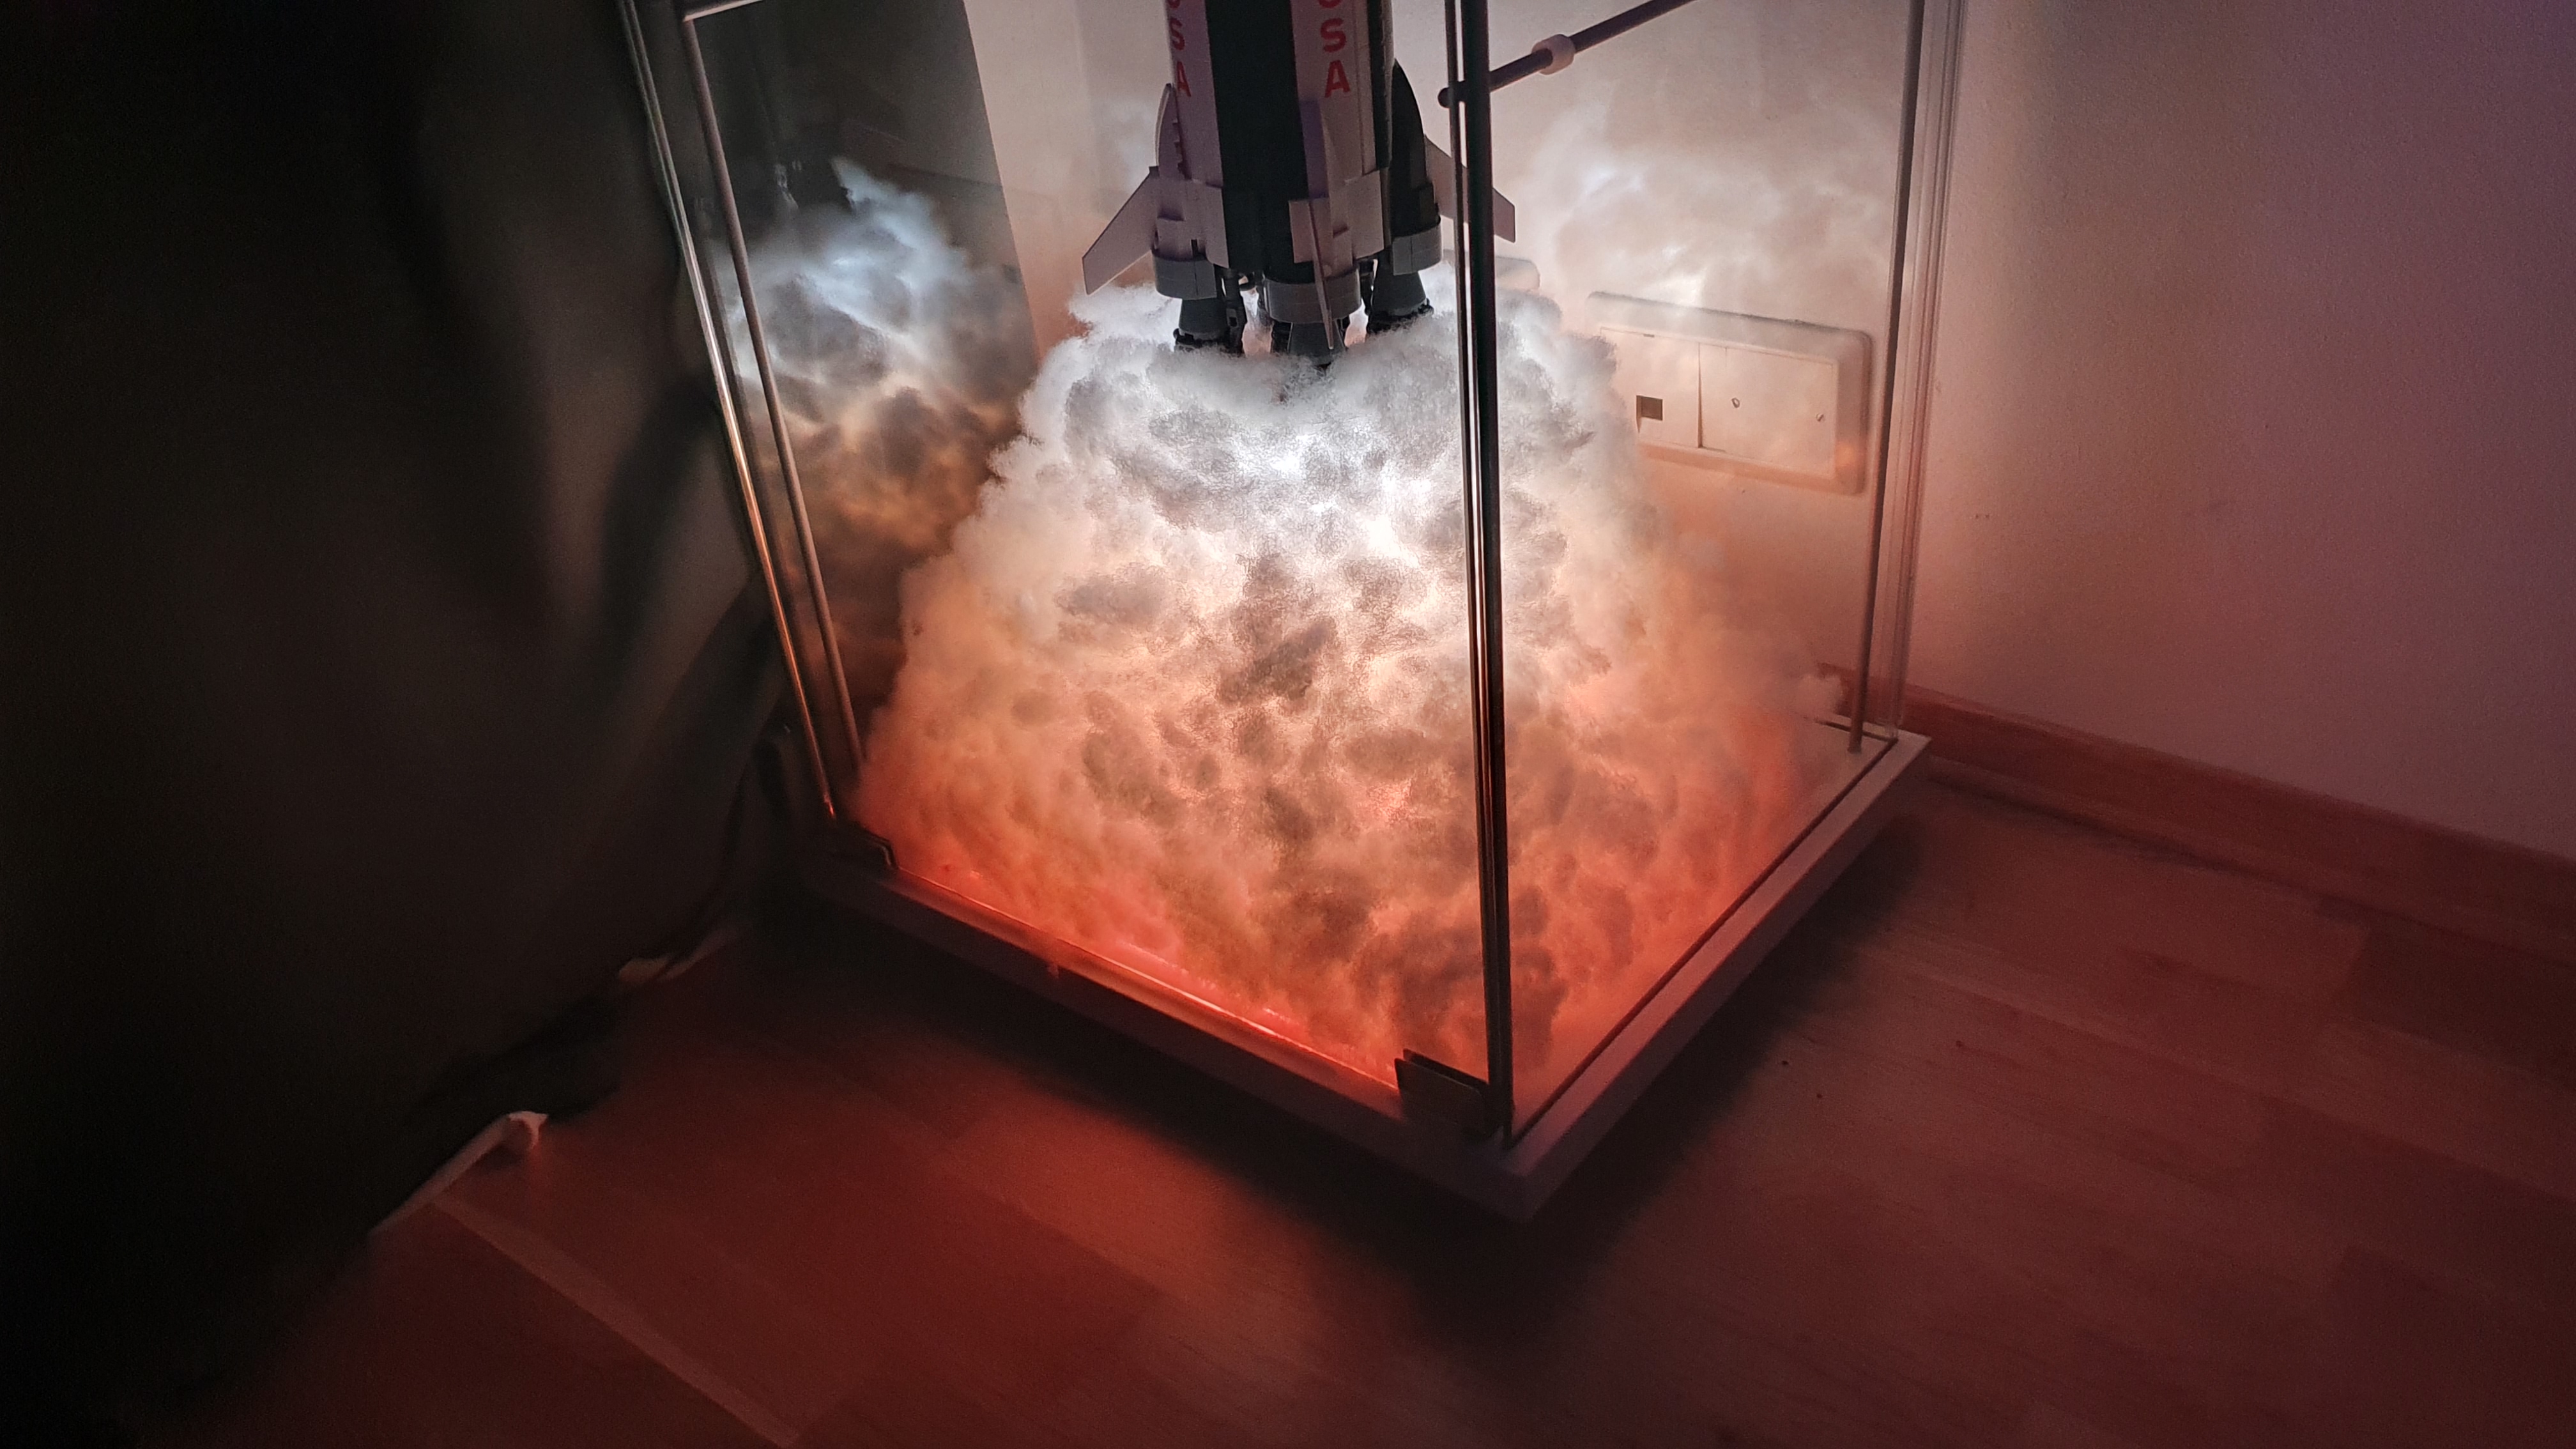
Lego Saturn V Blast off
23 January 2022Tech projects

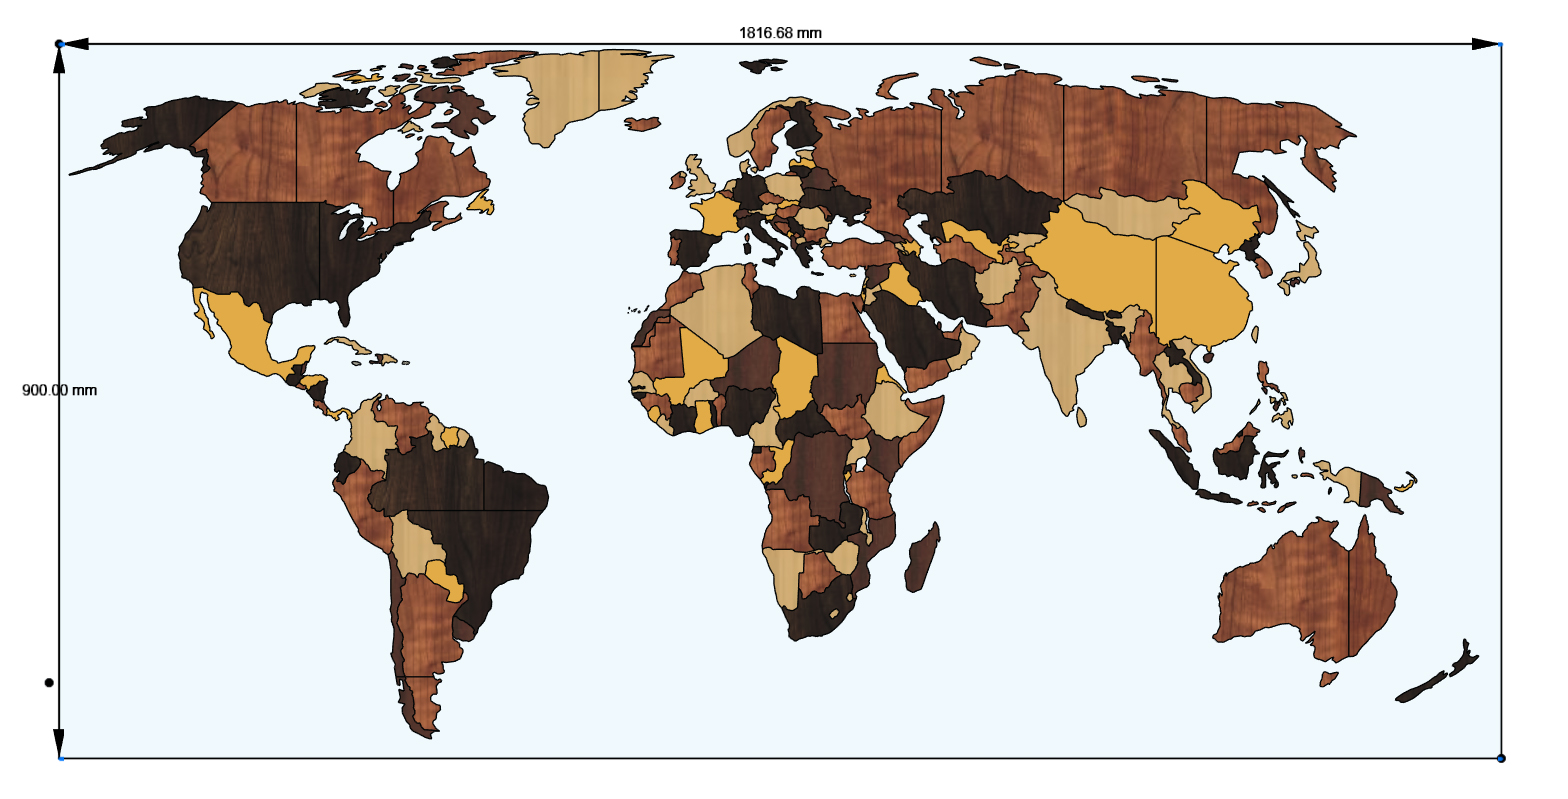
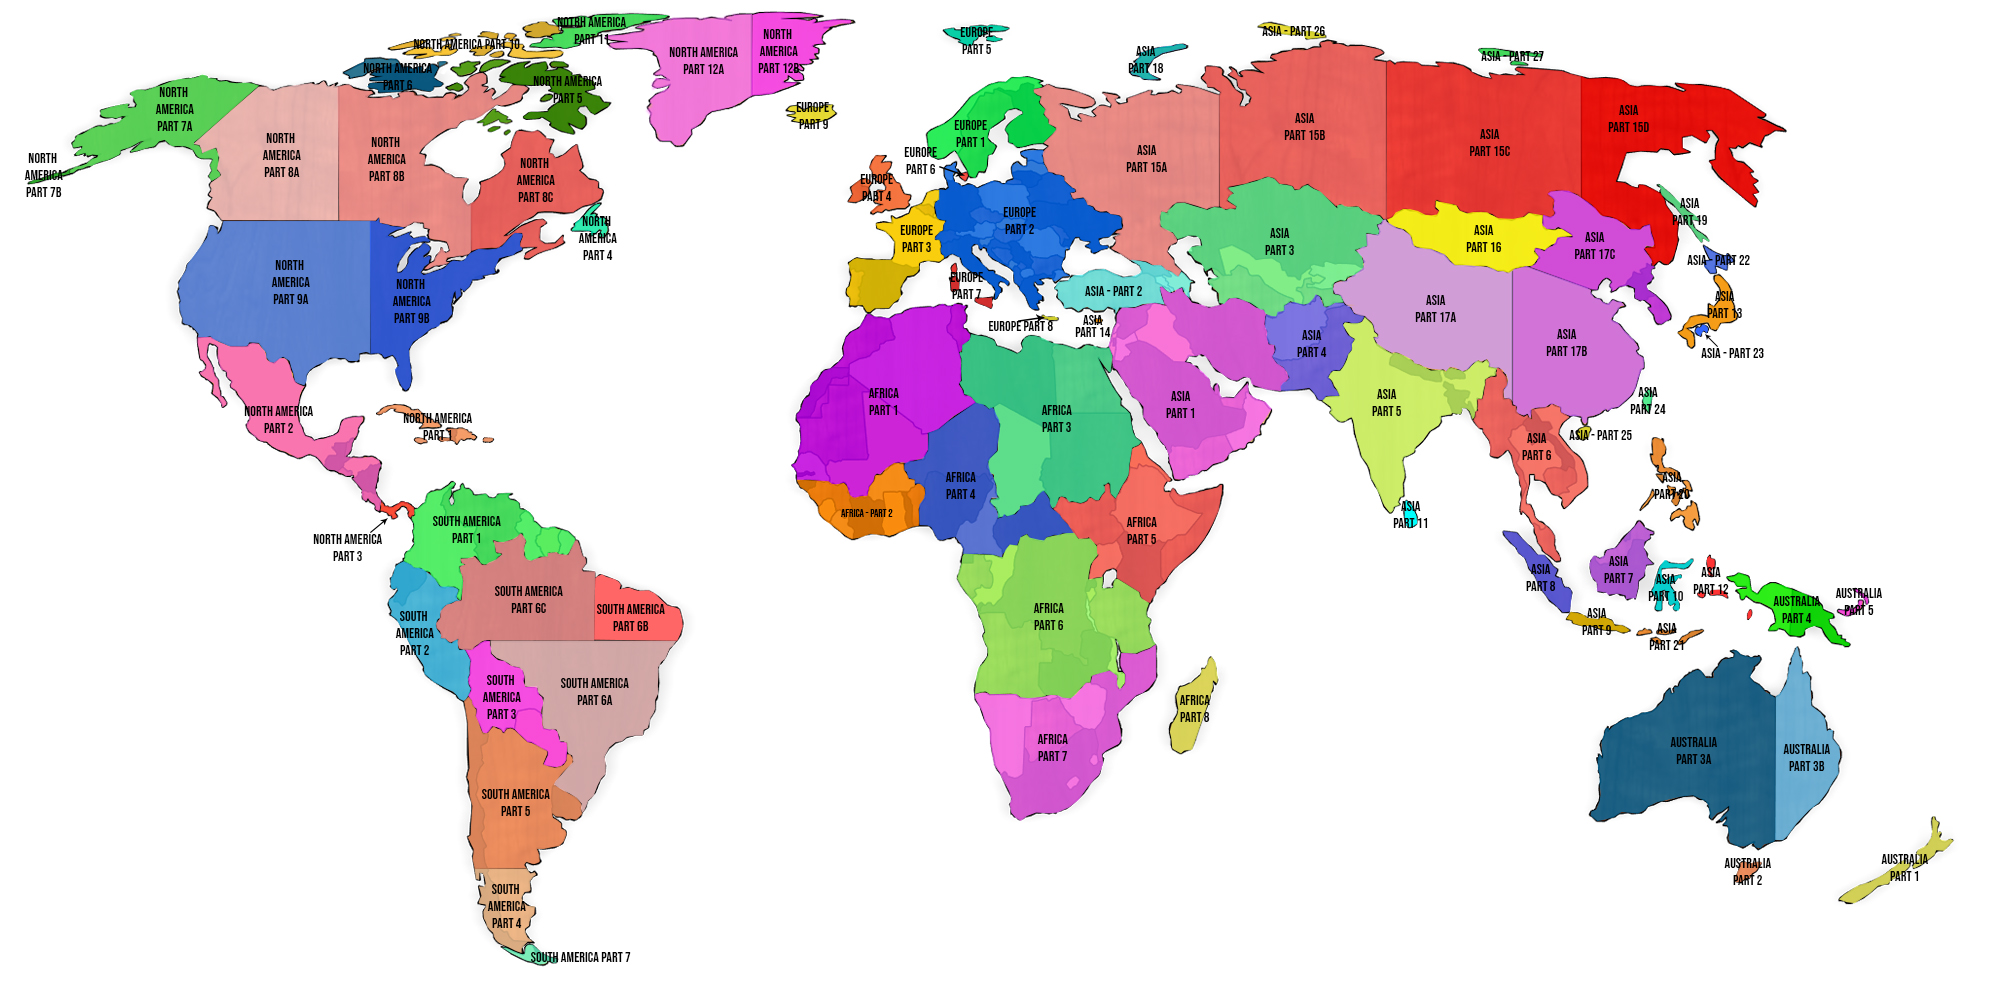
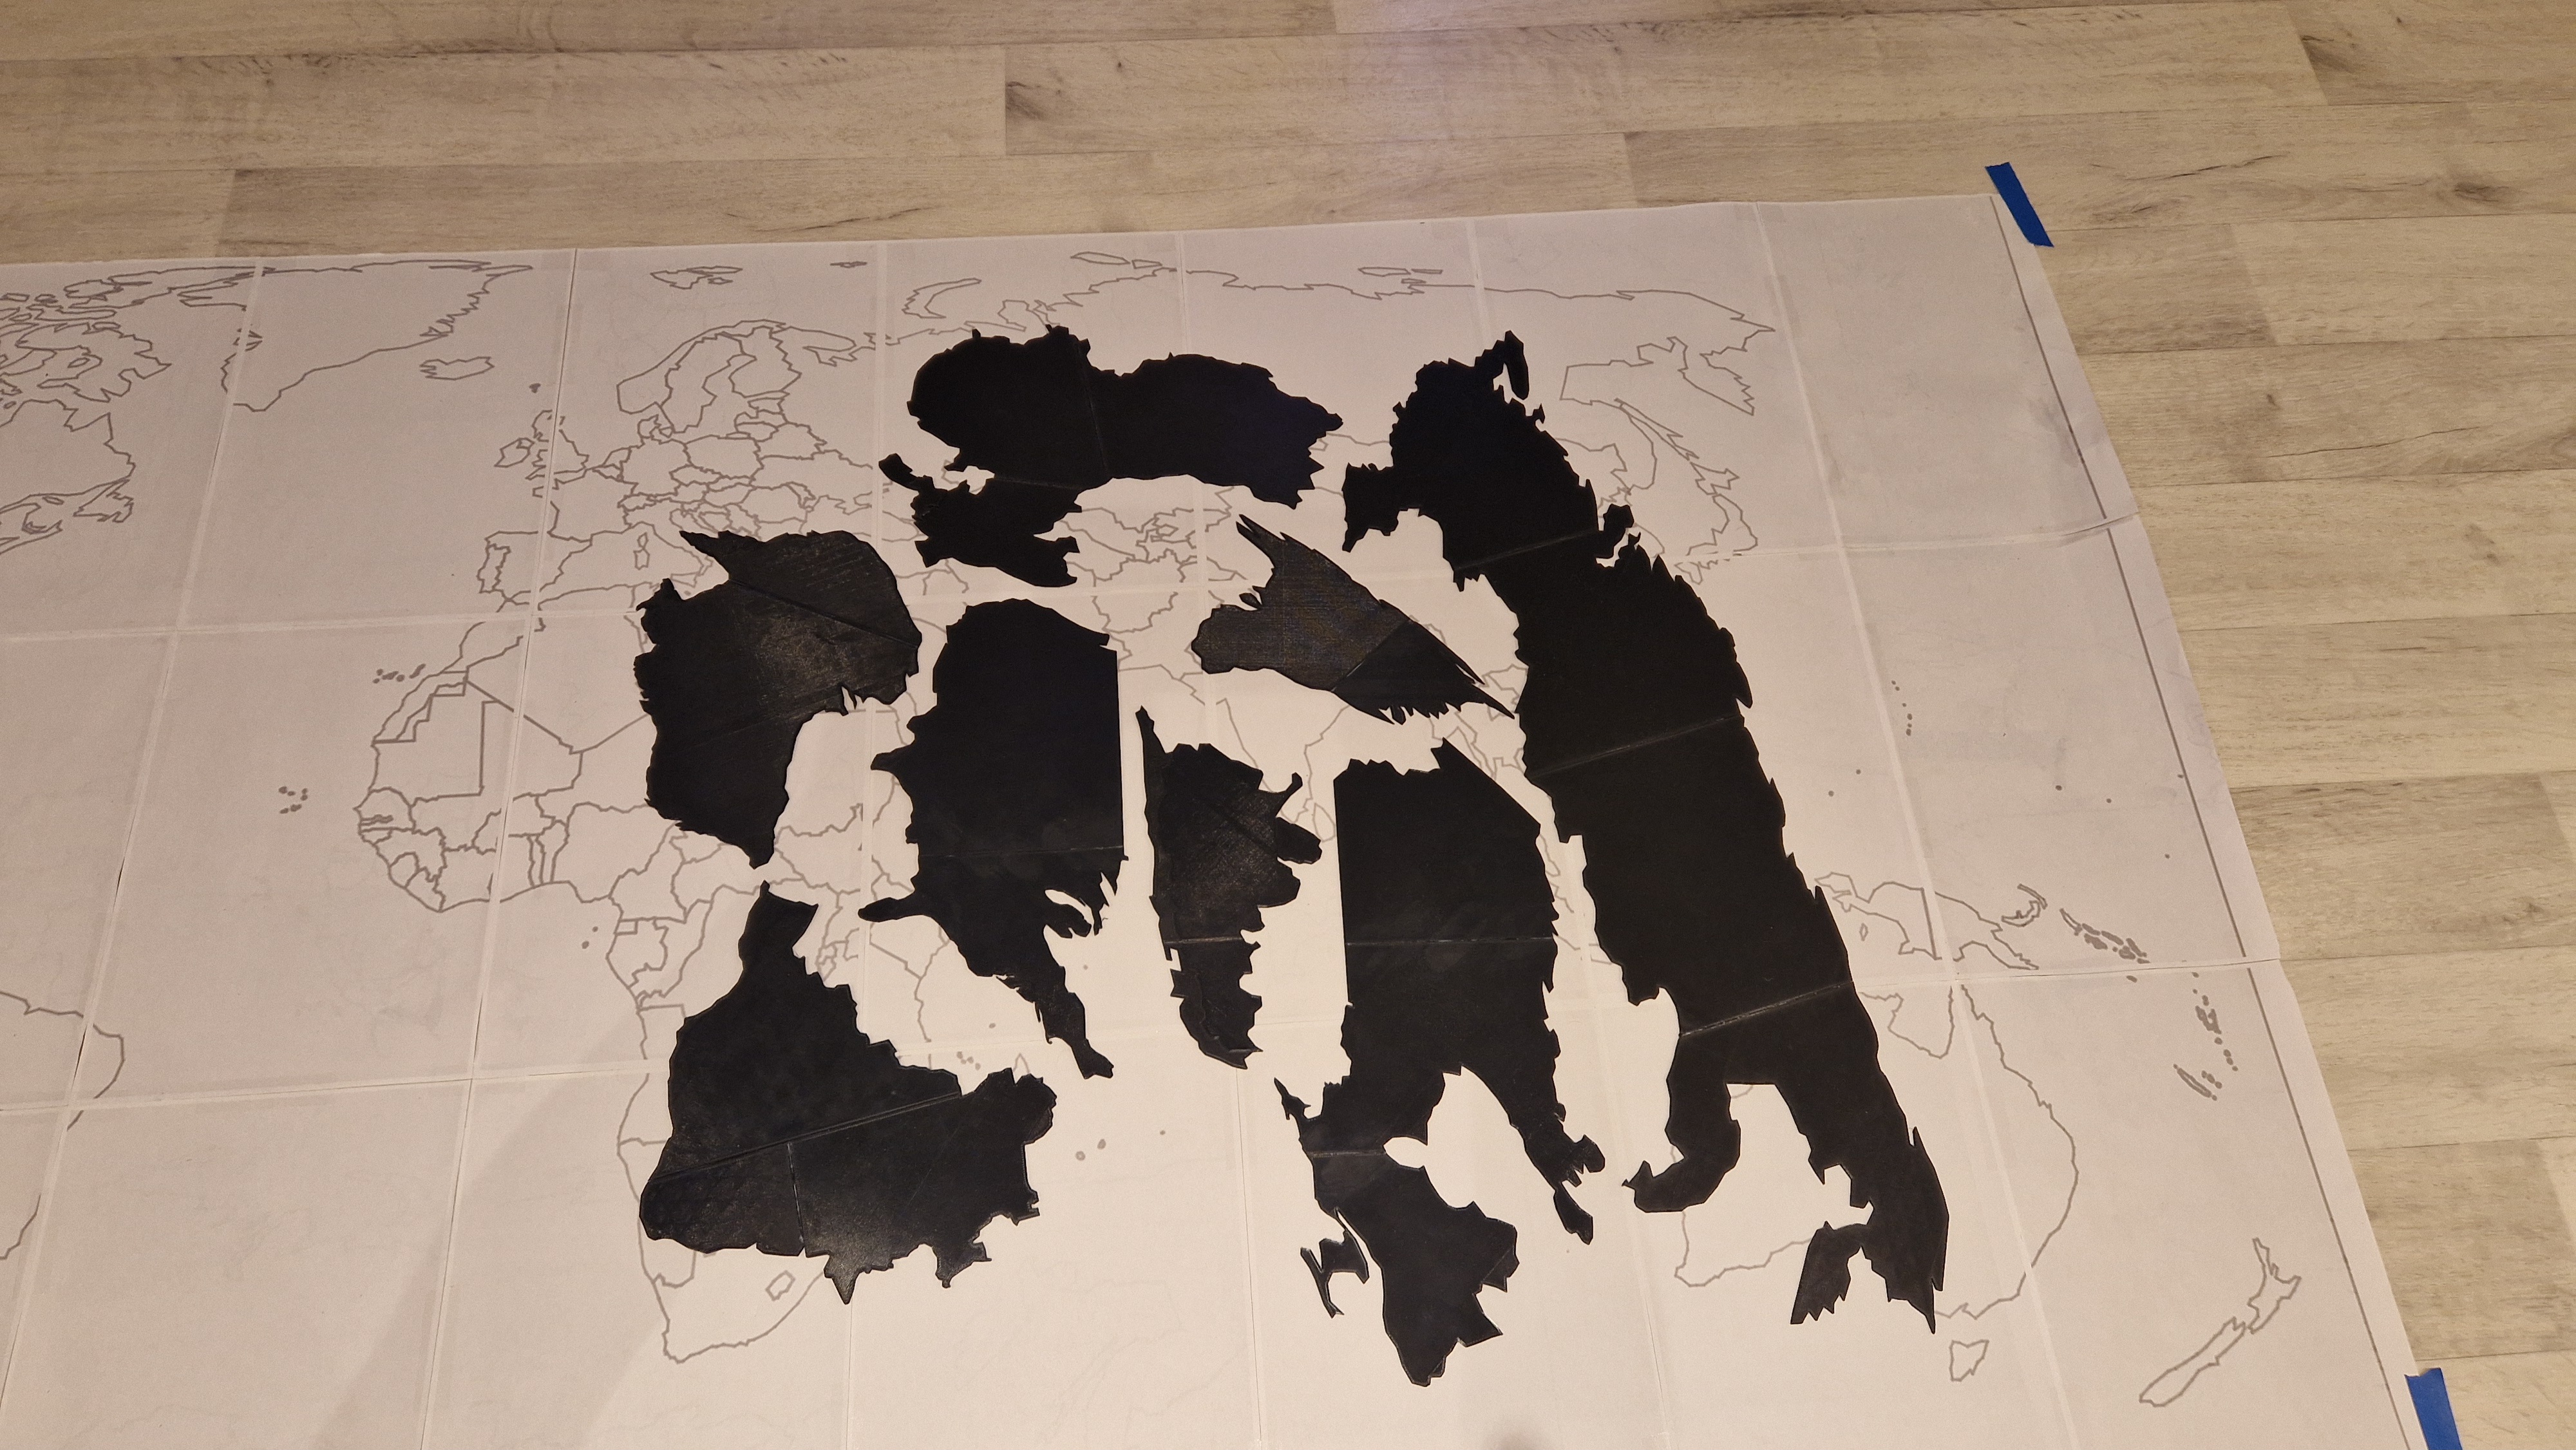
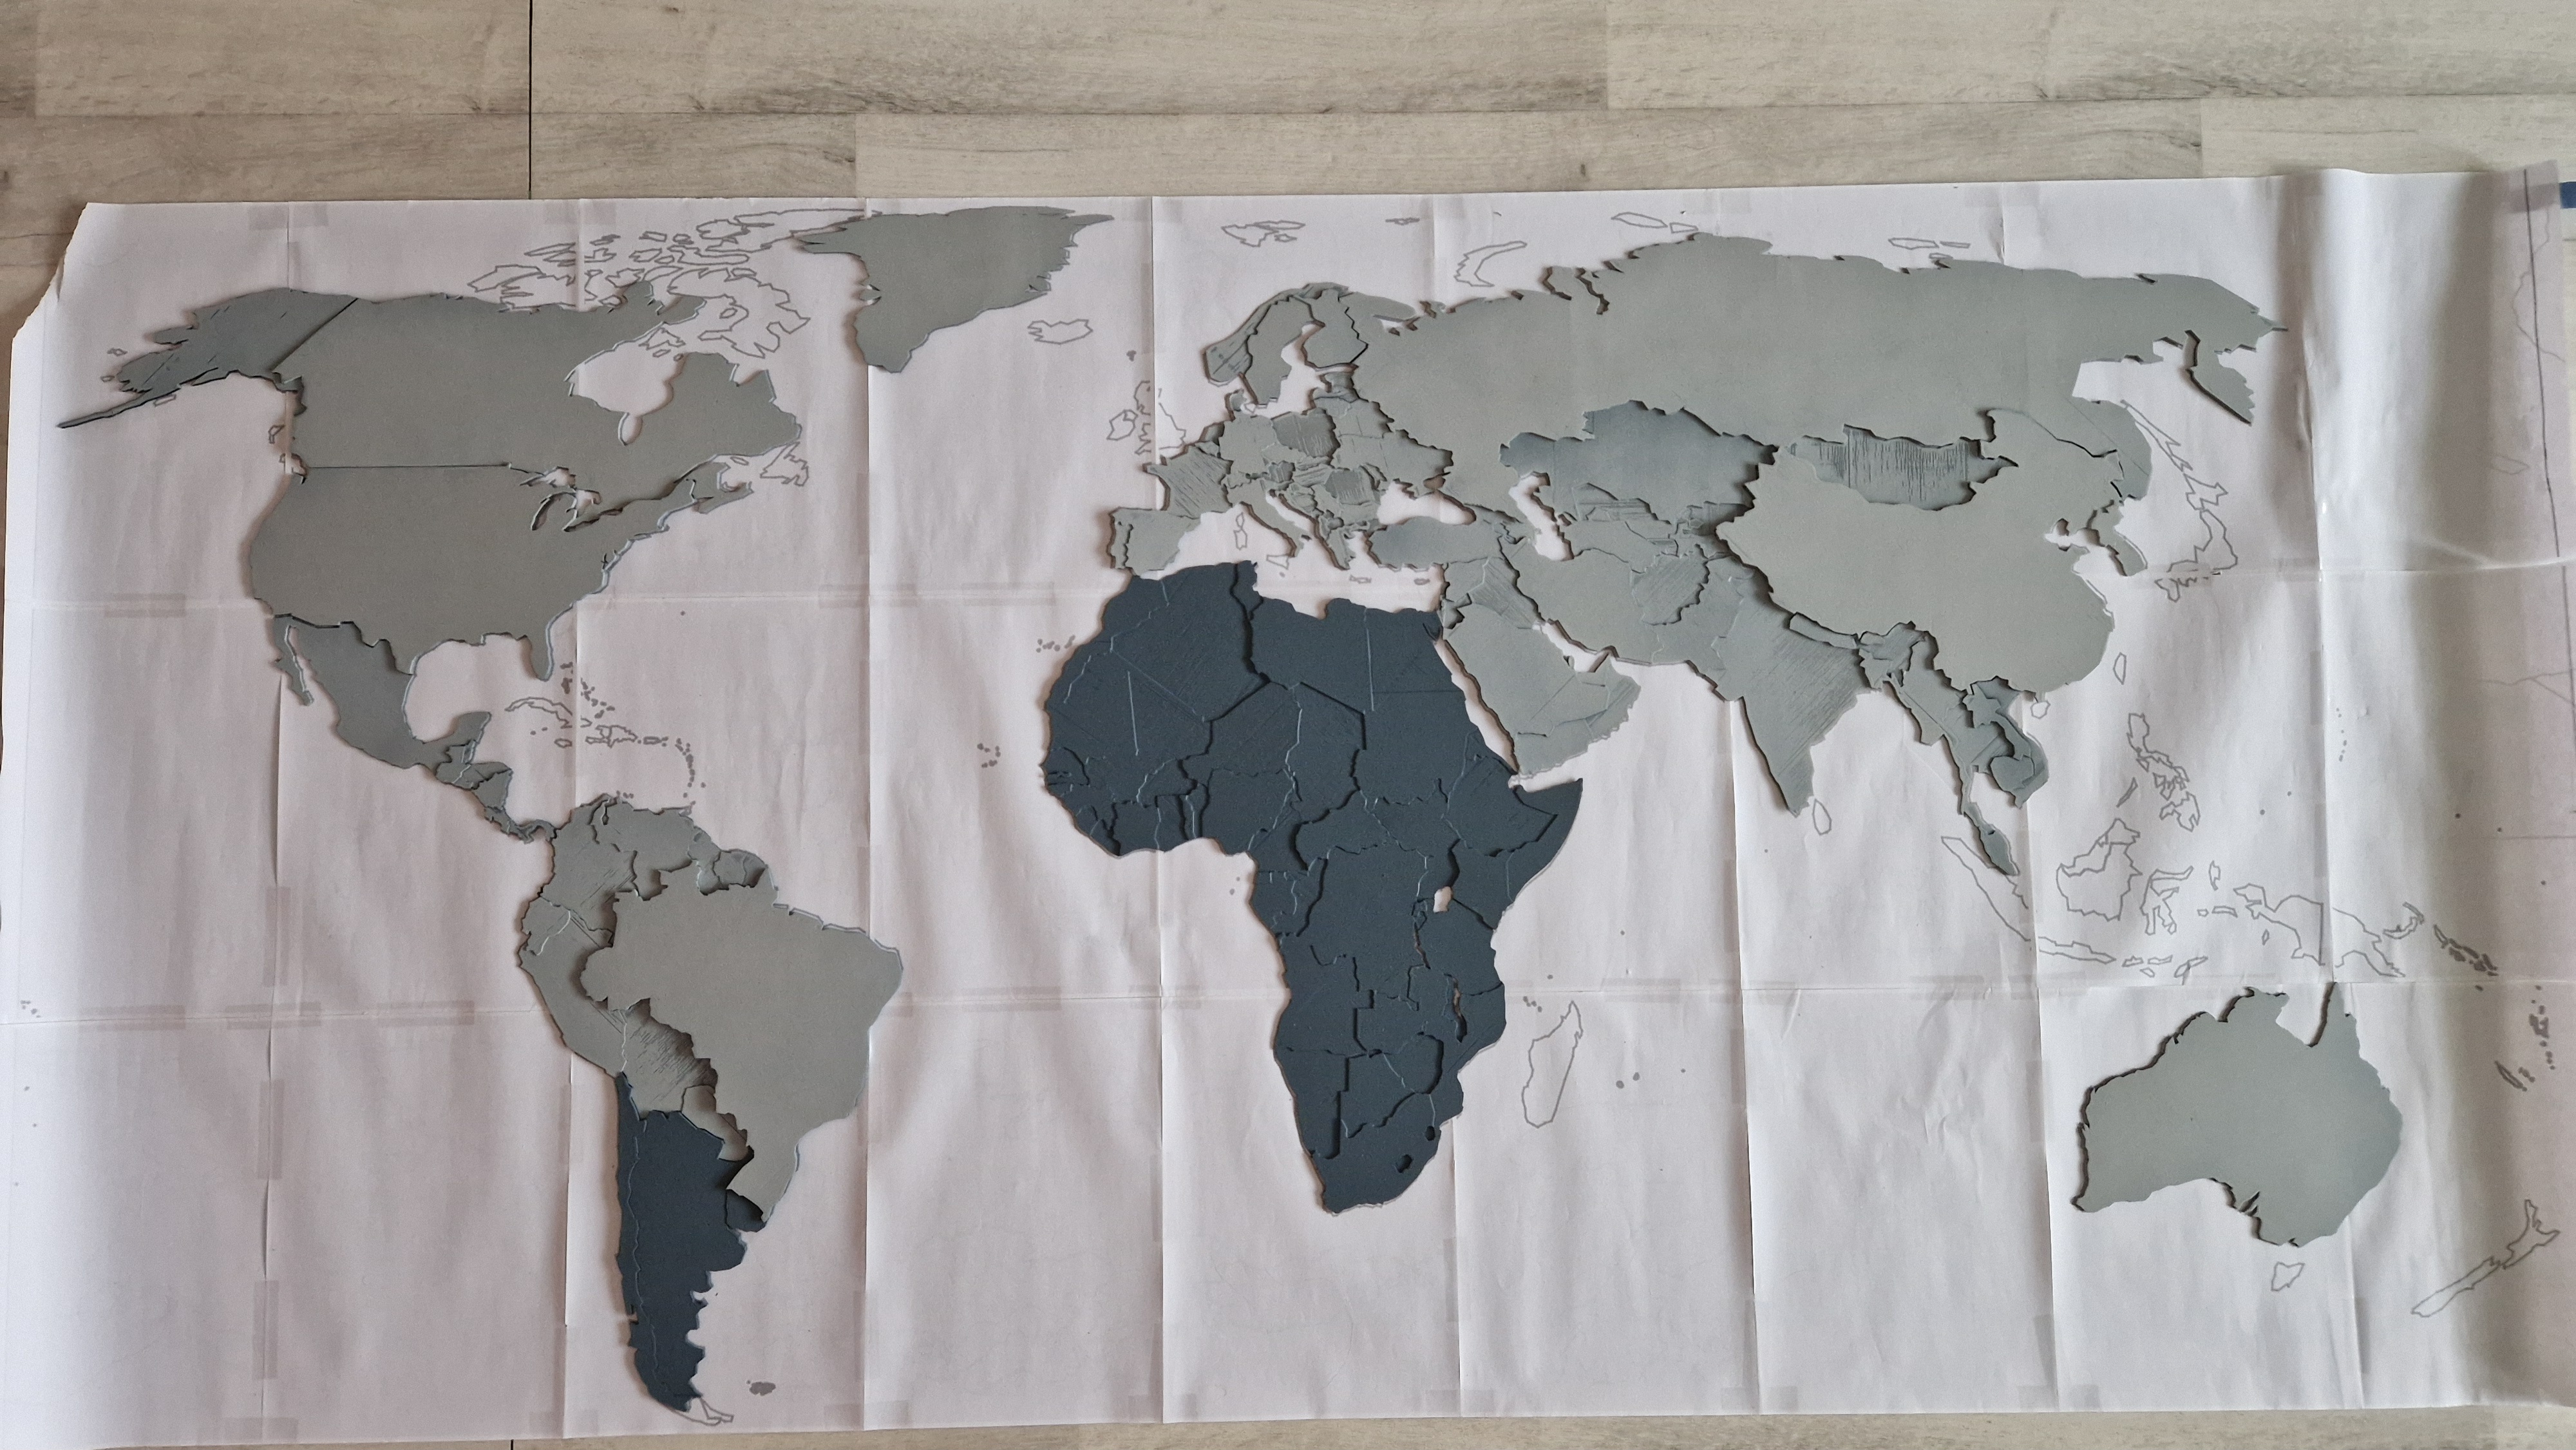
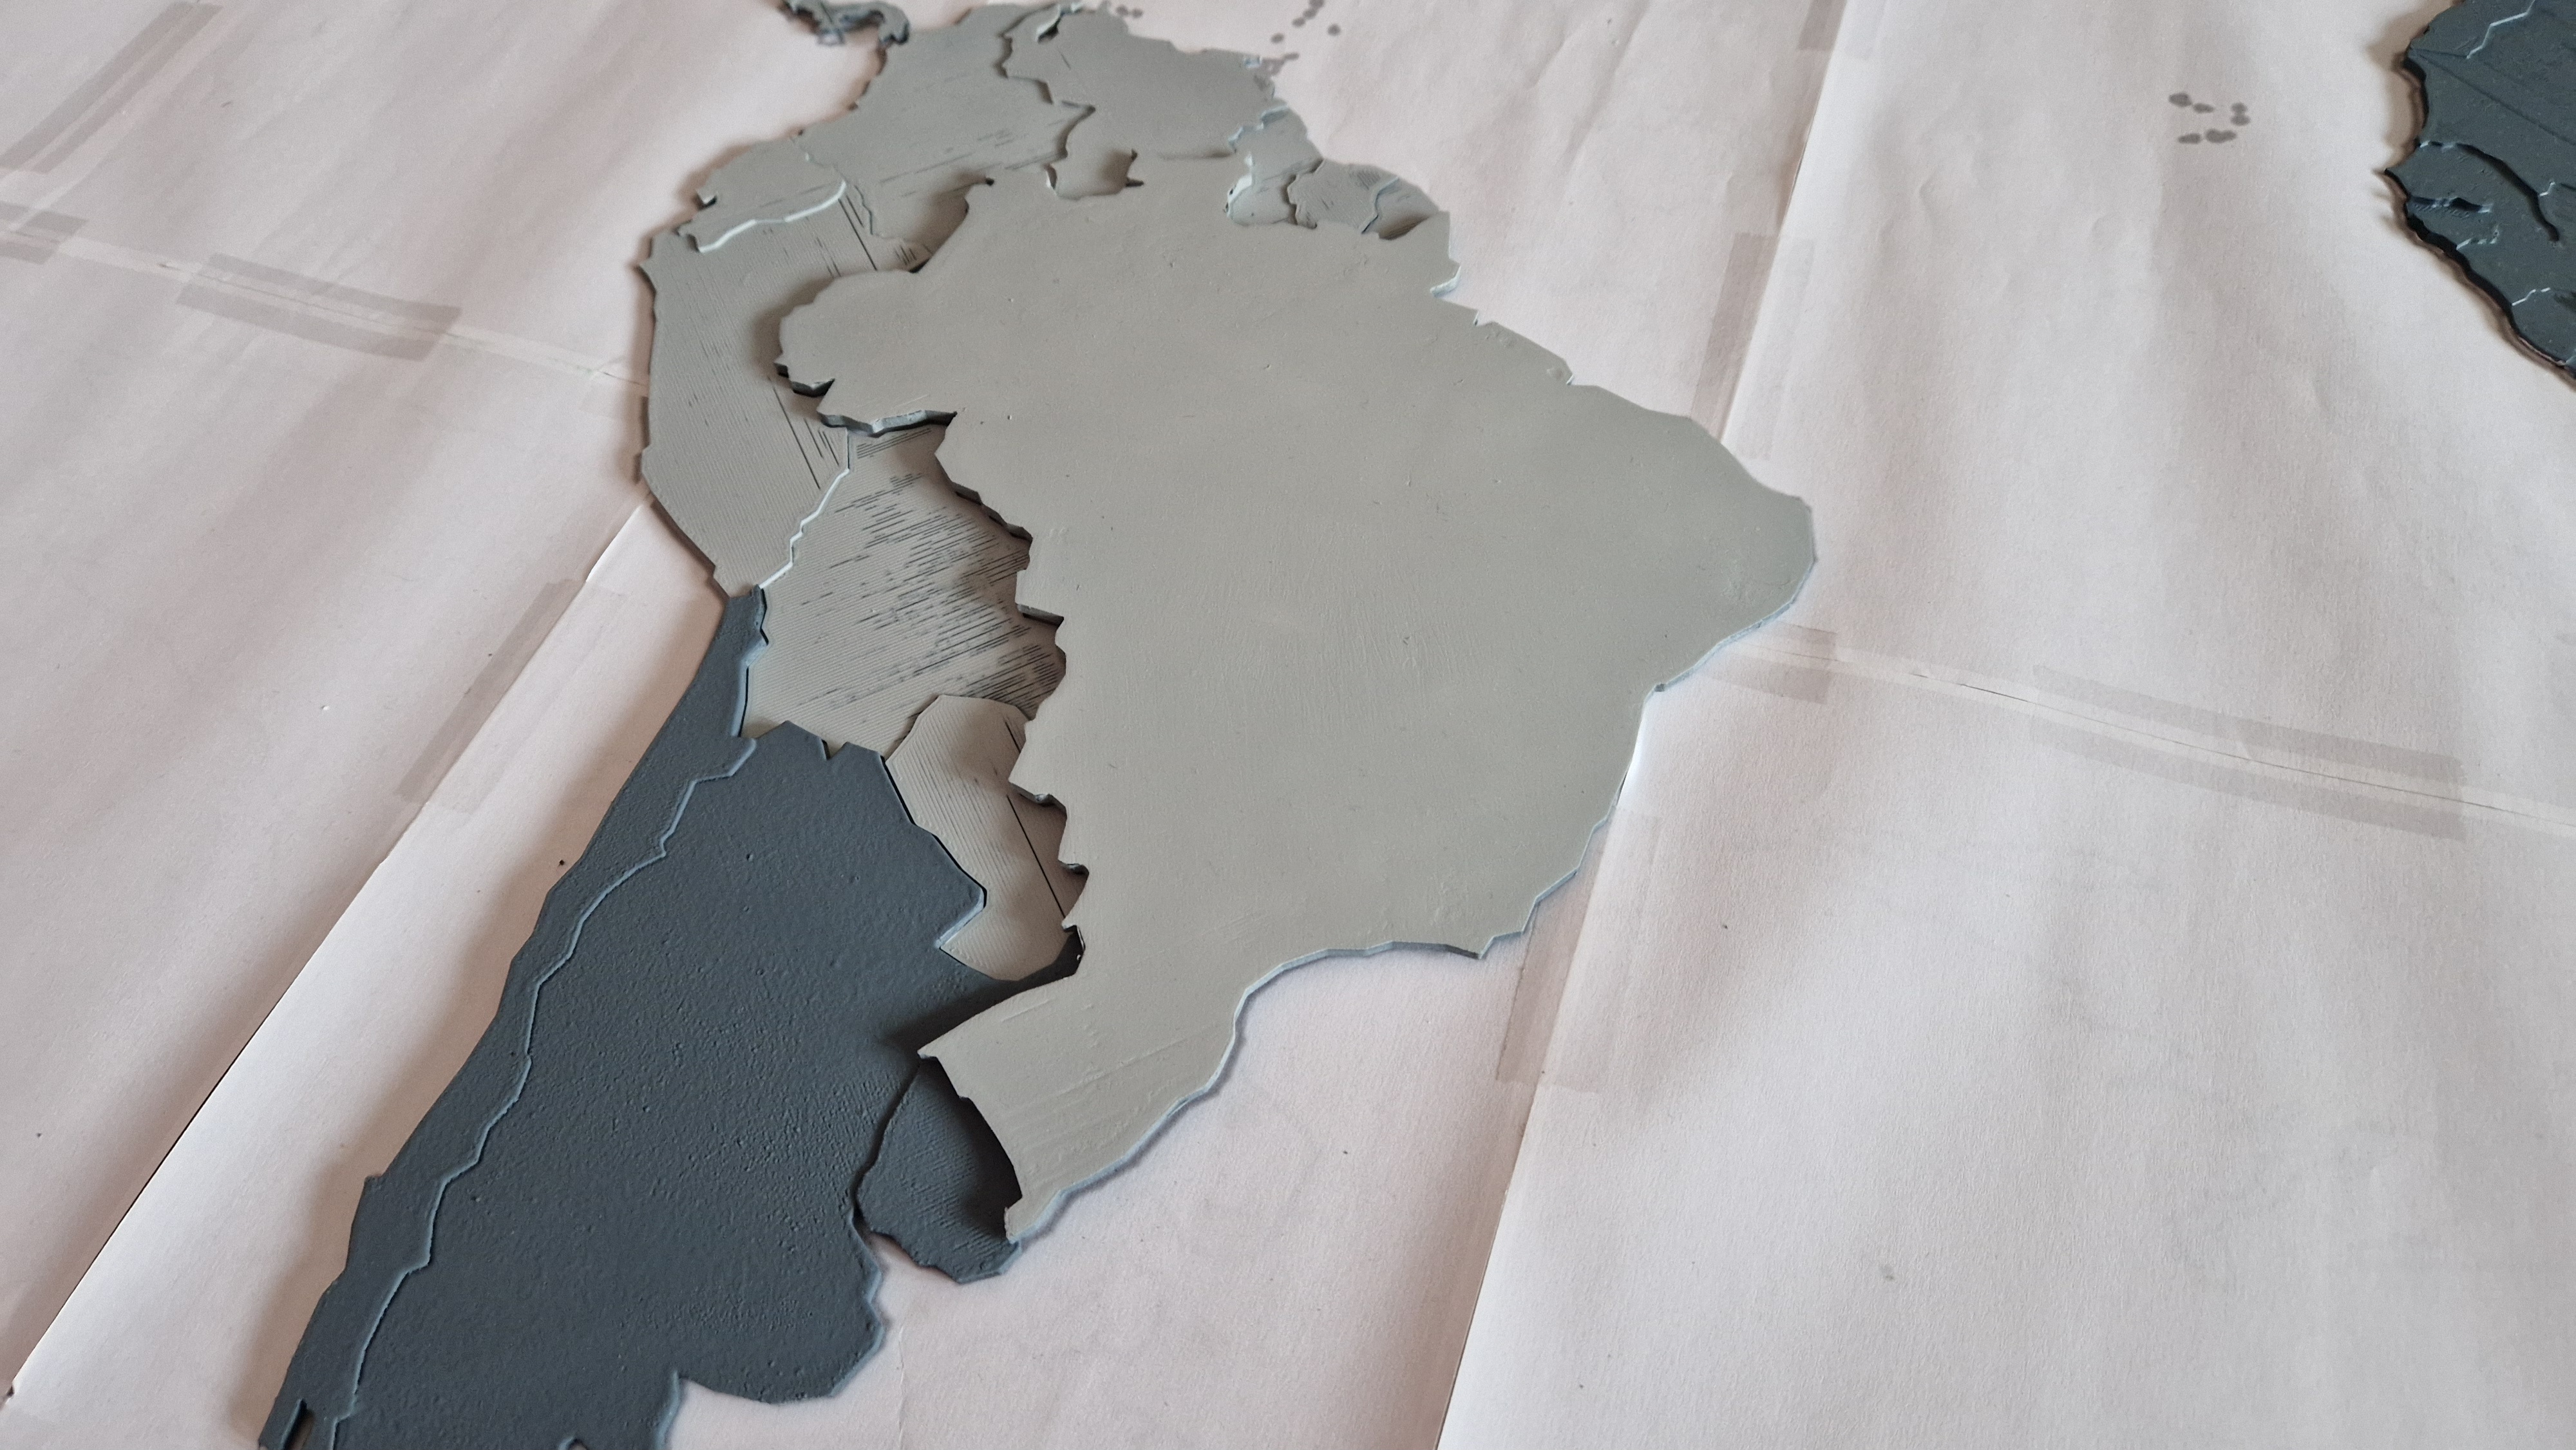
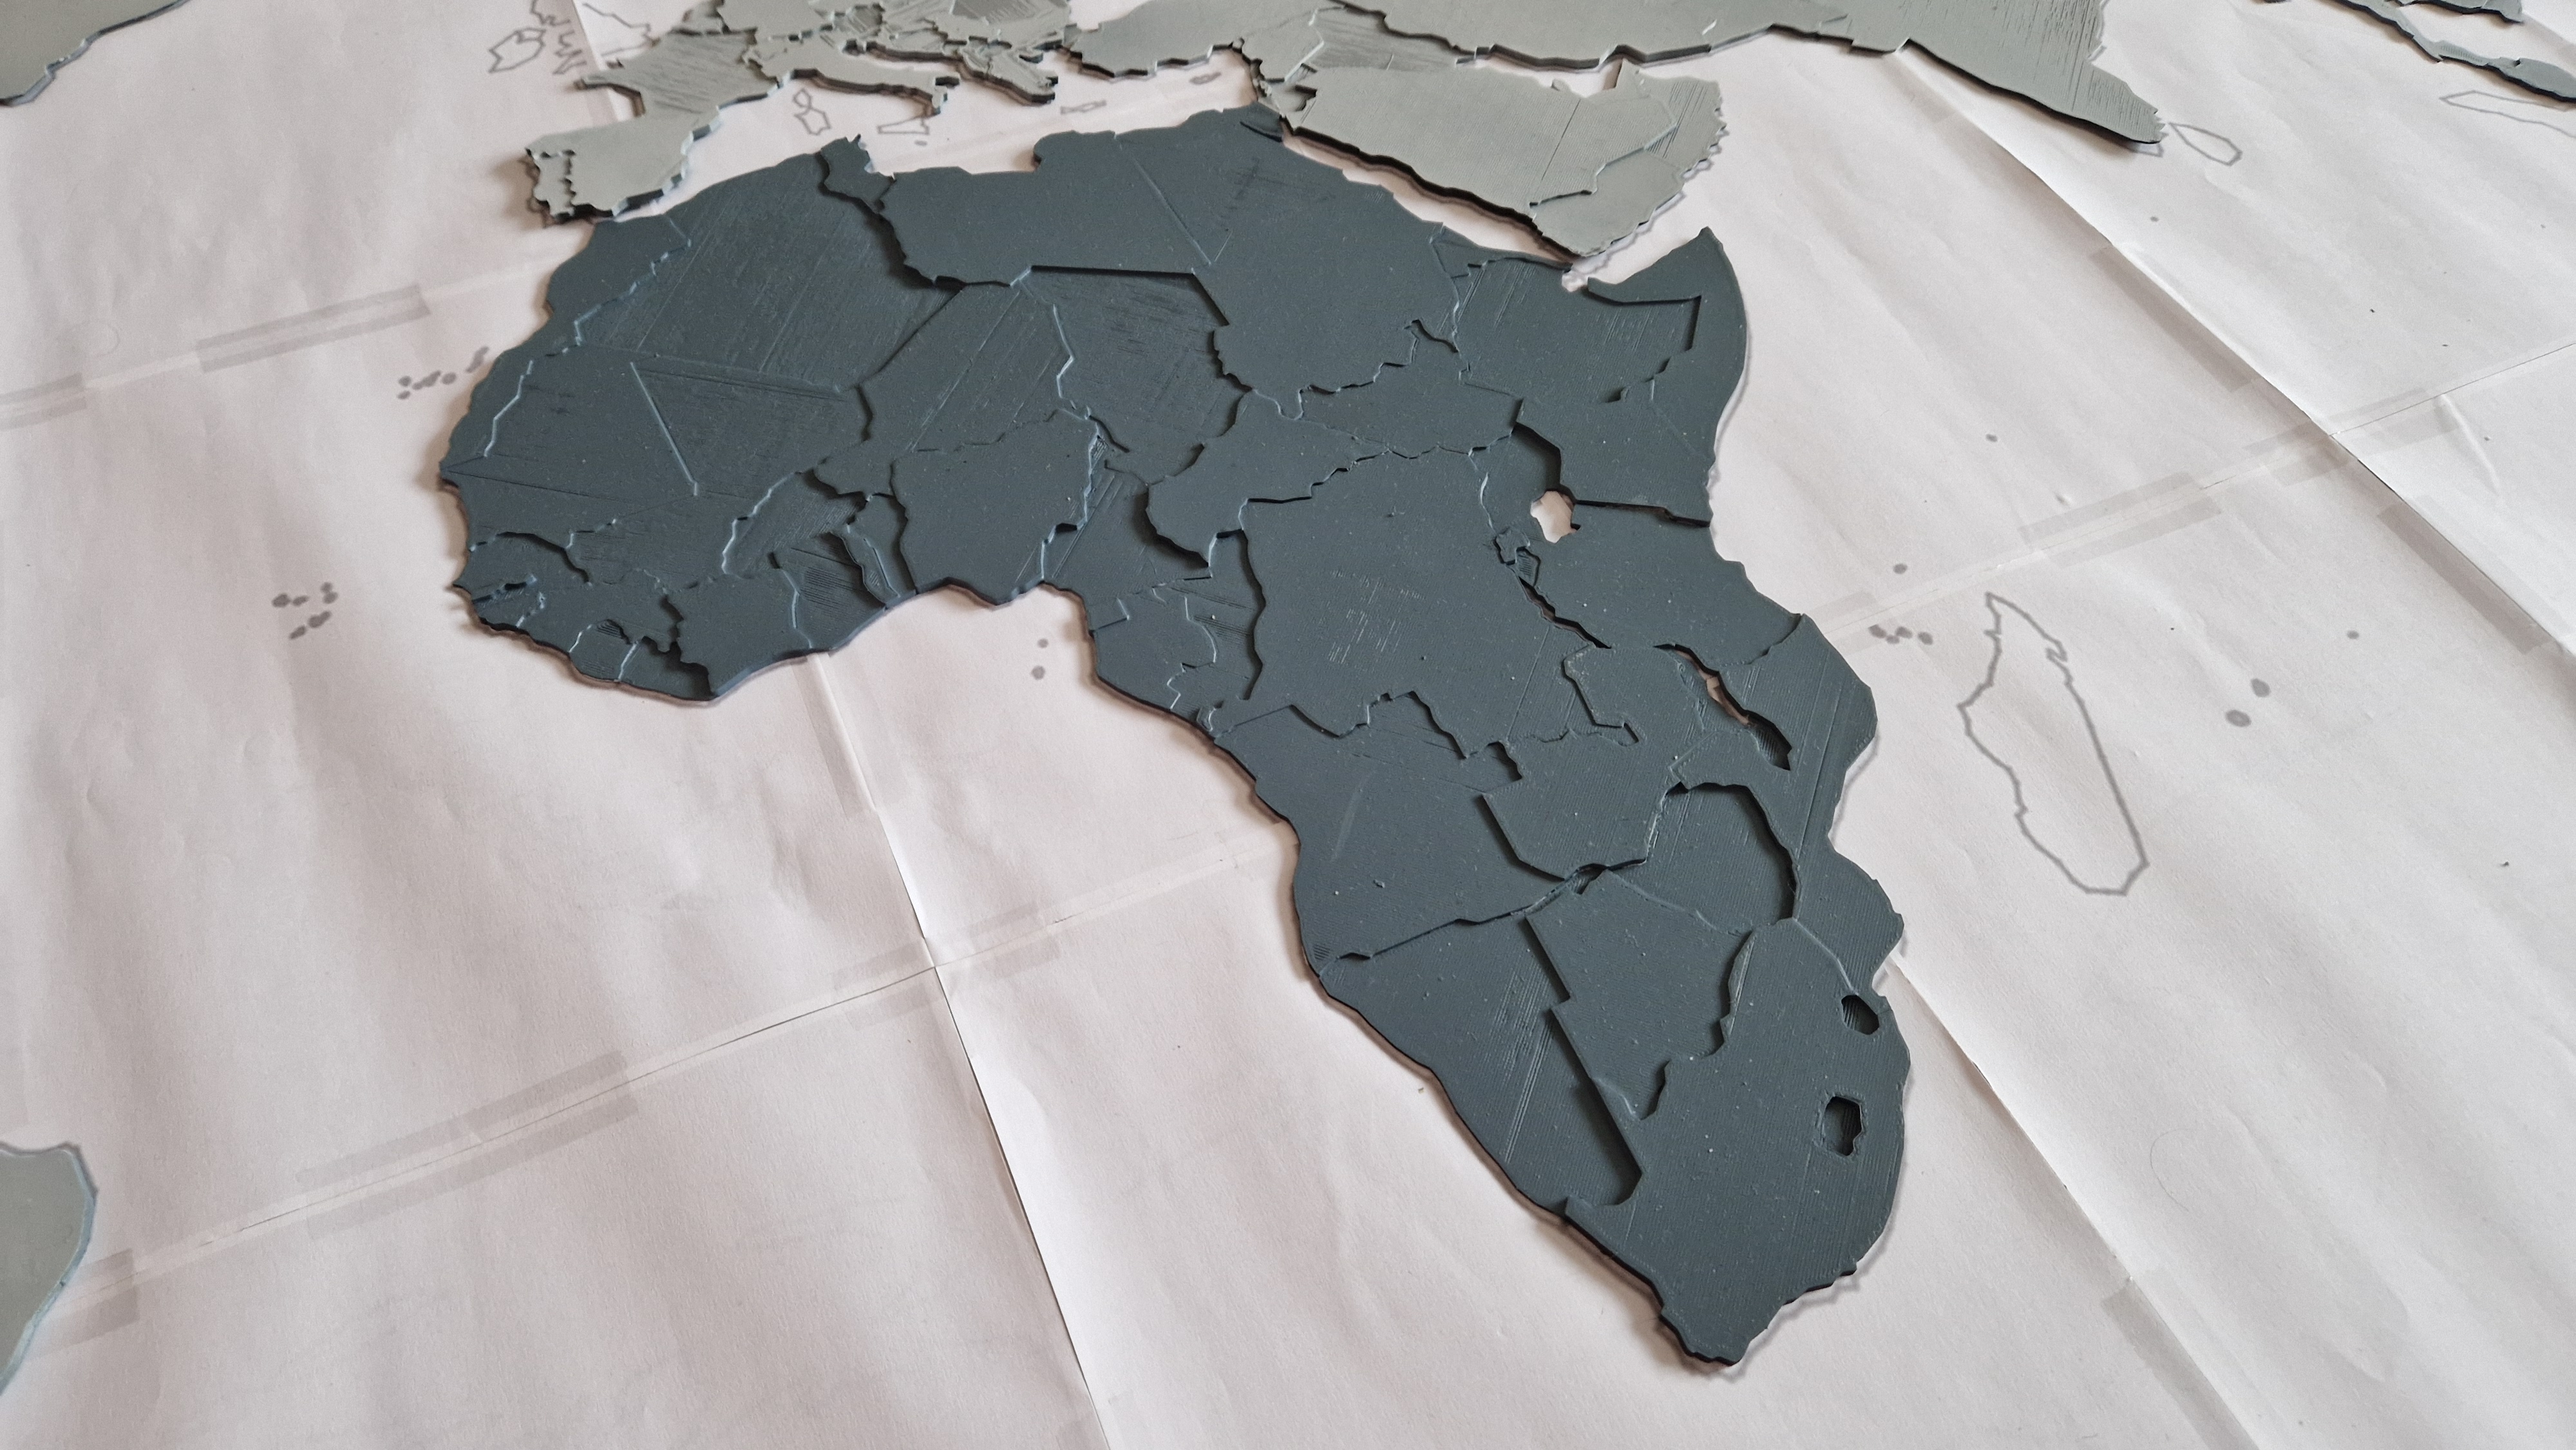
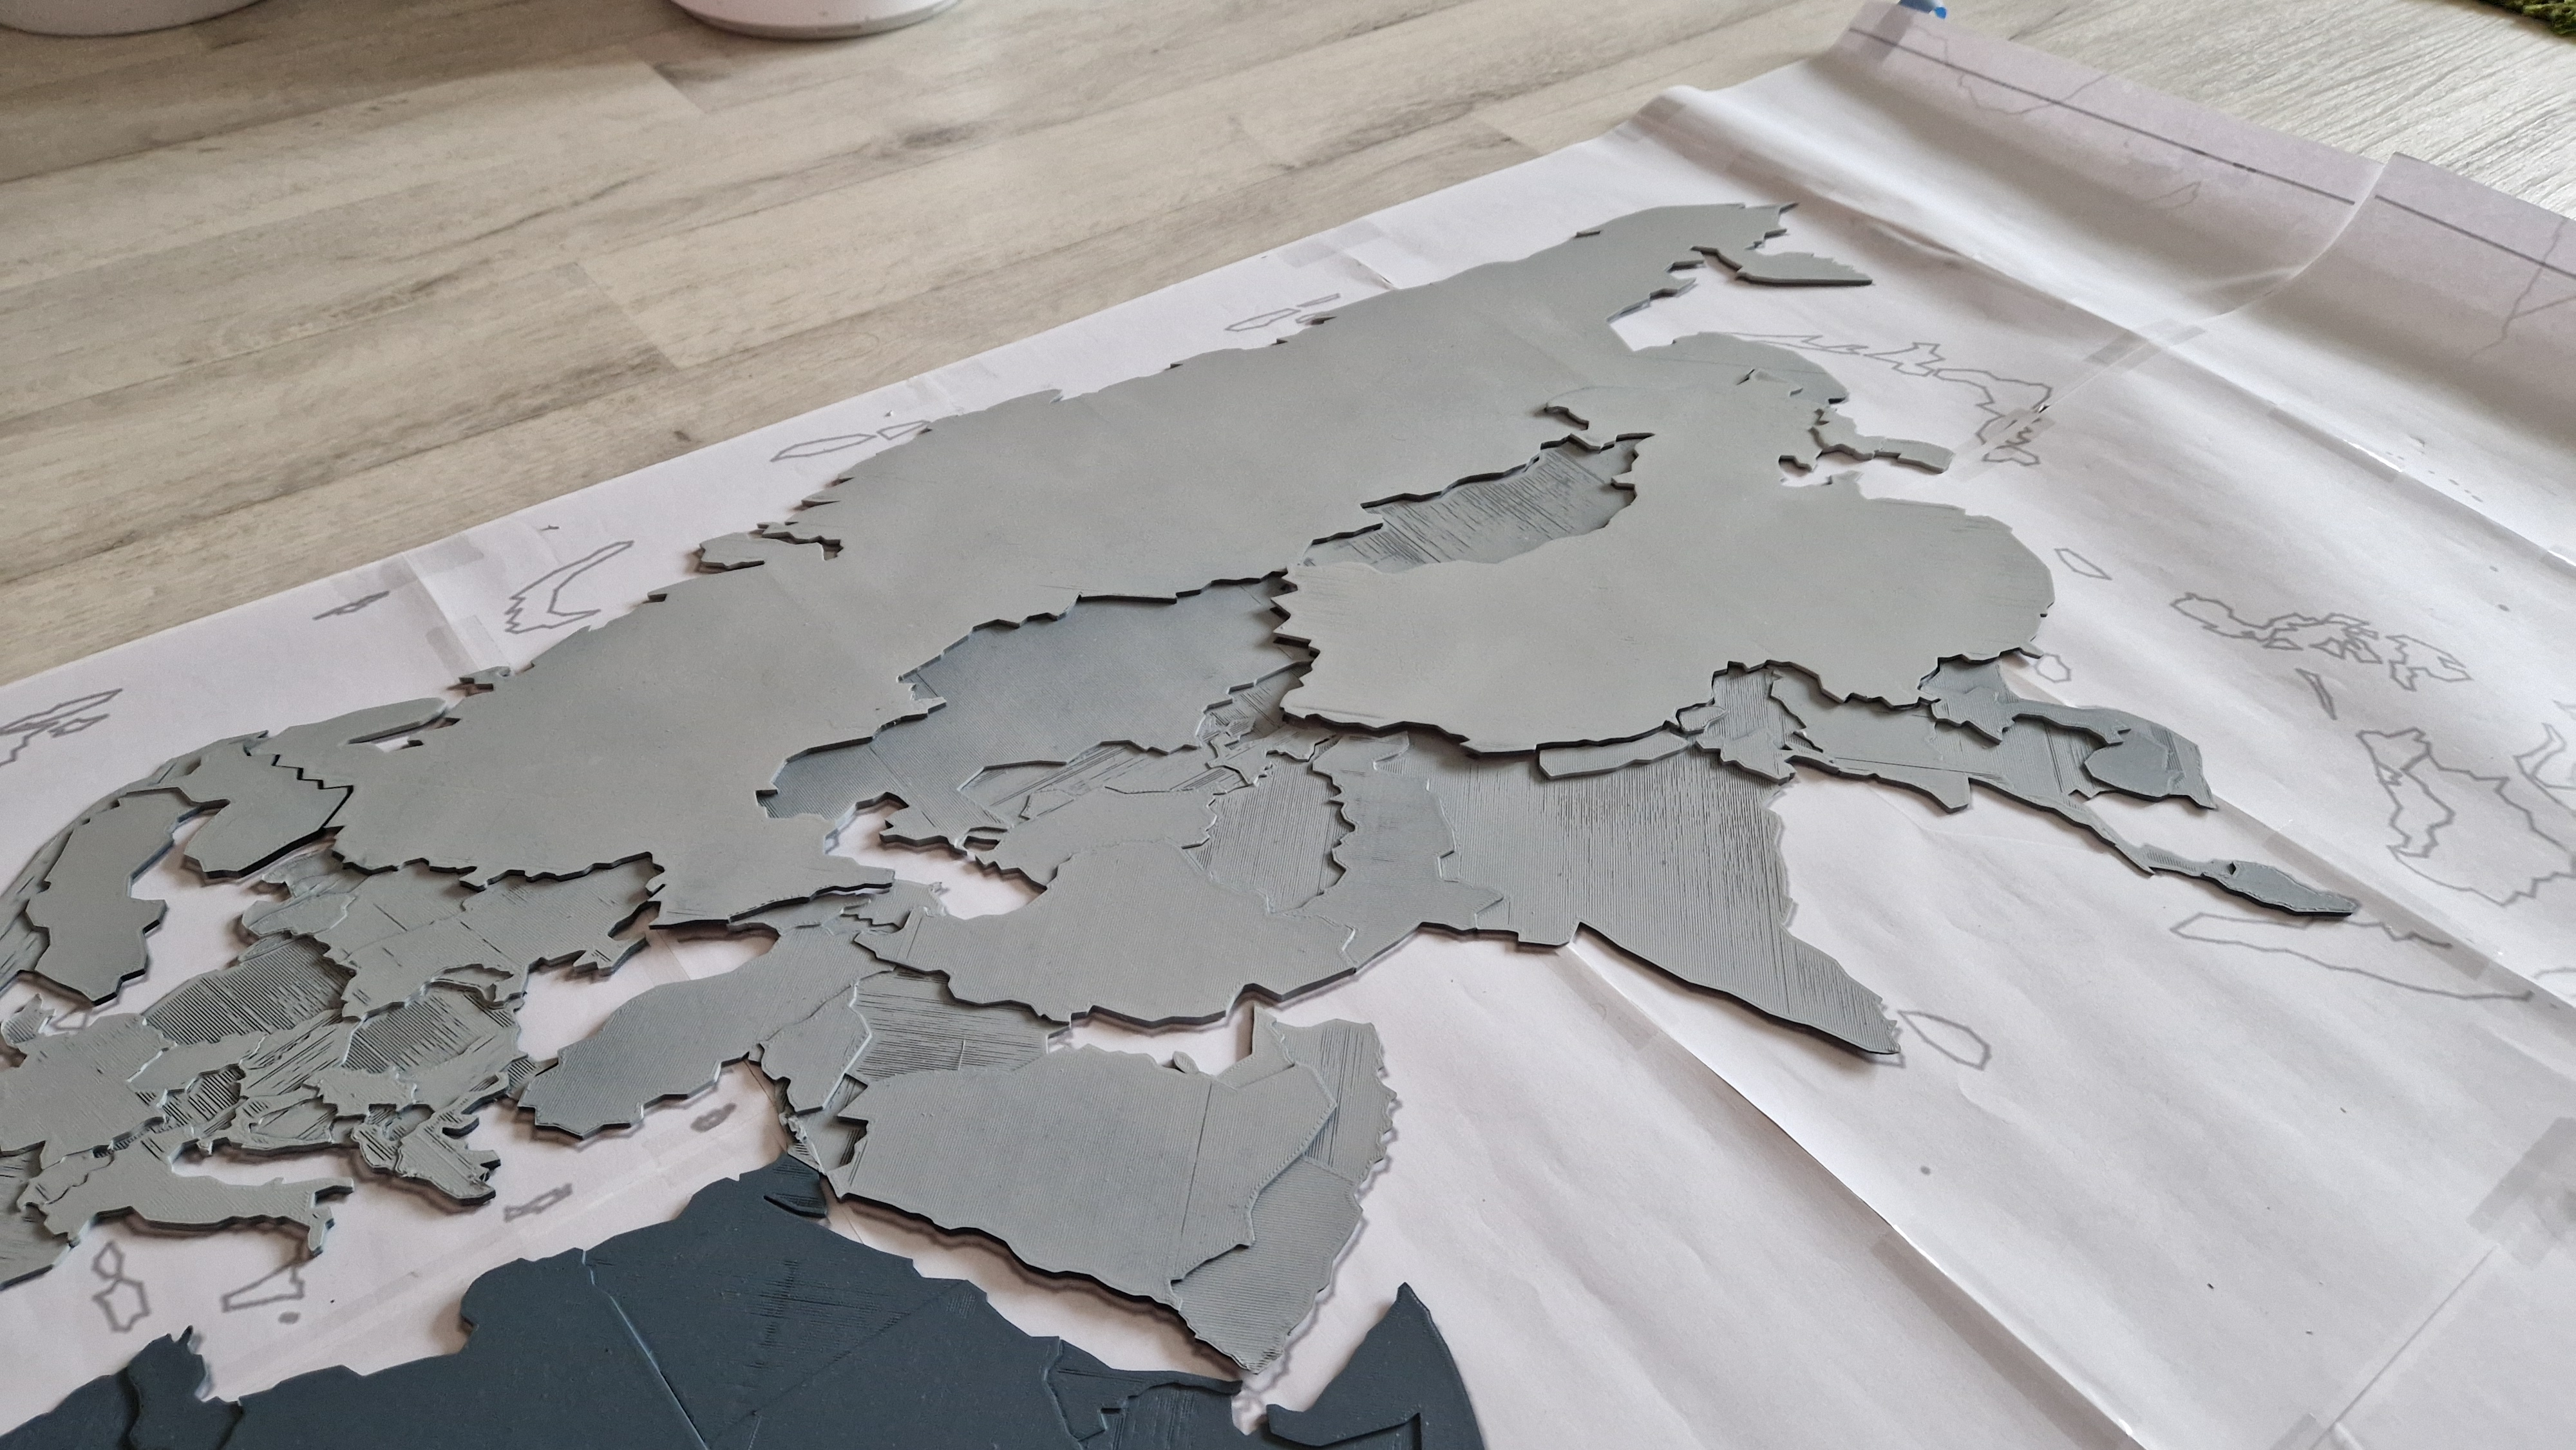
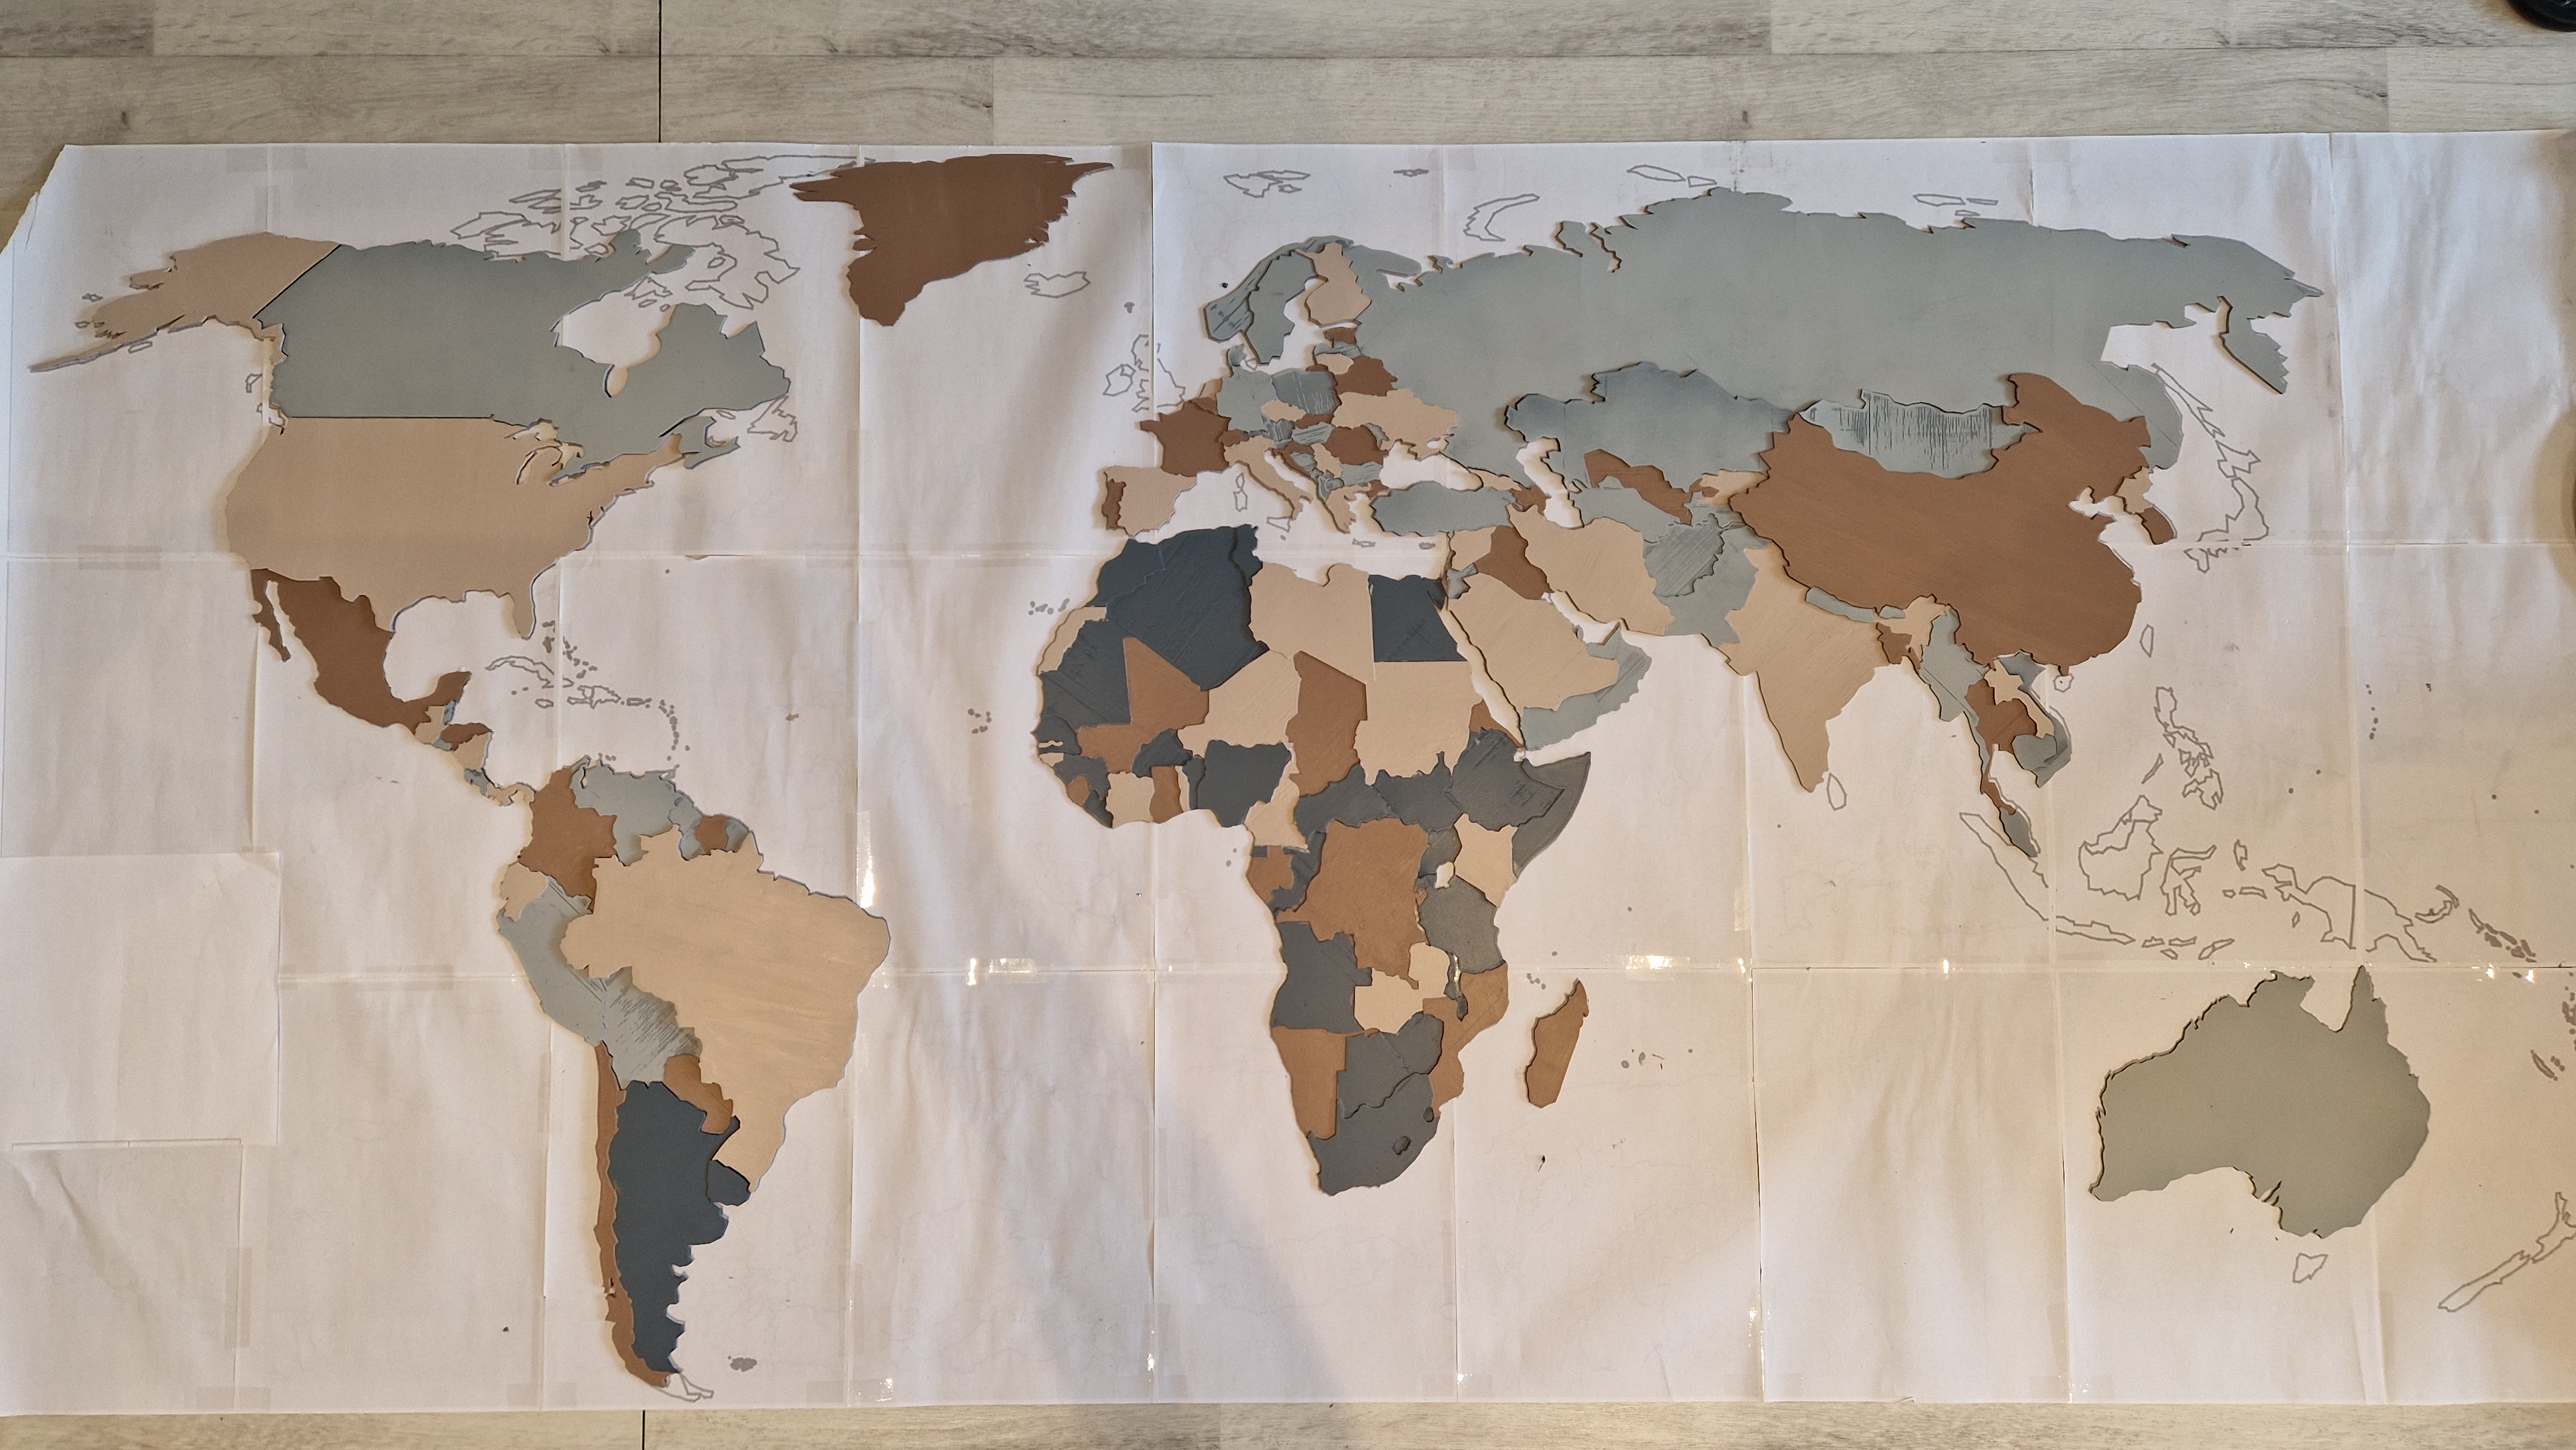
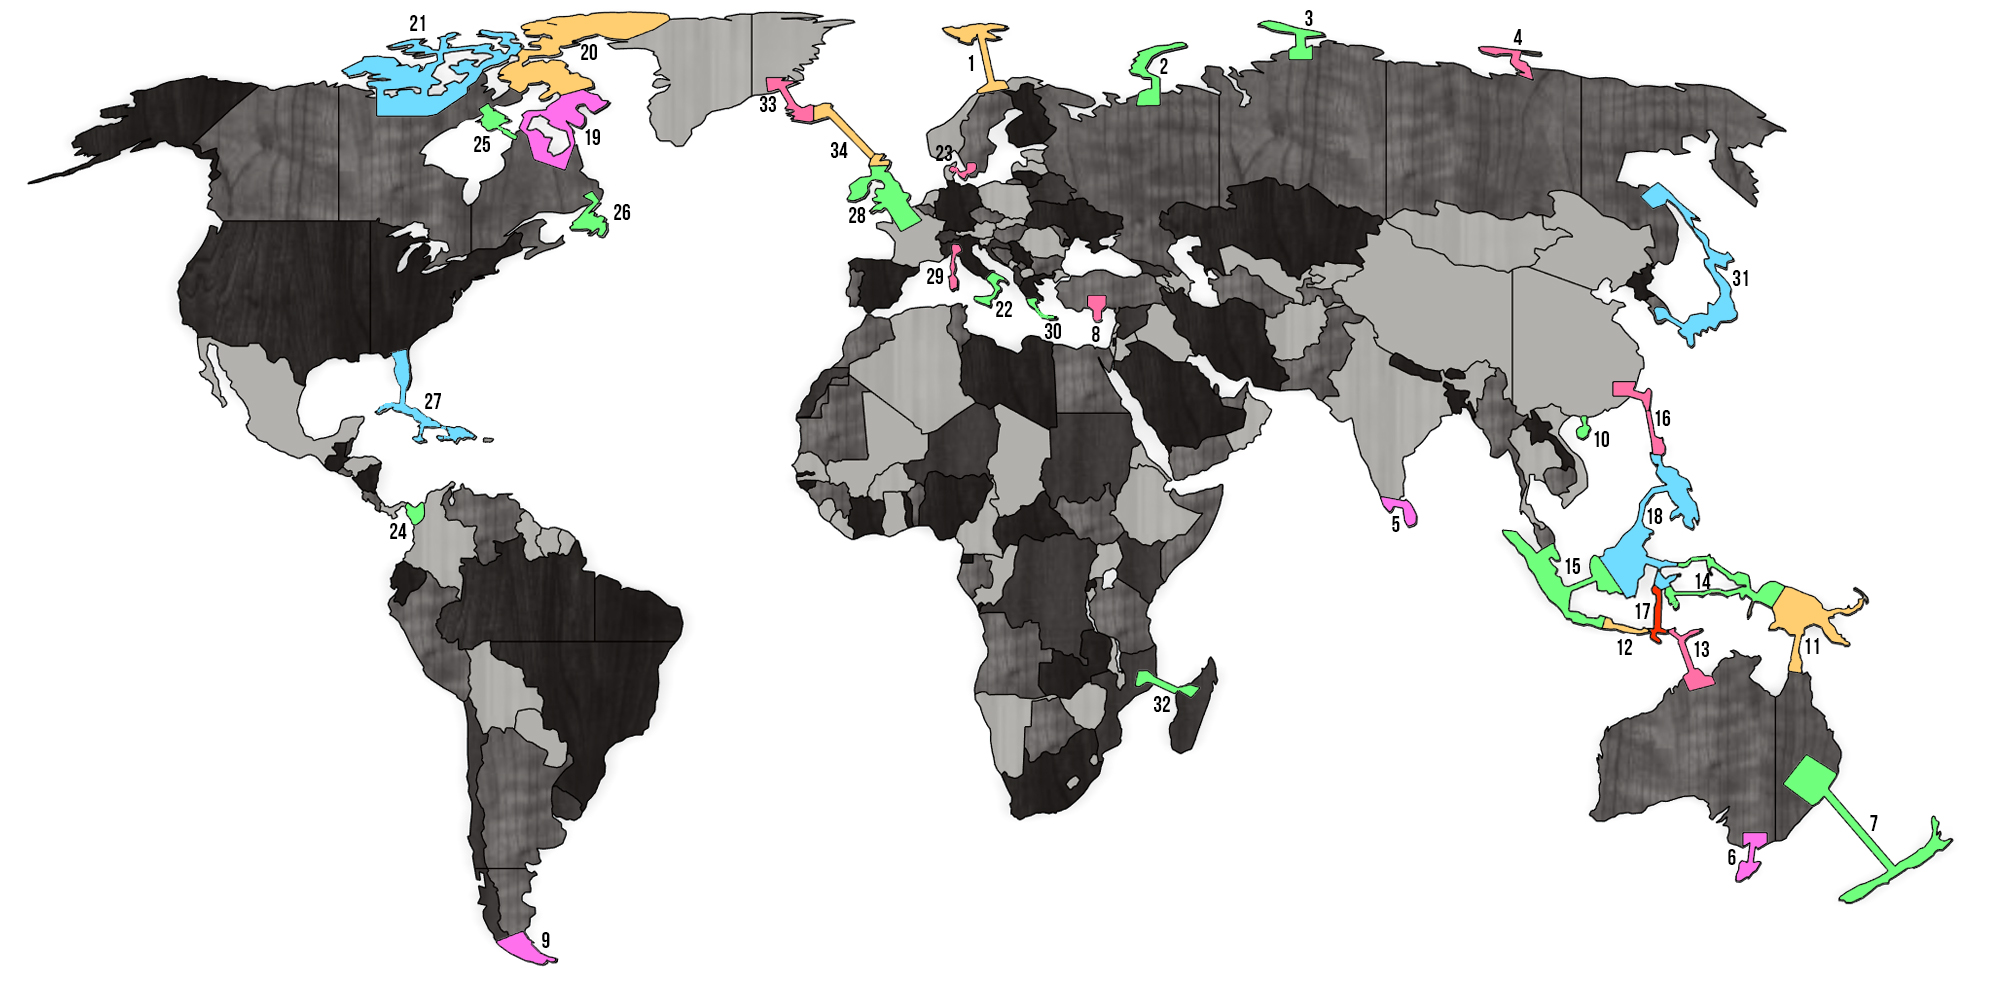
I began by designing a 3D model of the world map using Fusion 360. The final size of the map was 181x90 cm. To make the printing process manageable, I split the map into blocks, combining some countries together. All connections were done along the country borders to minimize the need for puttying straight lines later. You can find all the 3D model files on Thingiverse or here.
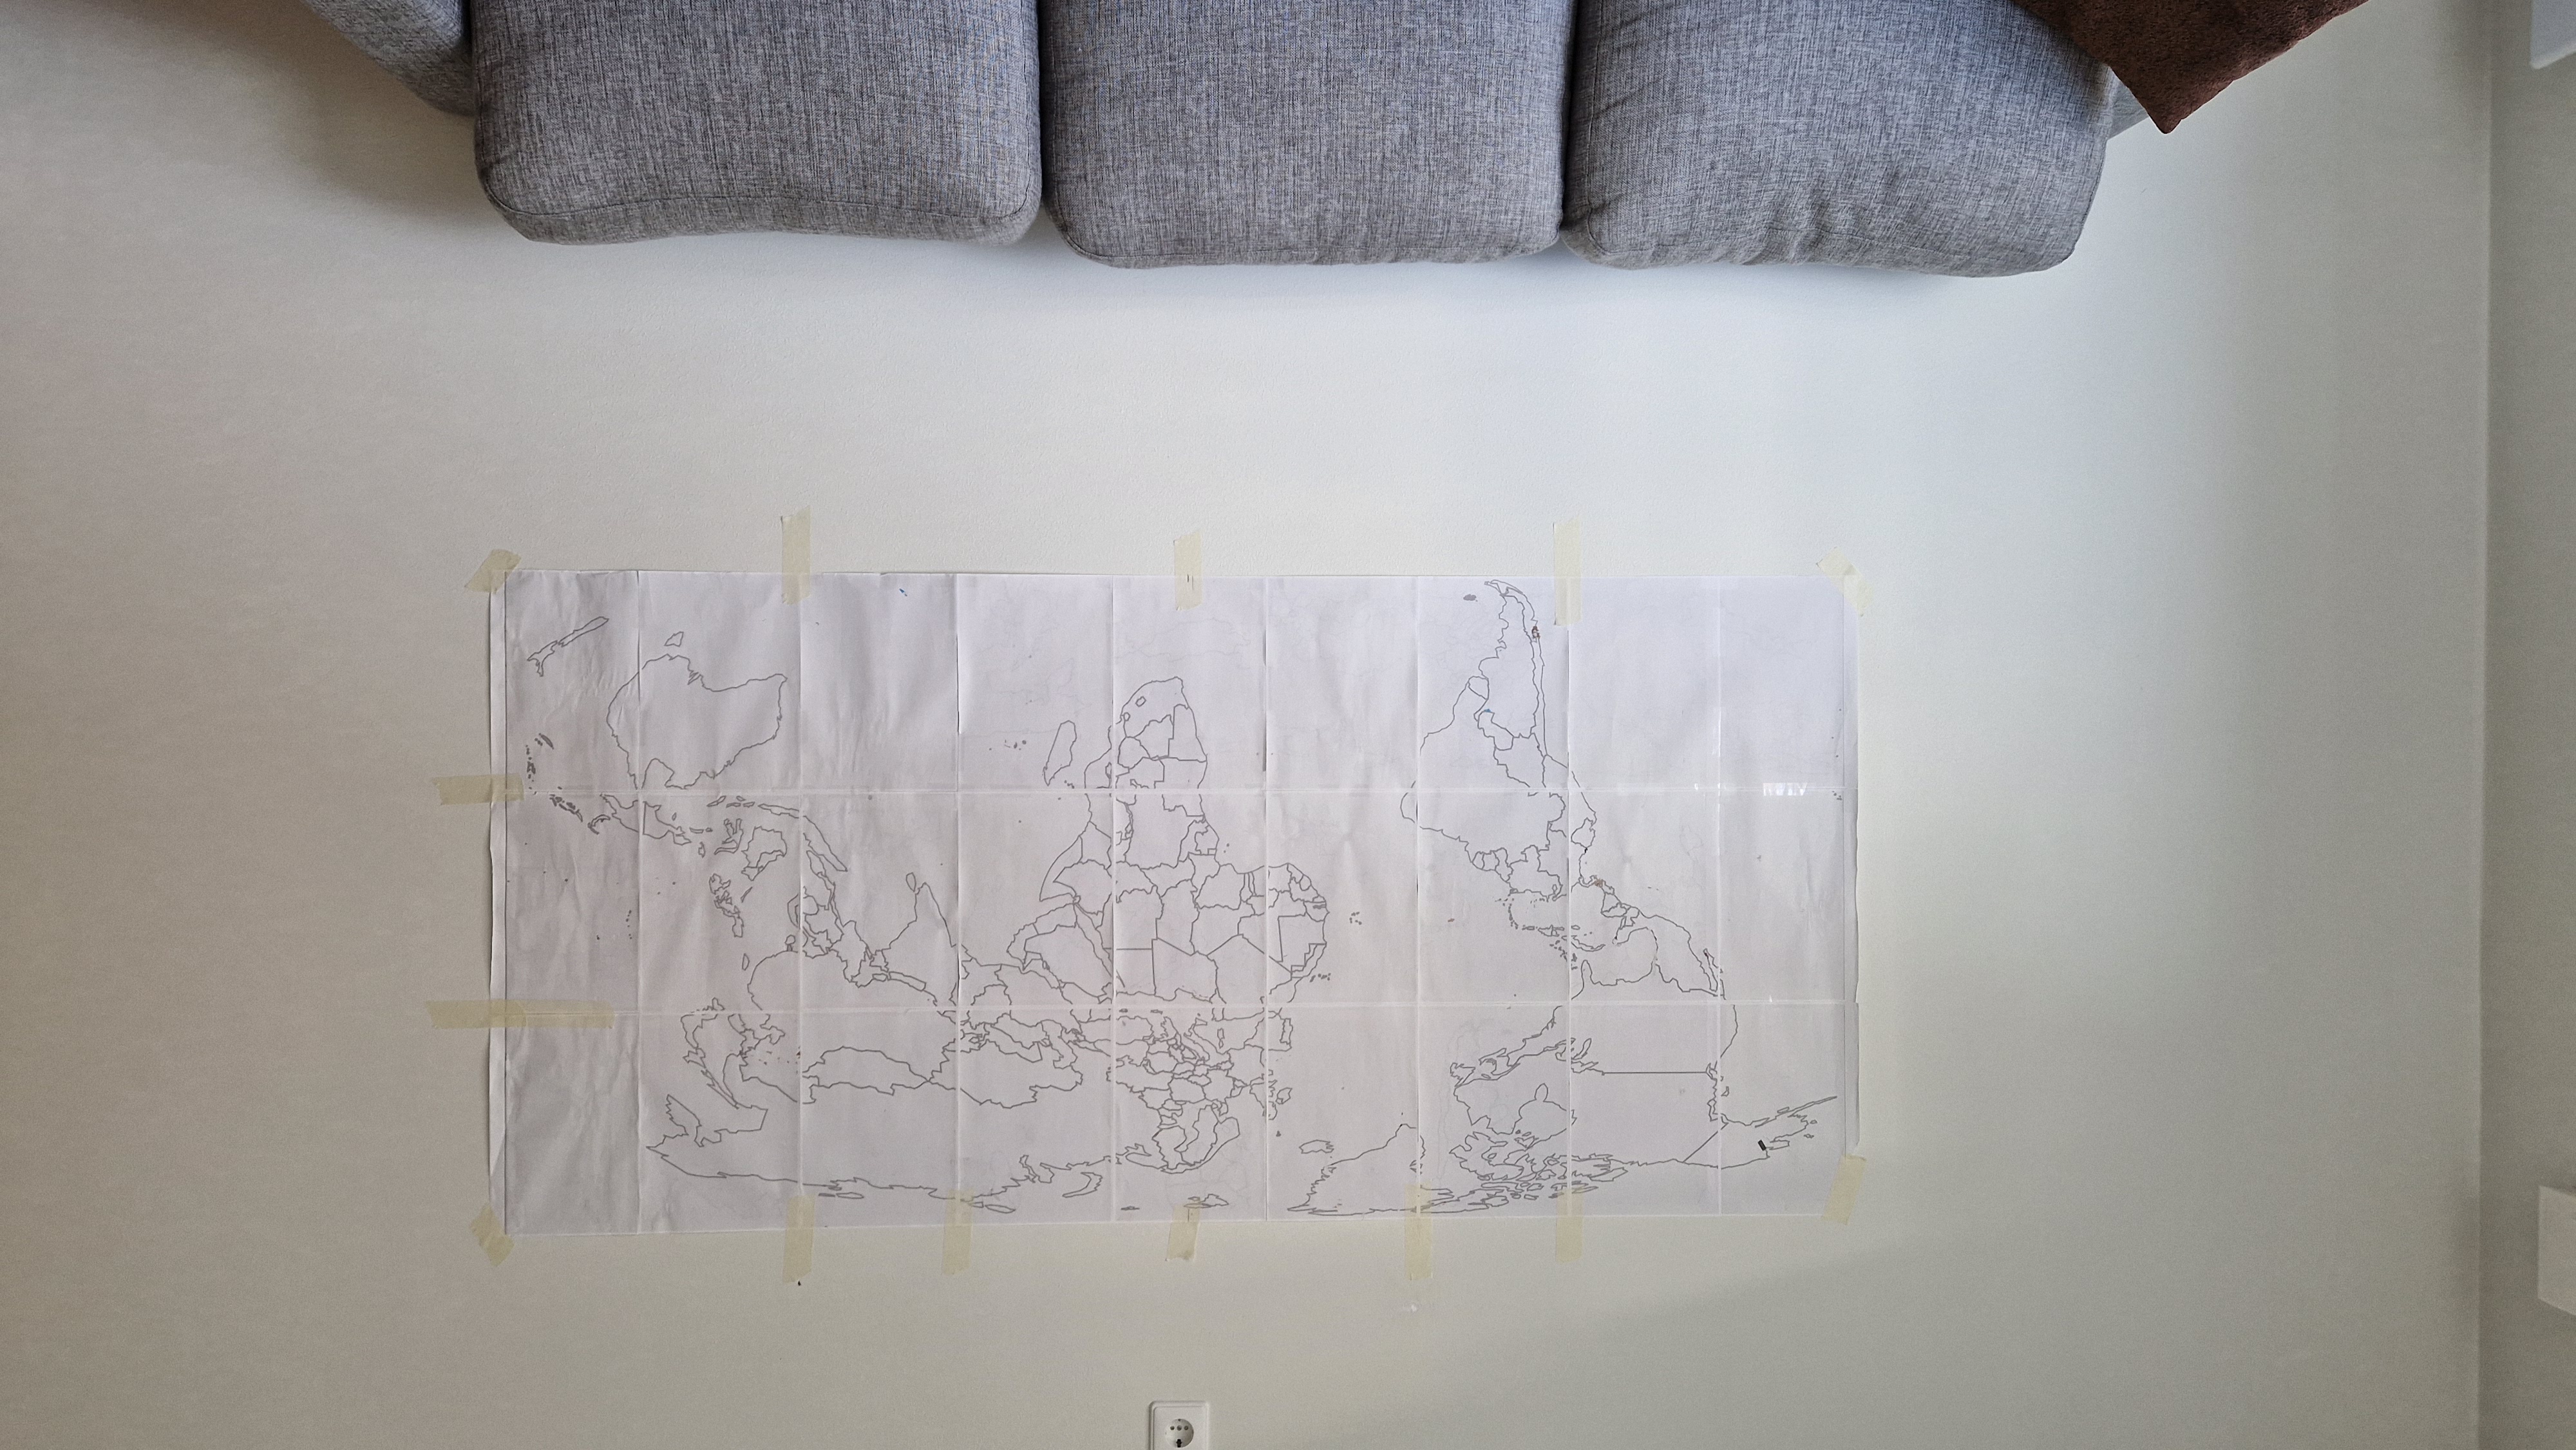
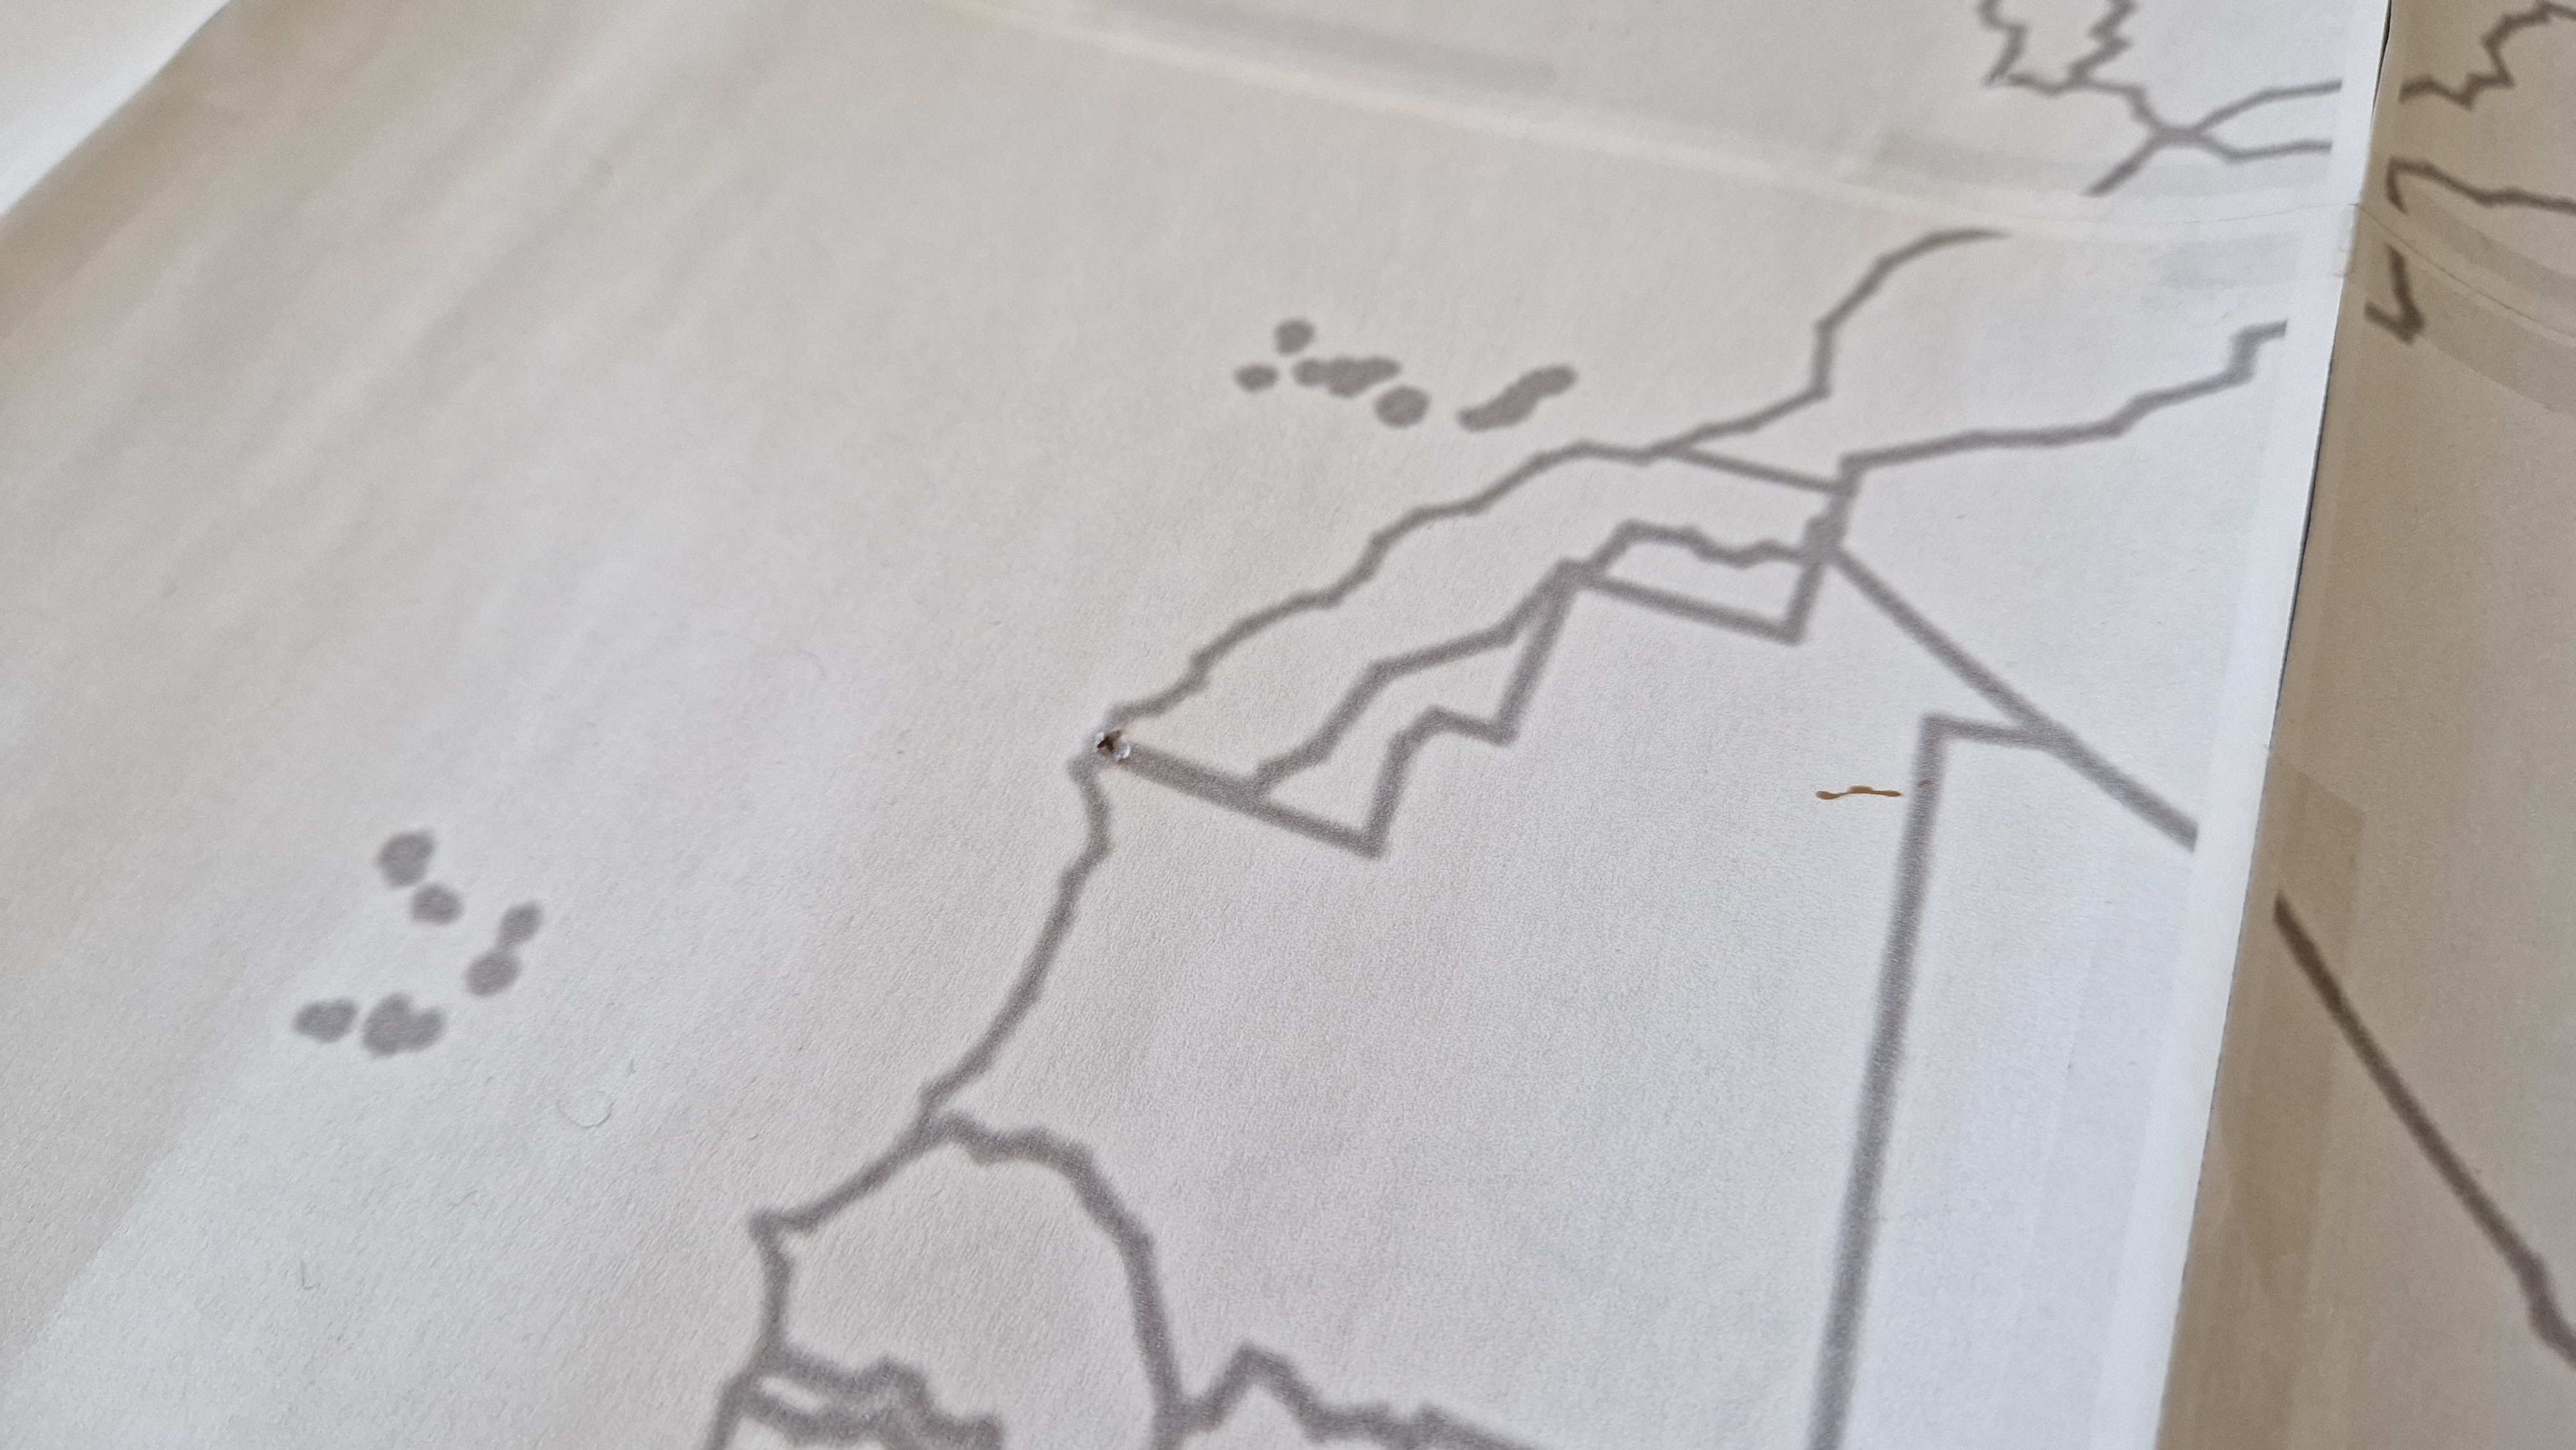
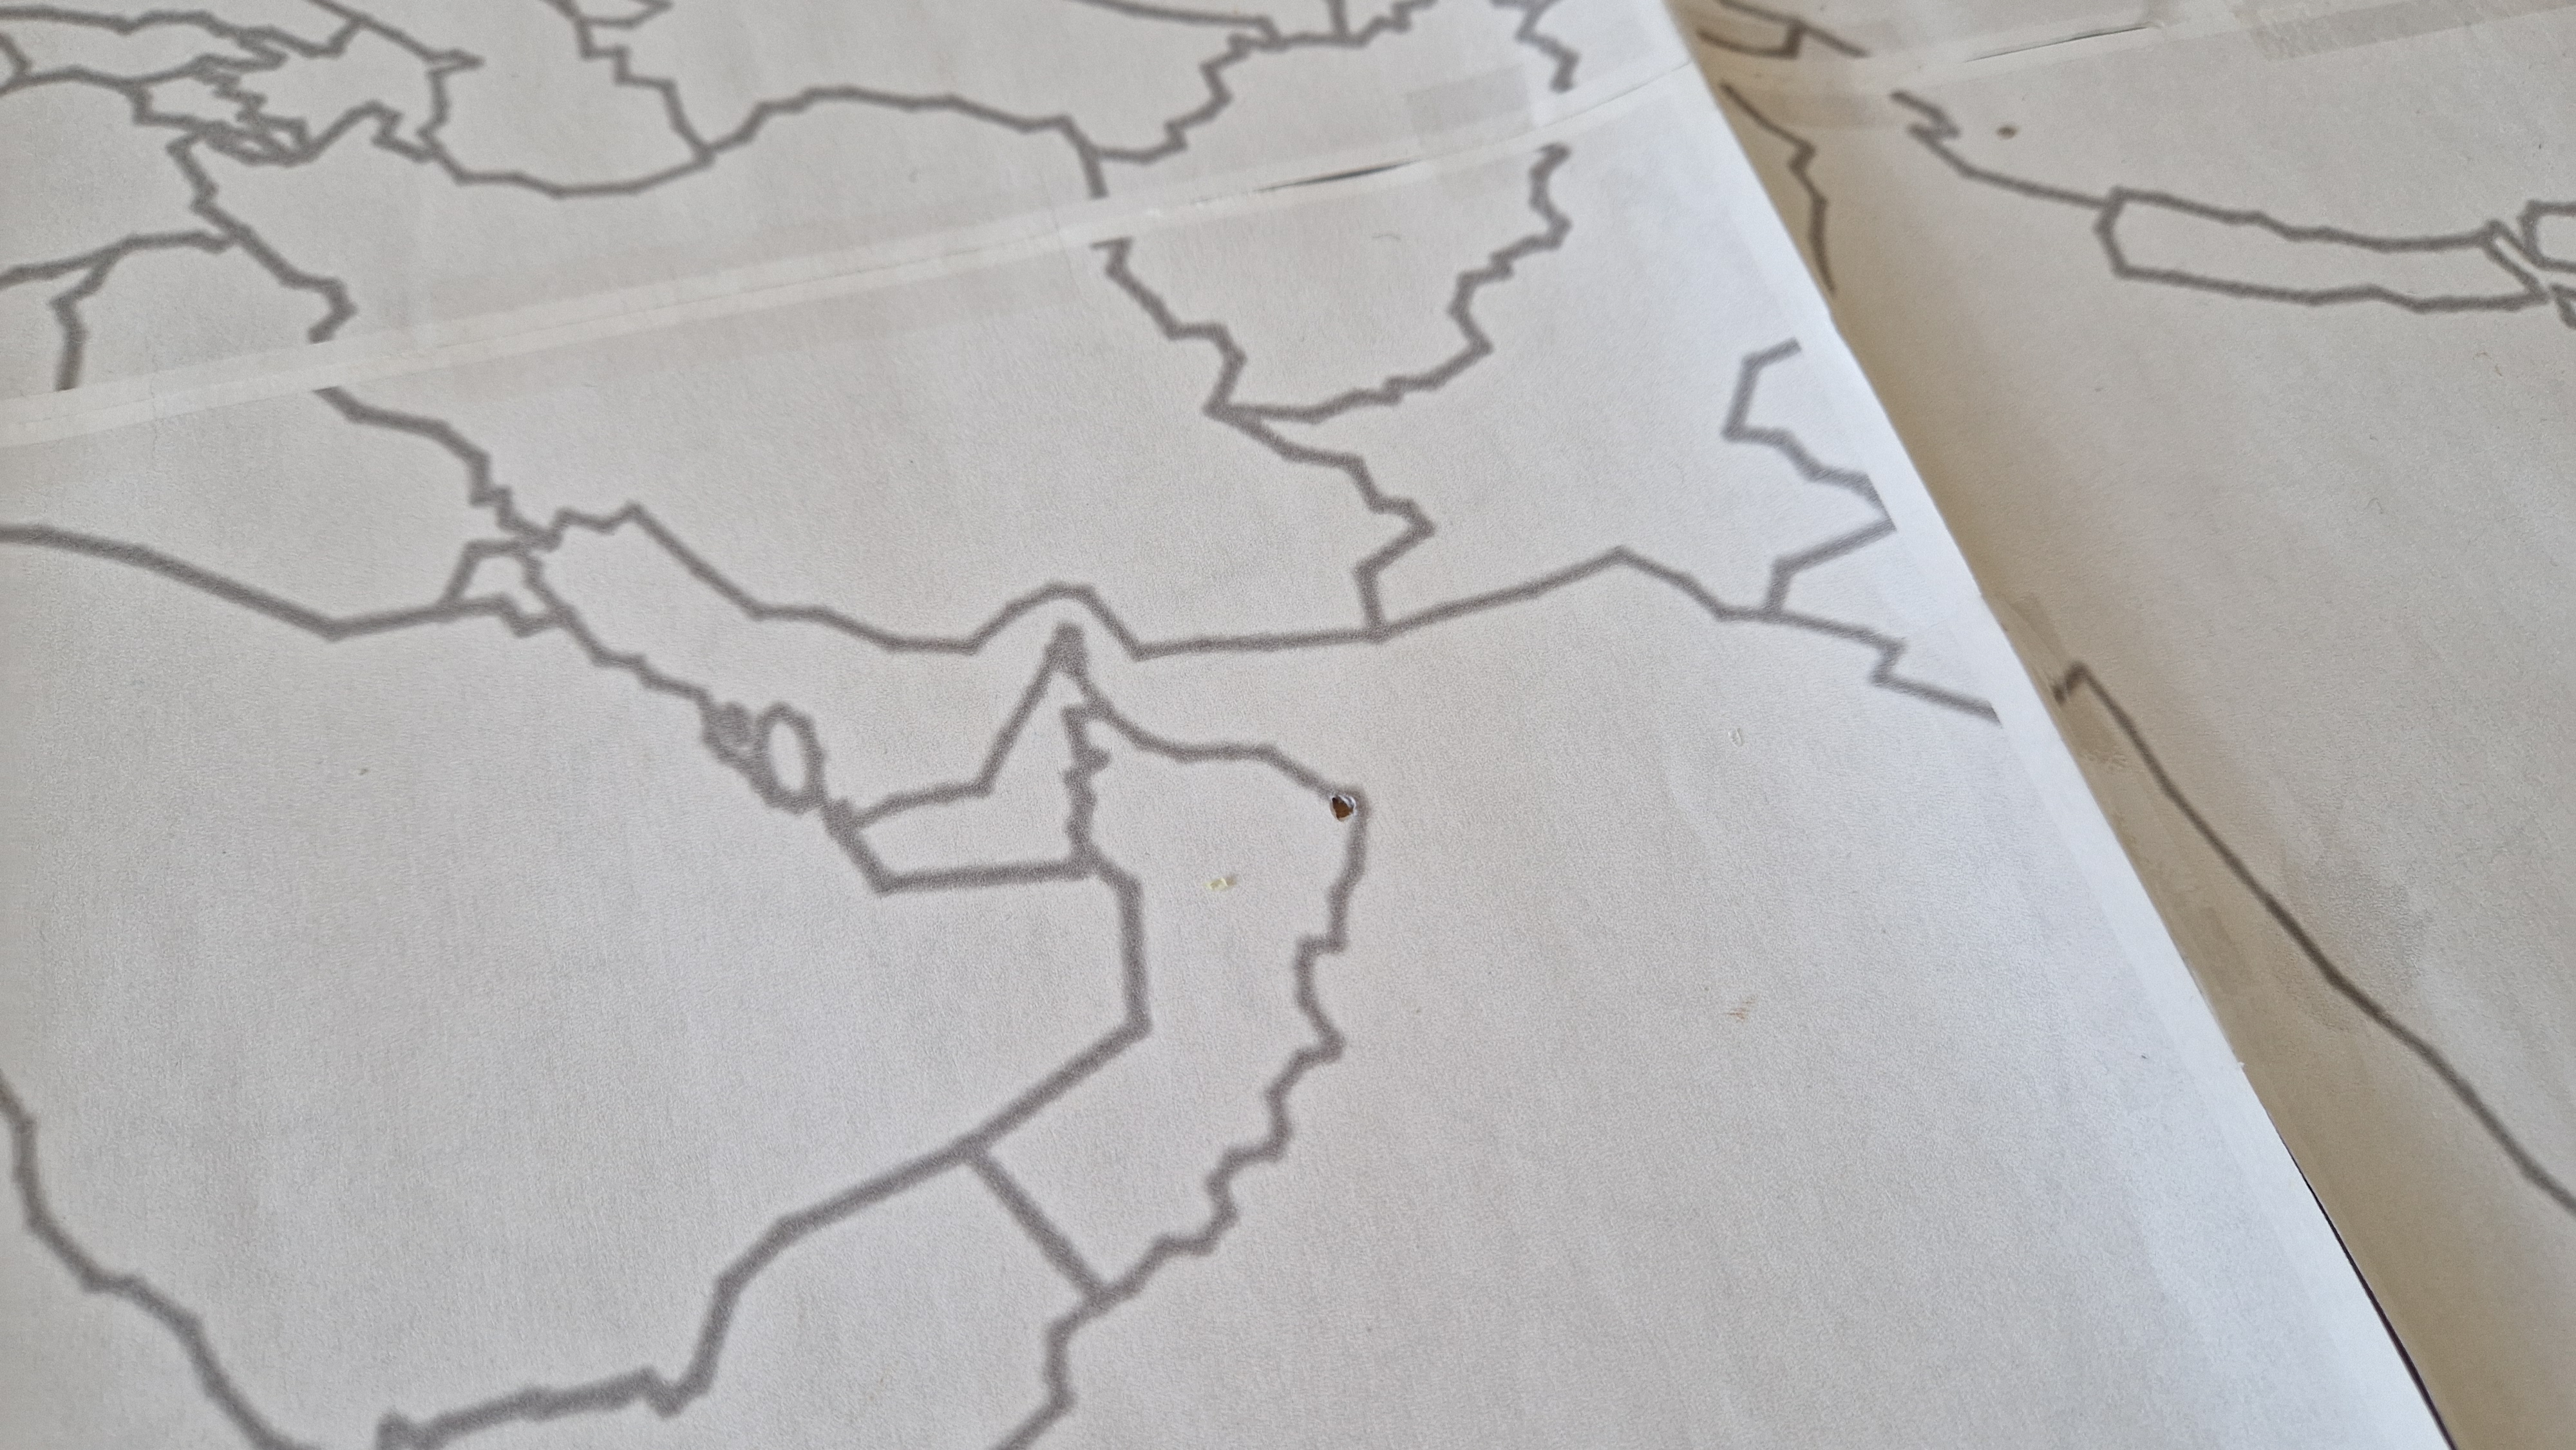
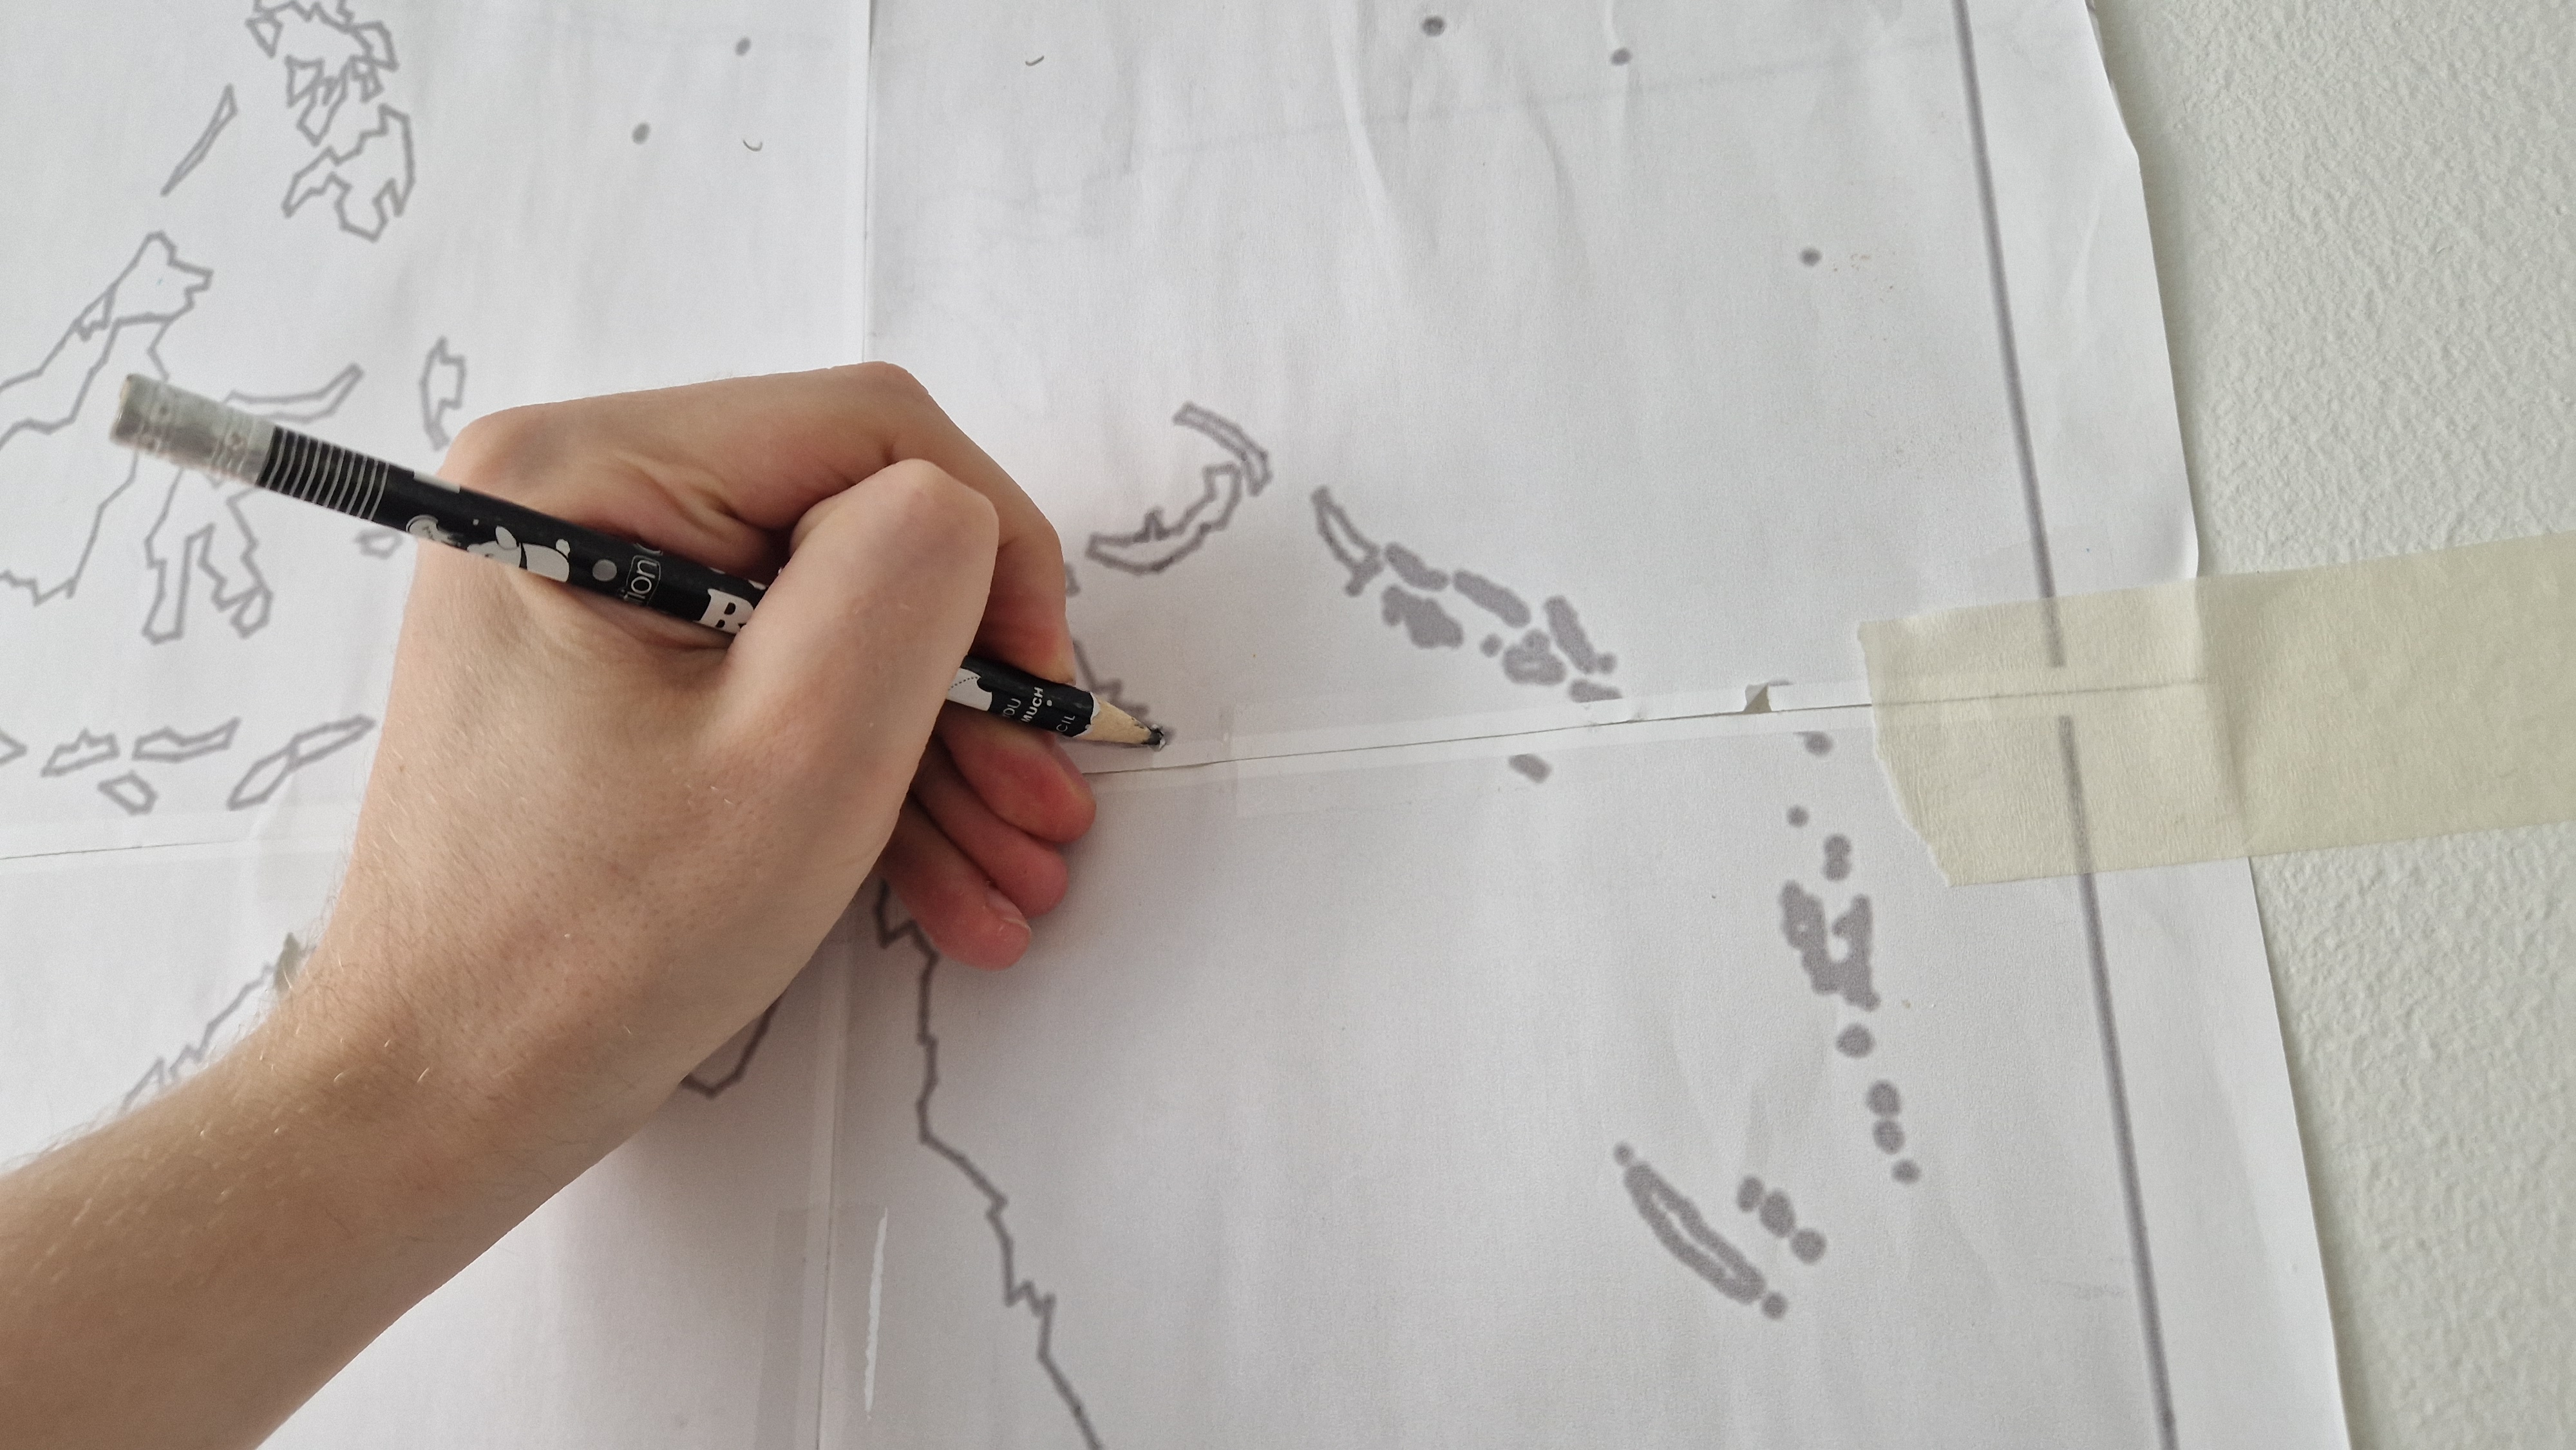
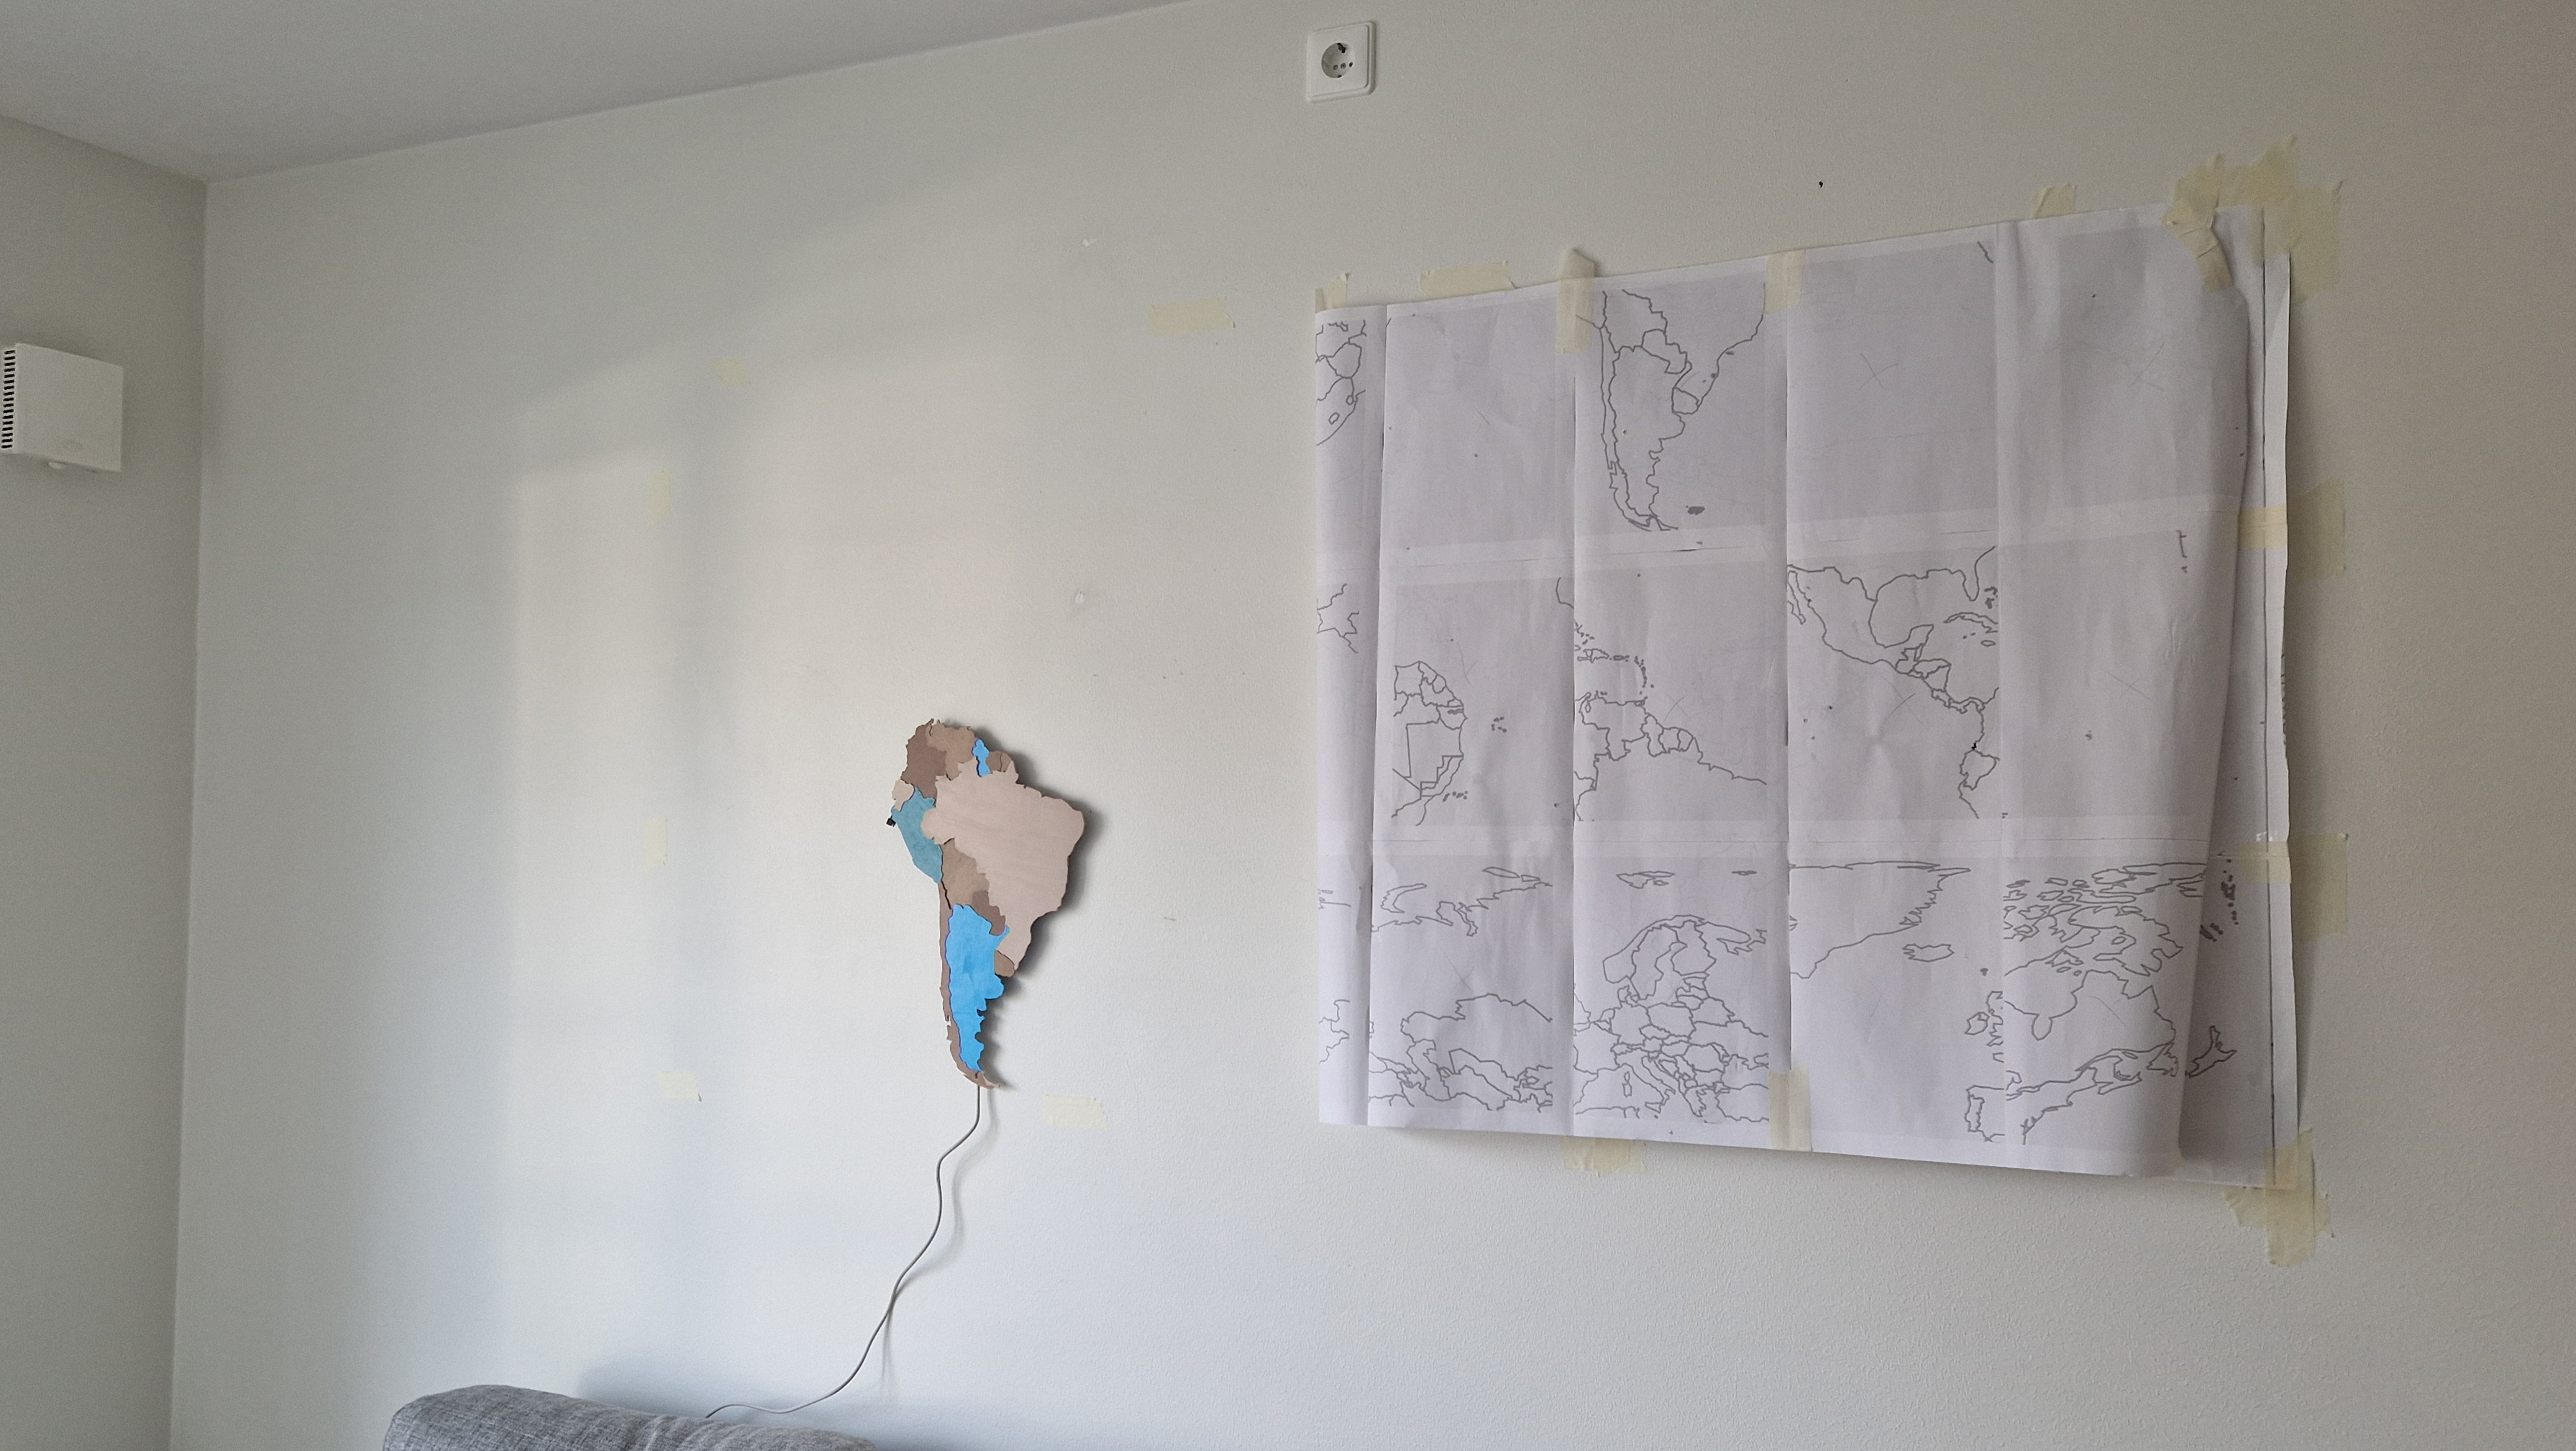
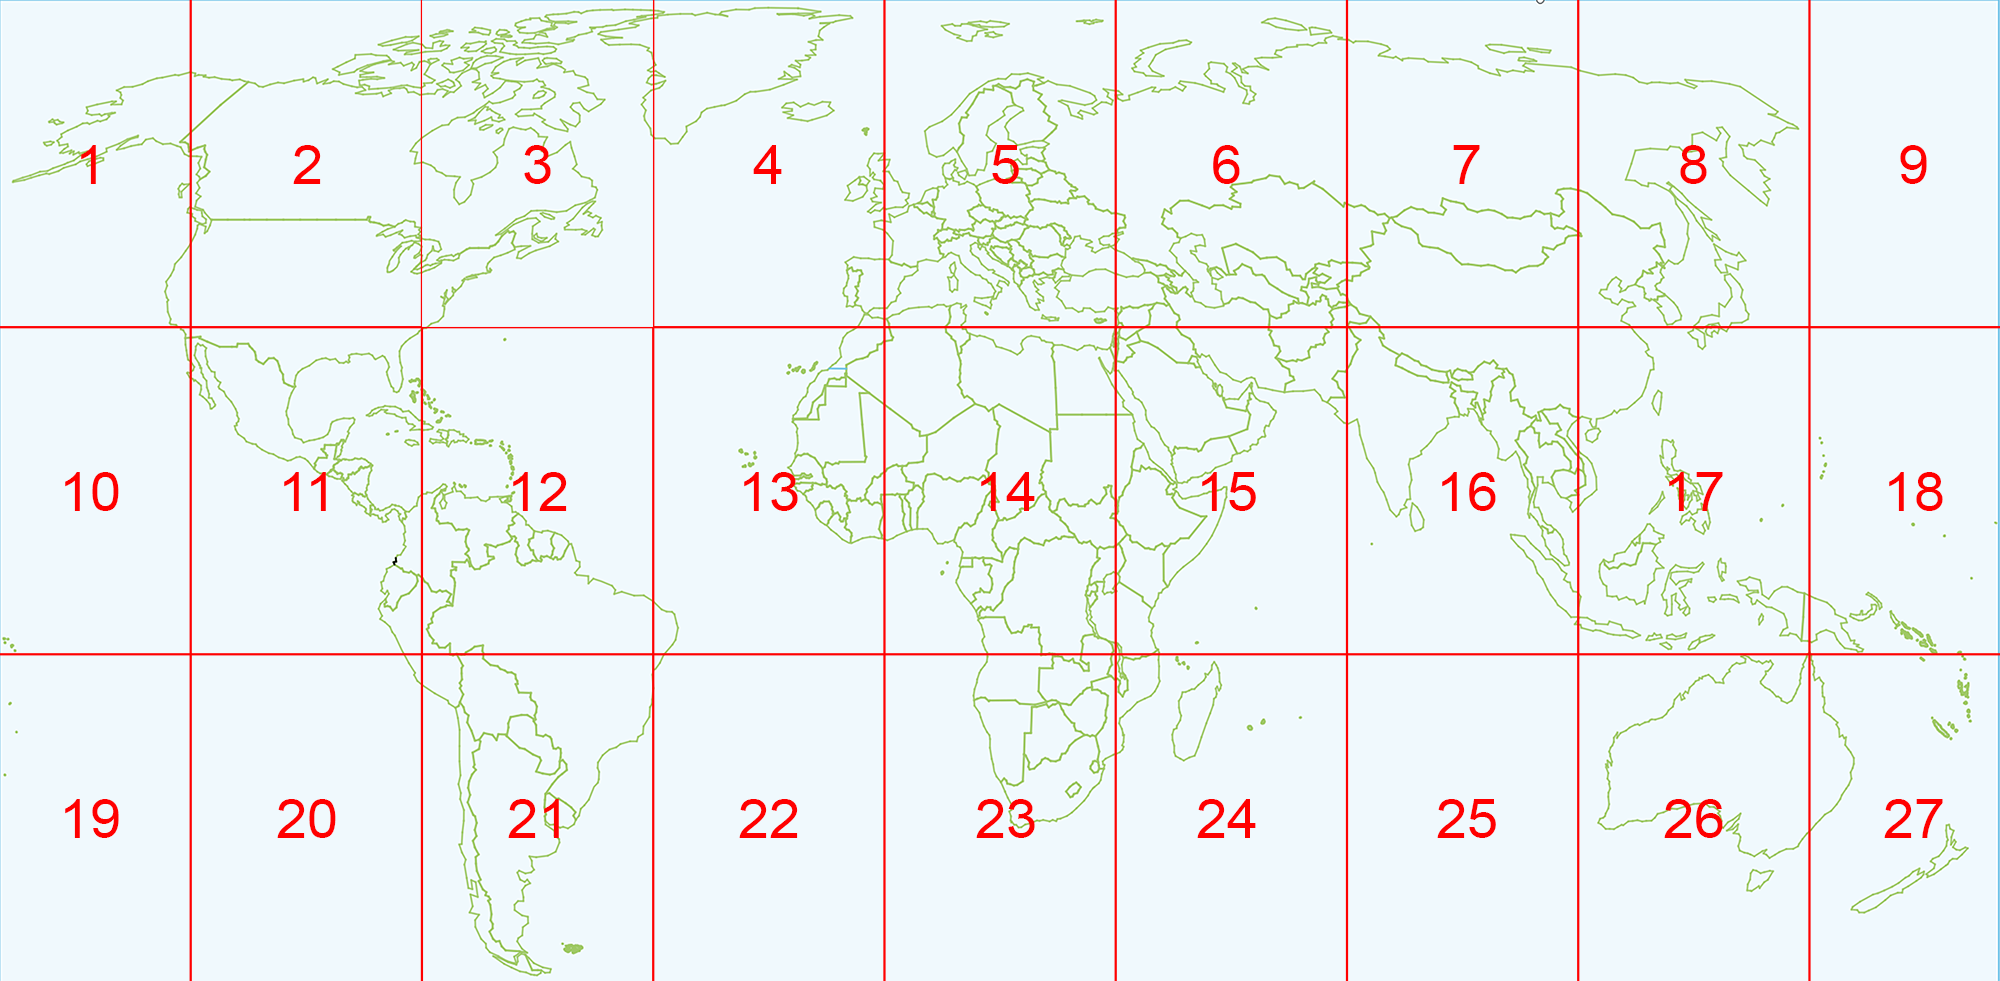
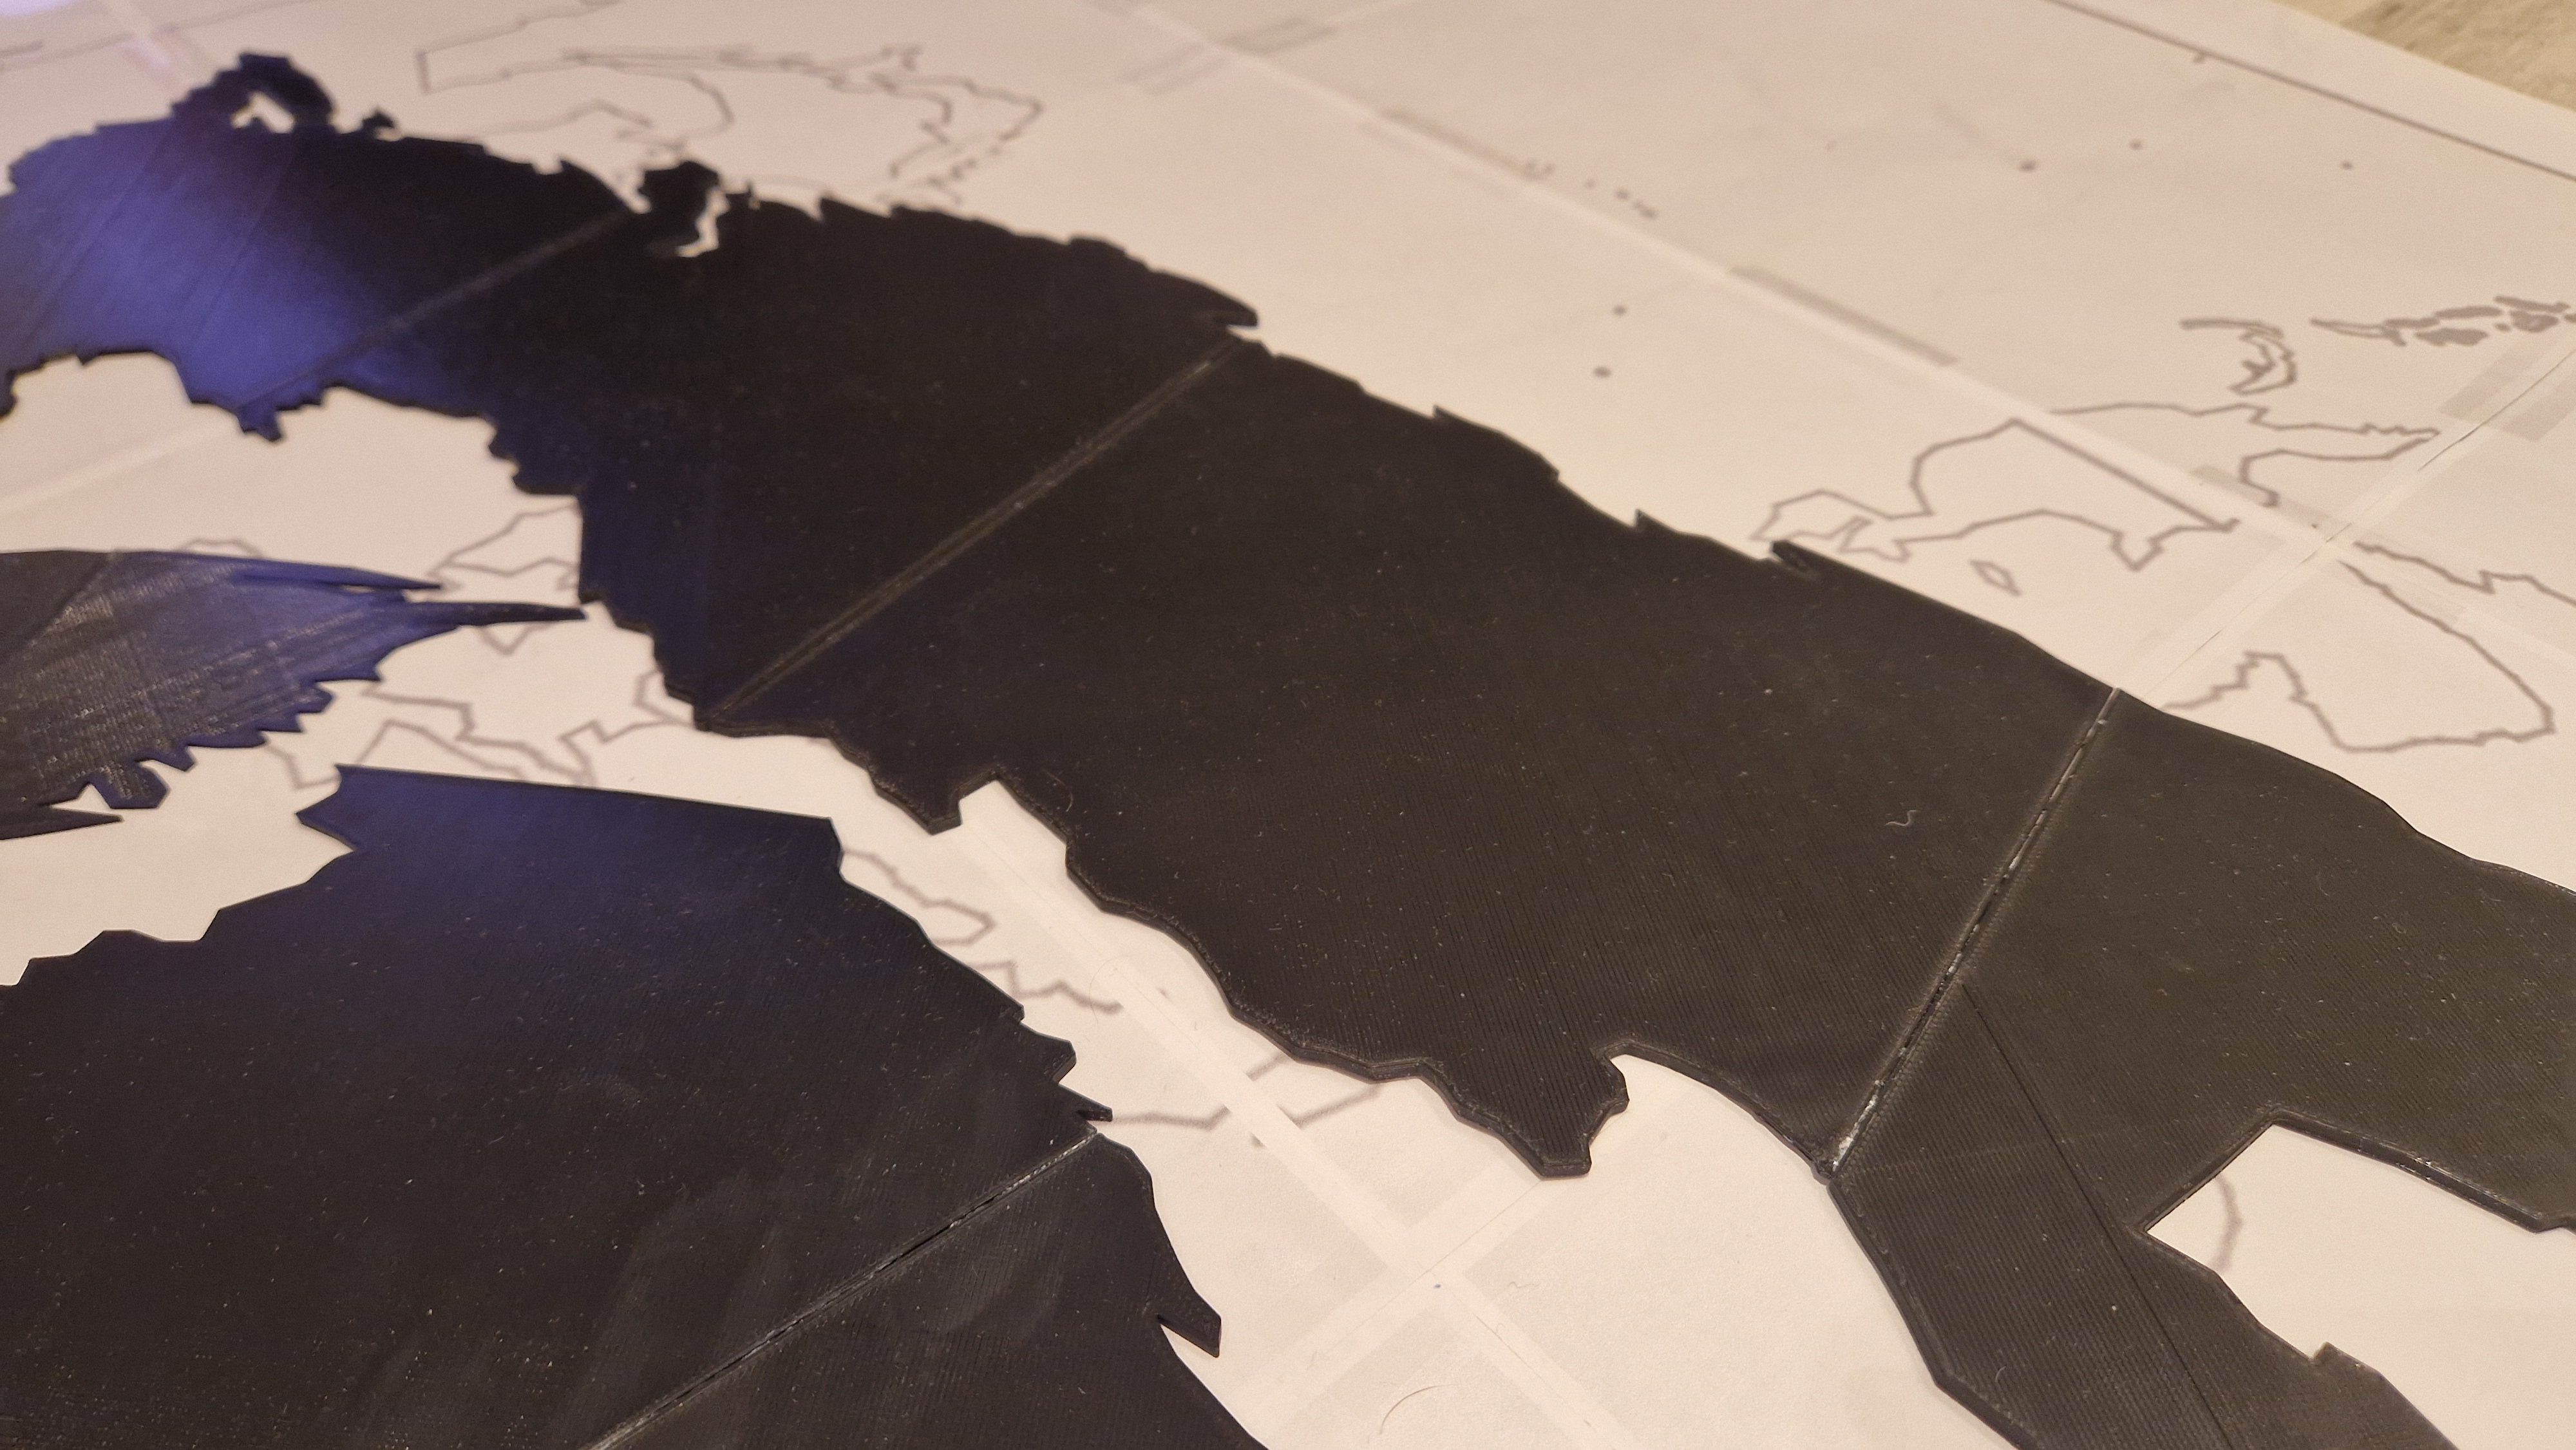
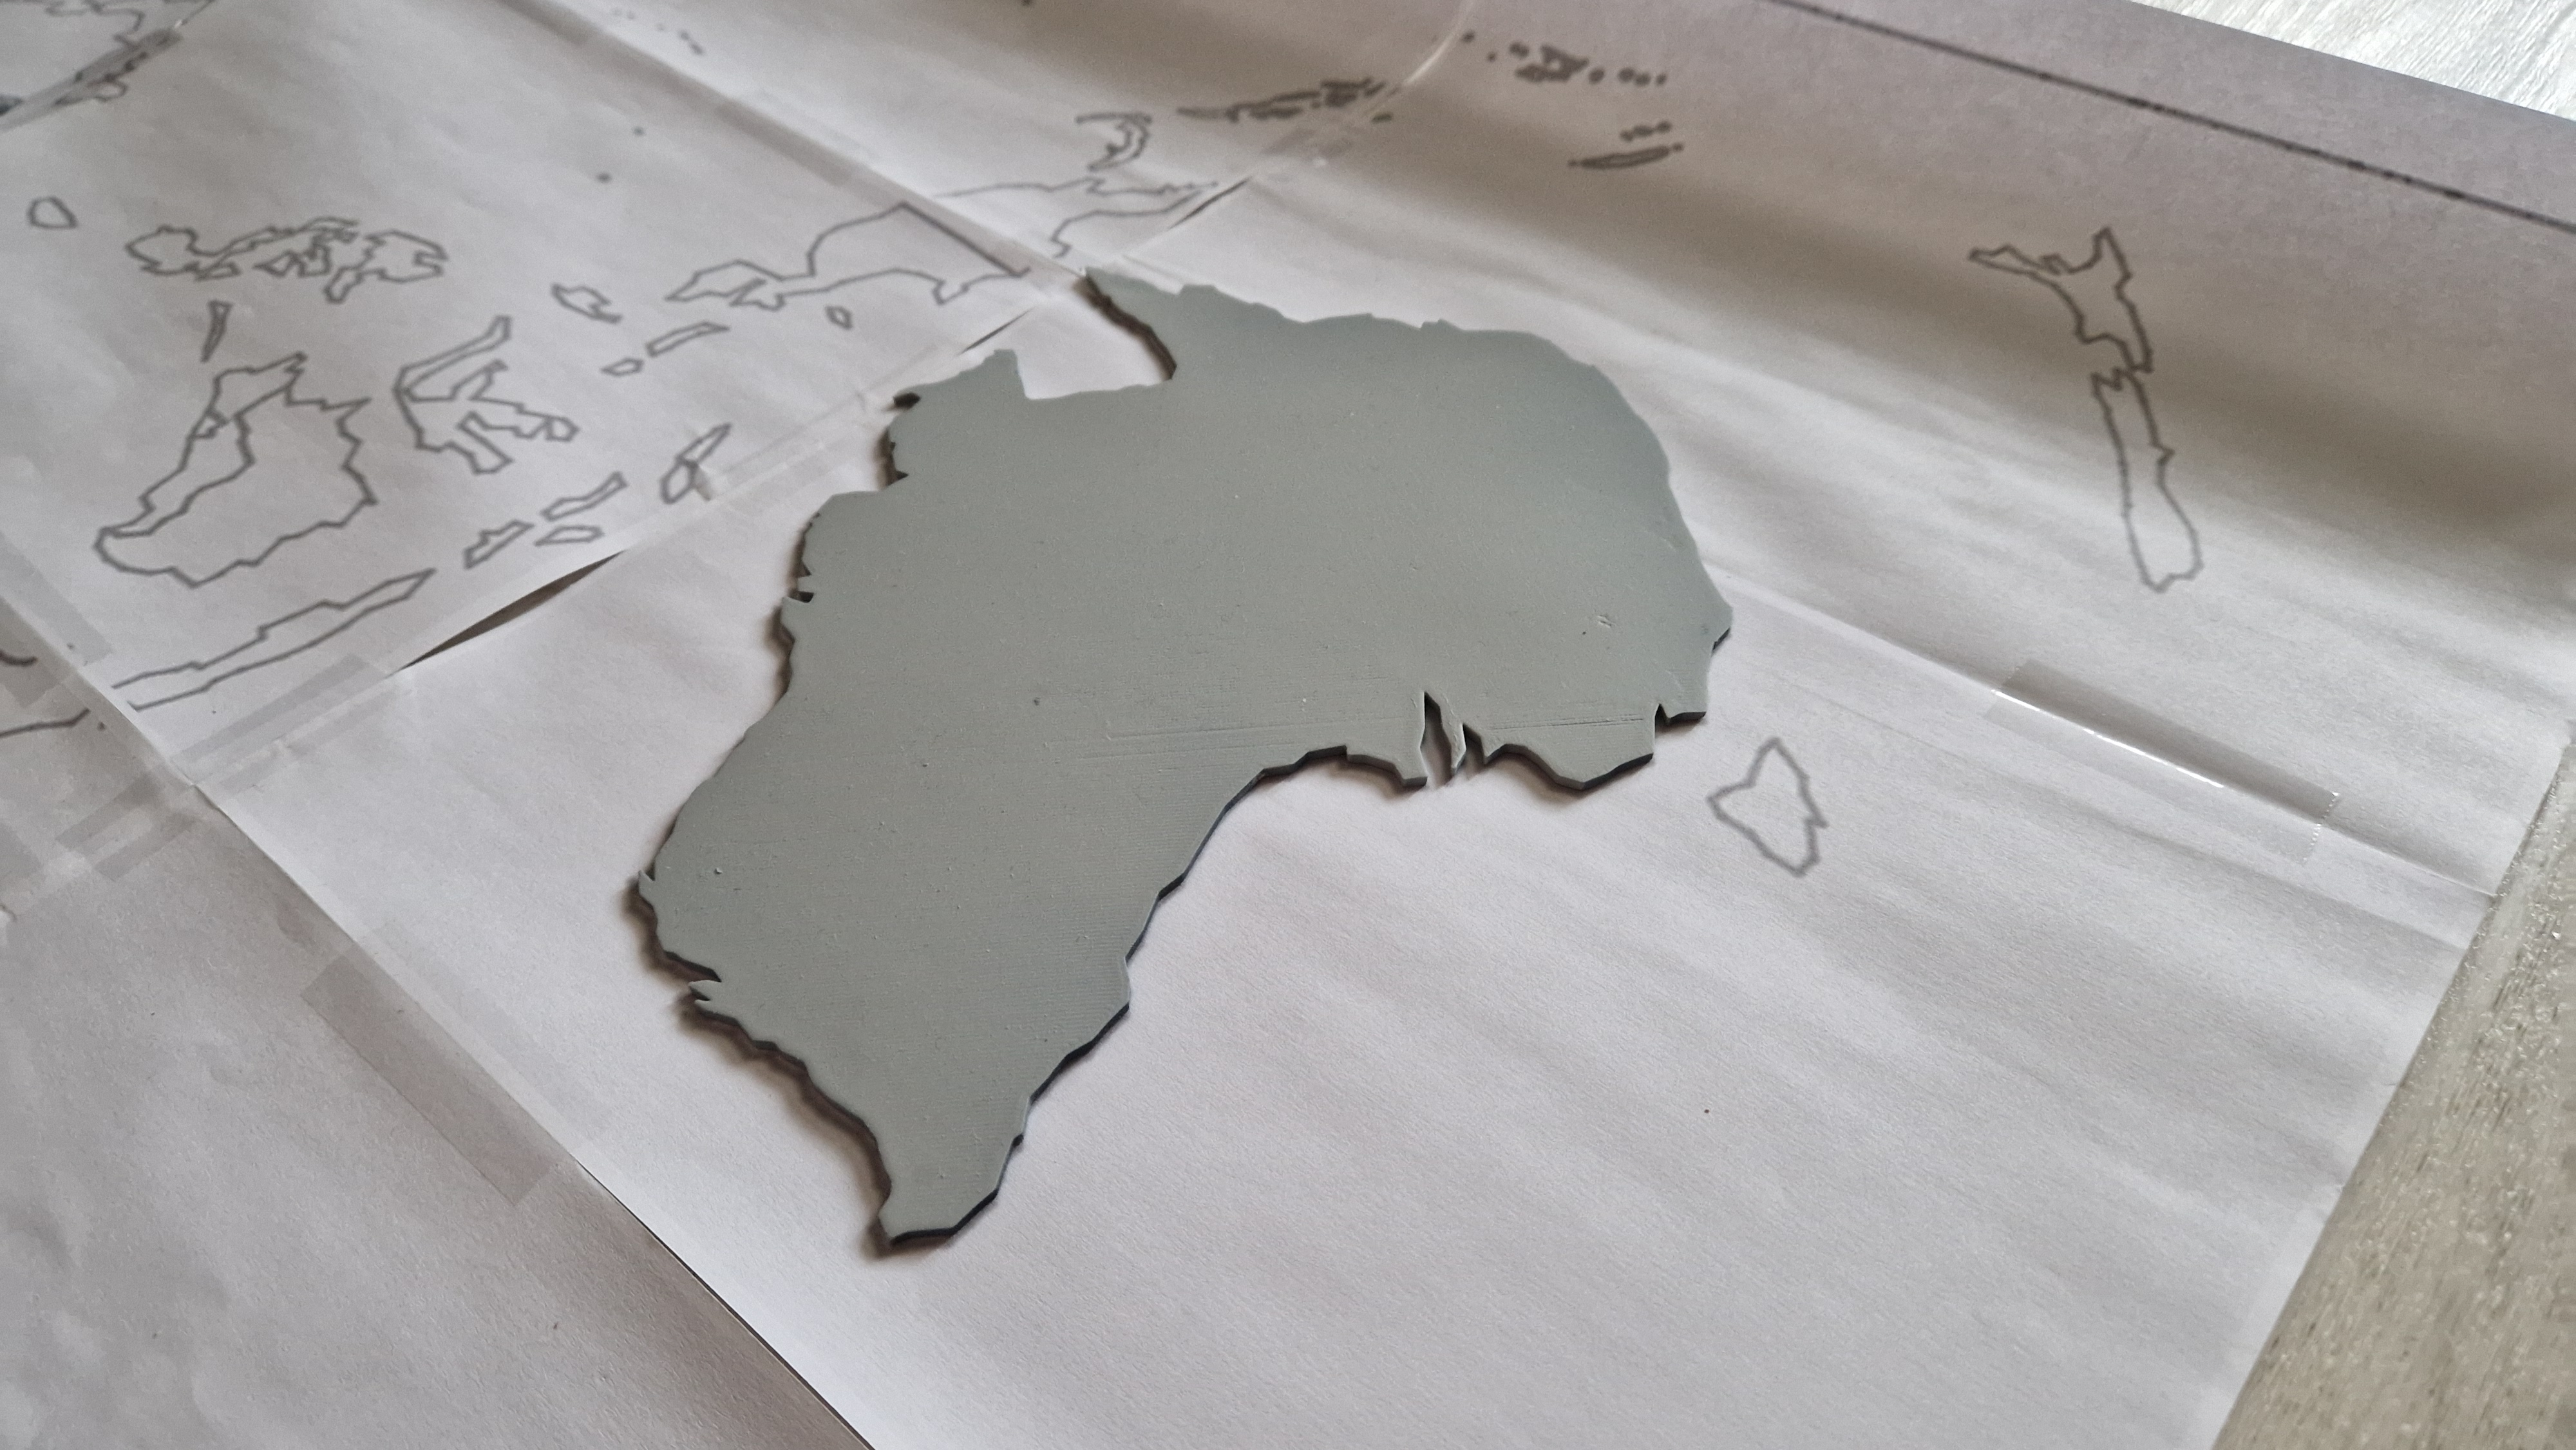
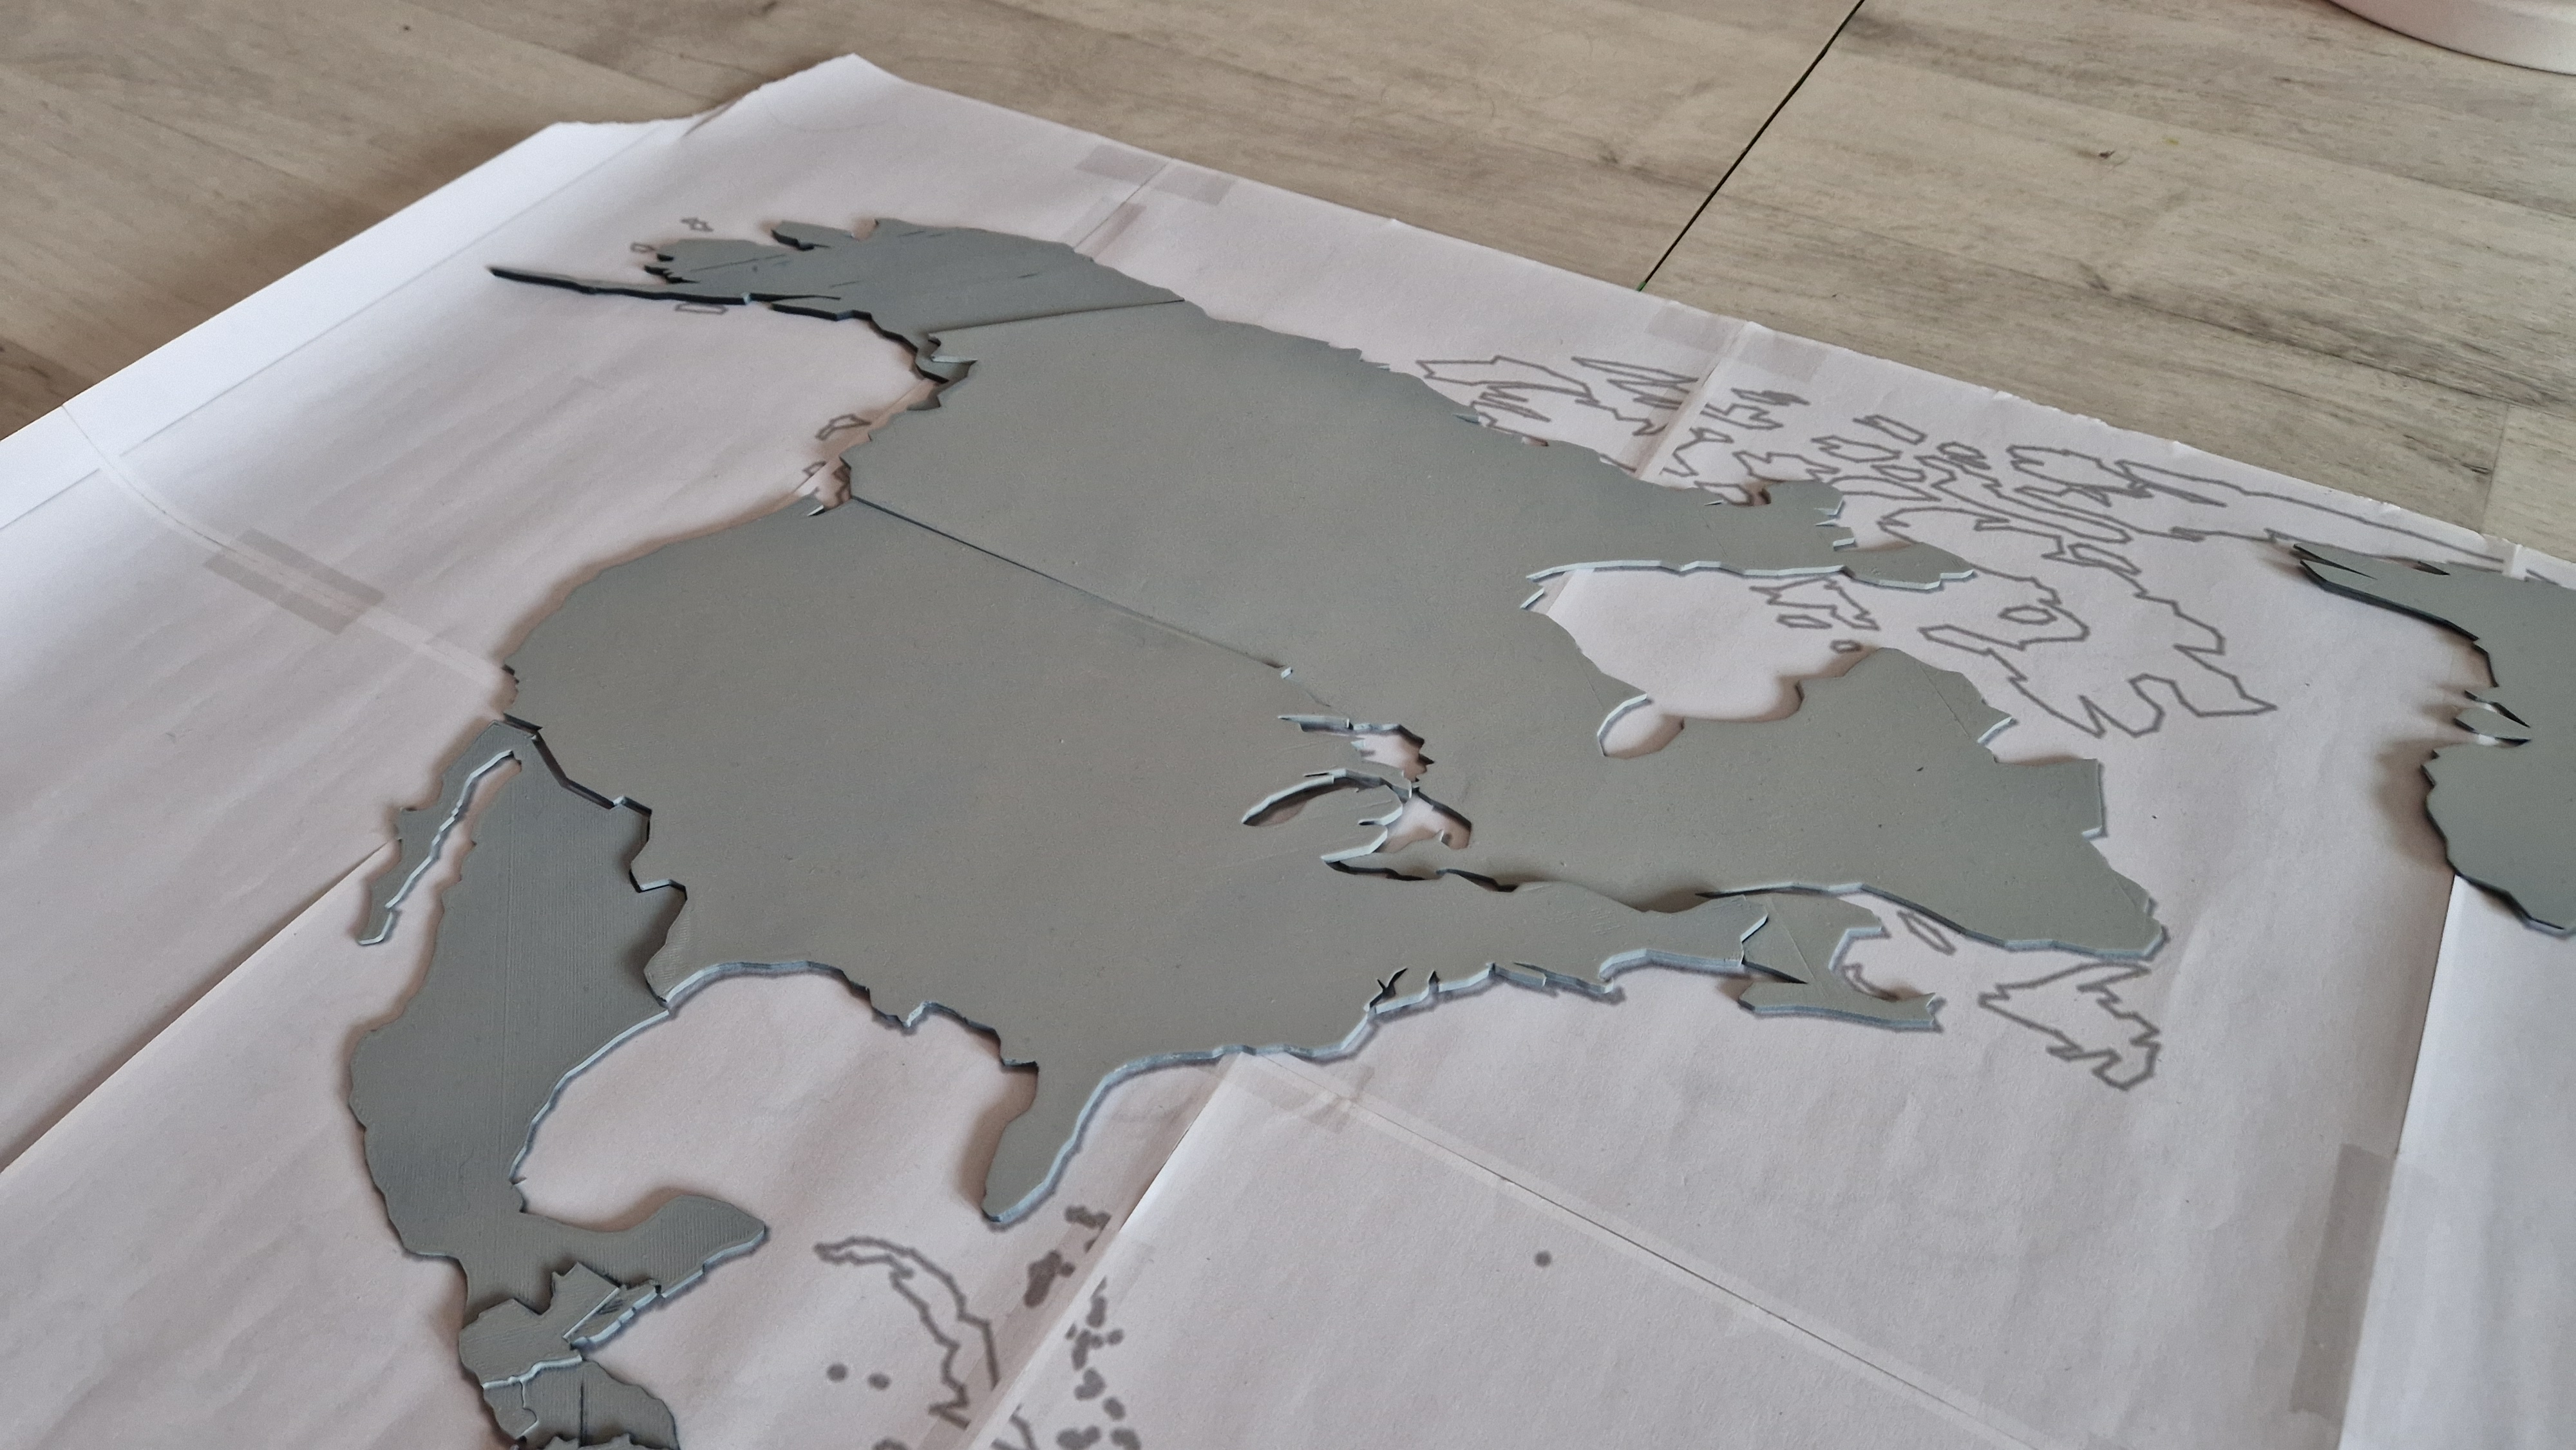
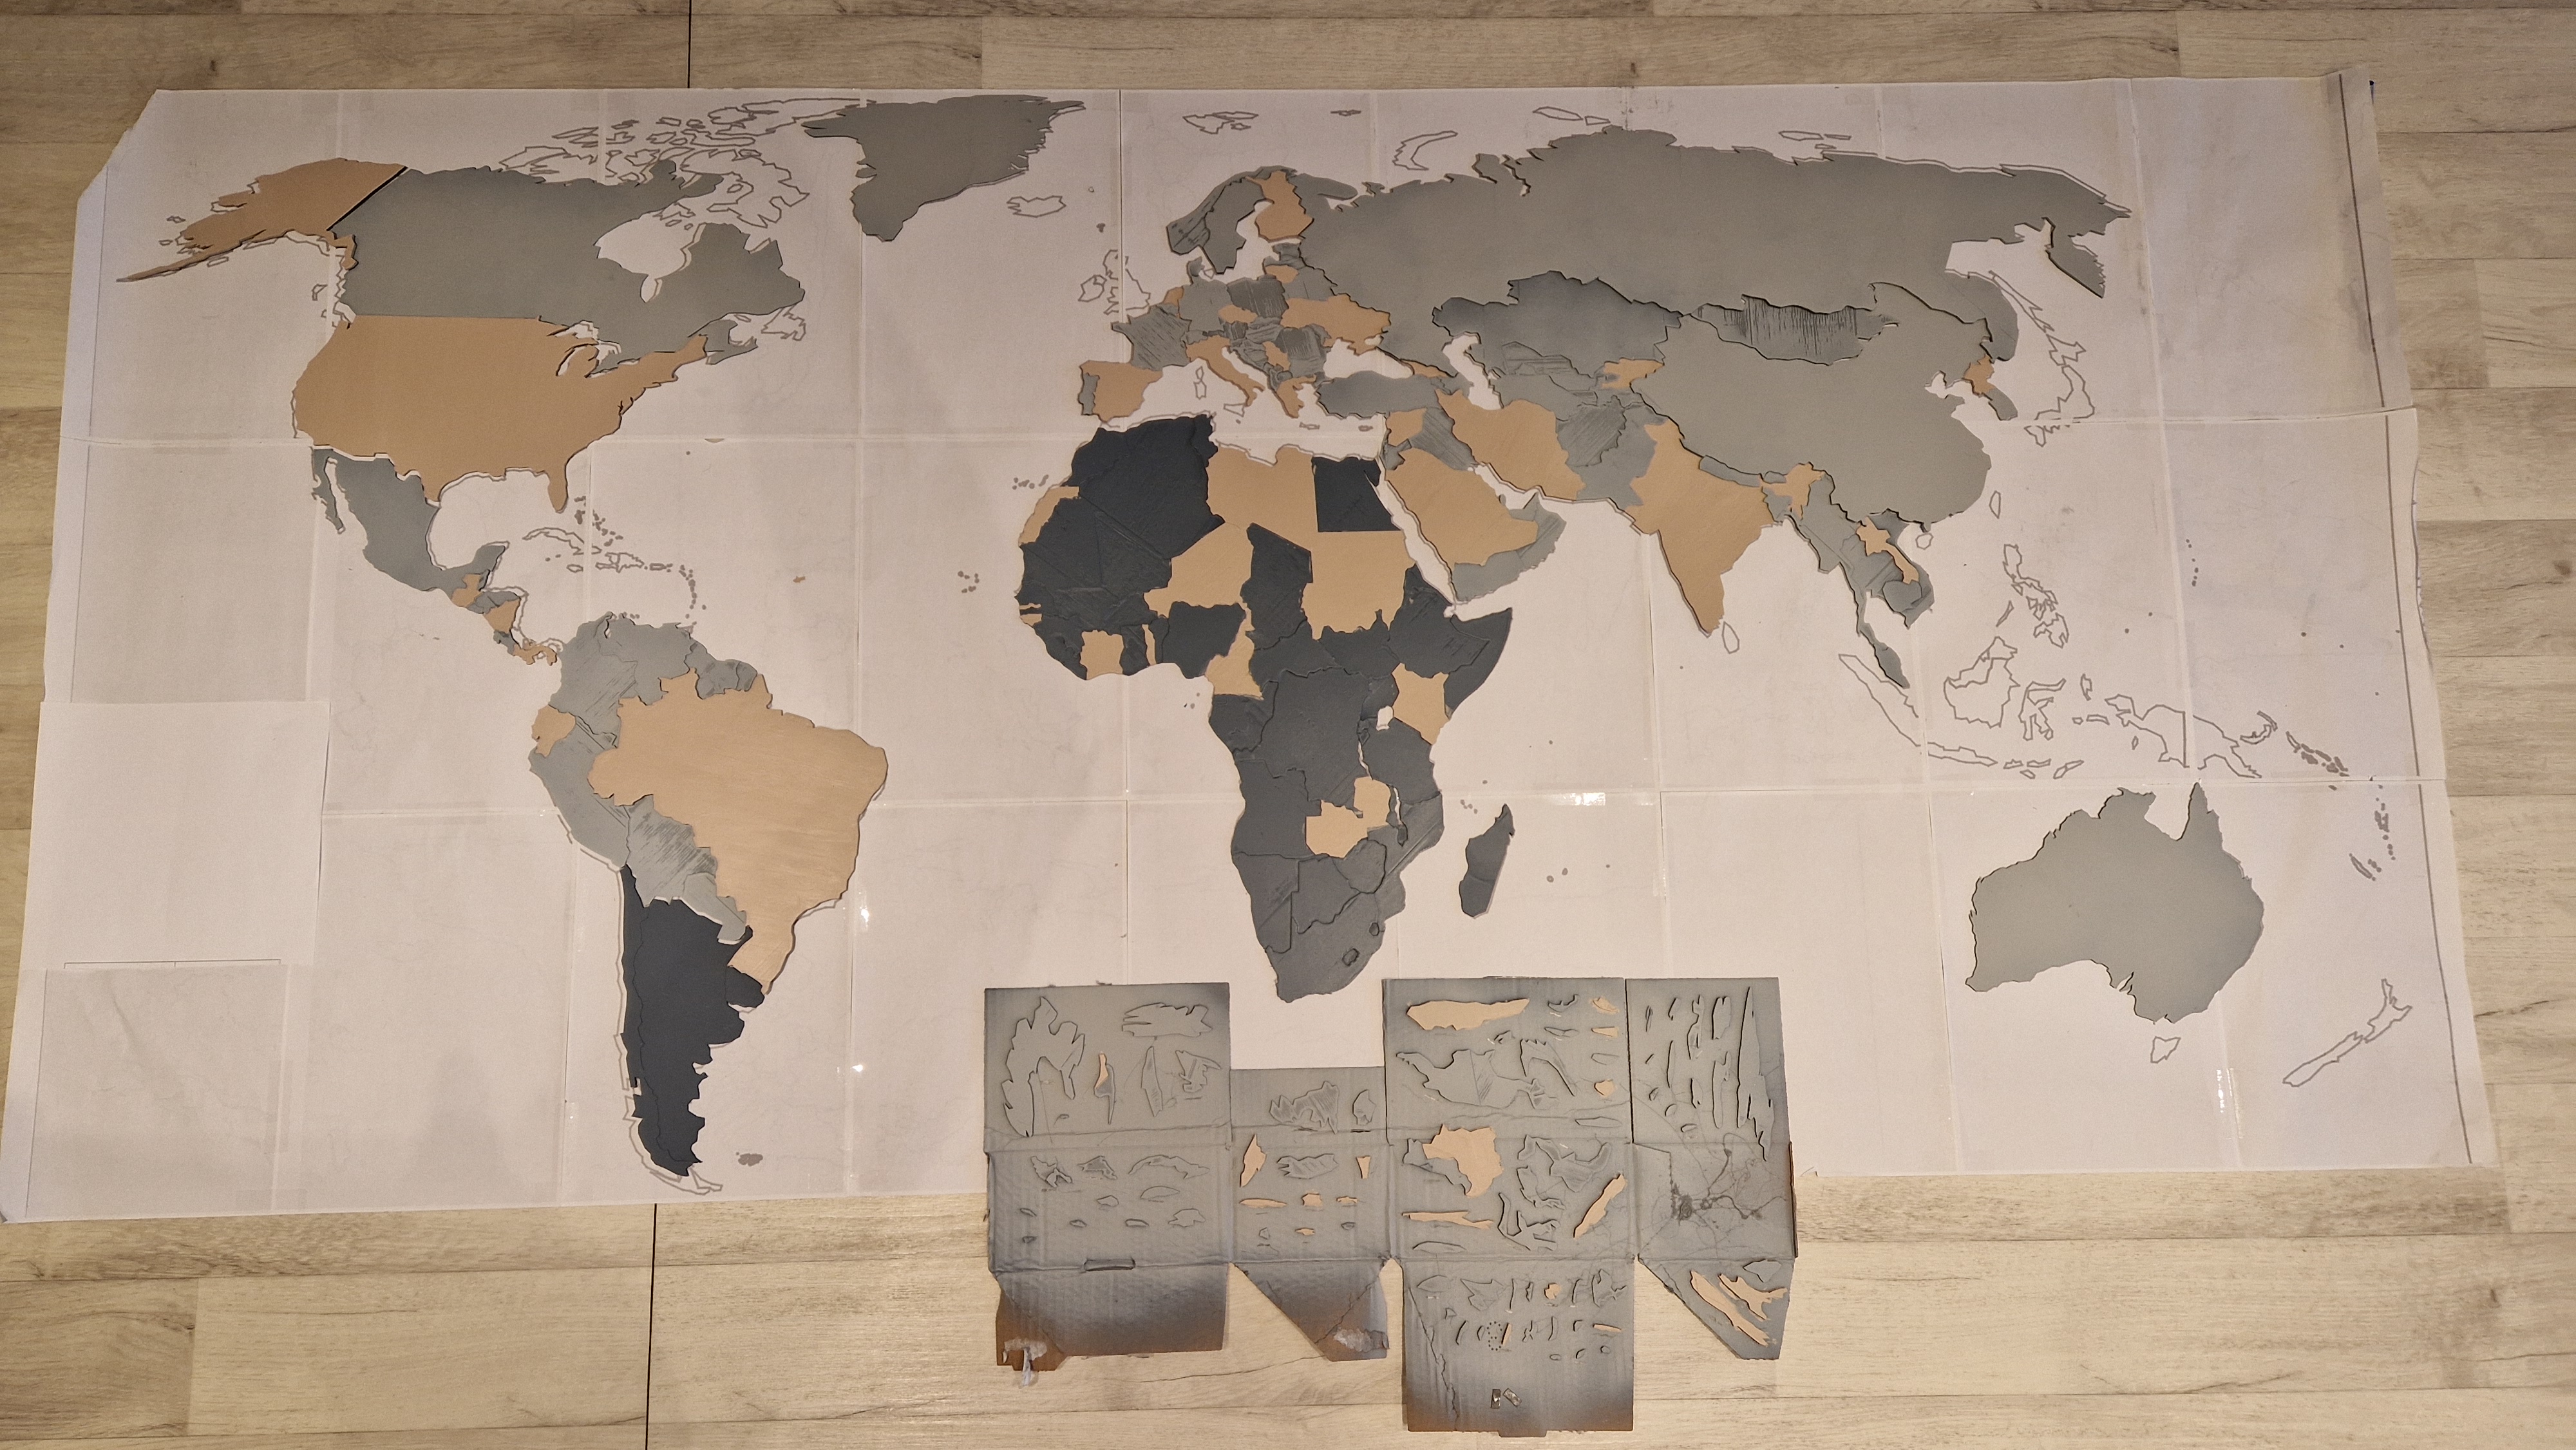
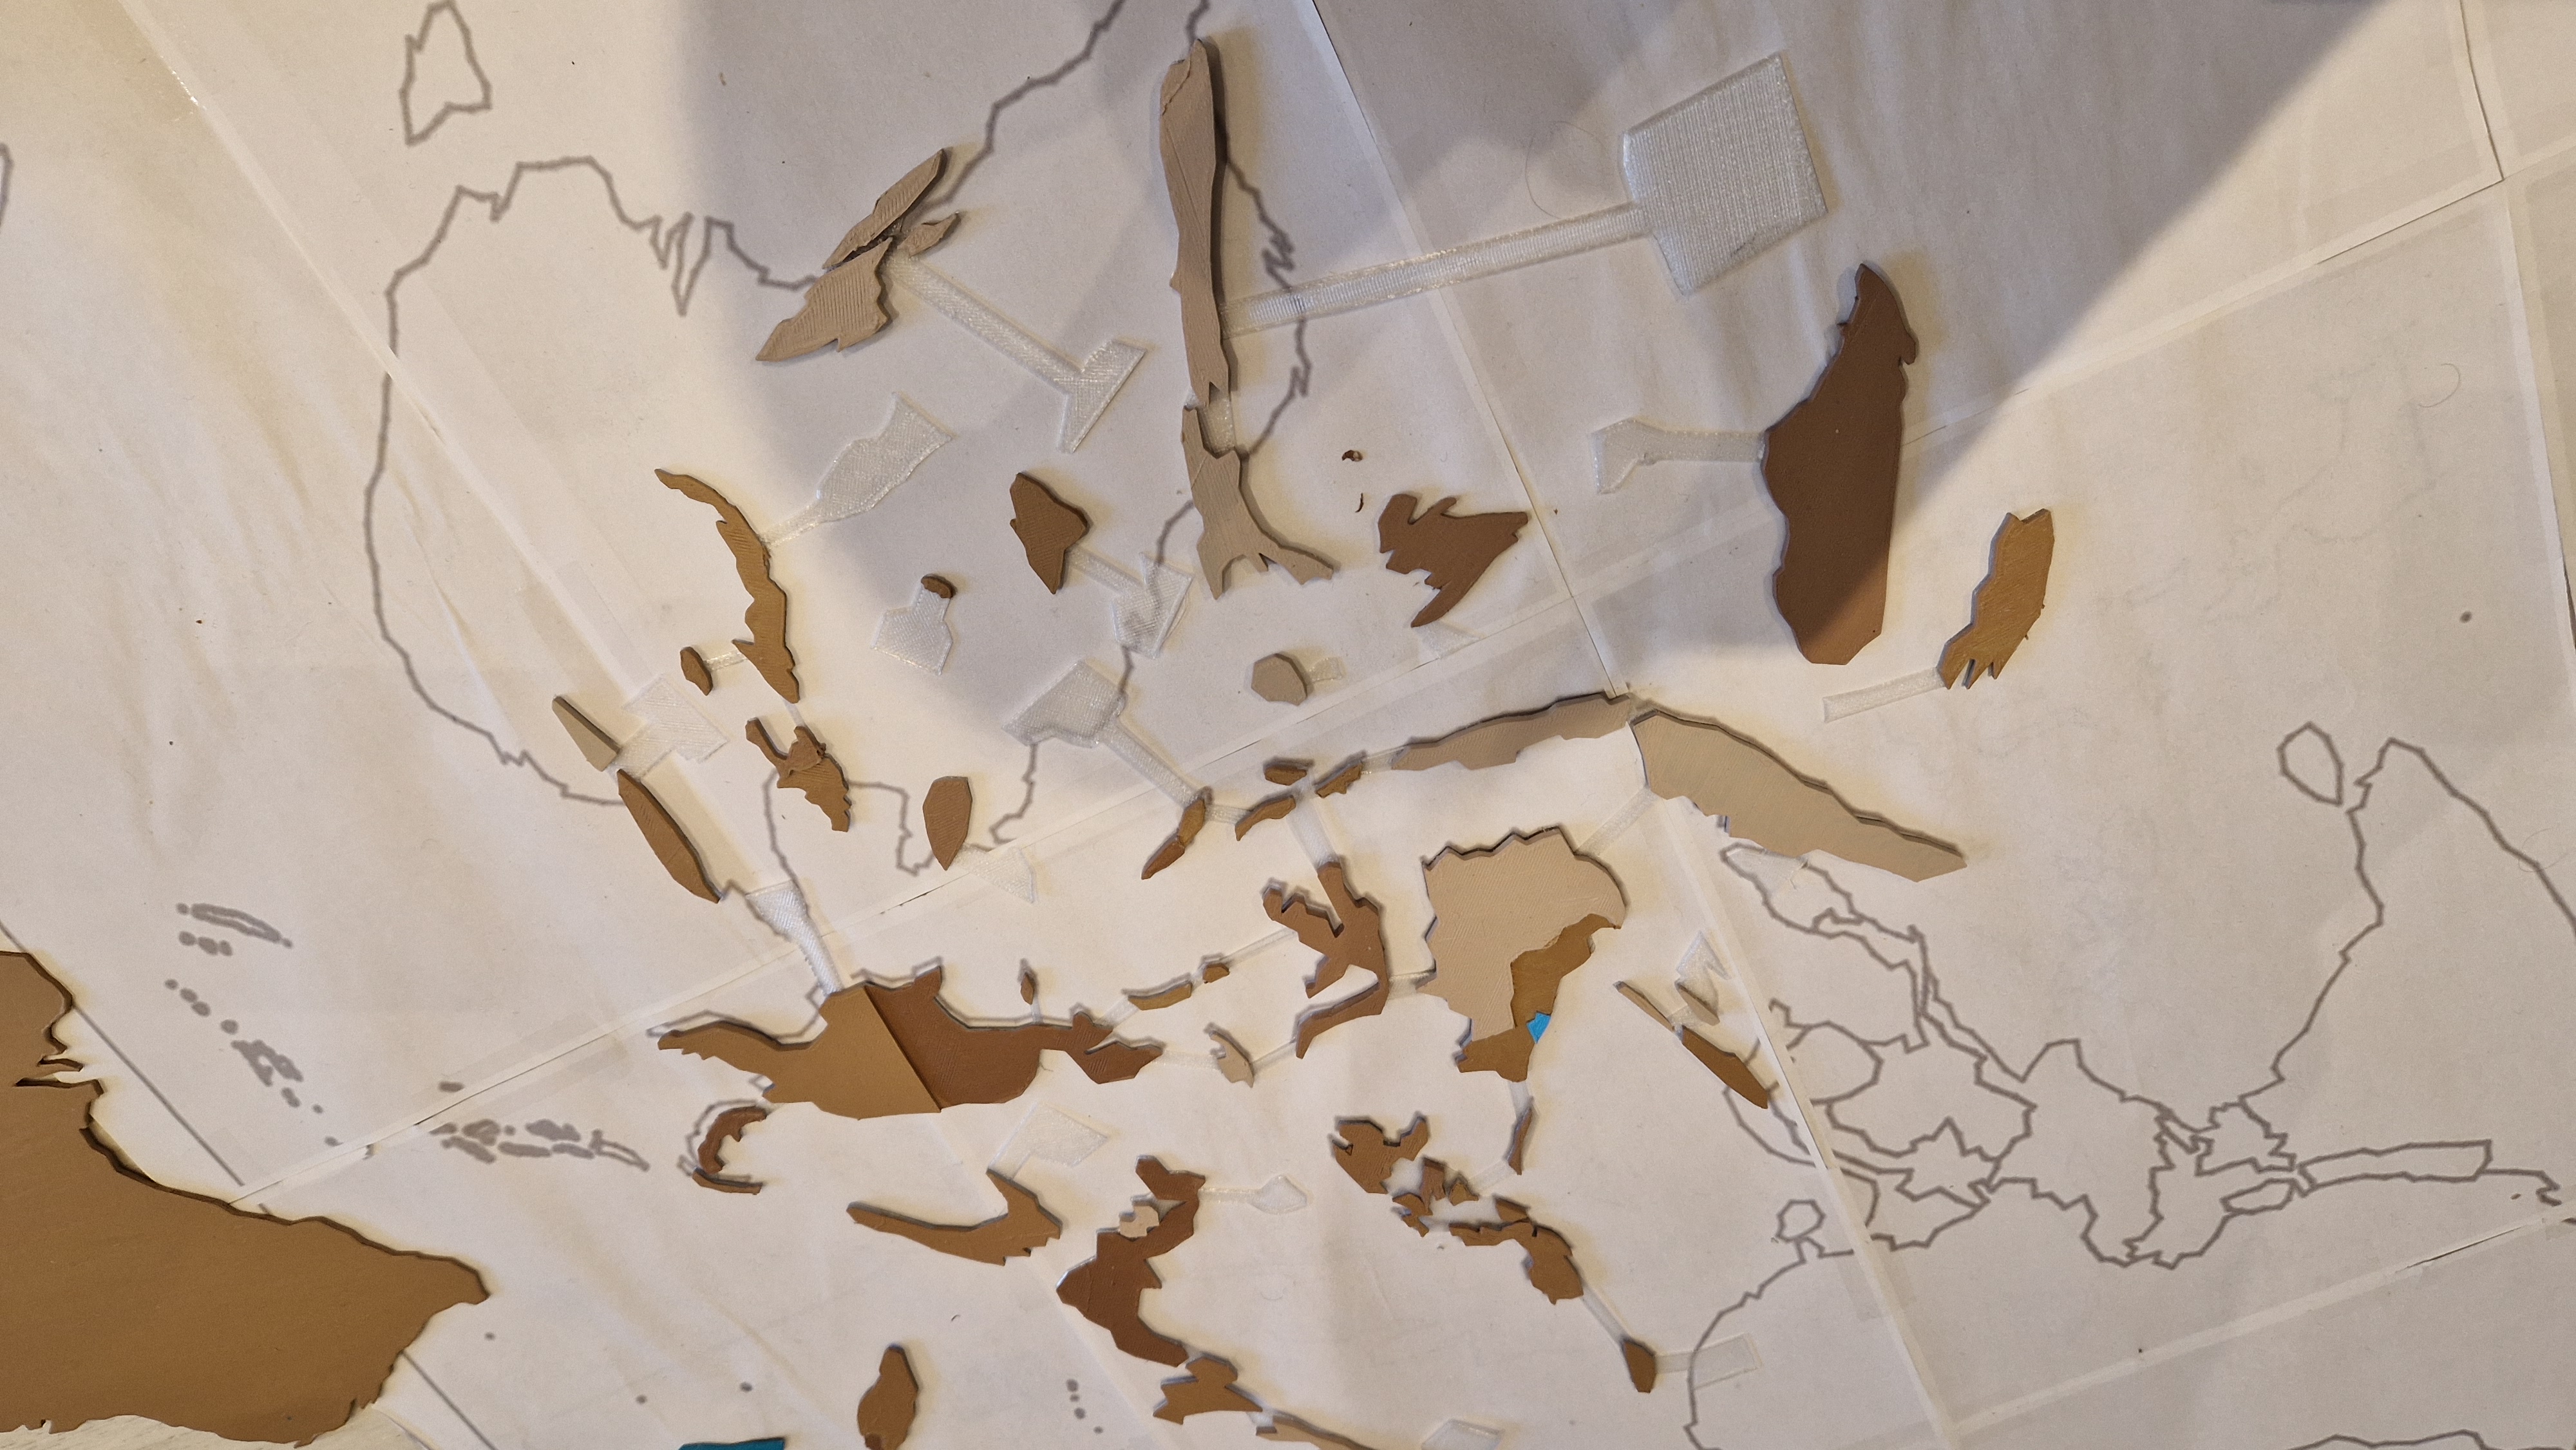
To keep track of the printing process, I first printed the entire map on paper. This provided an easy layout and helped me see what parts were already printed and what was left to print. You can download the files for the paper map layout here.
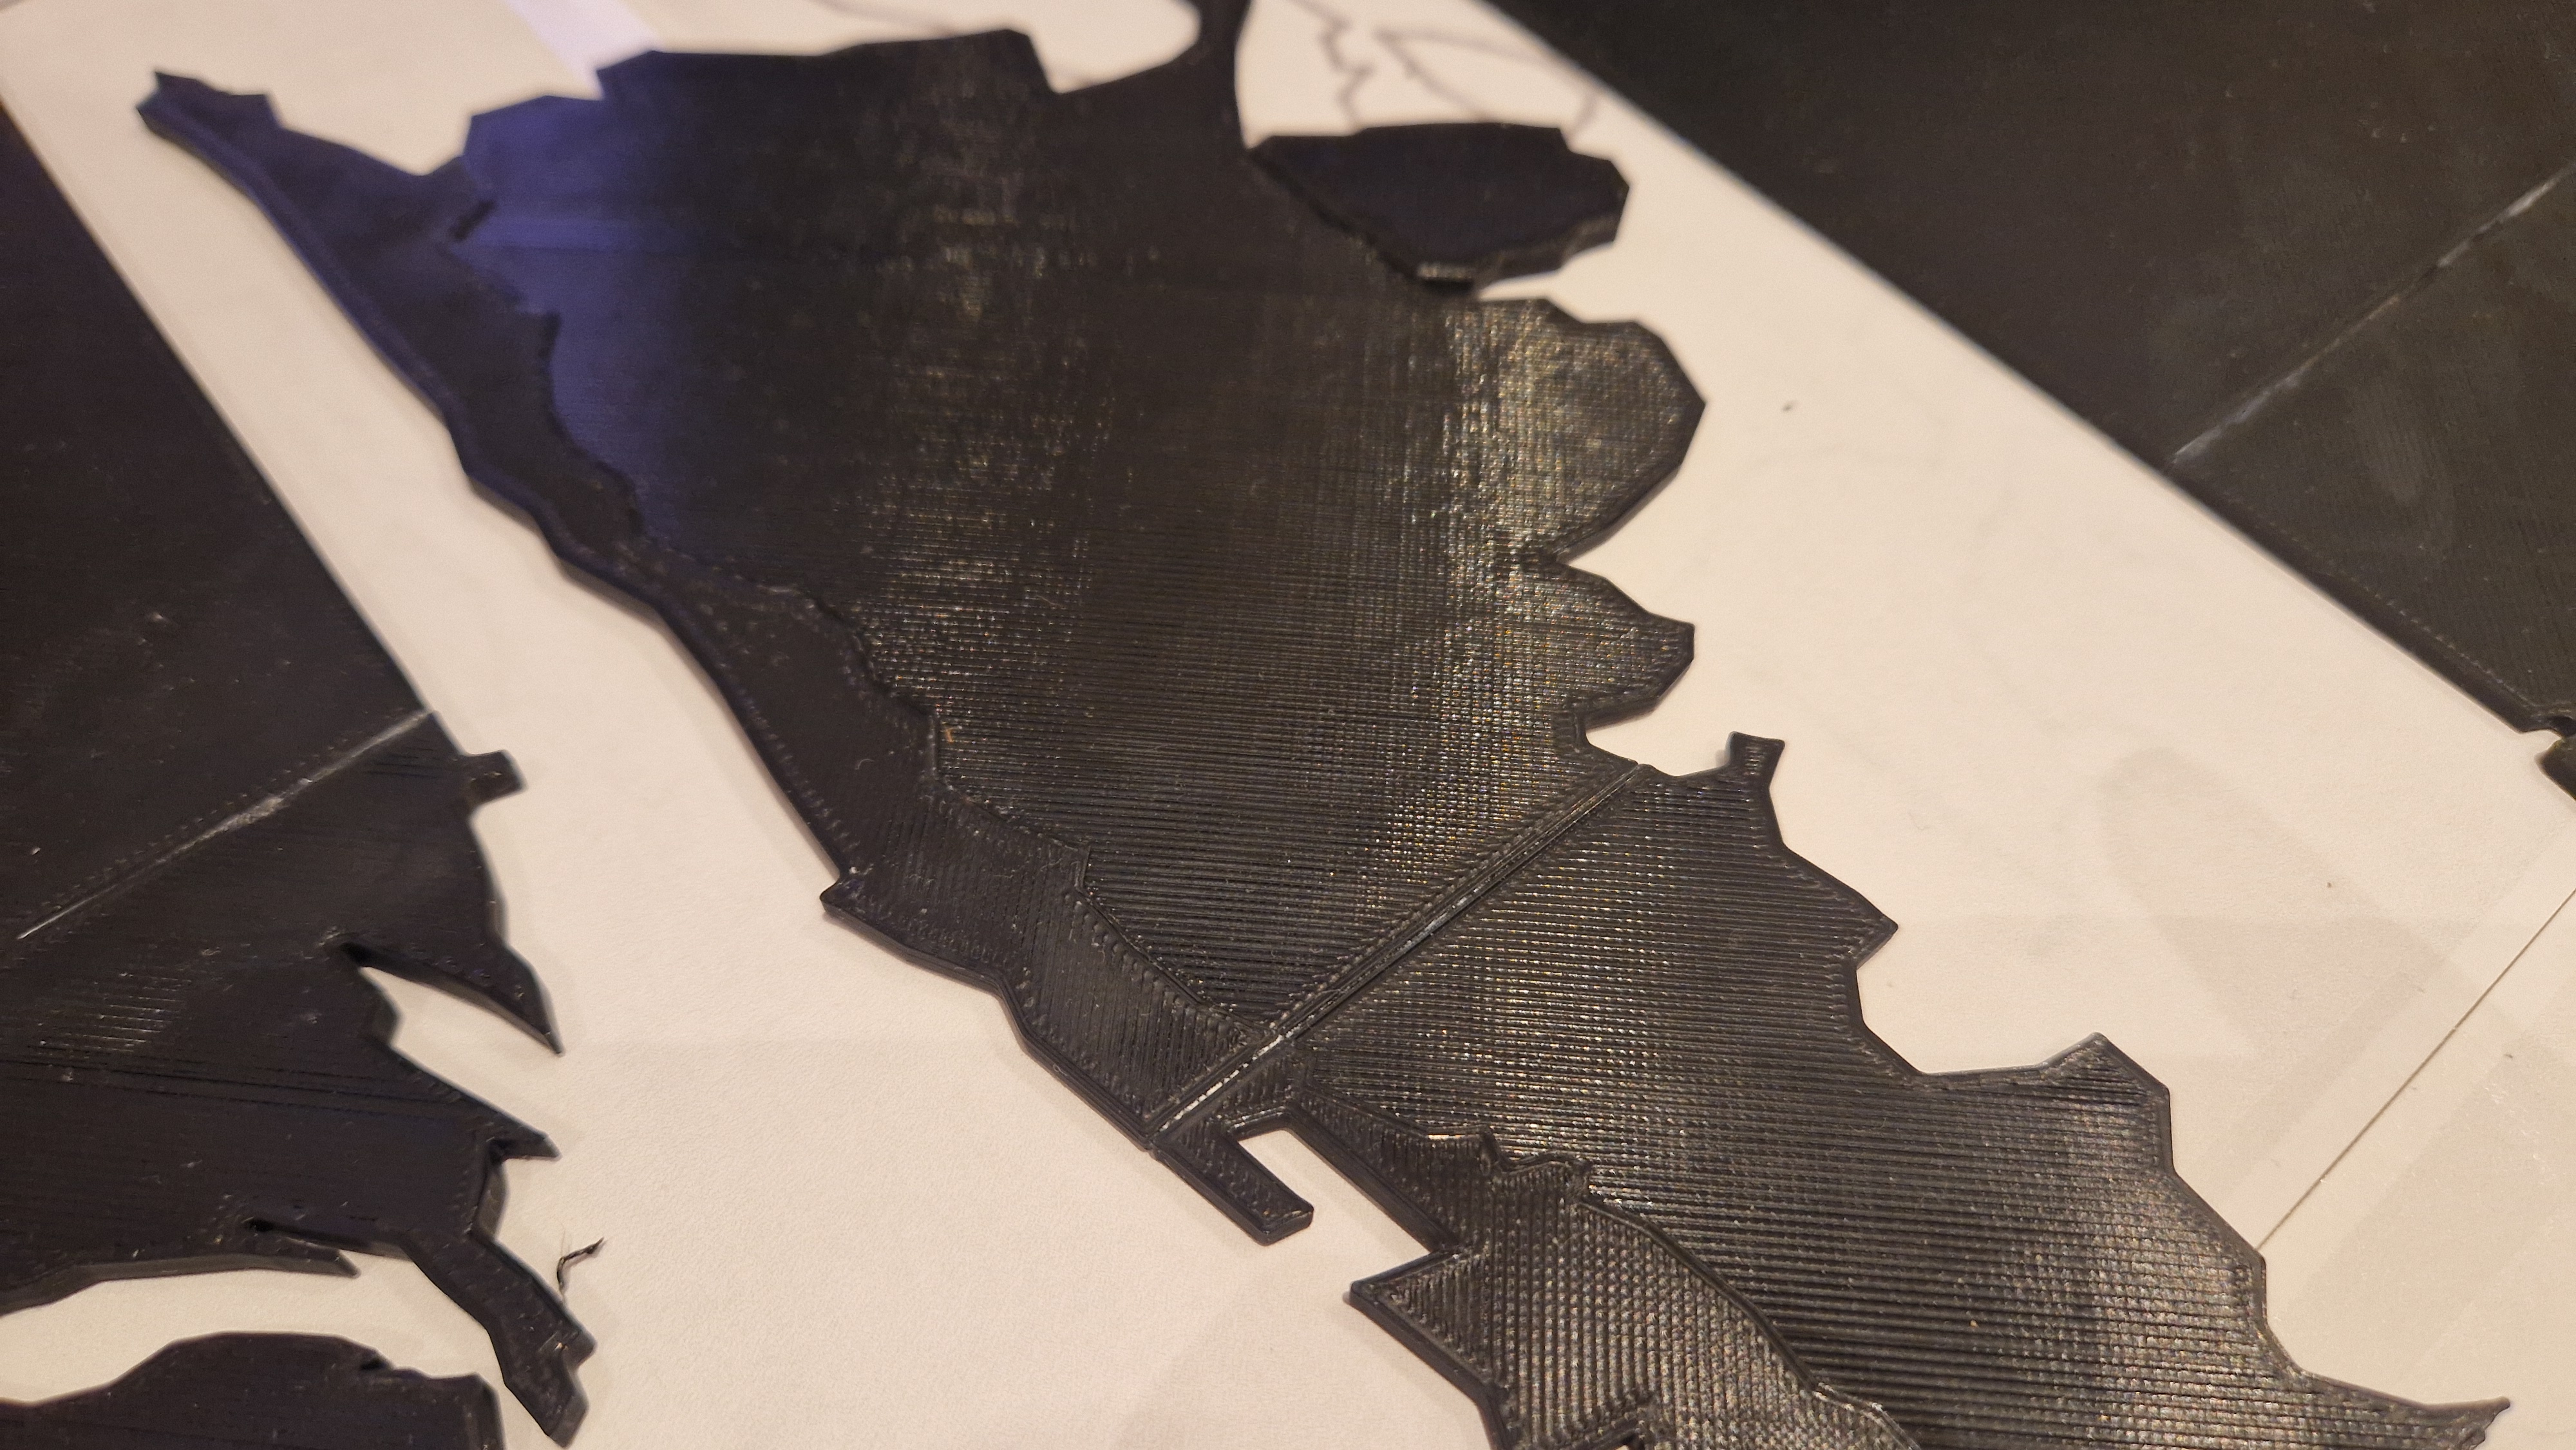
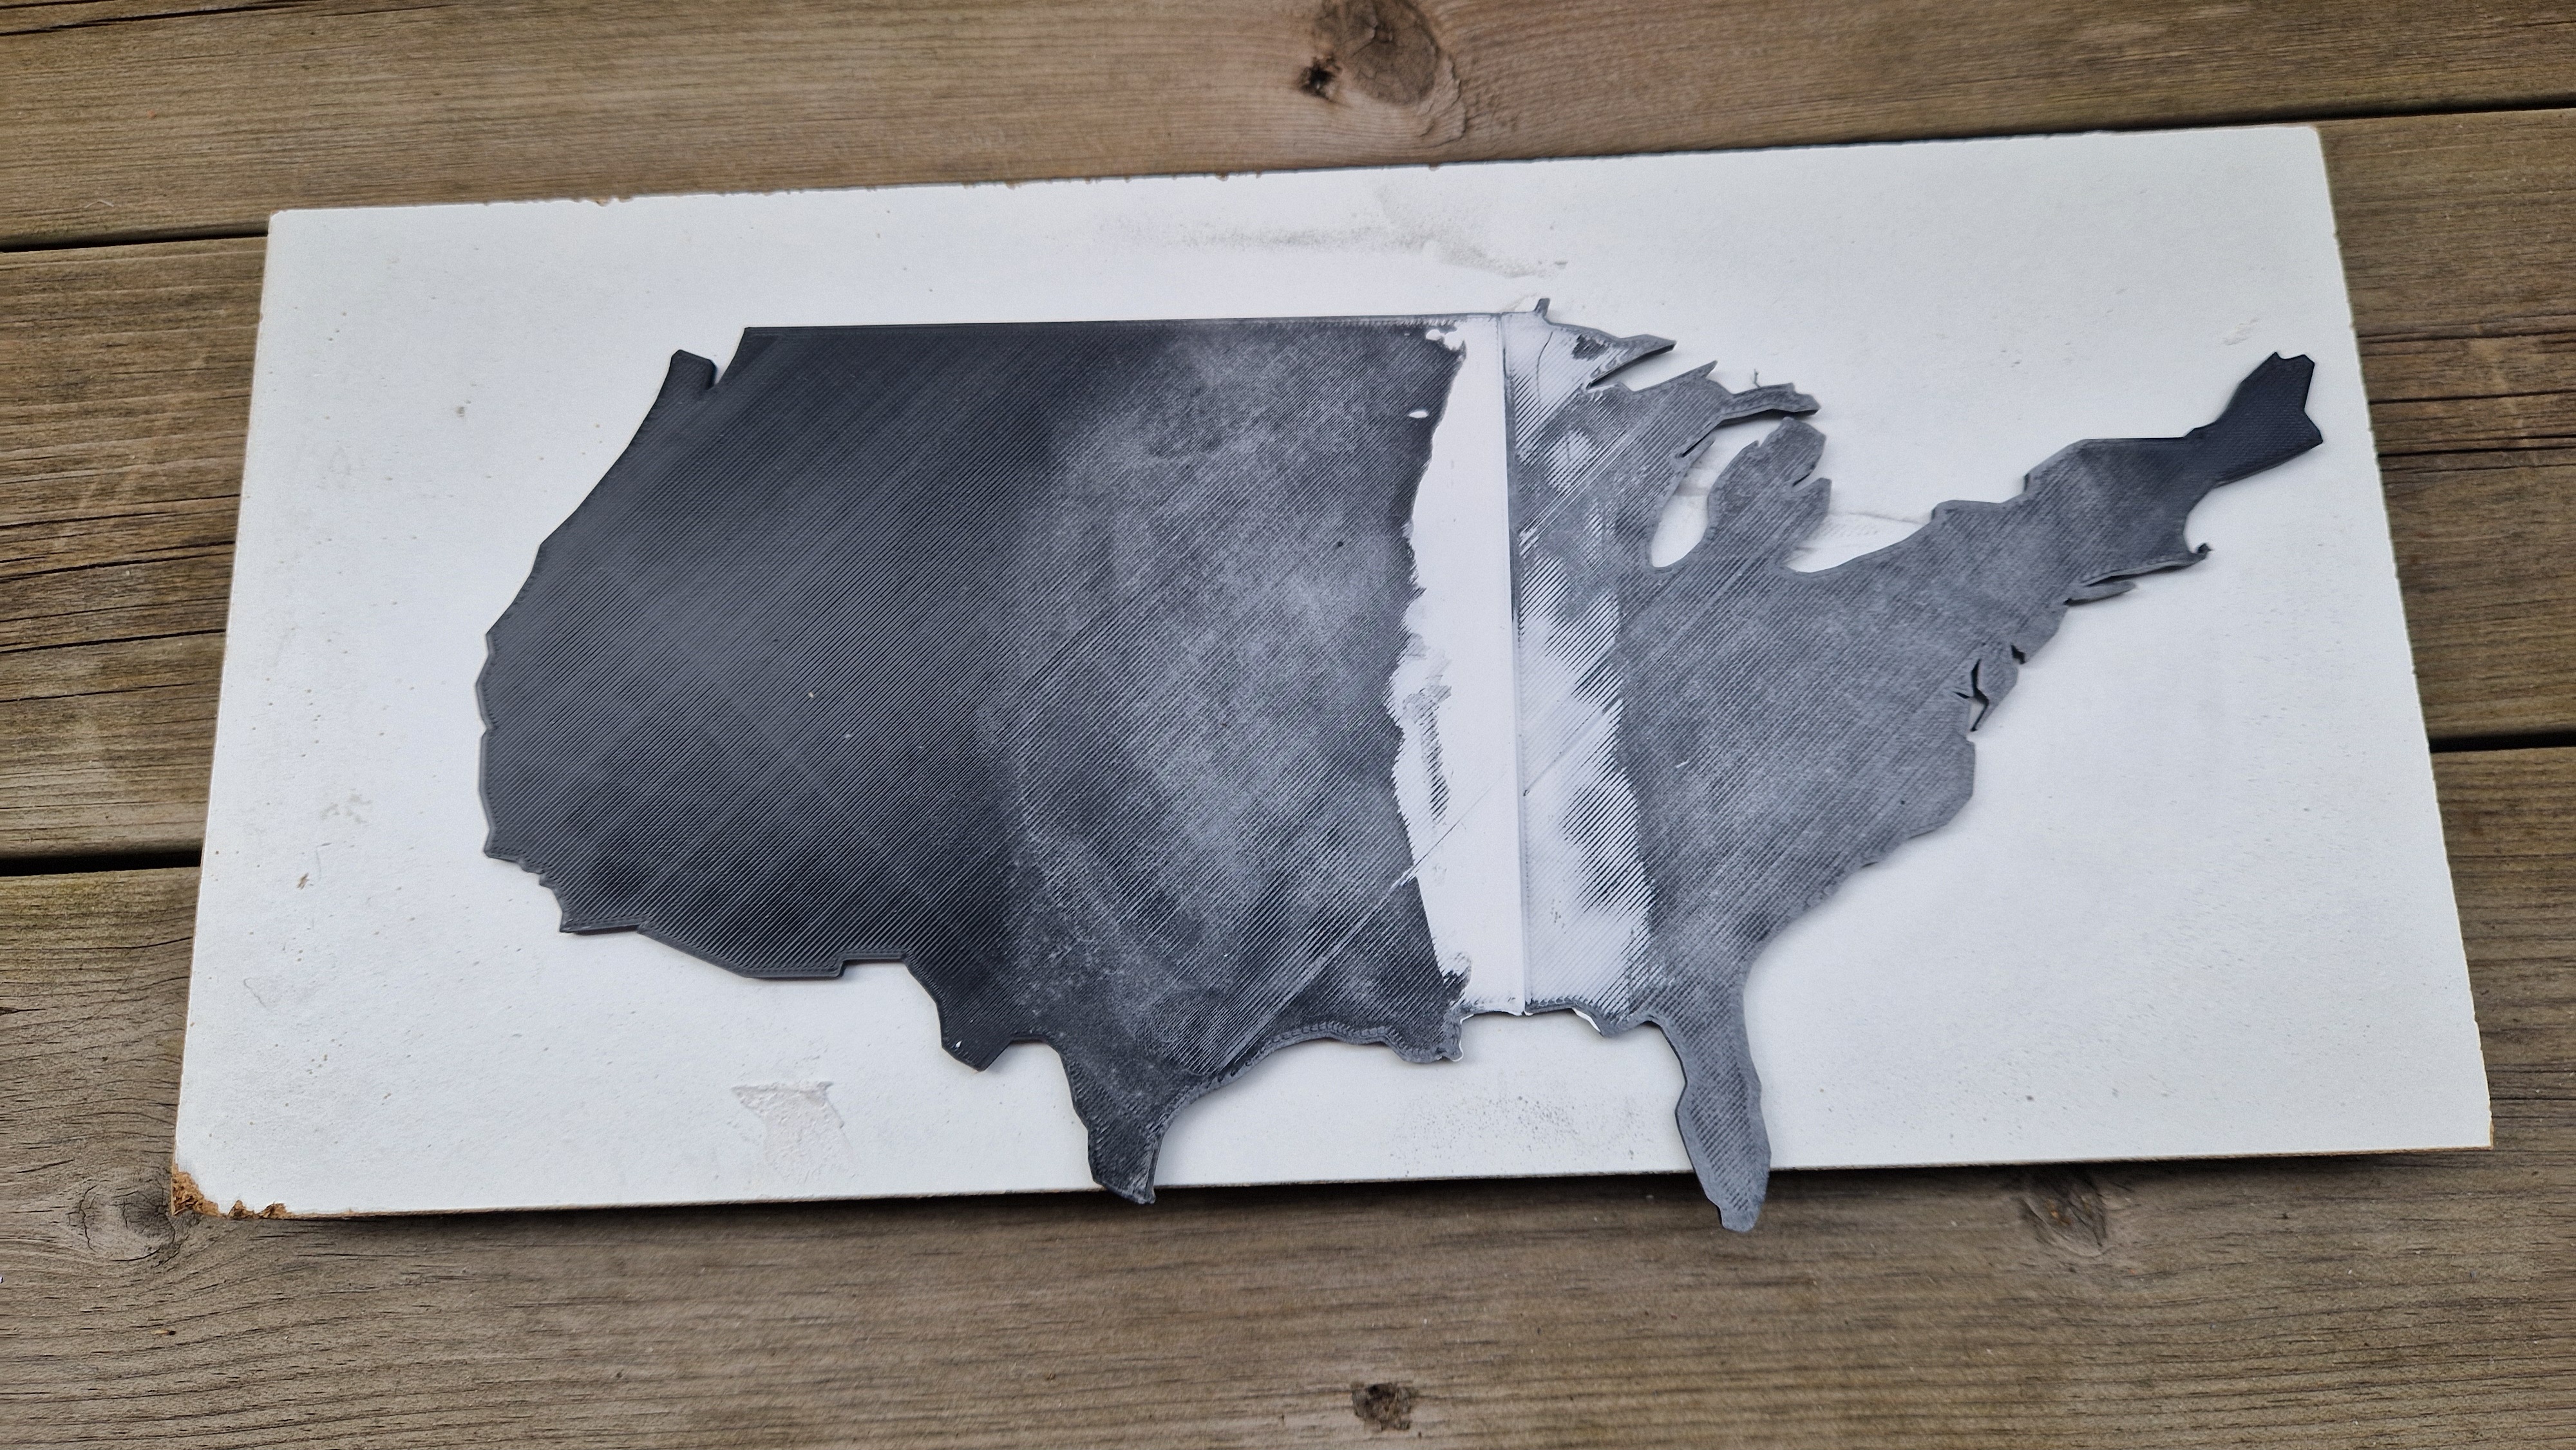
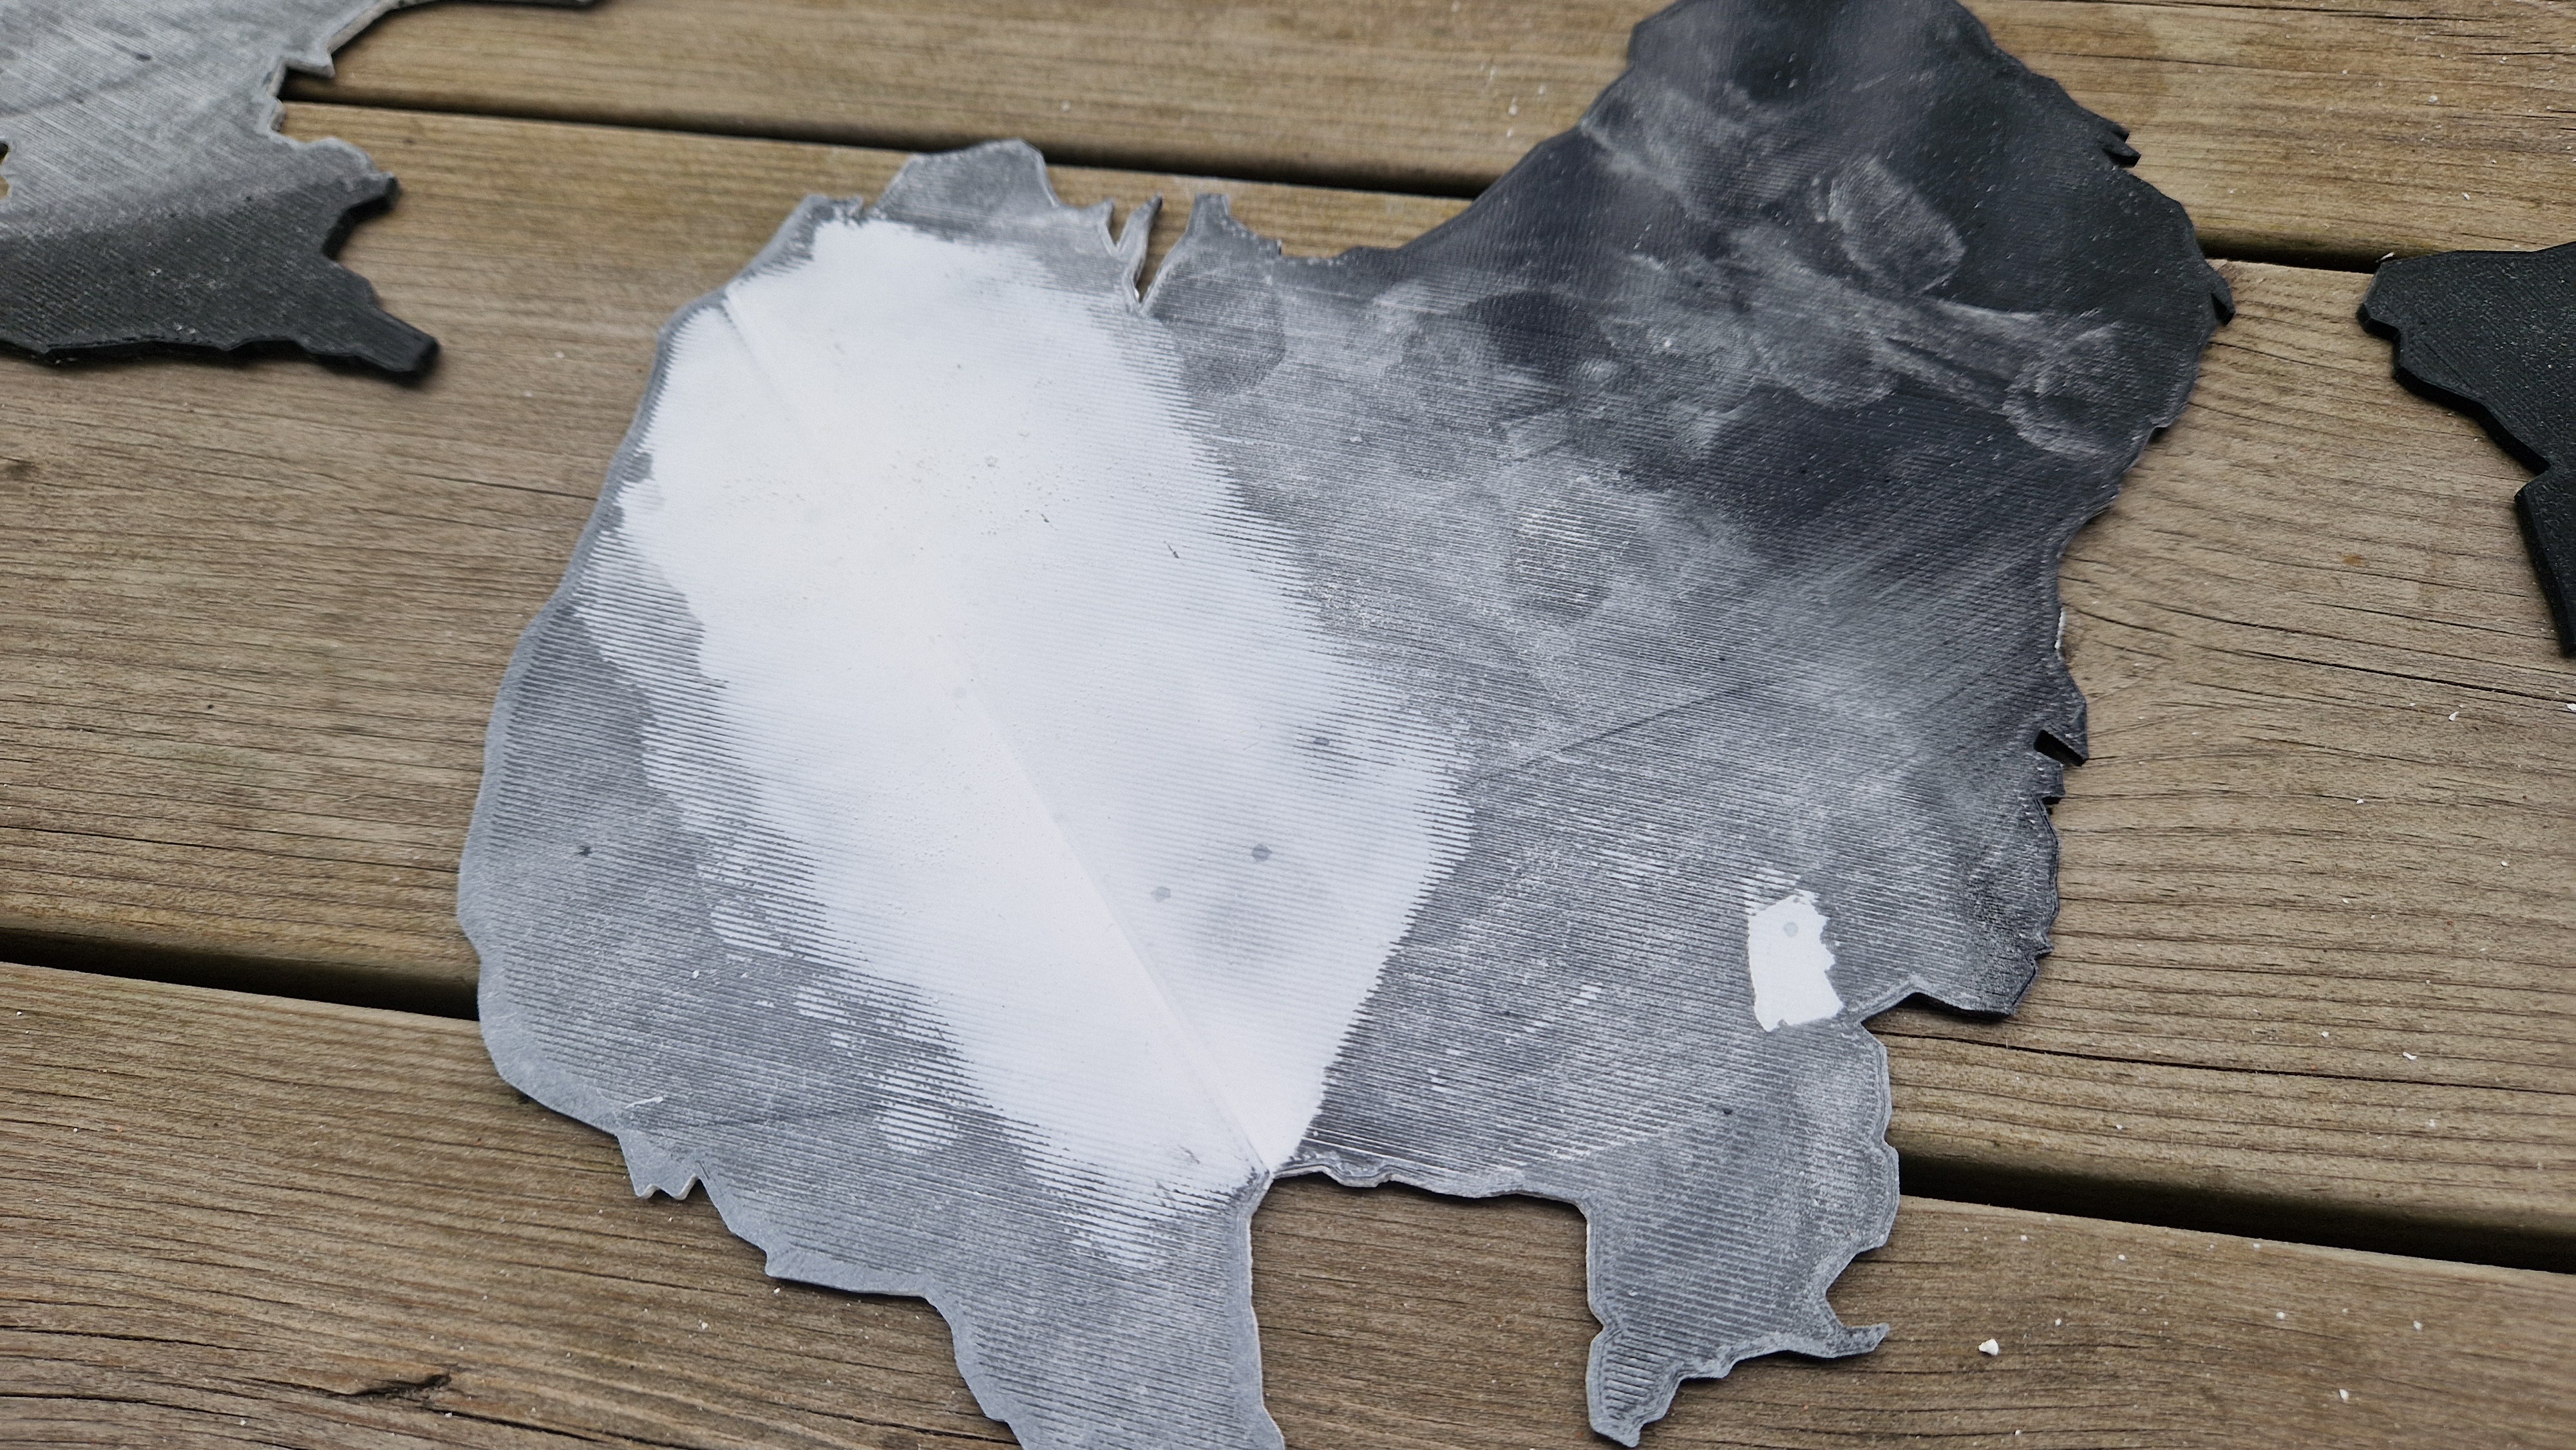
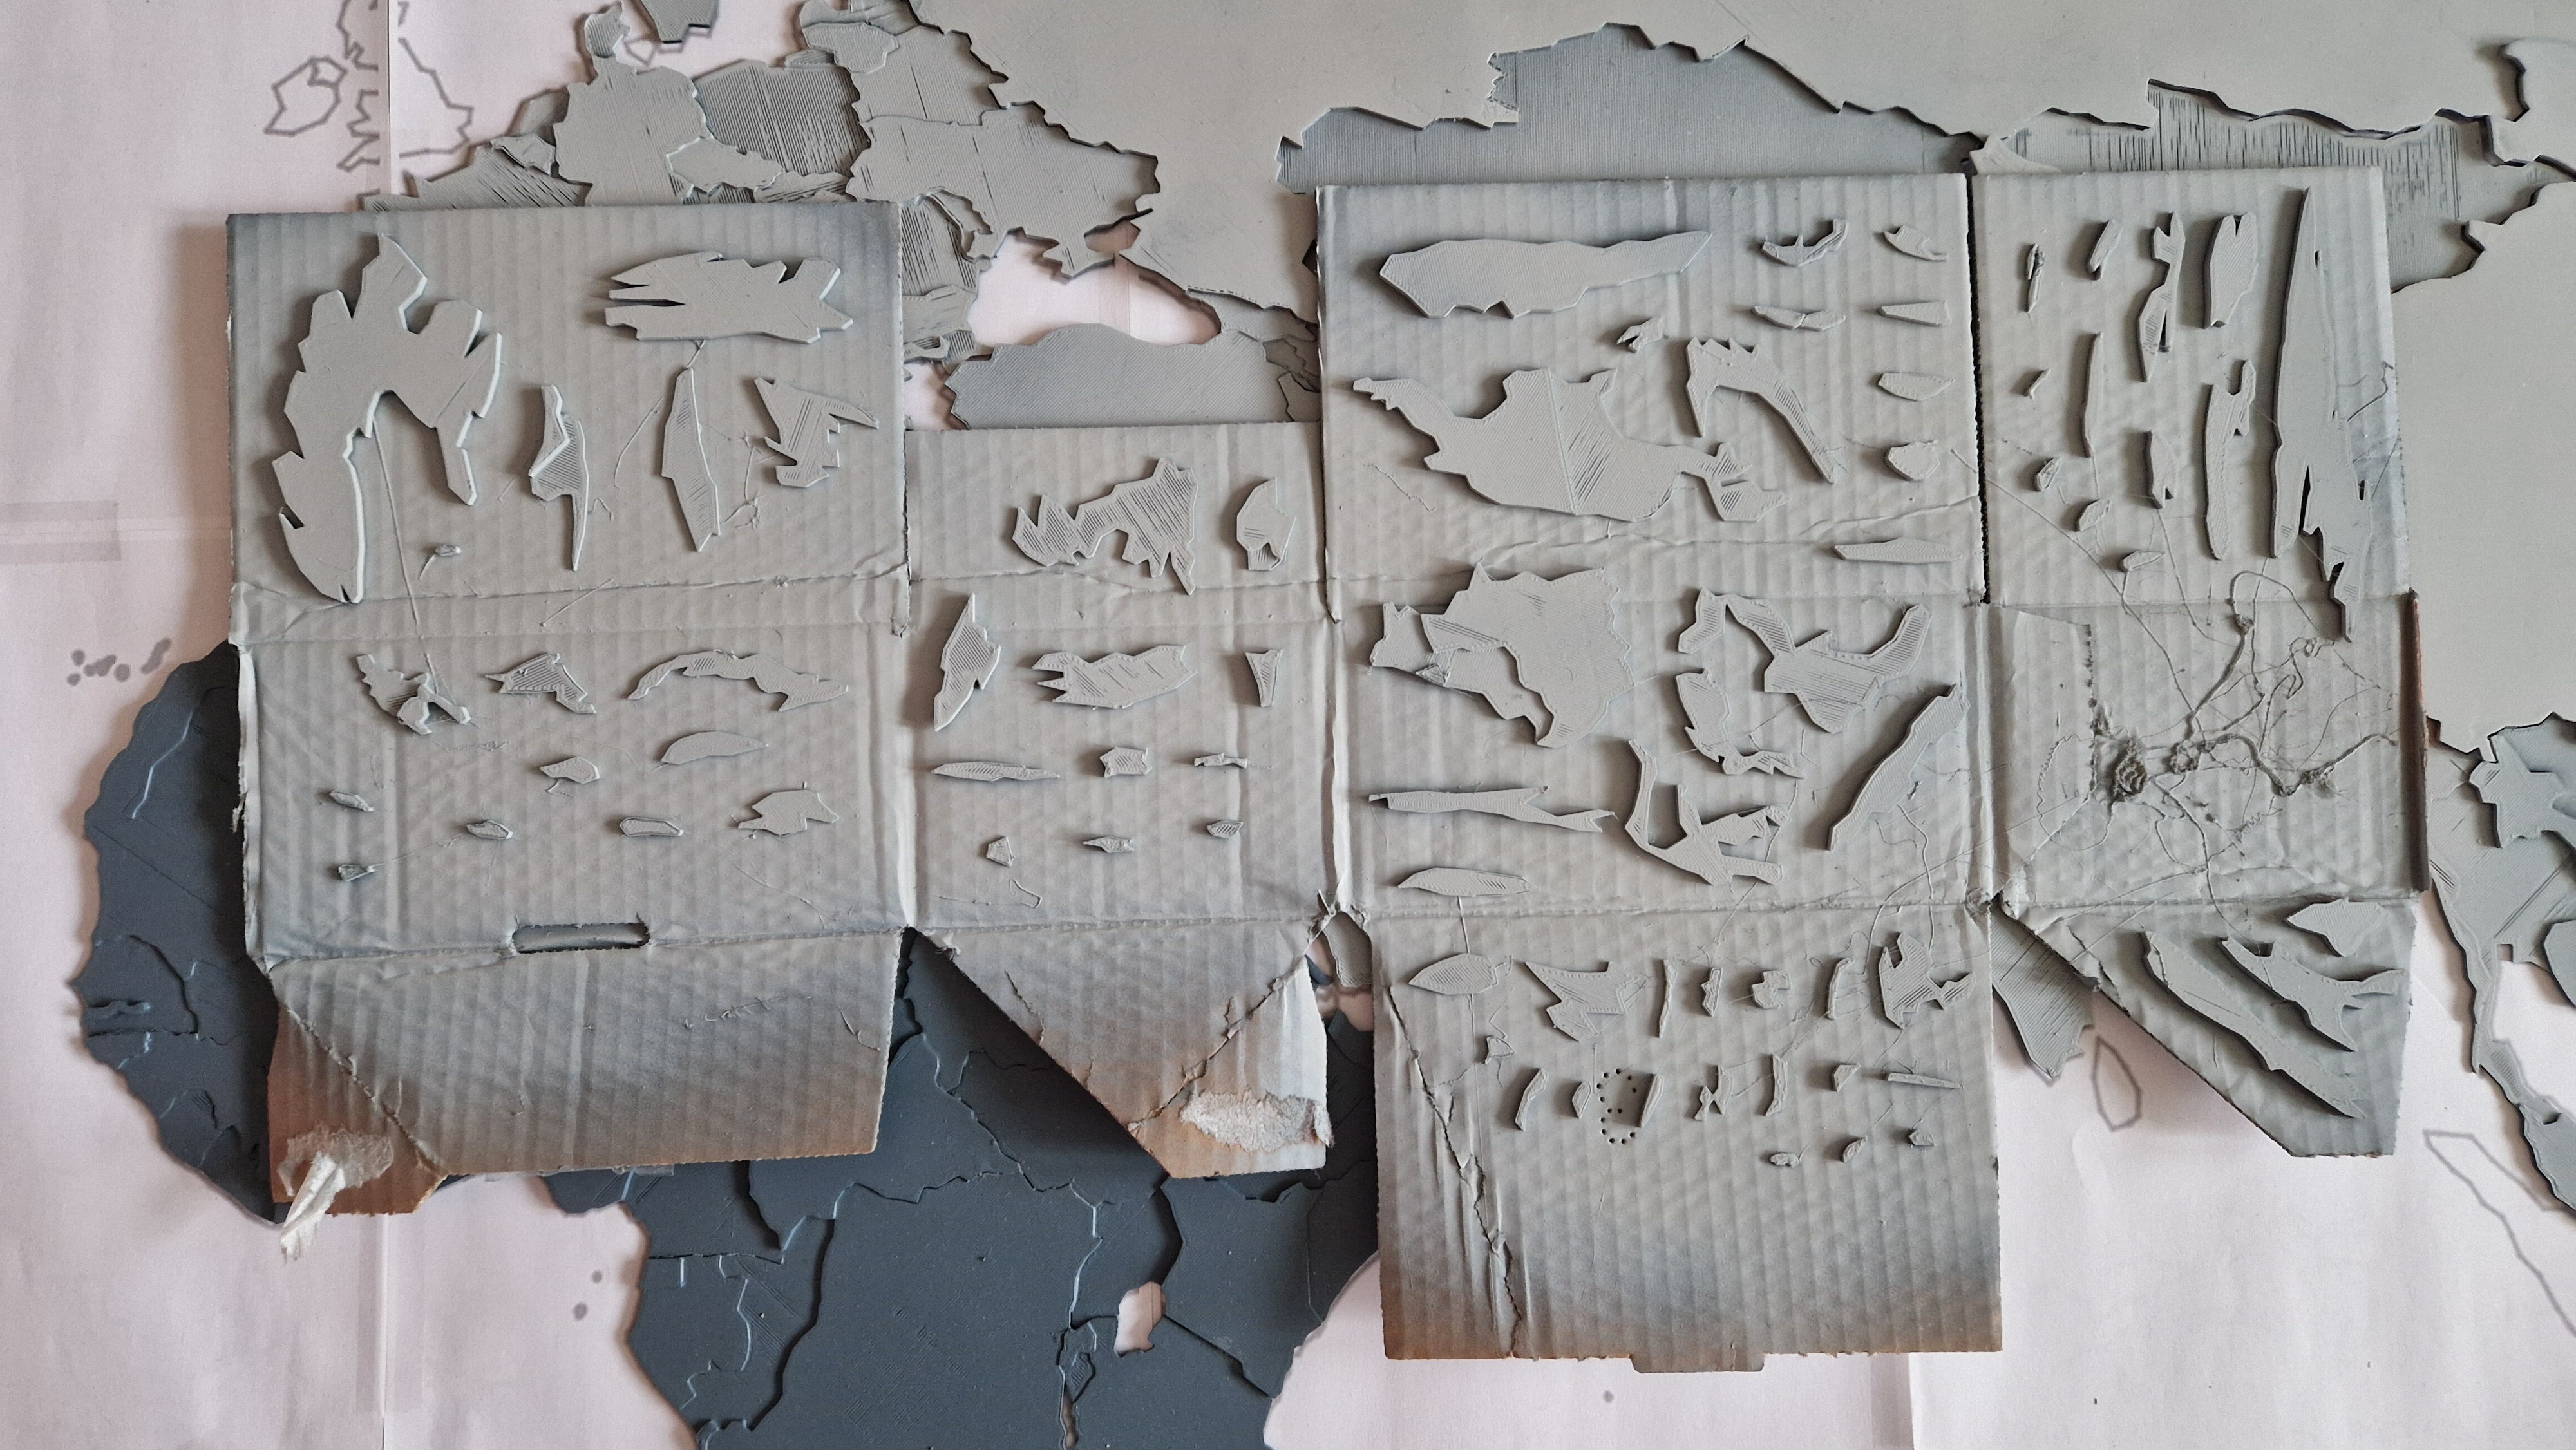
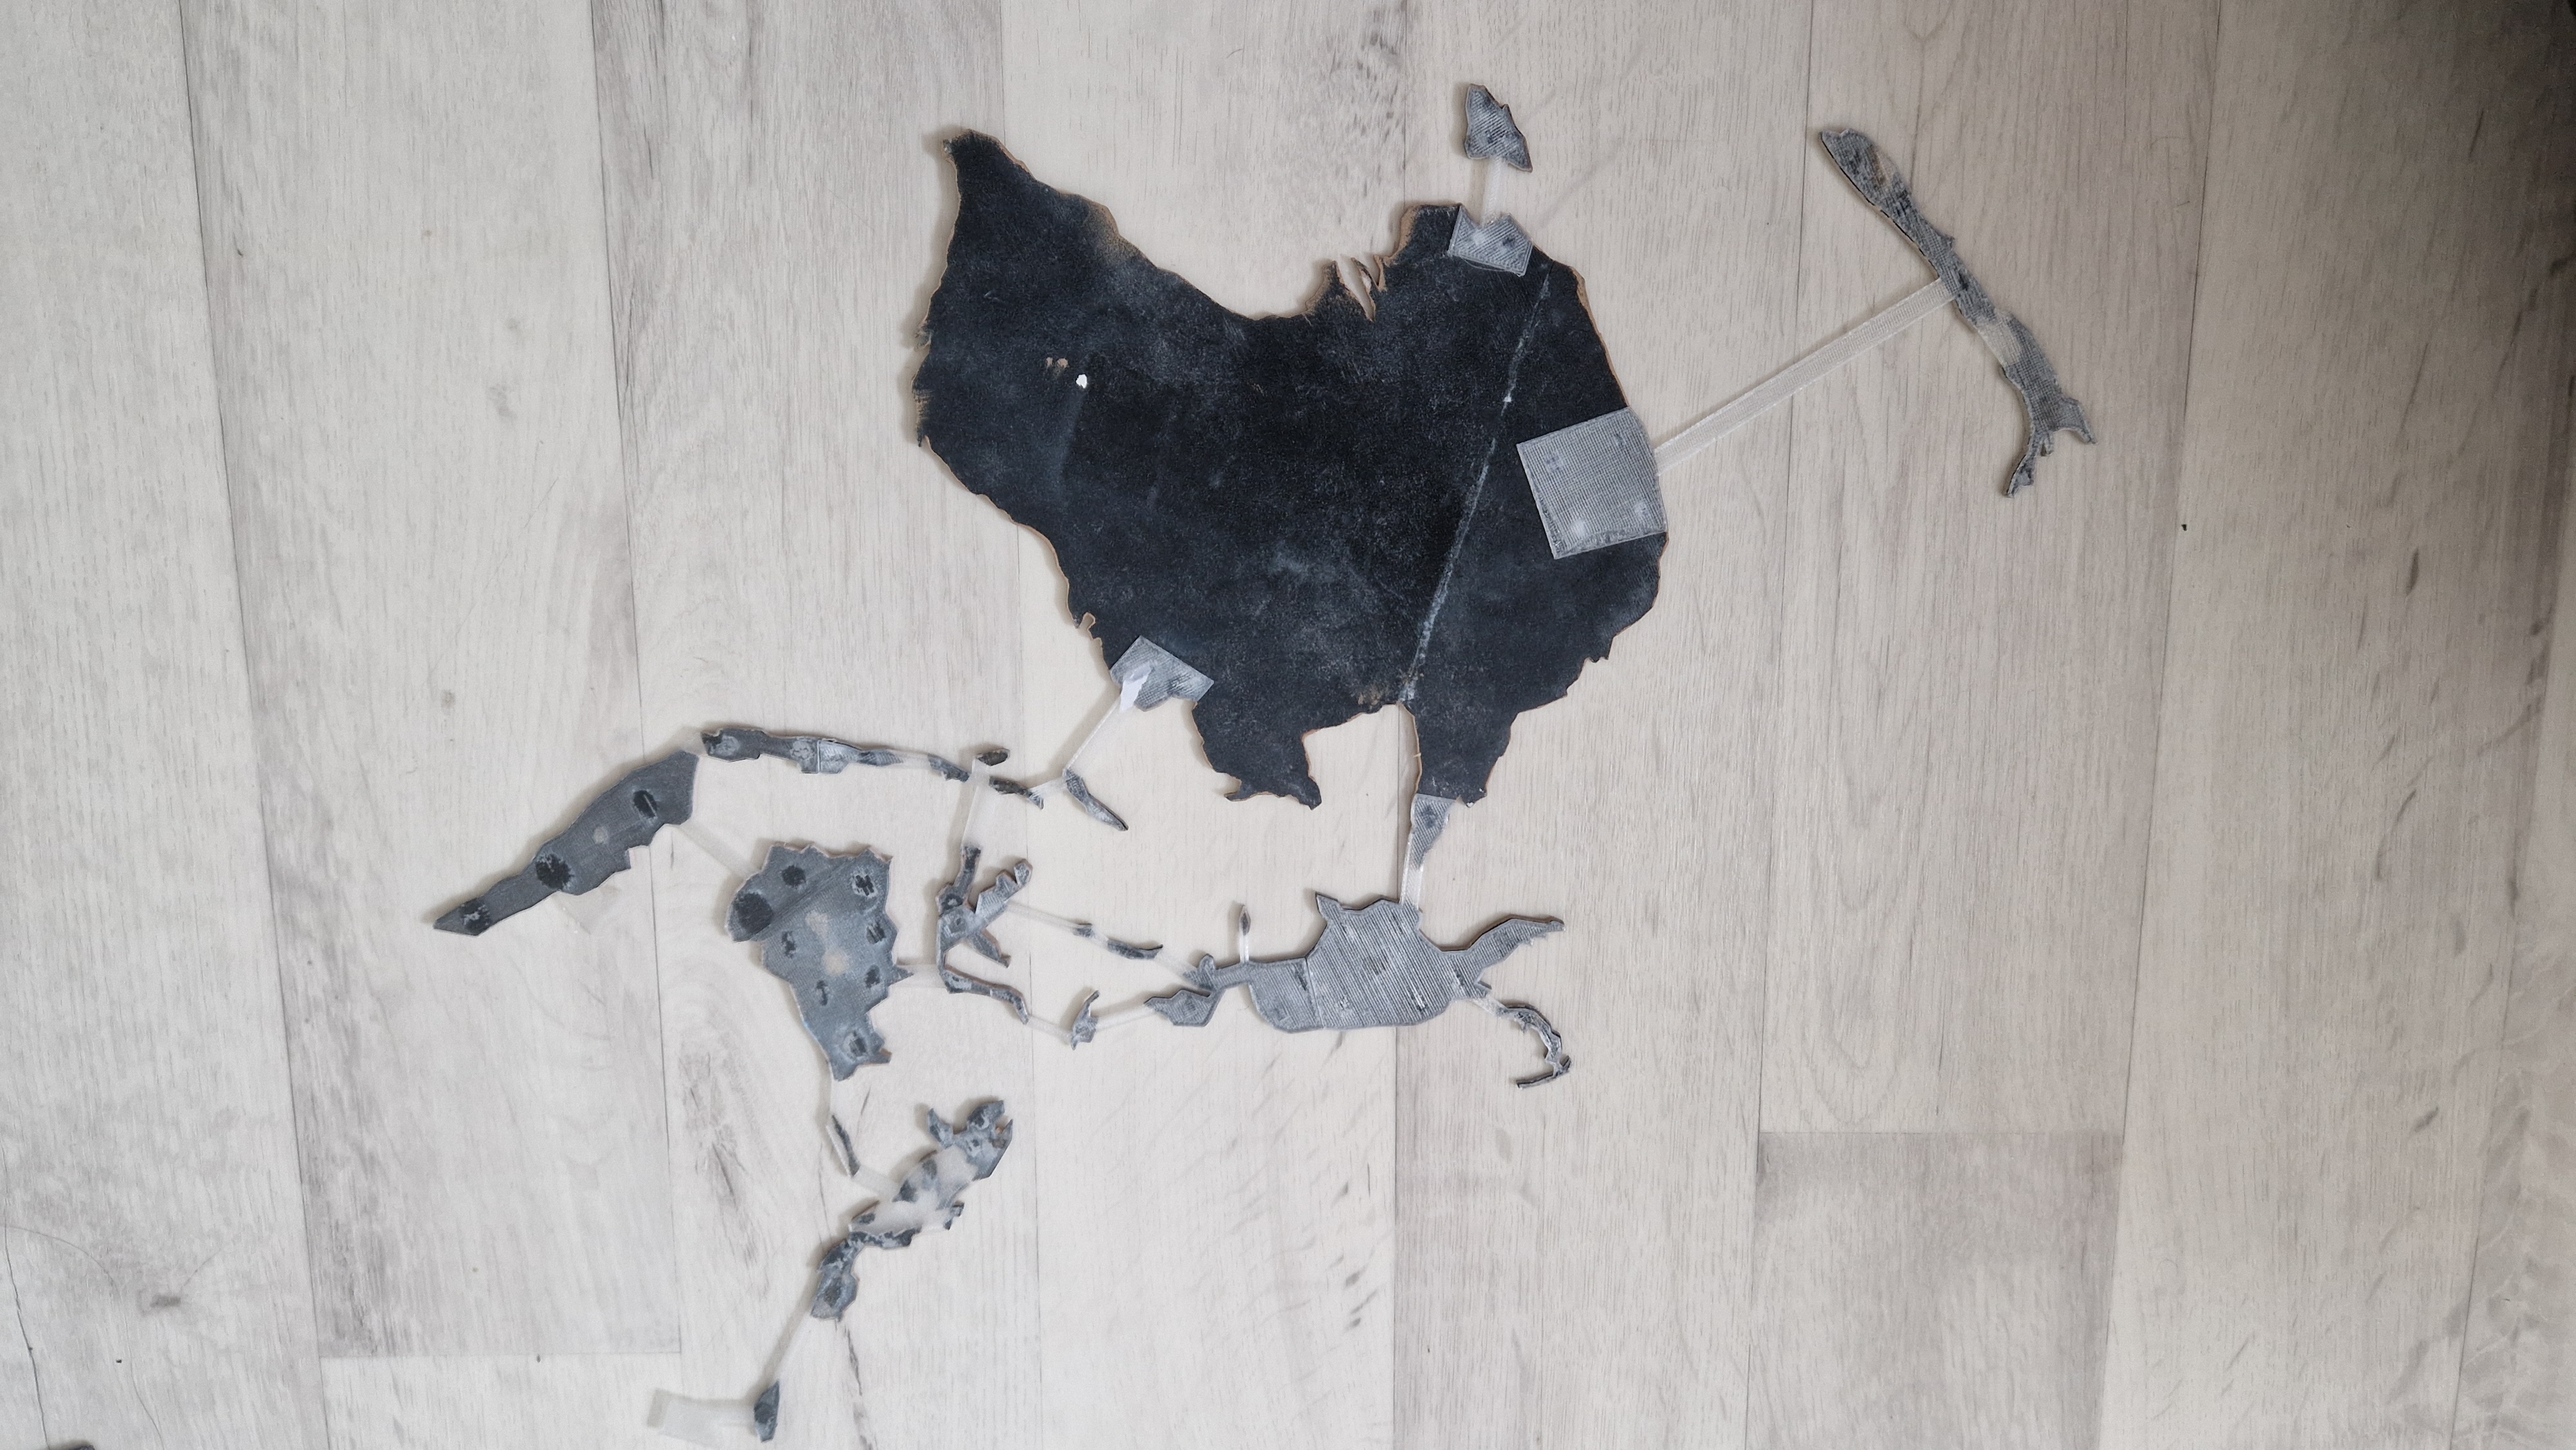
Once all the parts were printed, it was time to prepare them for painting. Some larger countries like China, Russia, the USA, Canada, Argentina, Brazil, Greenland, and Australia needed puttying to smooth out the connections. Here are some images of the process:
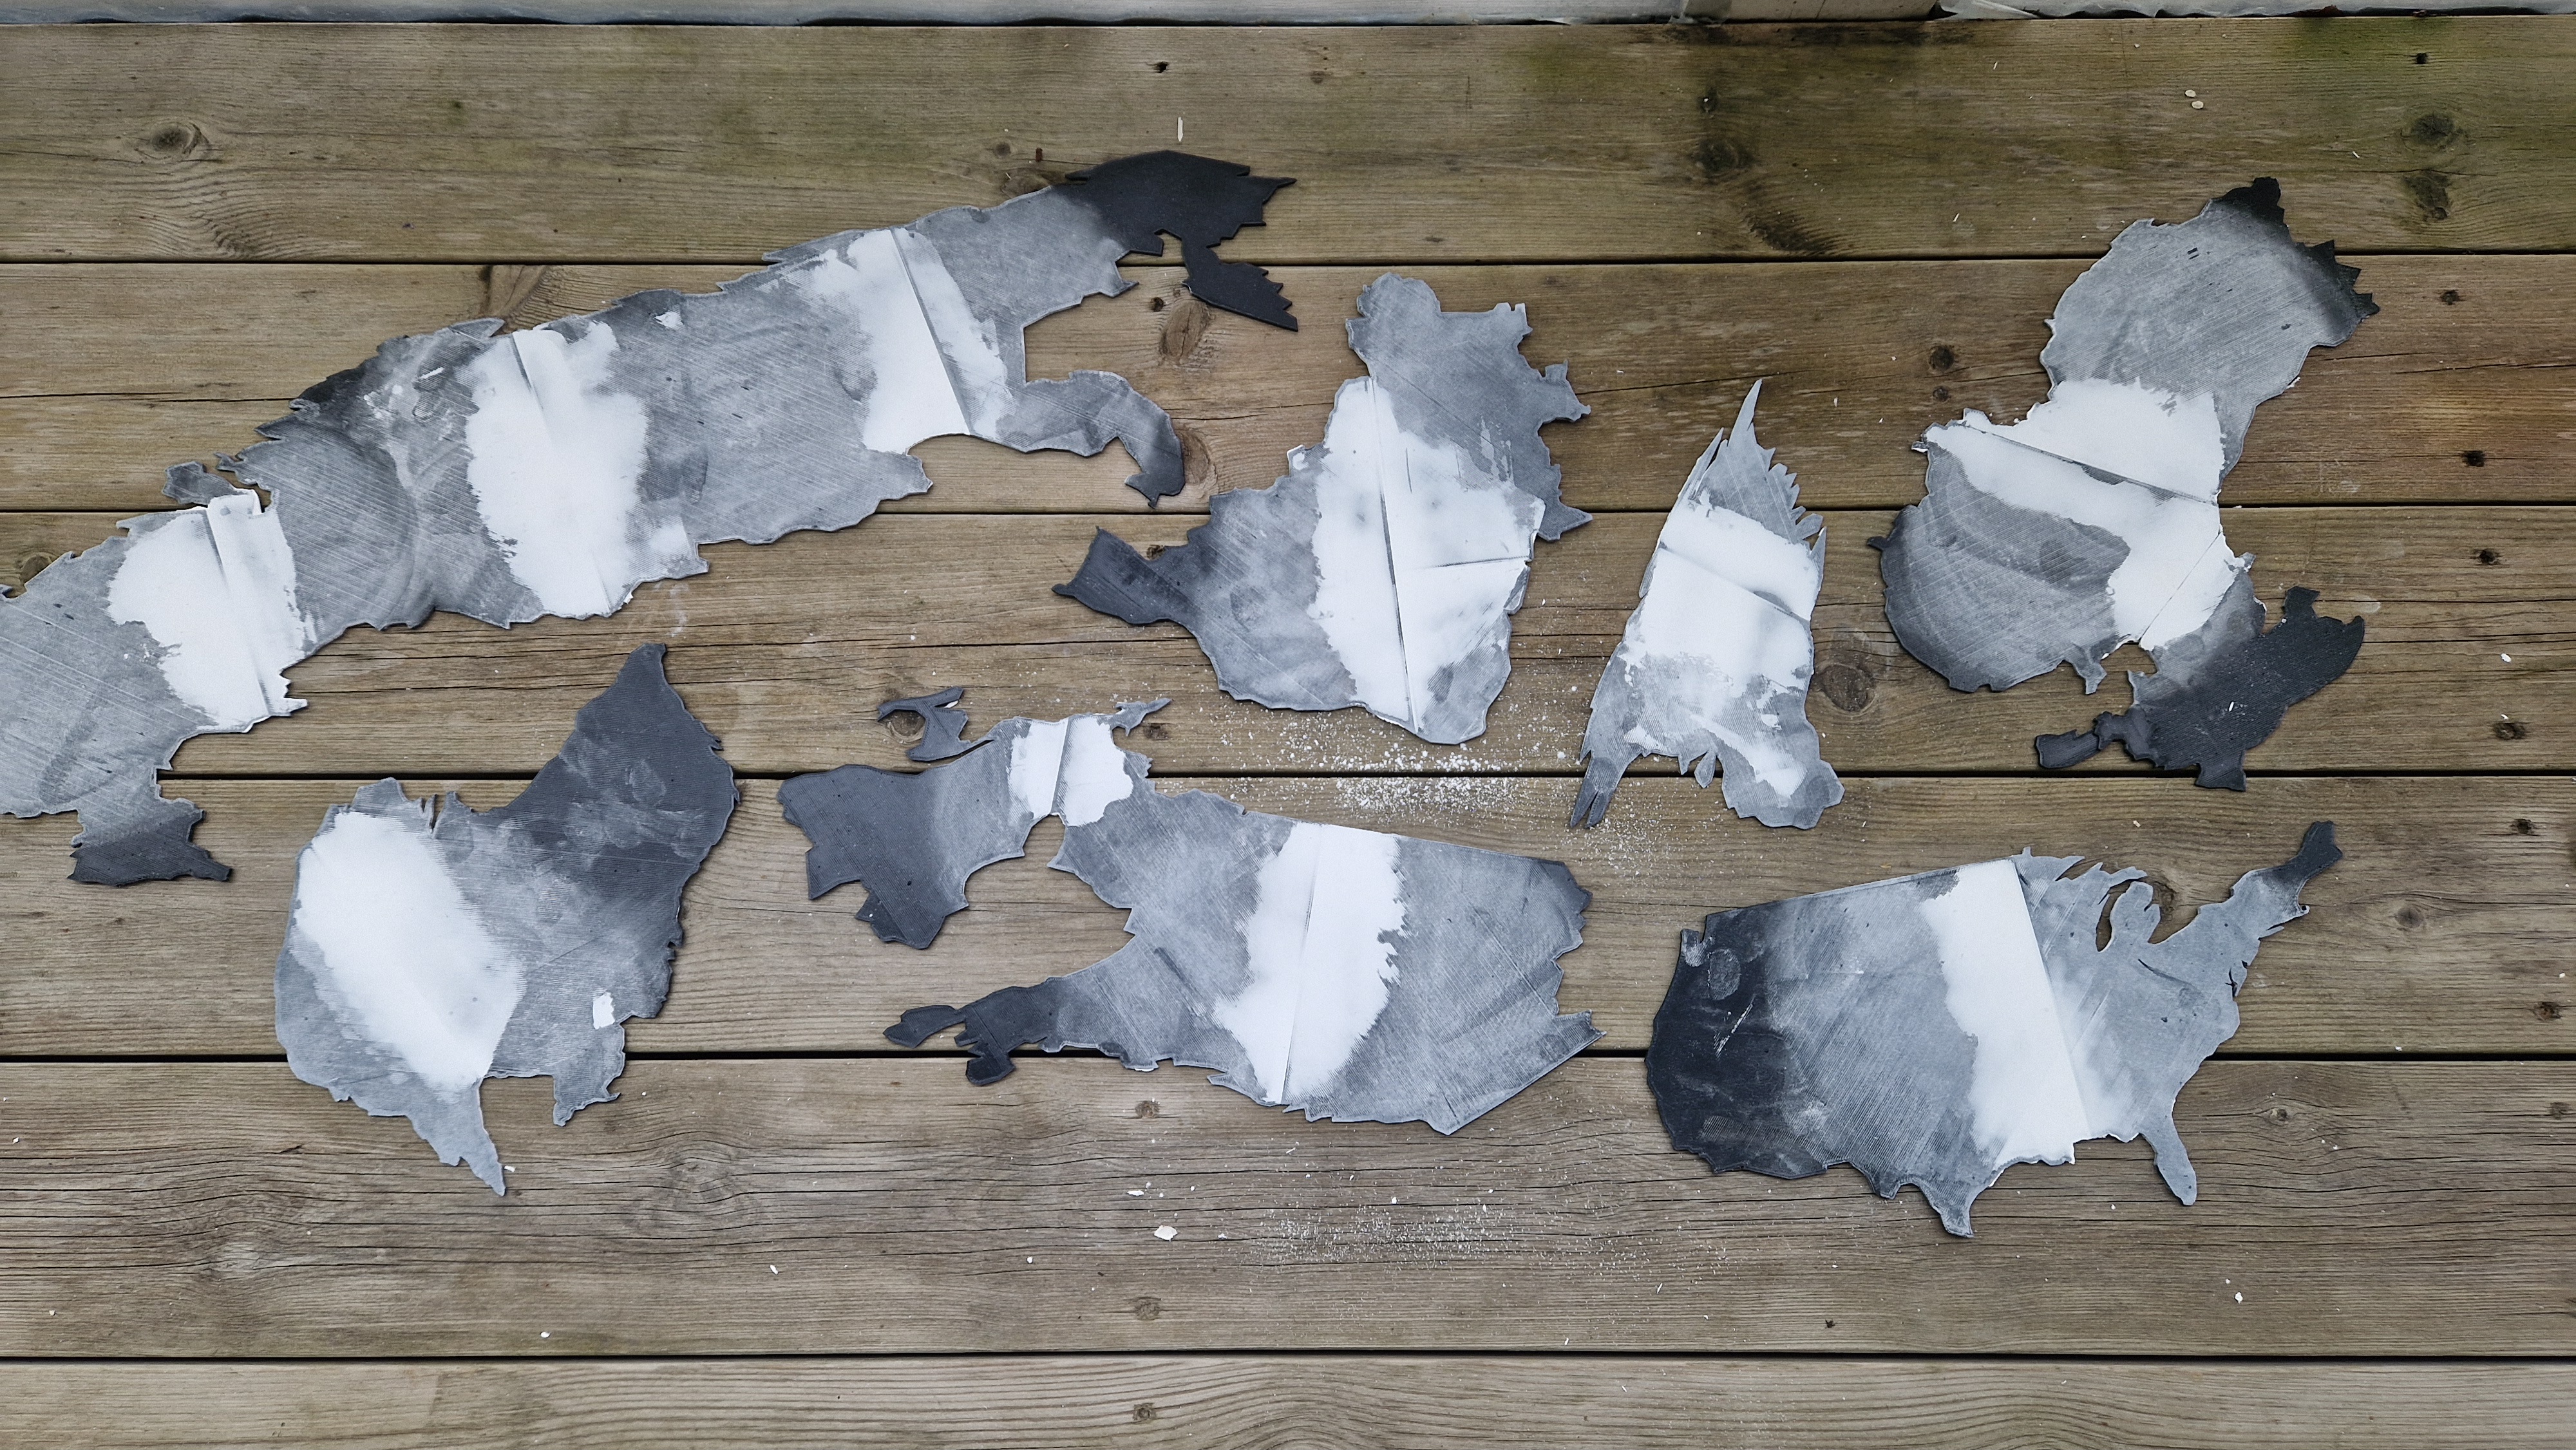
After puttying, I applied a primer to all parts to ensure the paint would adhere properly.
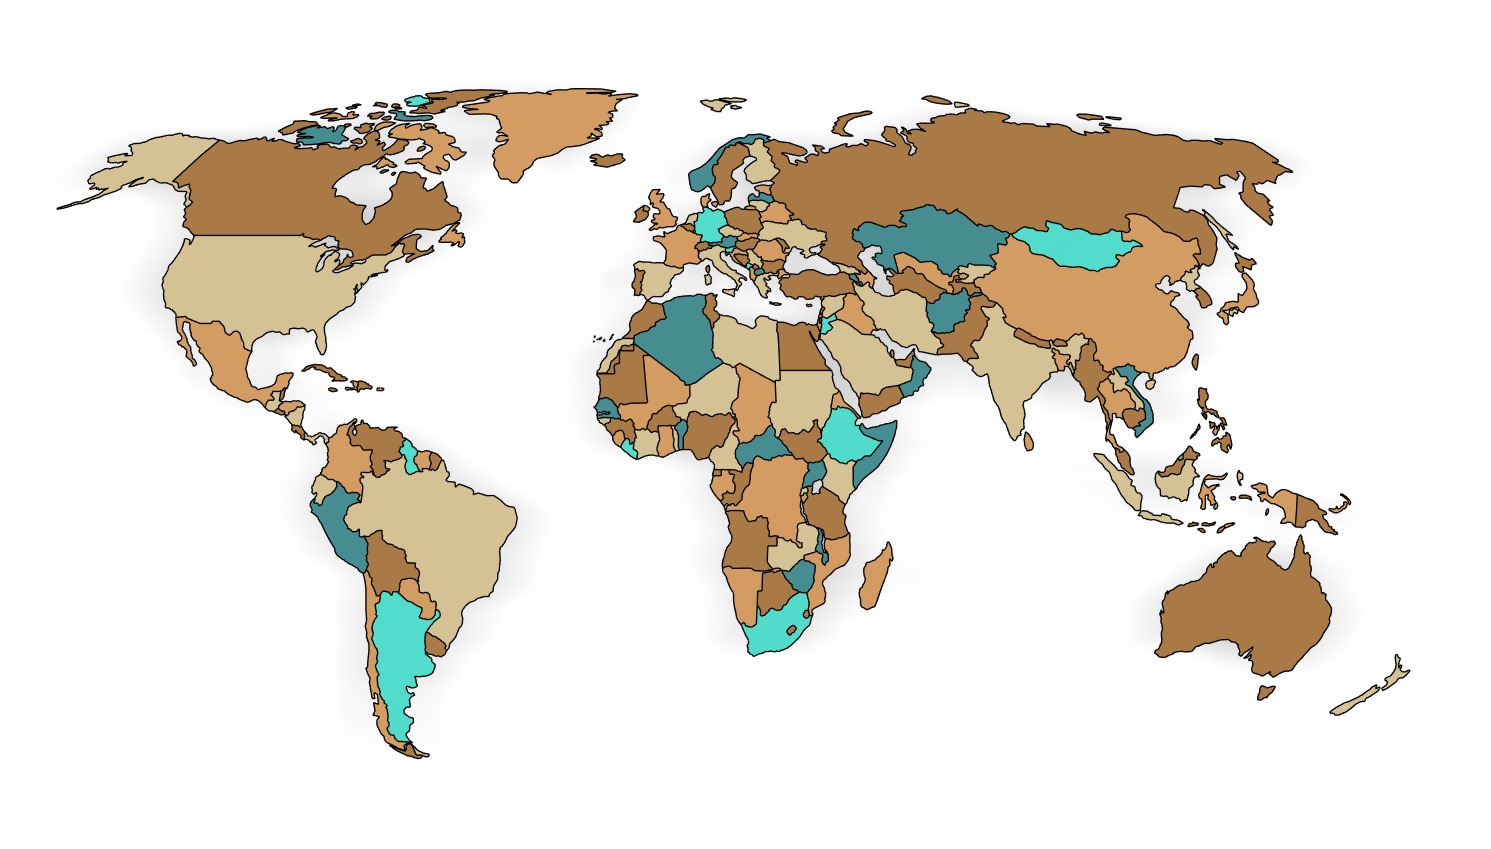
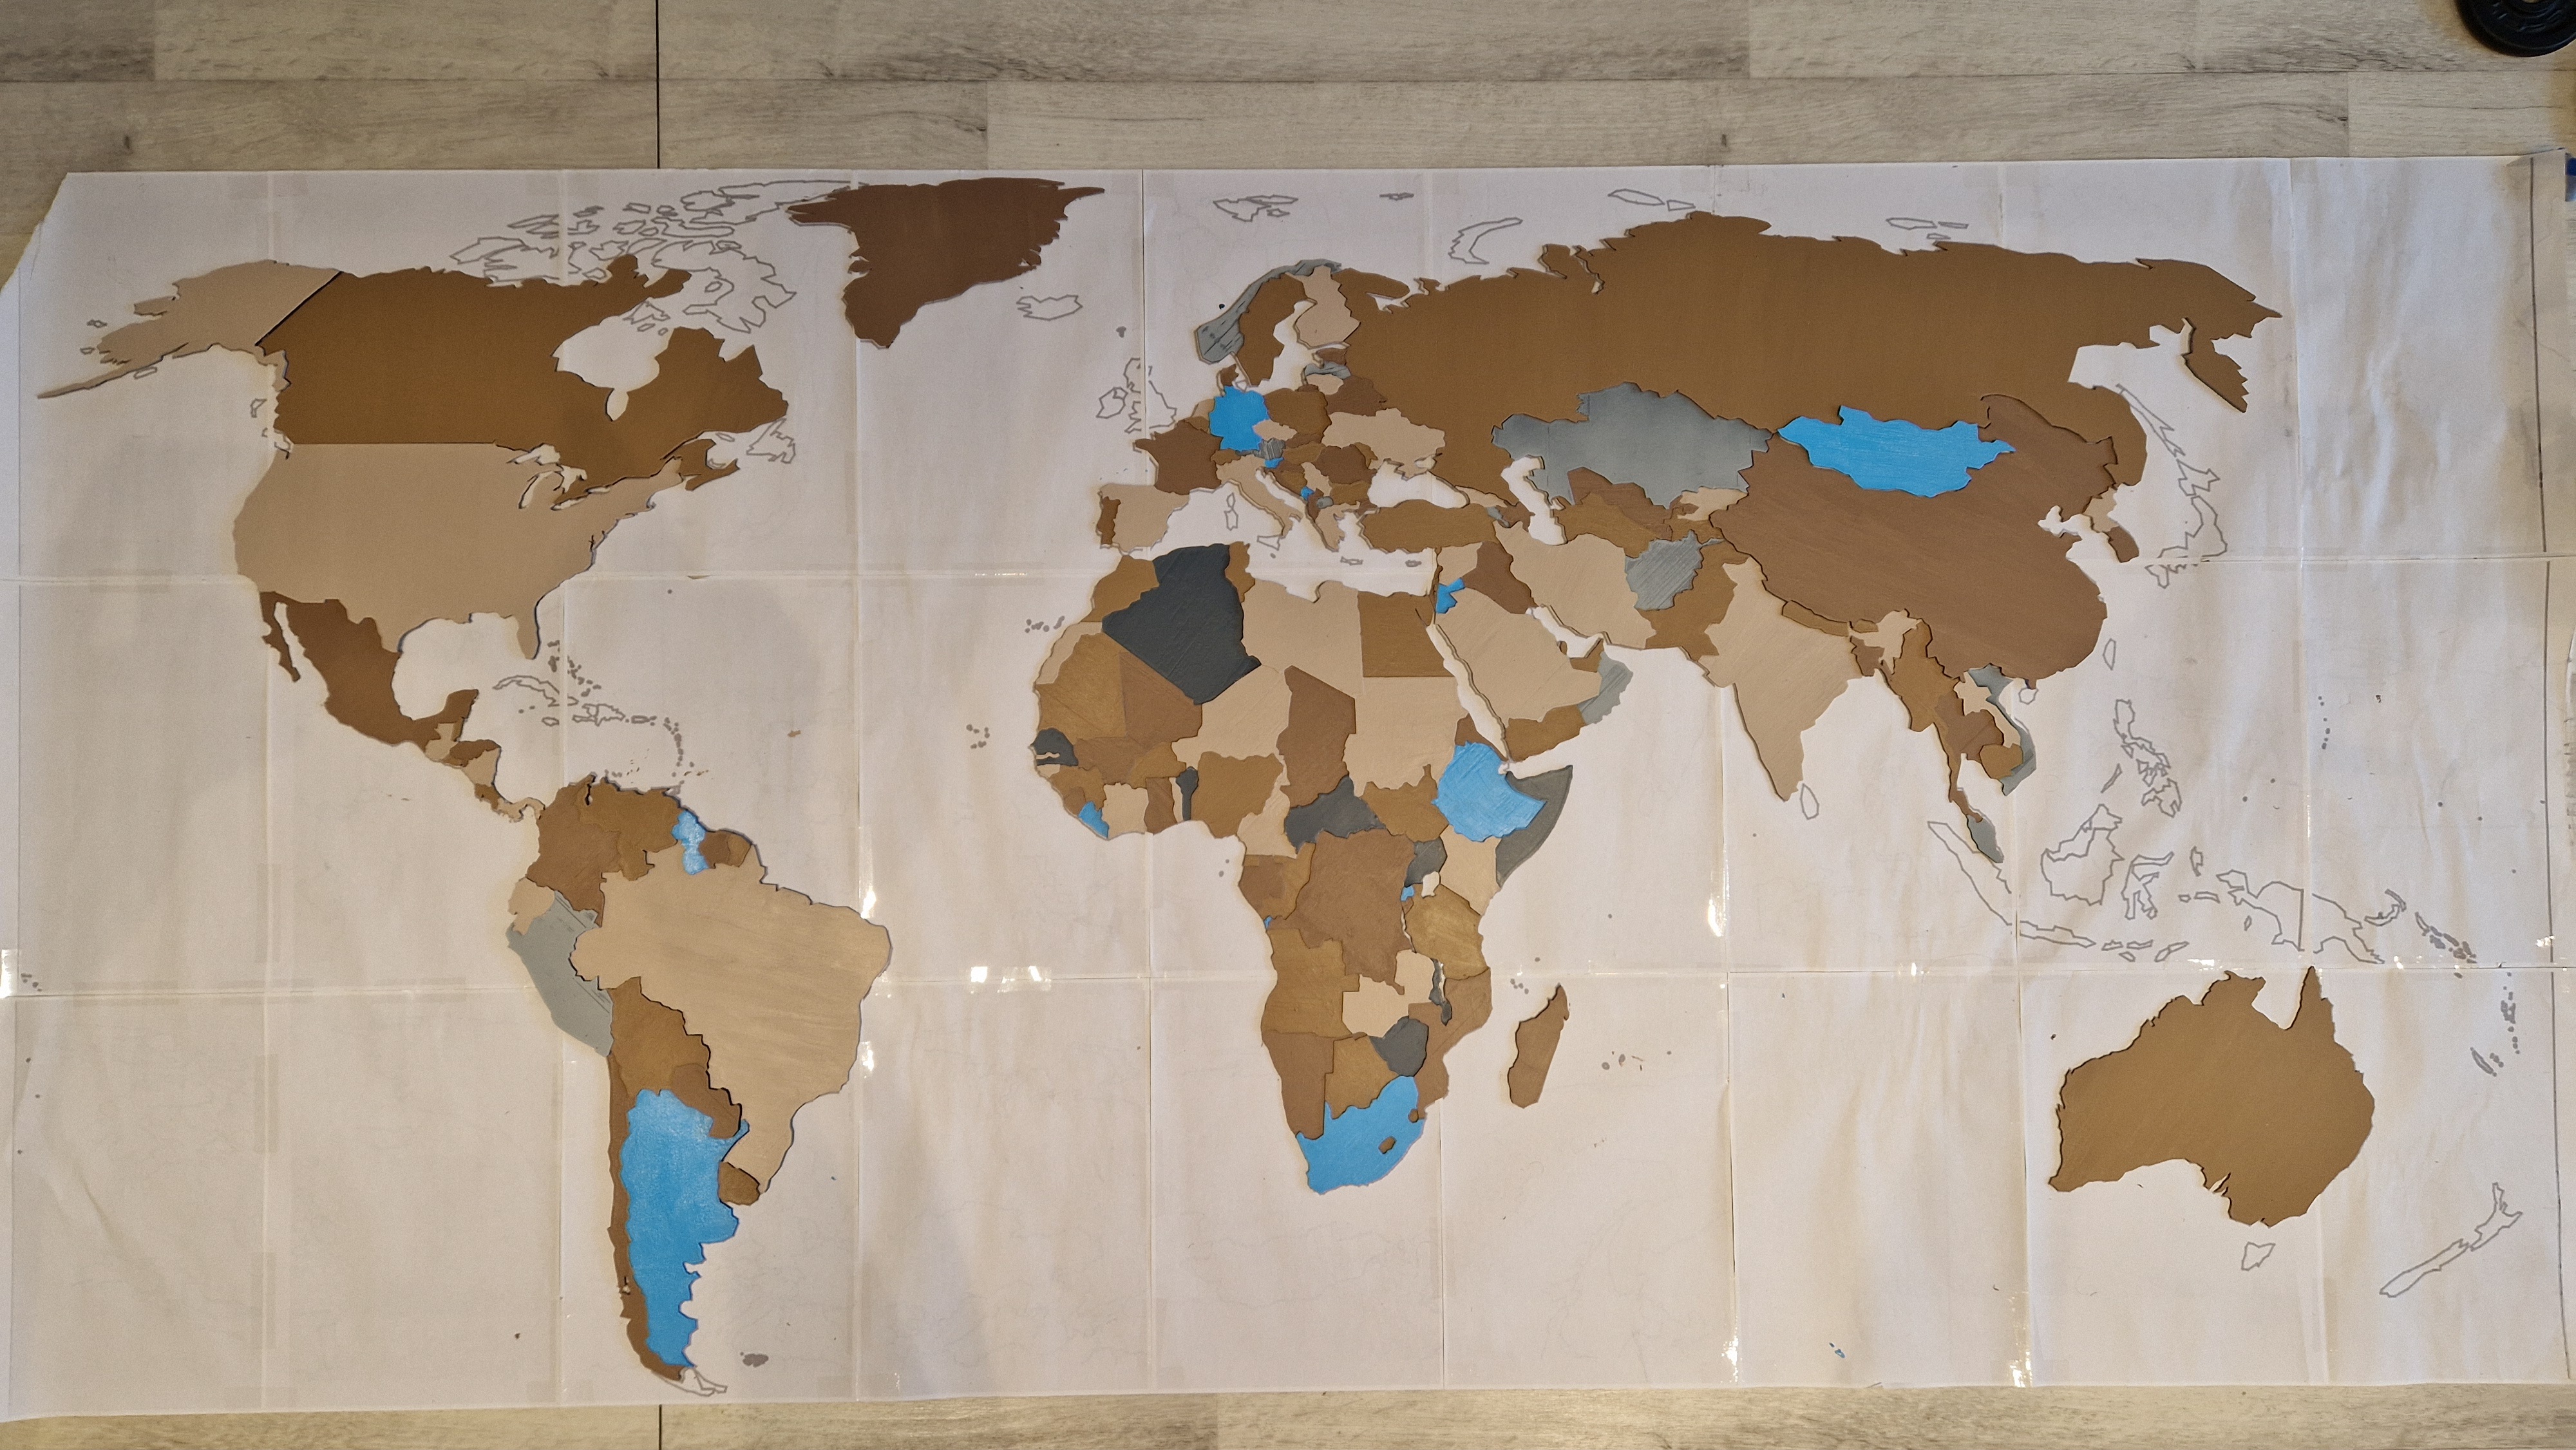
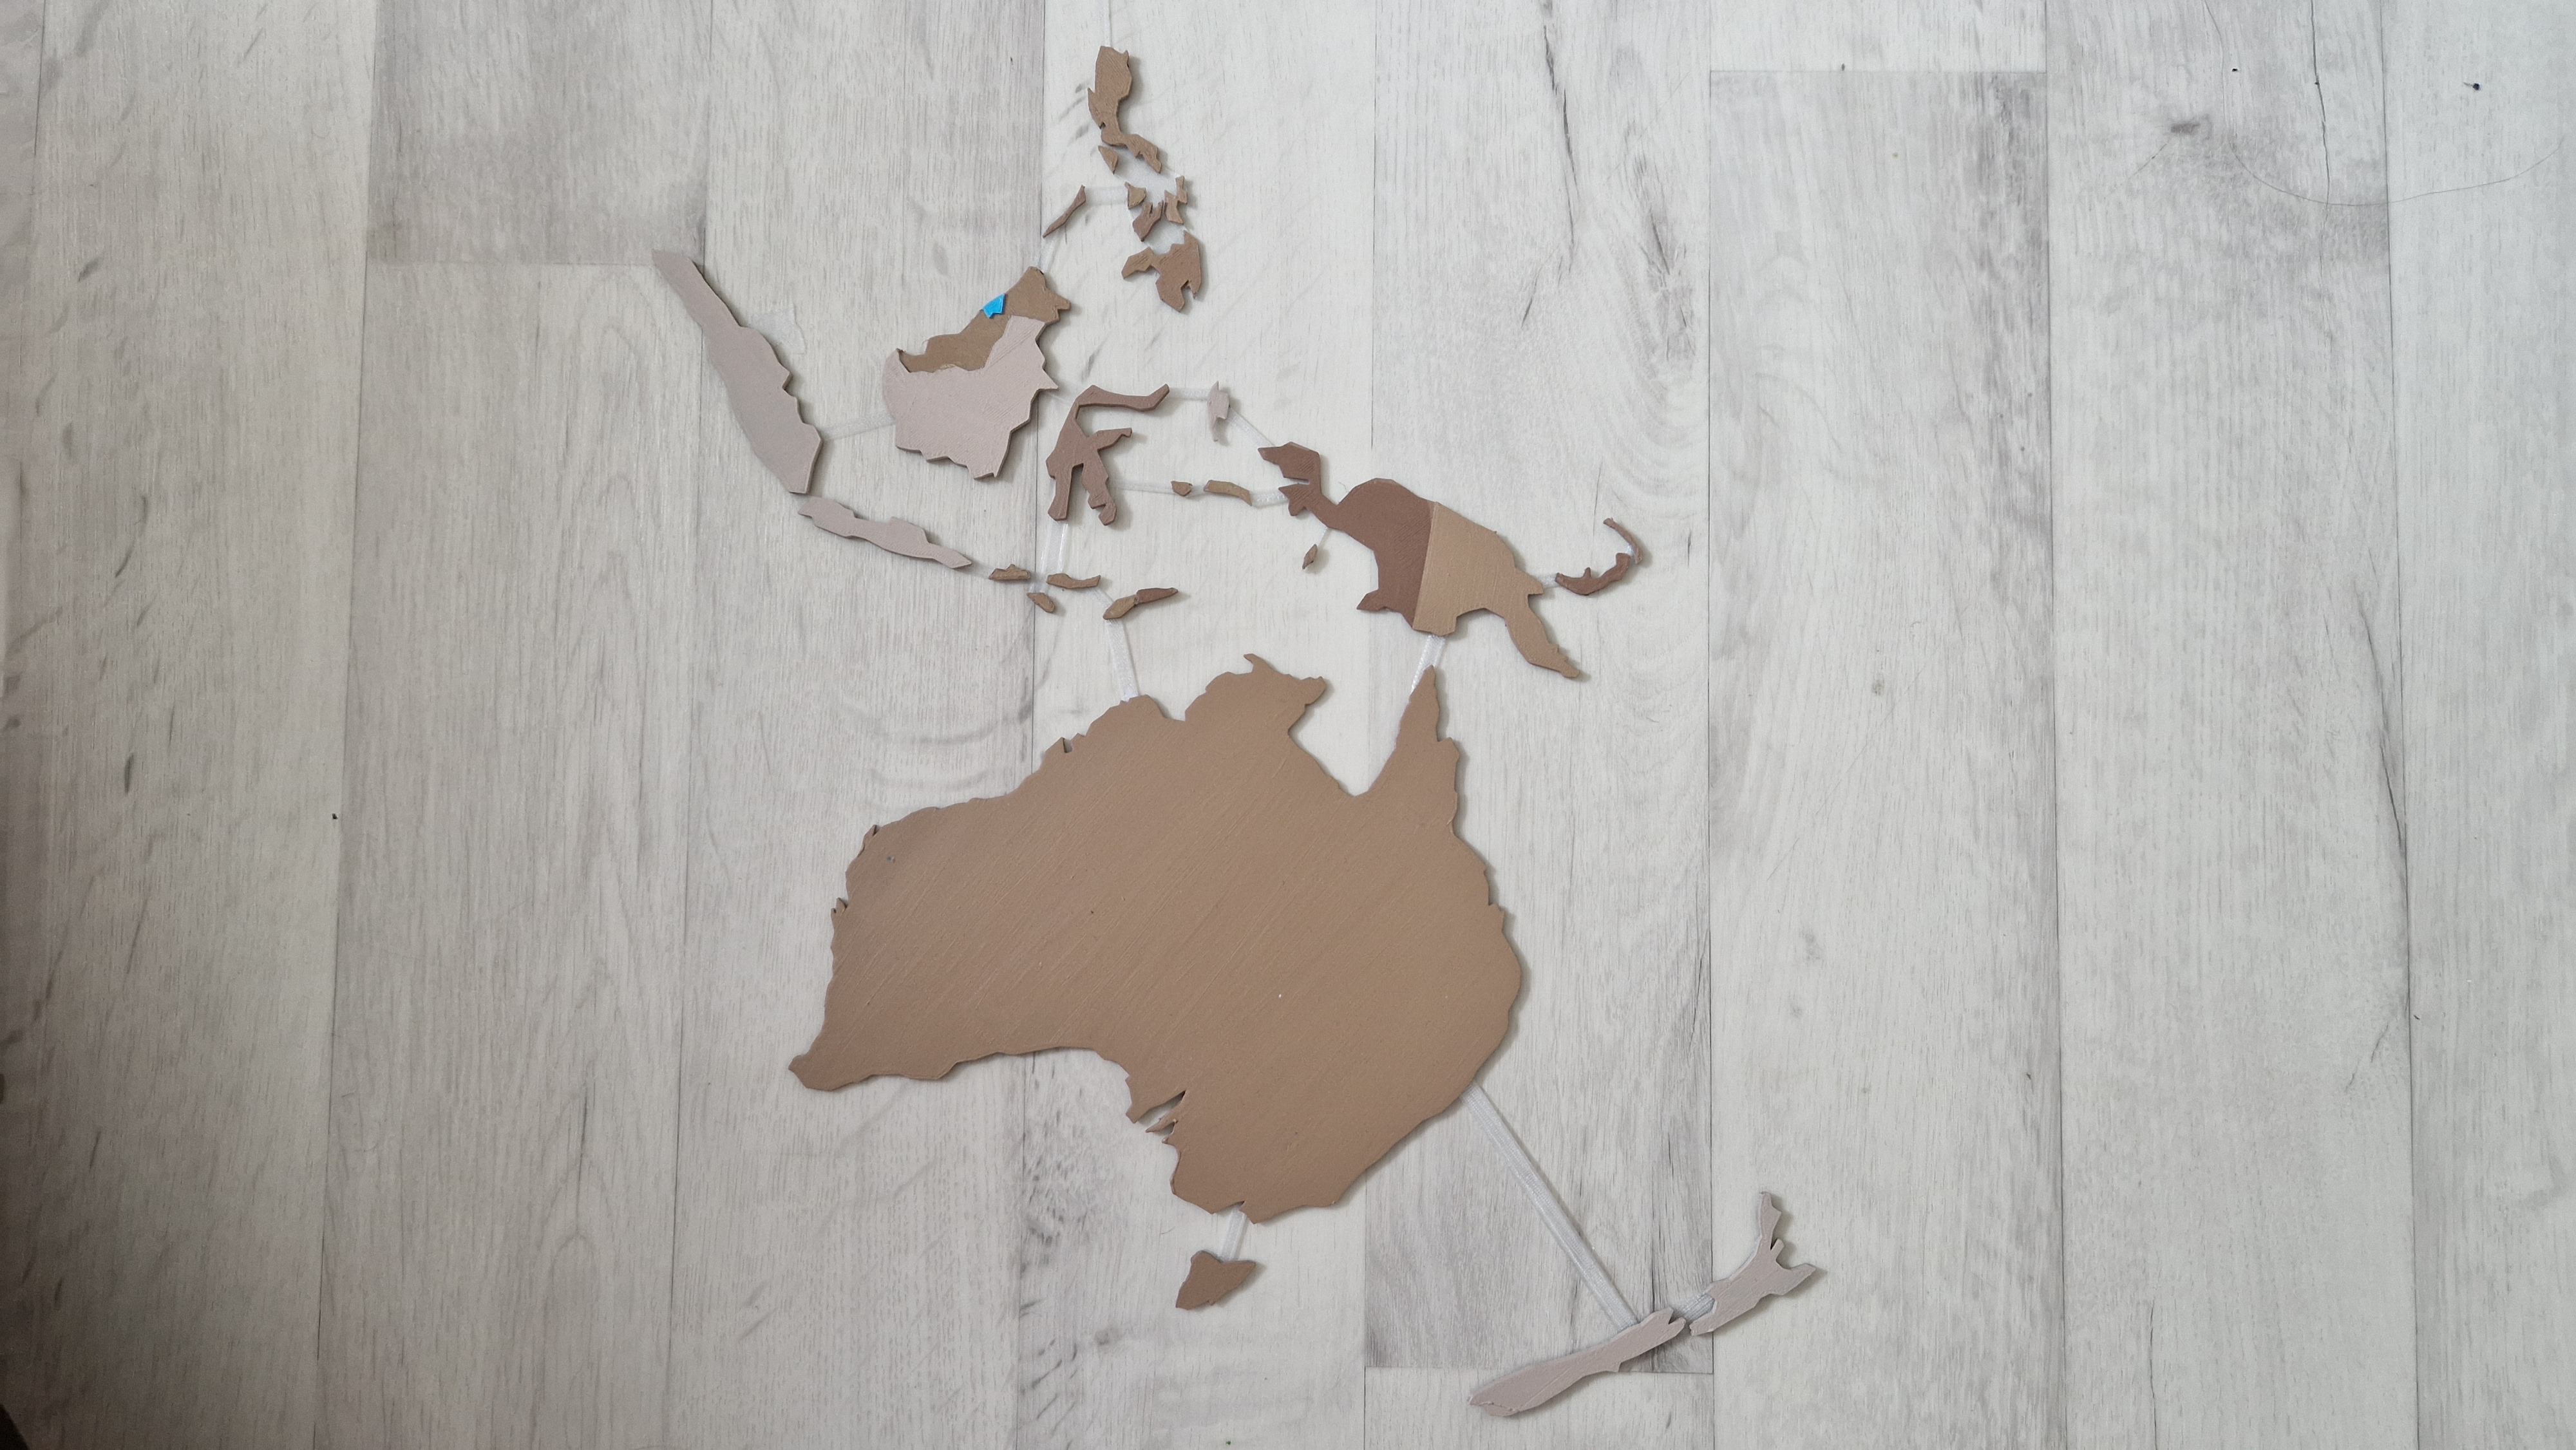
I experimented with different colors in Fusion 360 and finally decided on a color scheme. Although I made some changes during the painting process, the overall look was cohesive and vibrant.
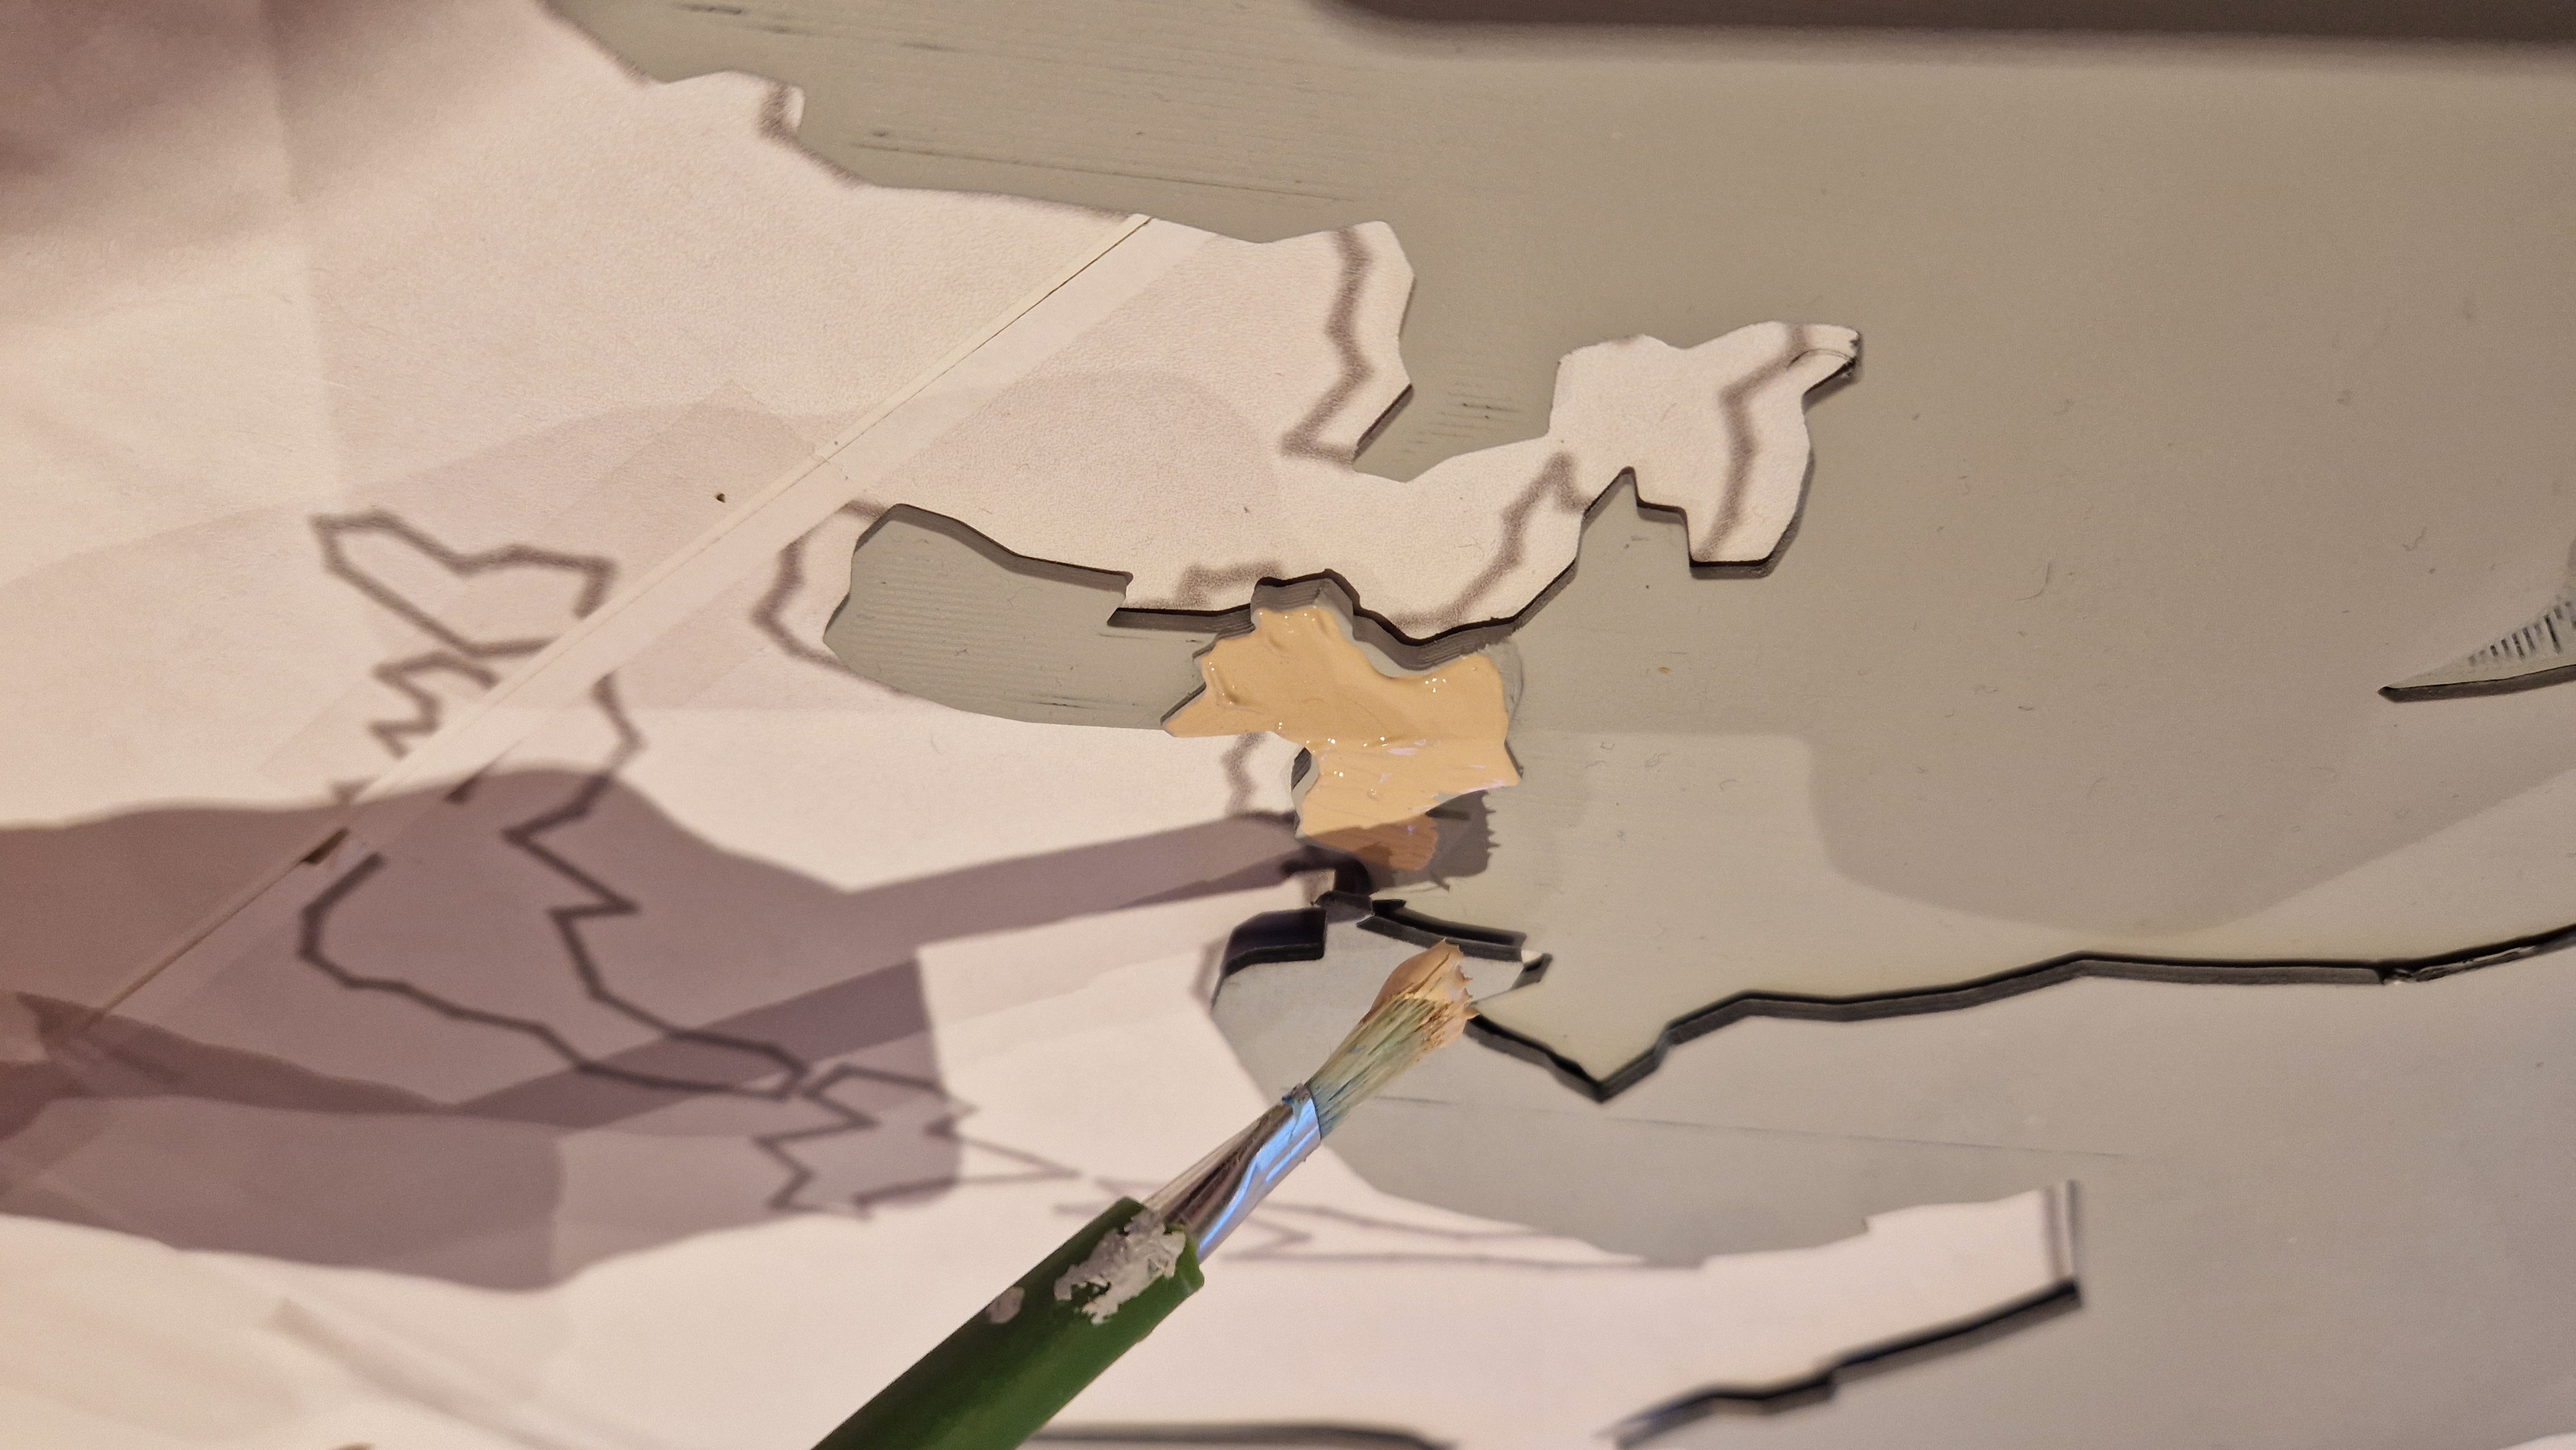
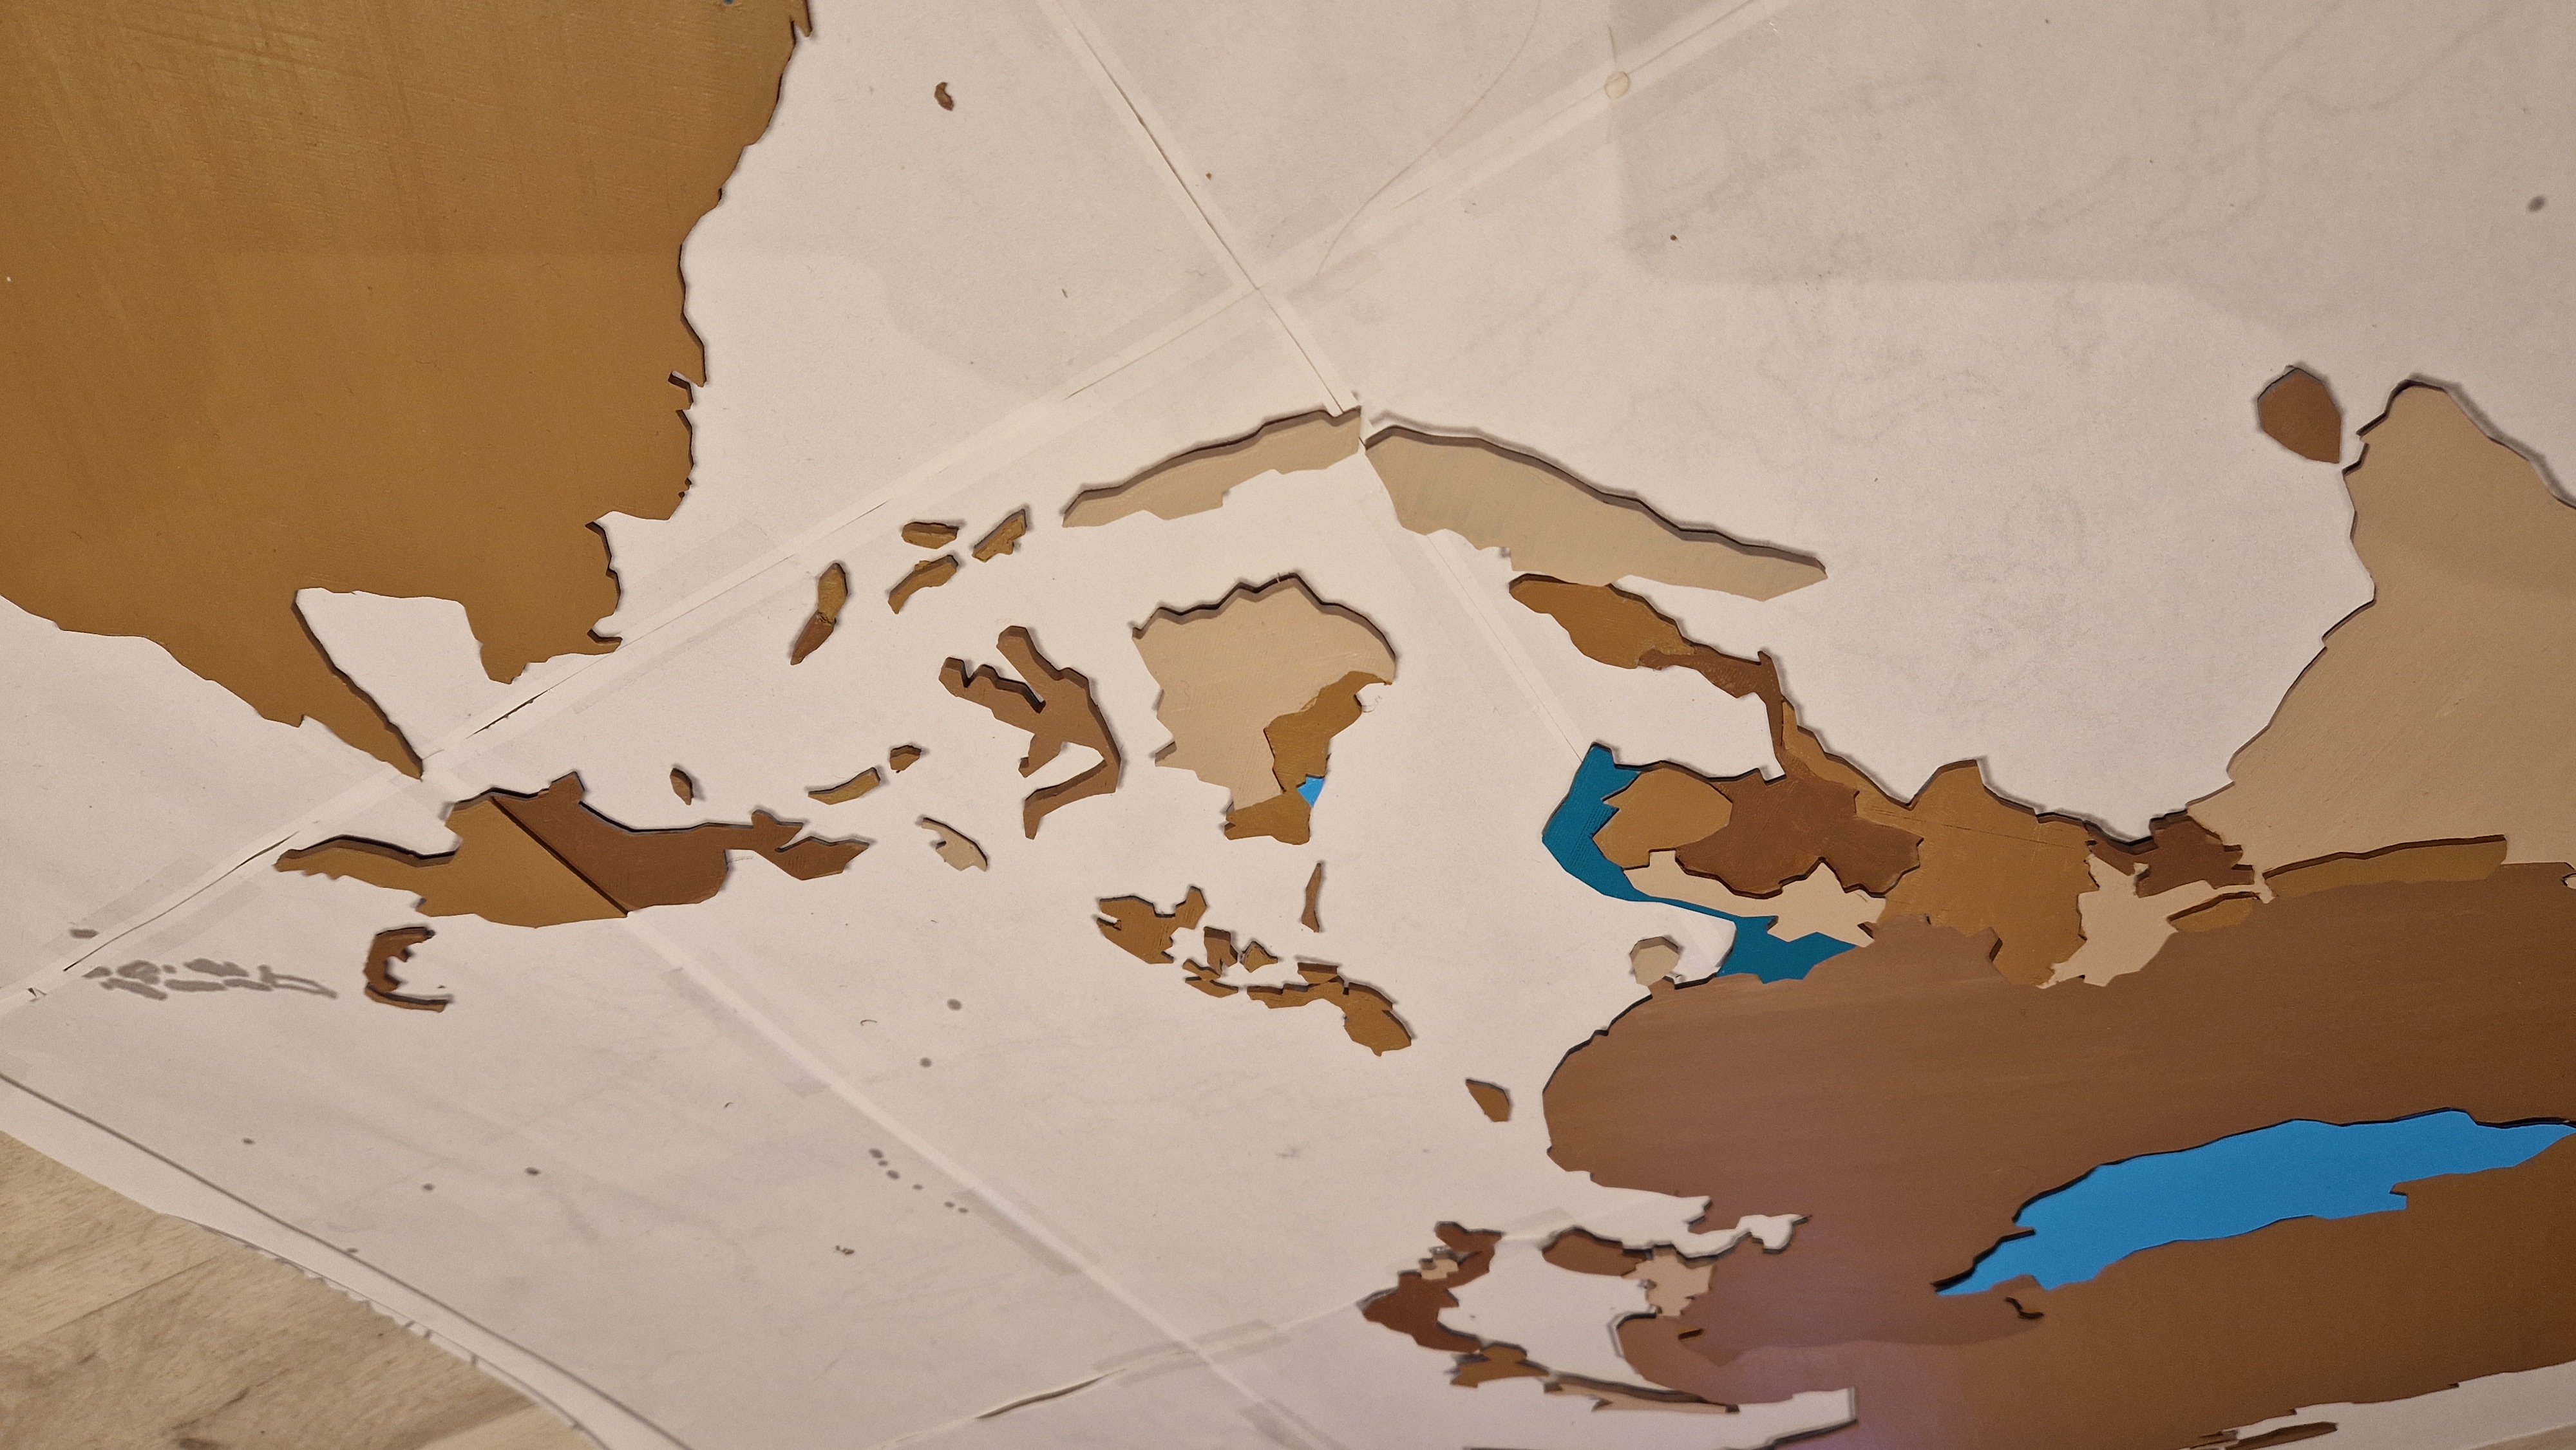
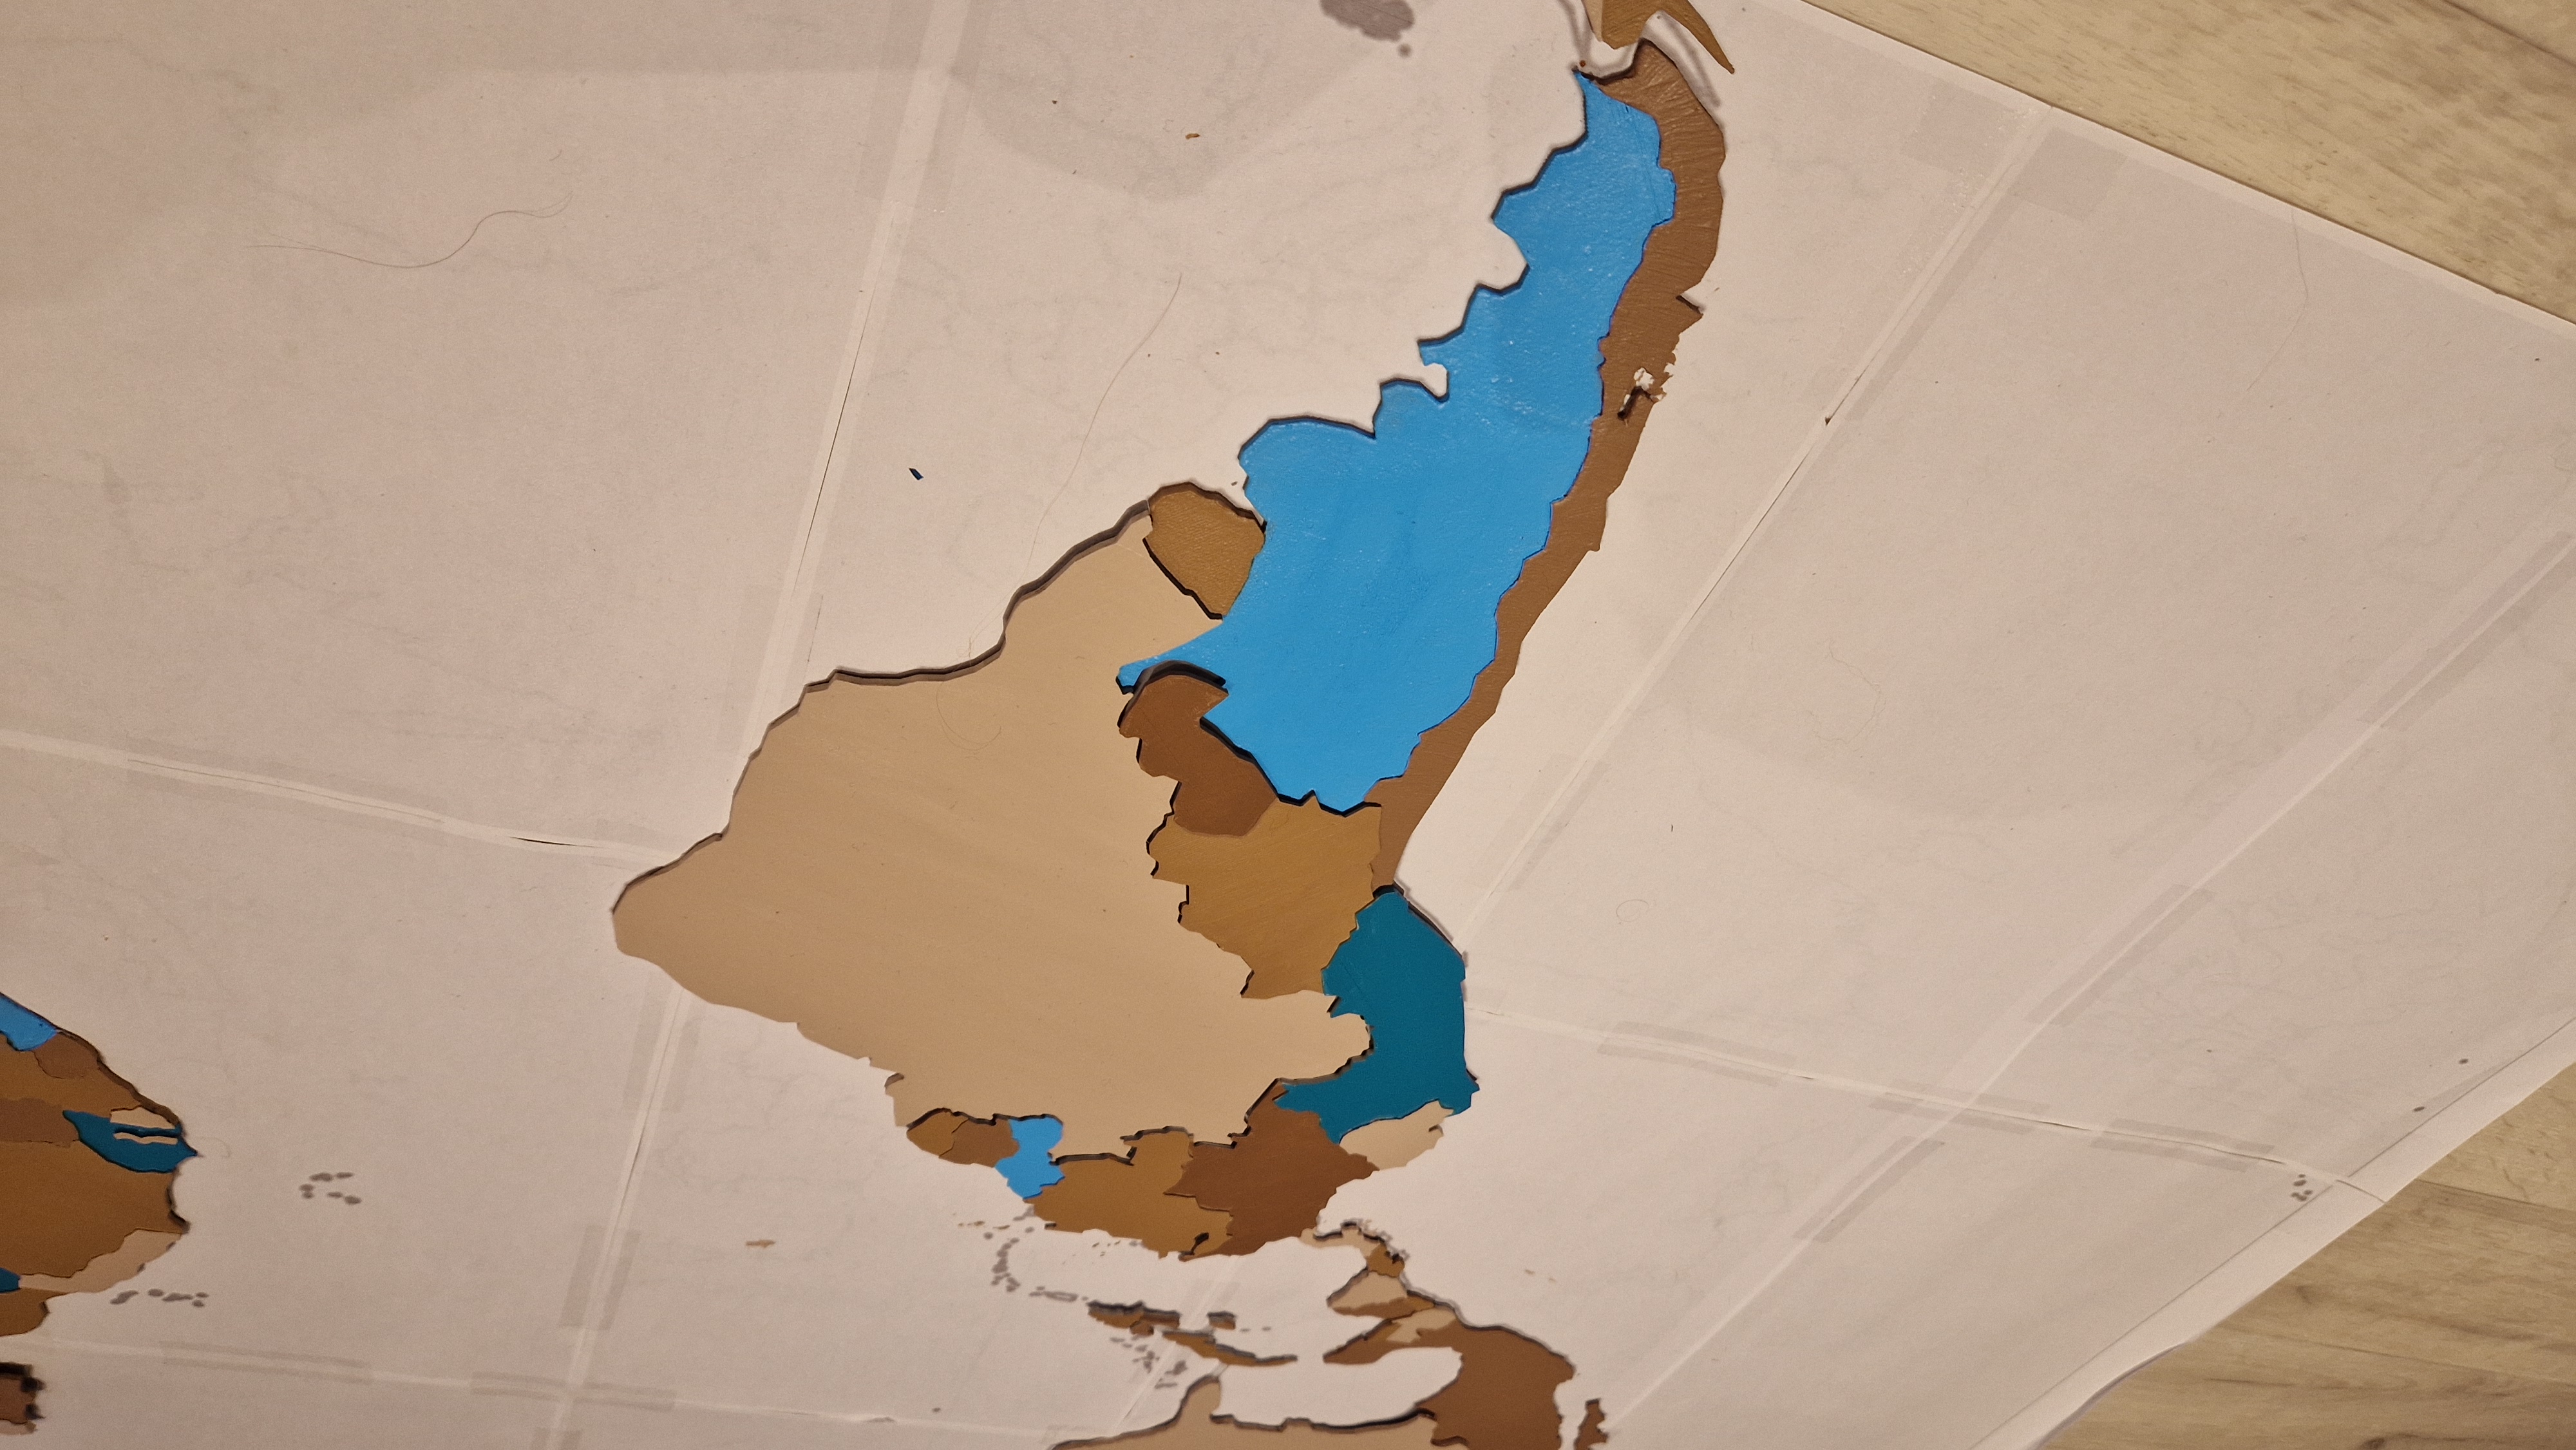
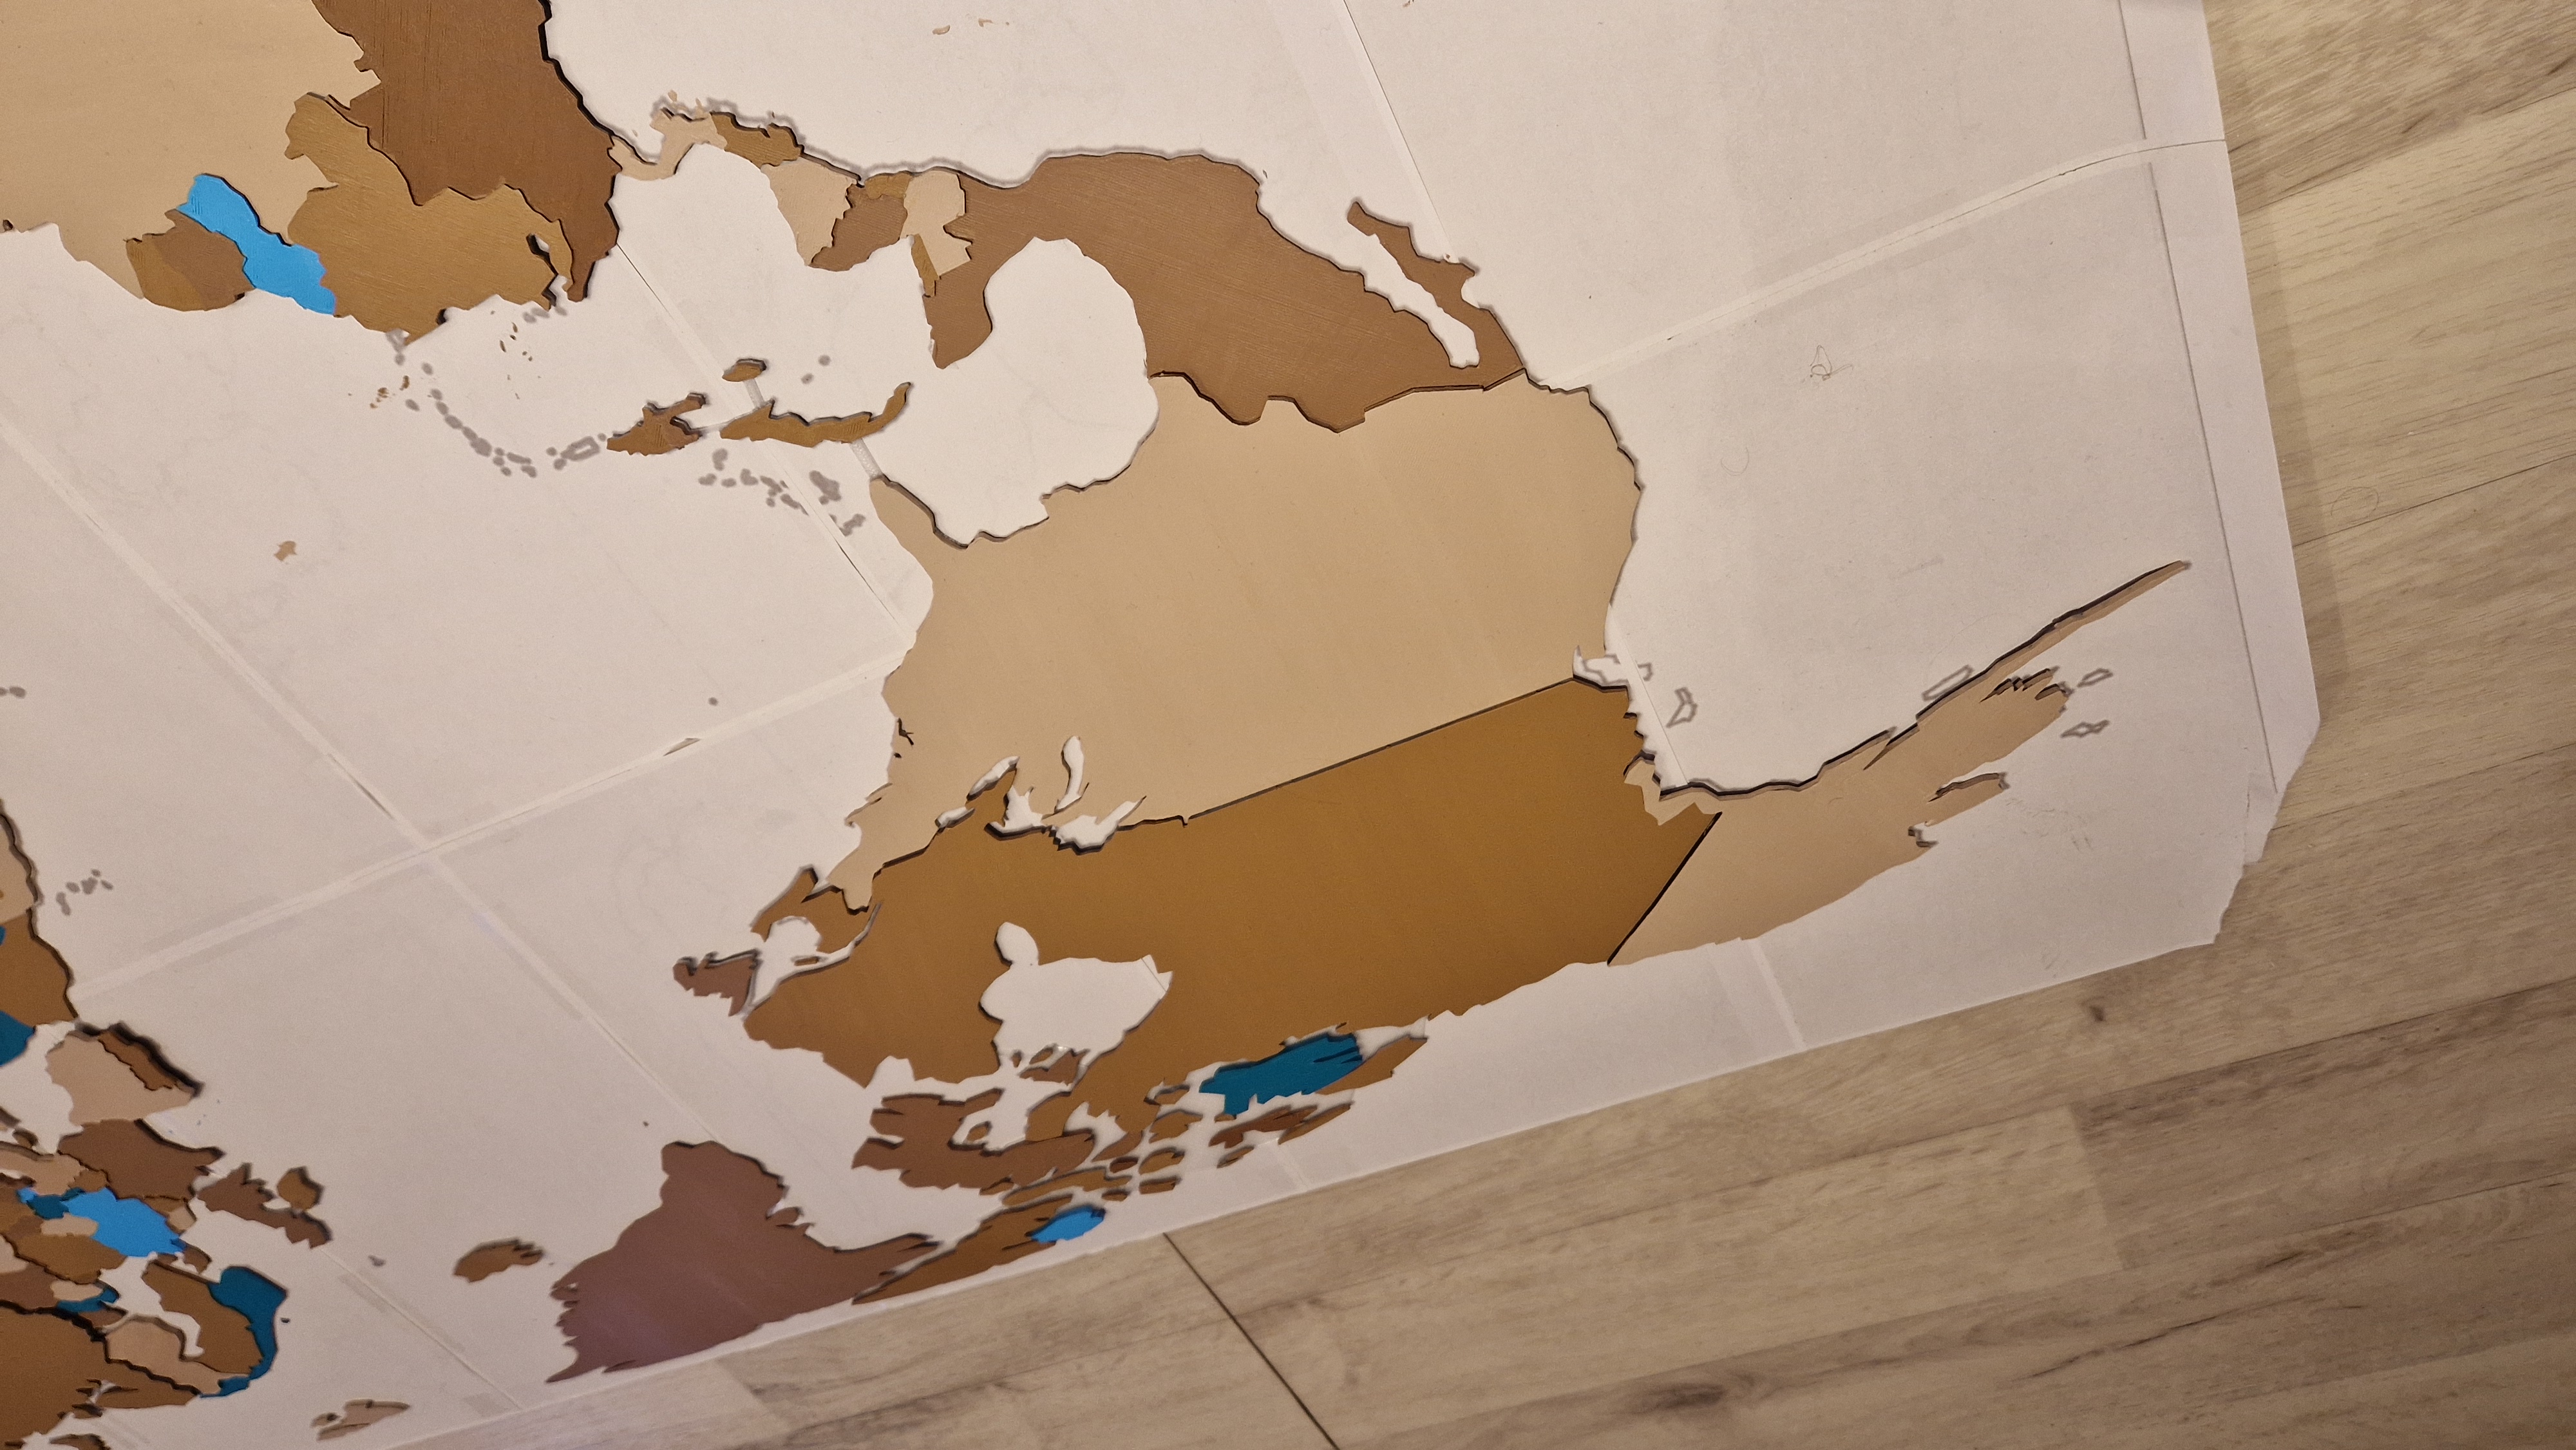
The painting process was the most creative part. Each country was painted according to the selected color scheme. Here are some images of the painting process:


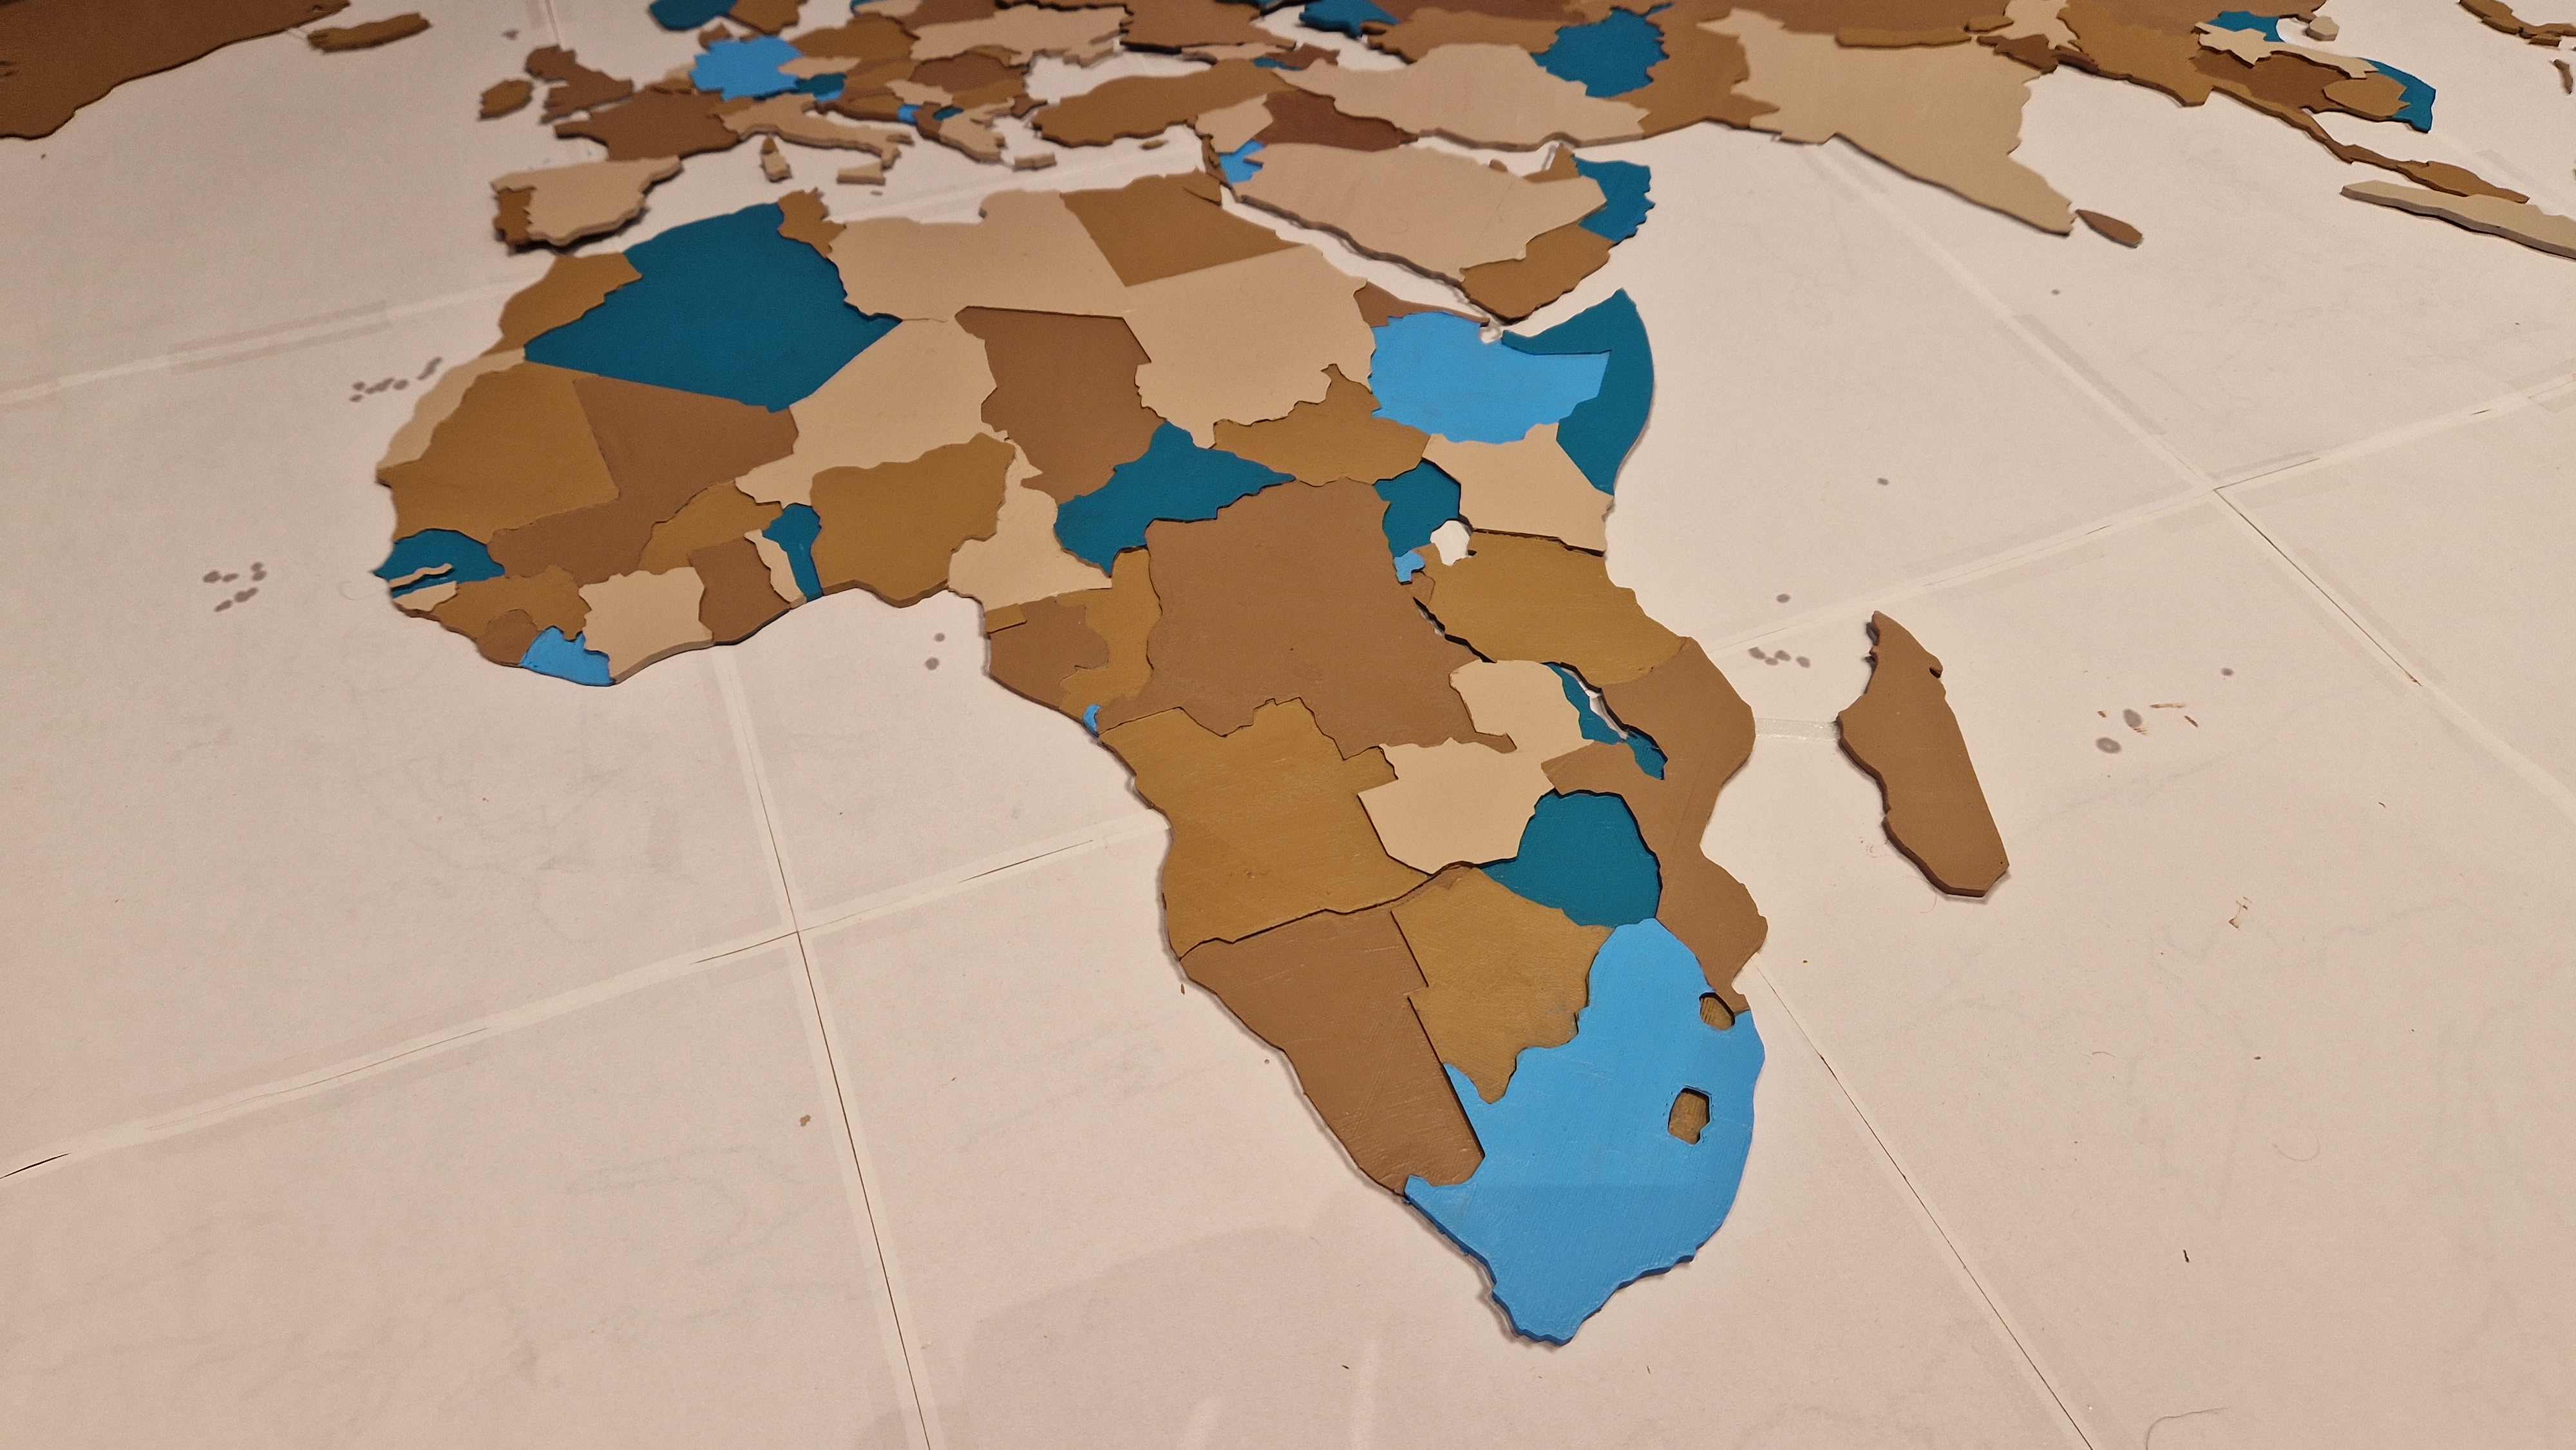
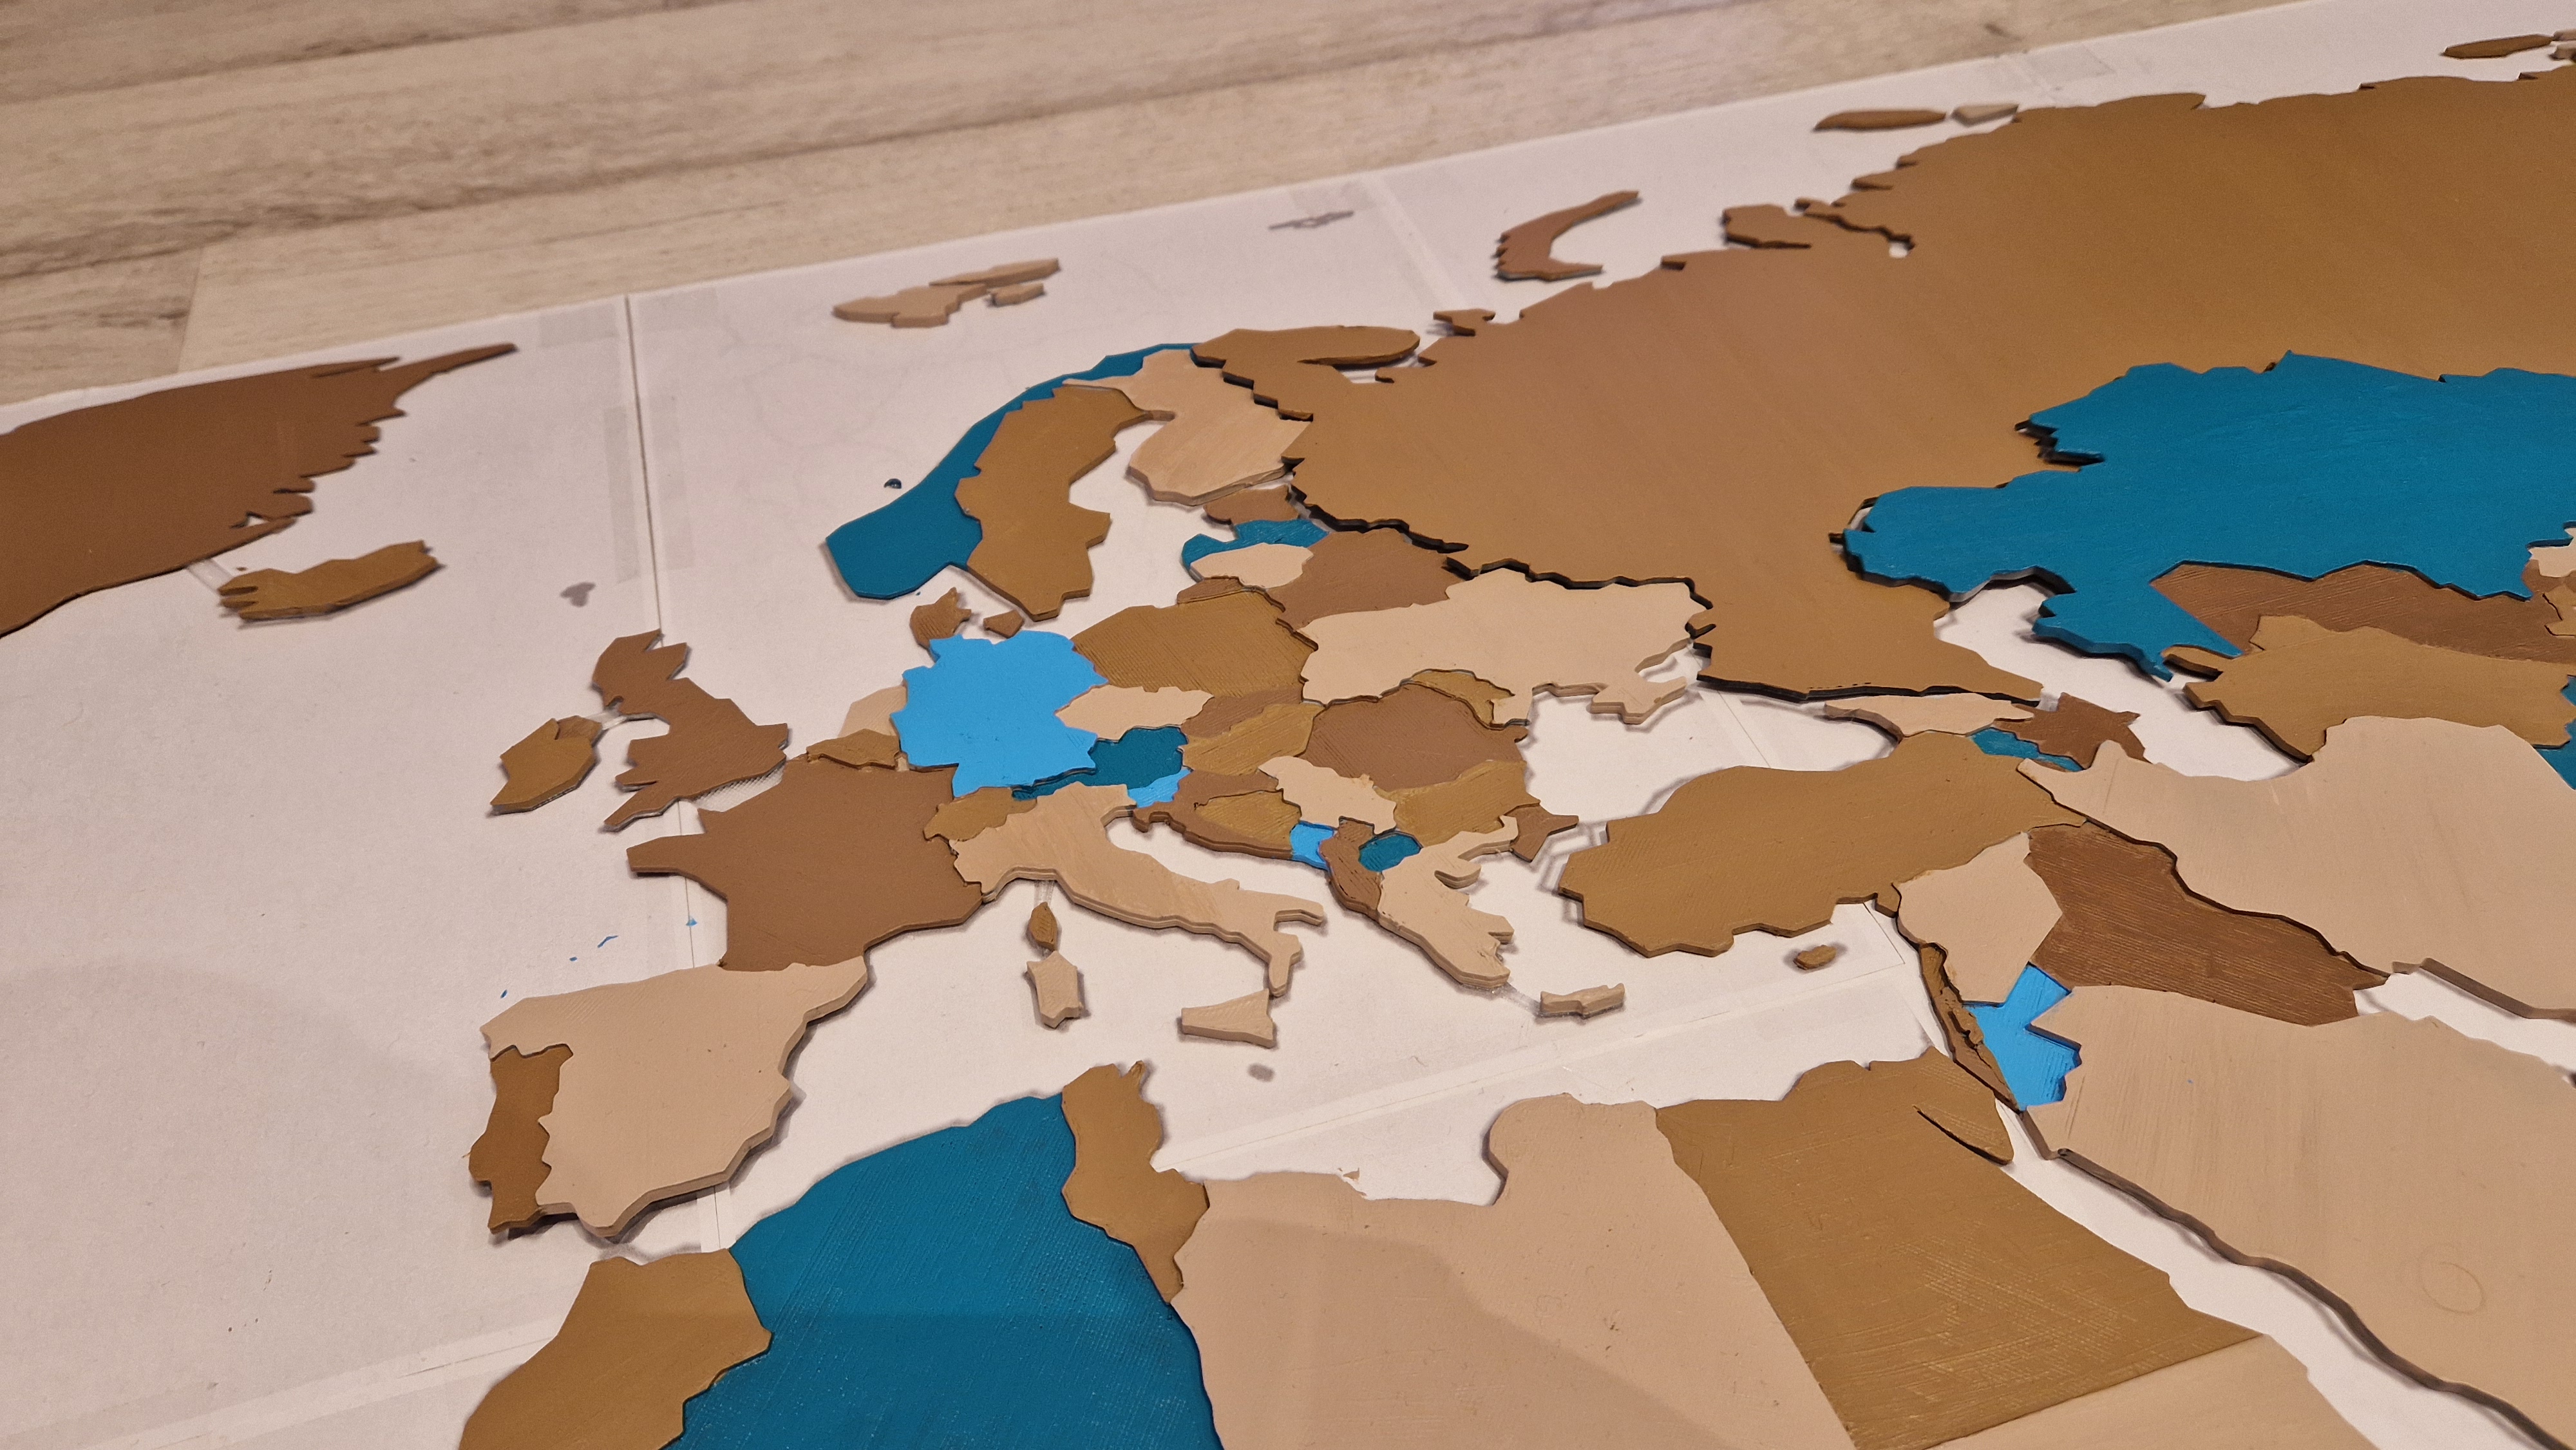
To make mounting easier, I created 3D models for the islands and glued them together with the main continents.
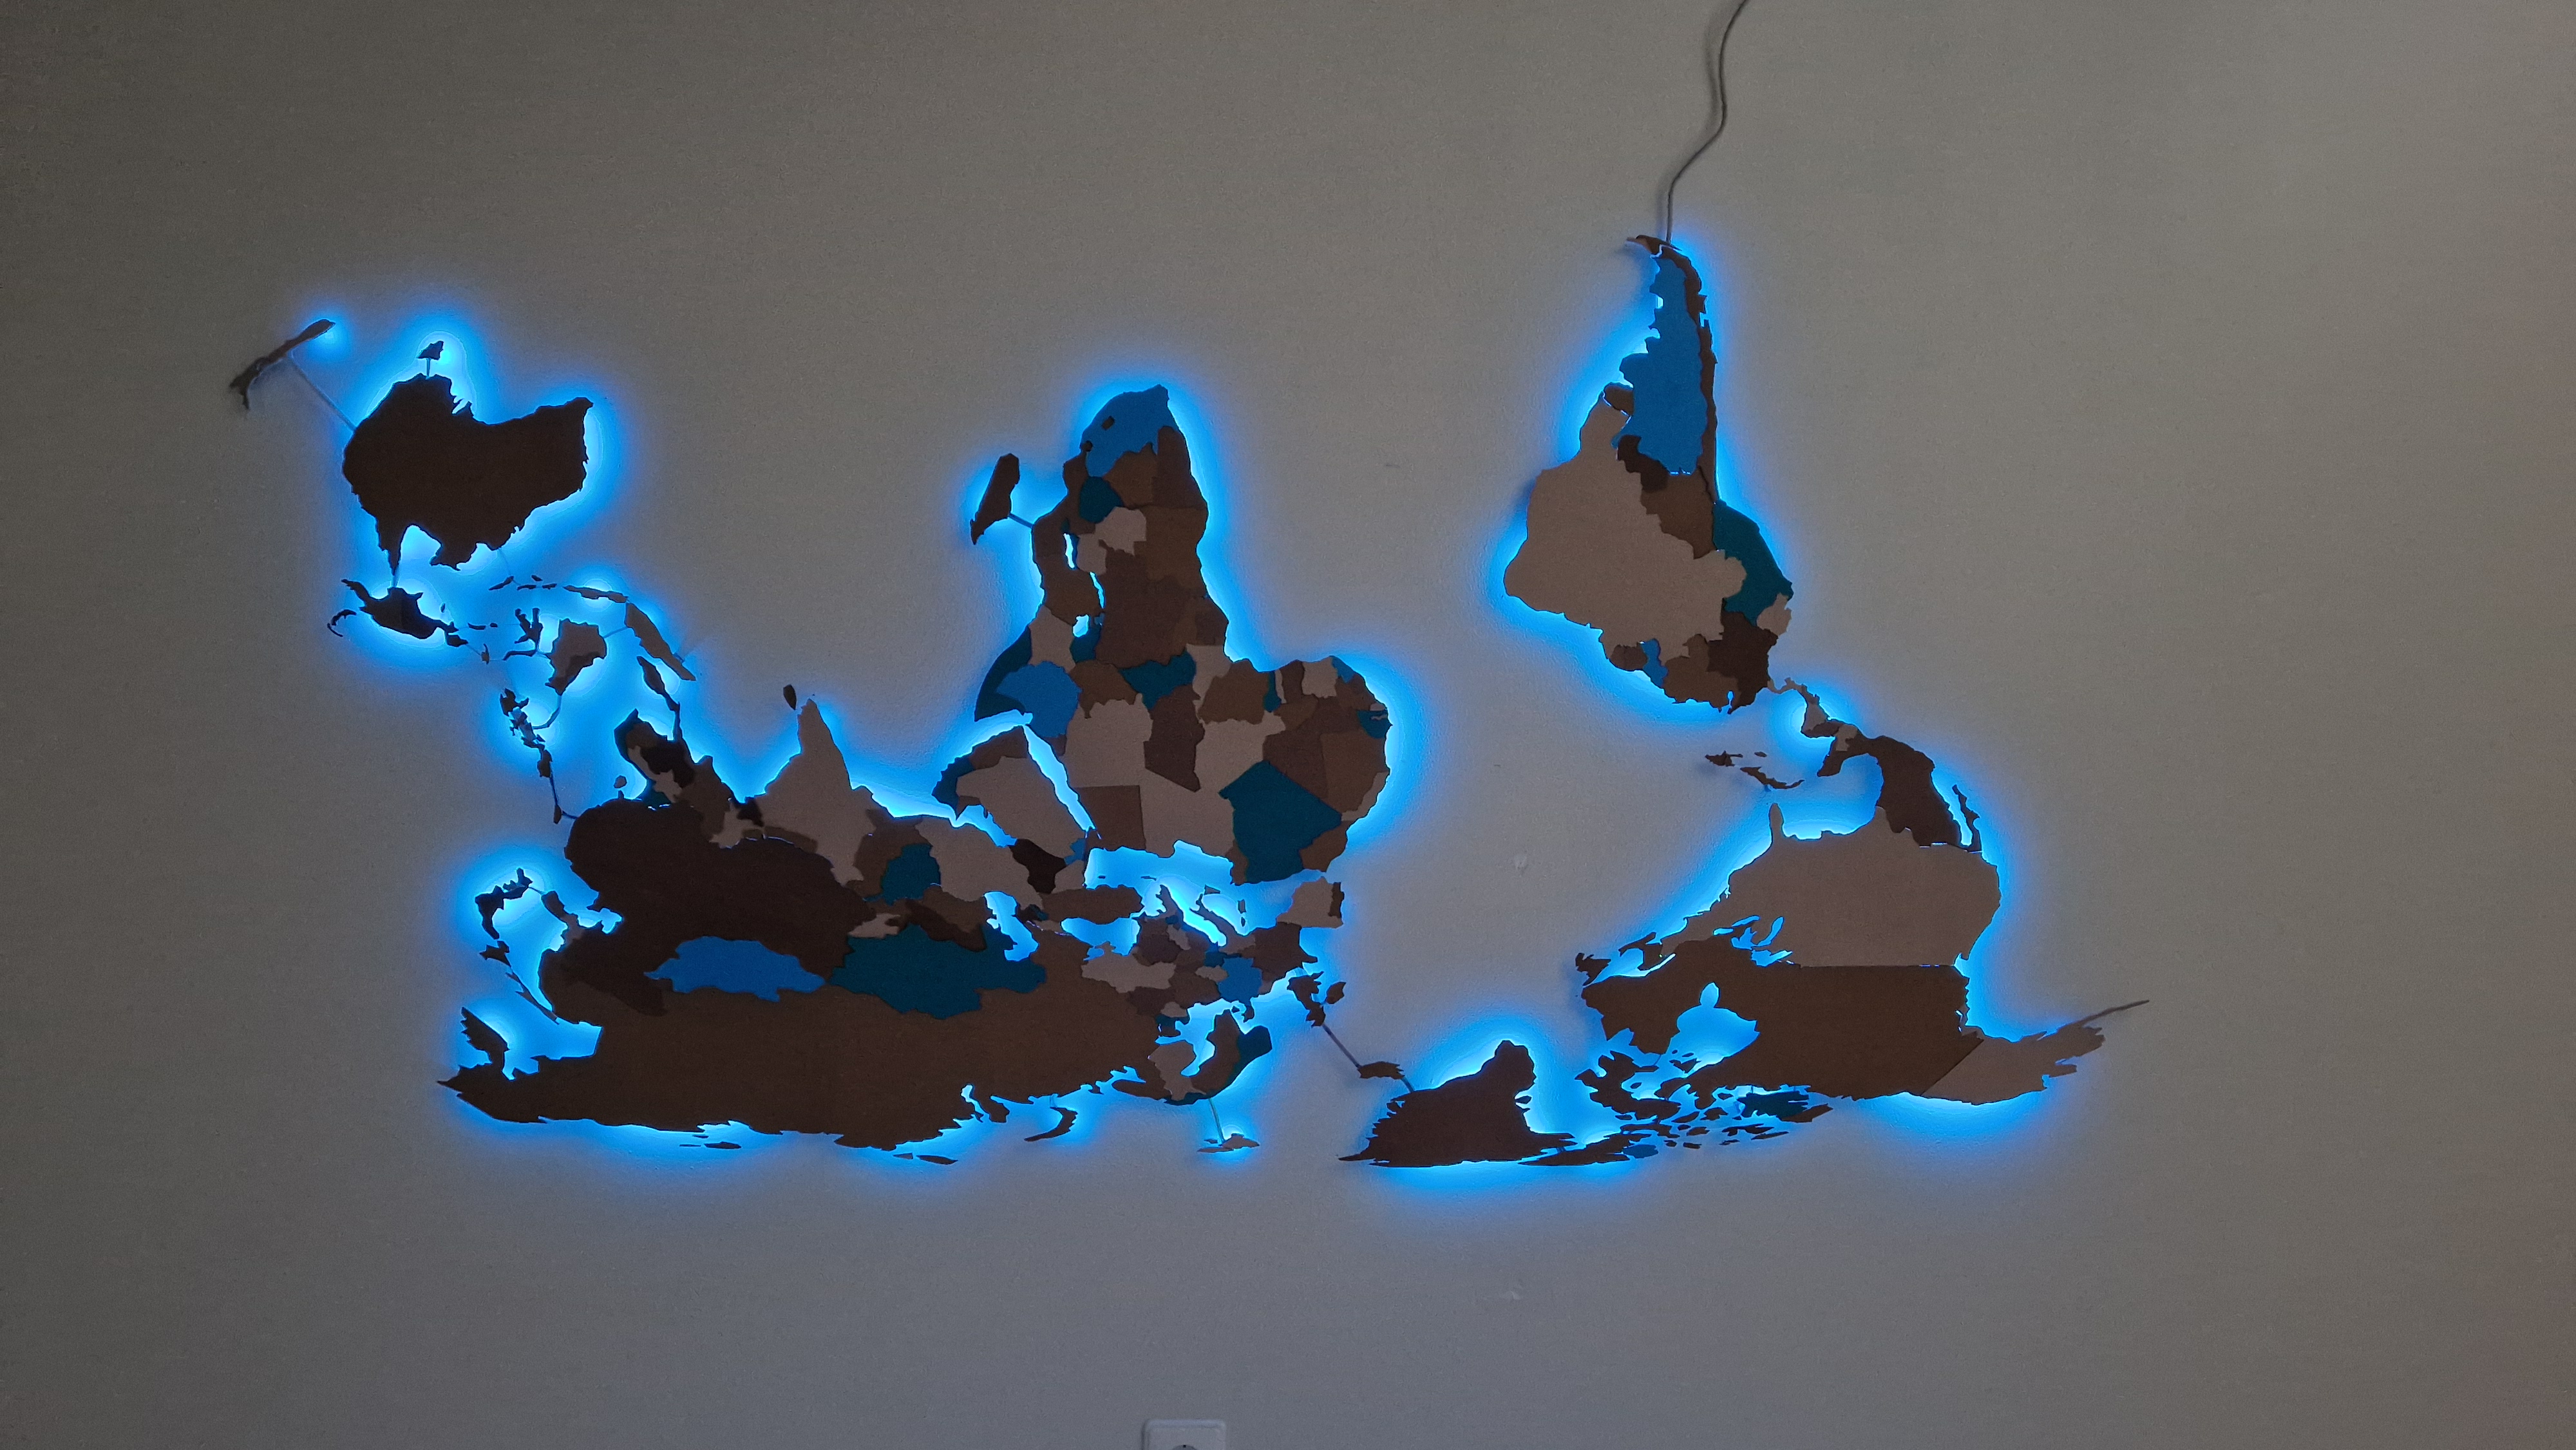
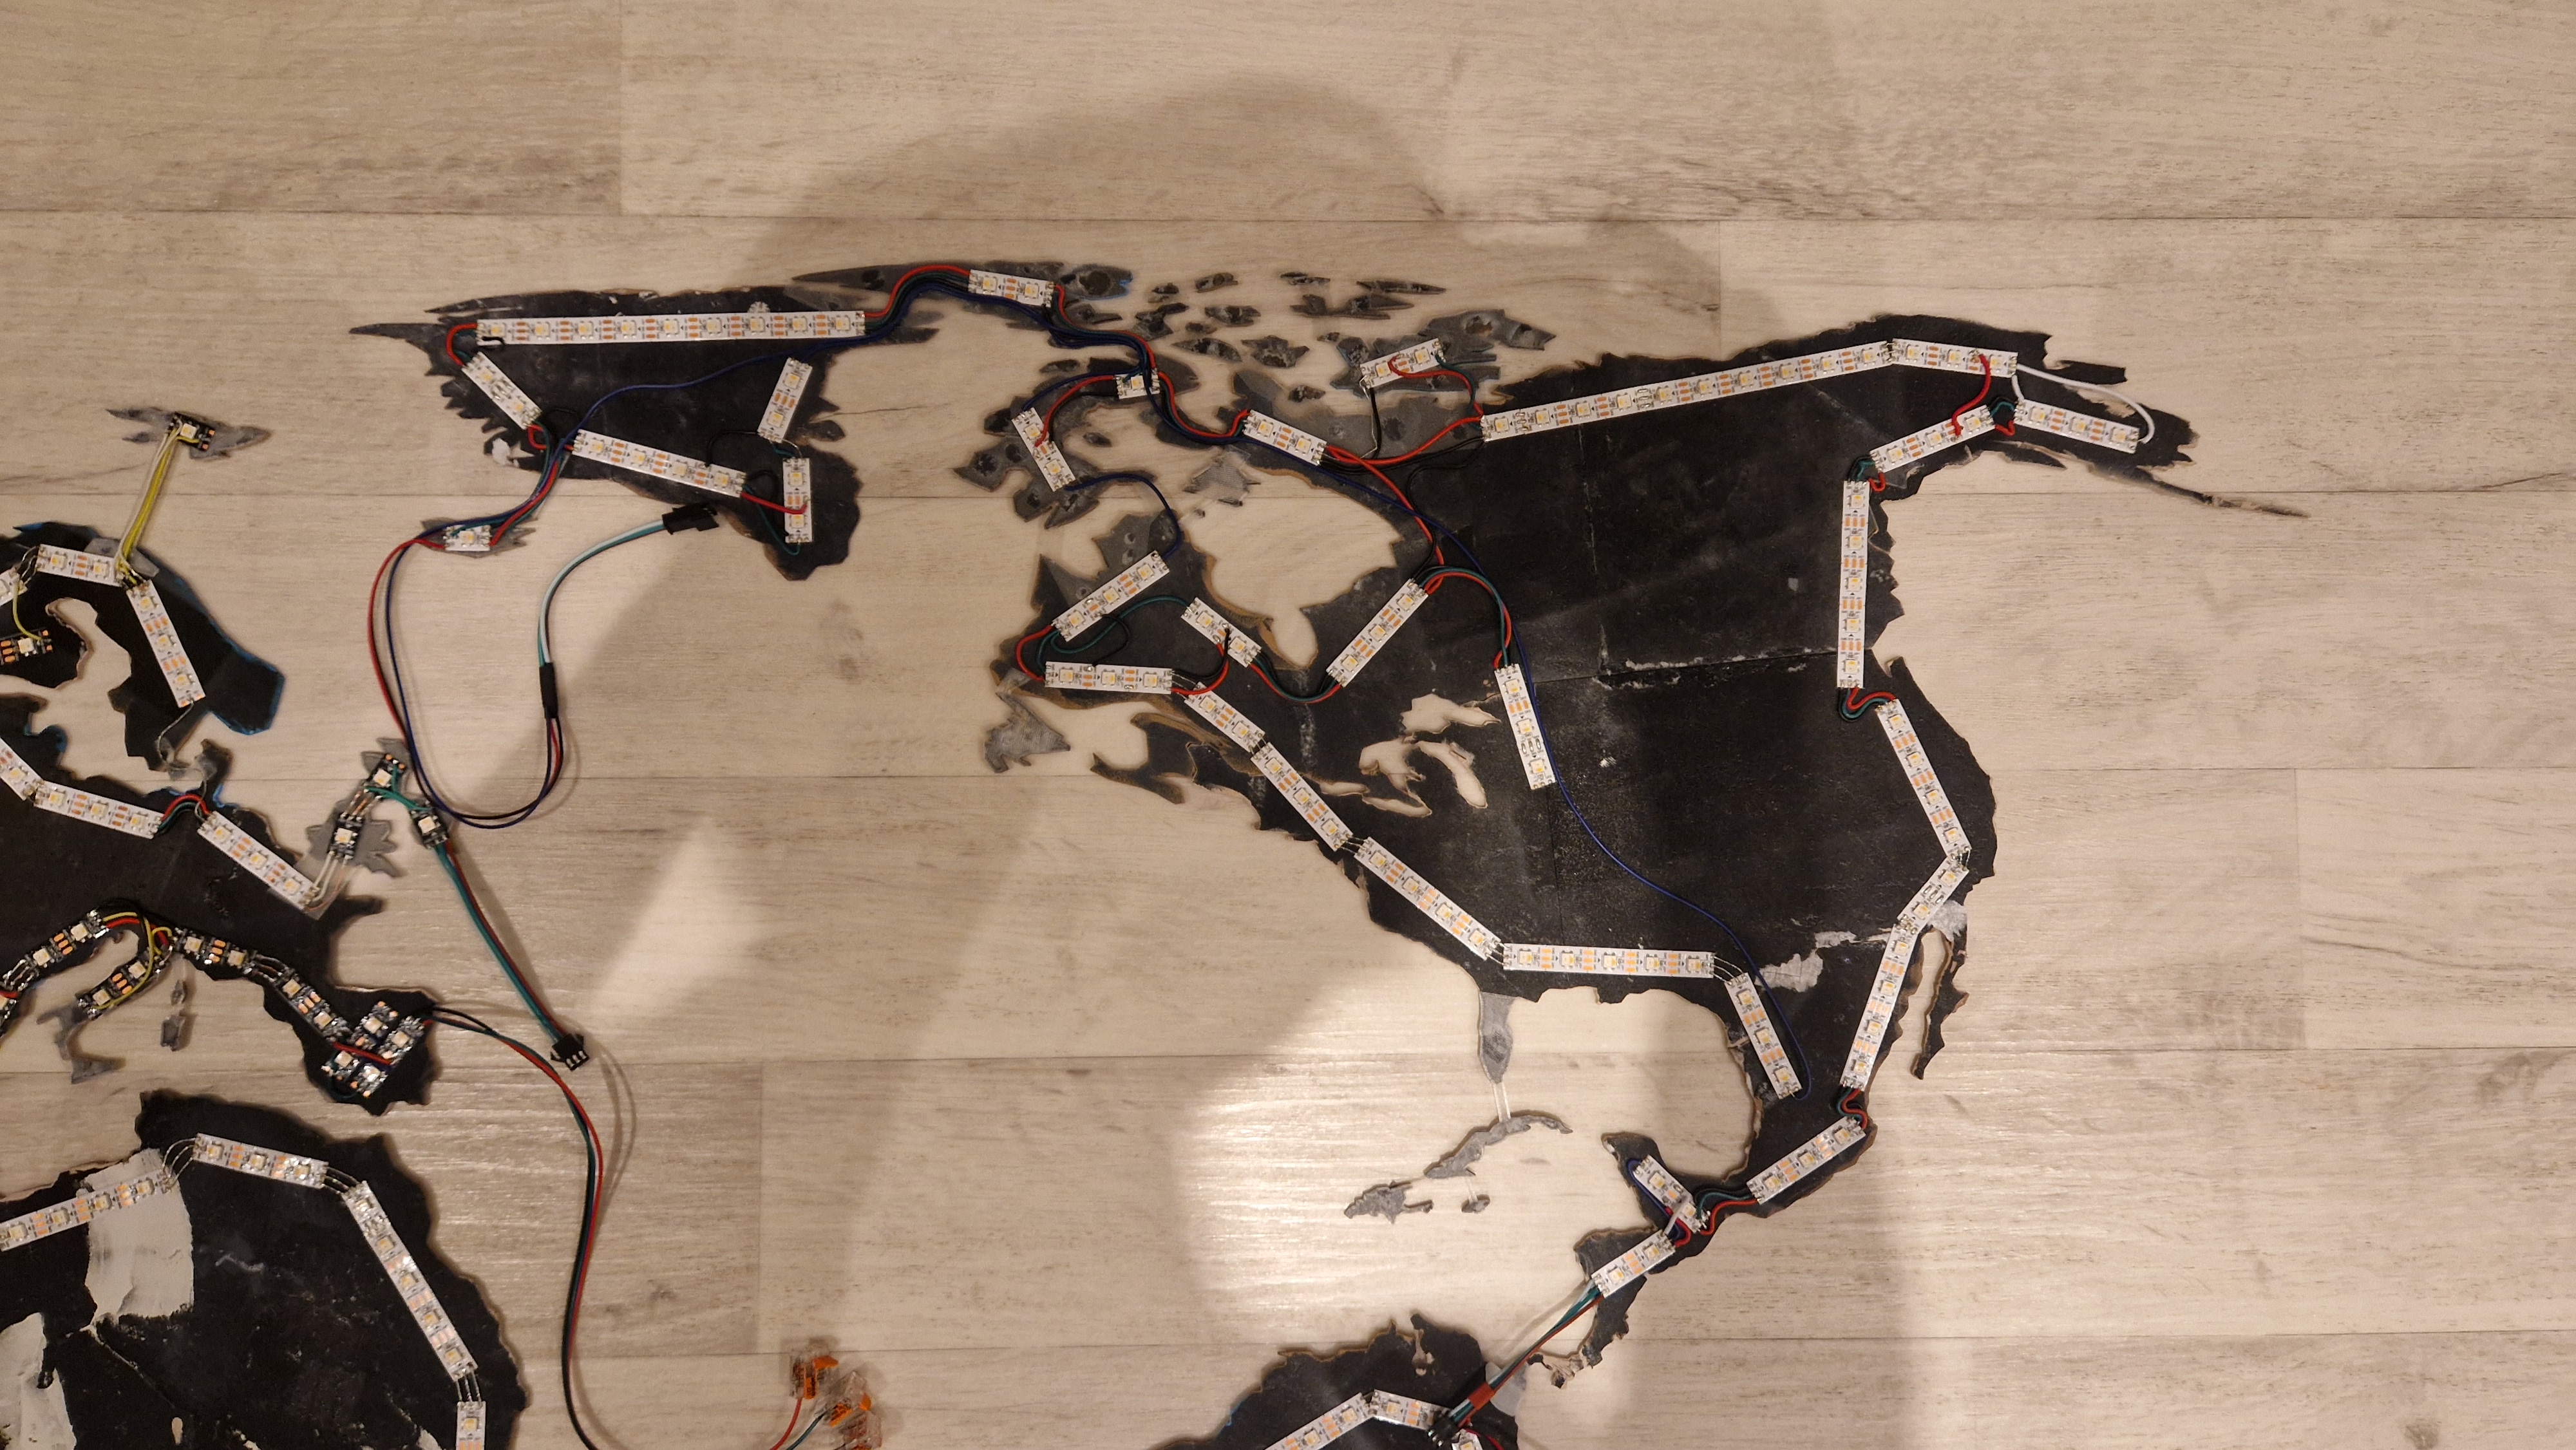
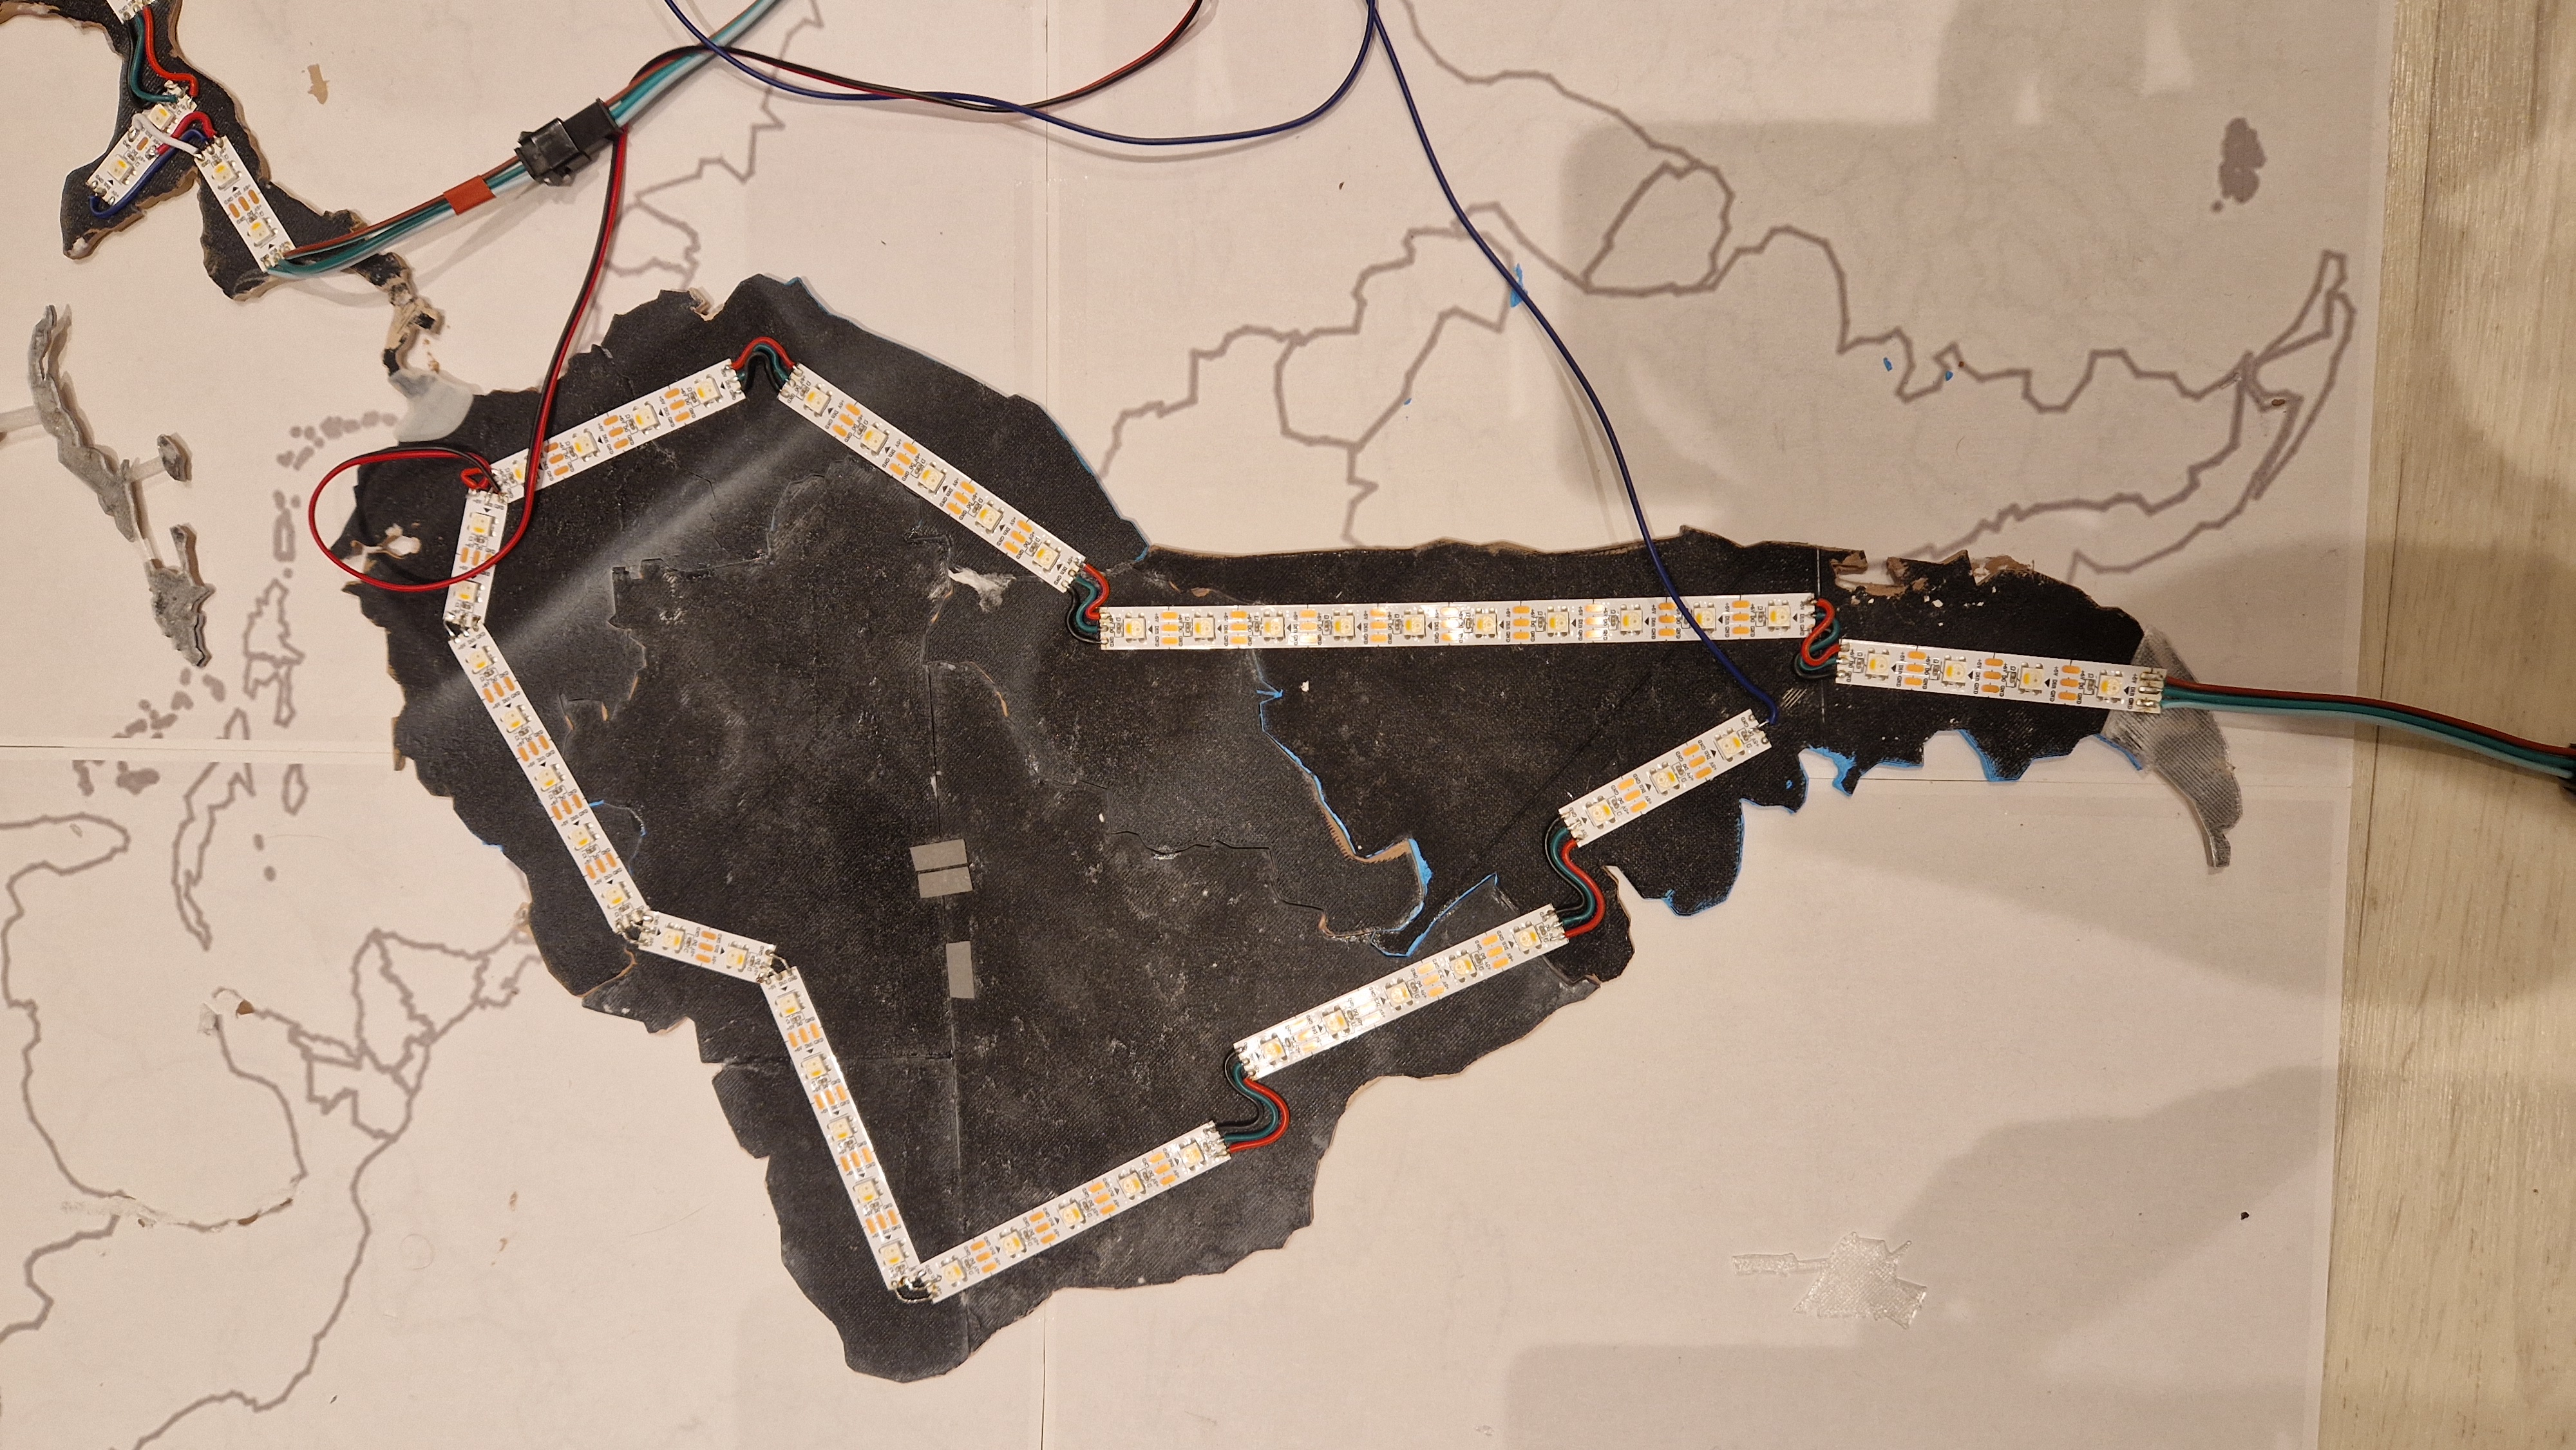
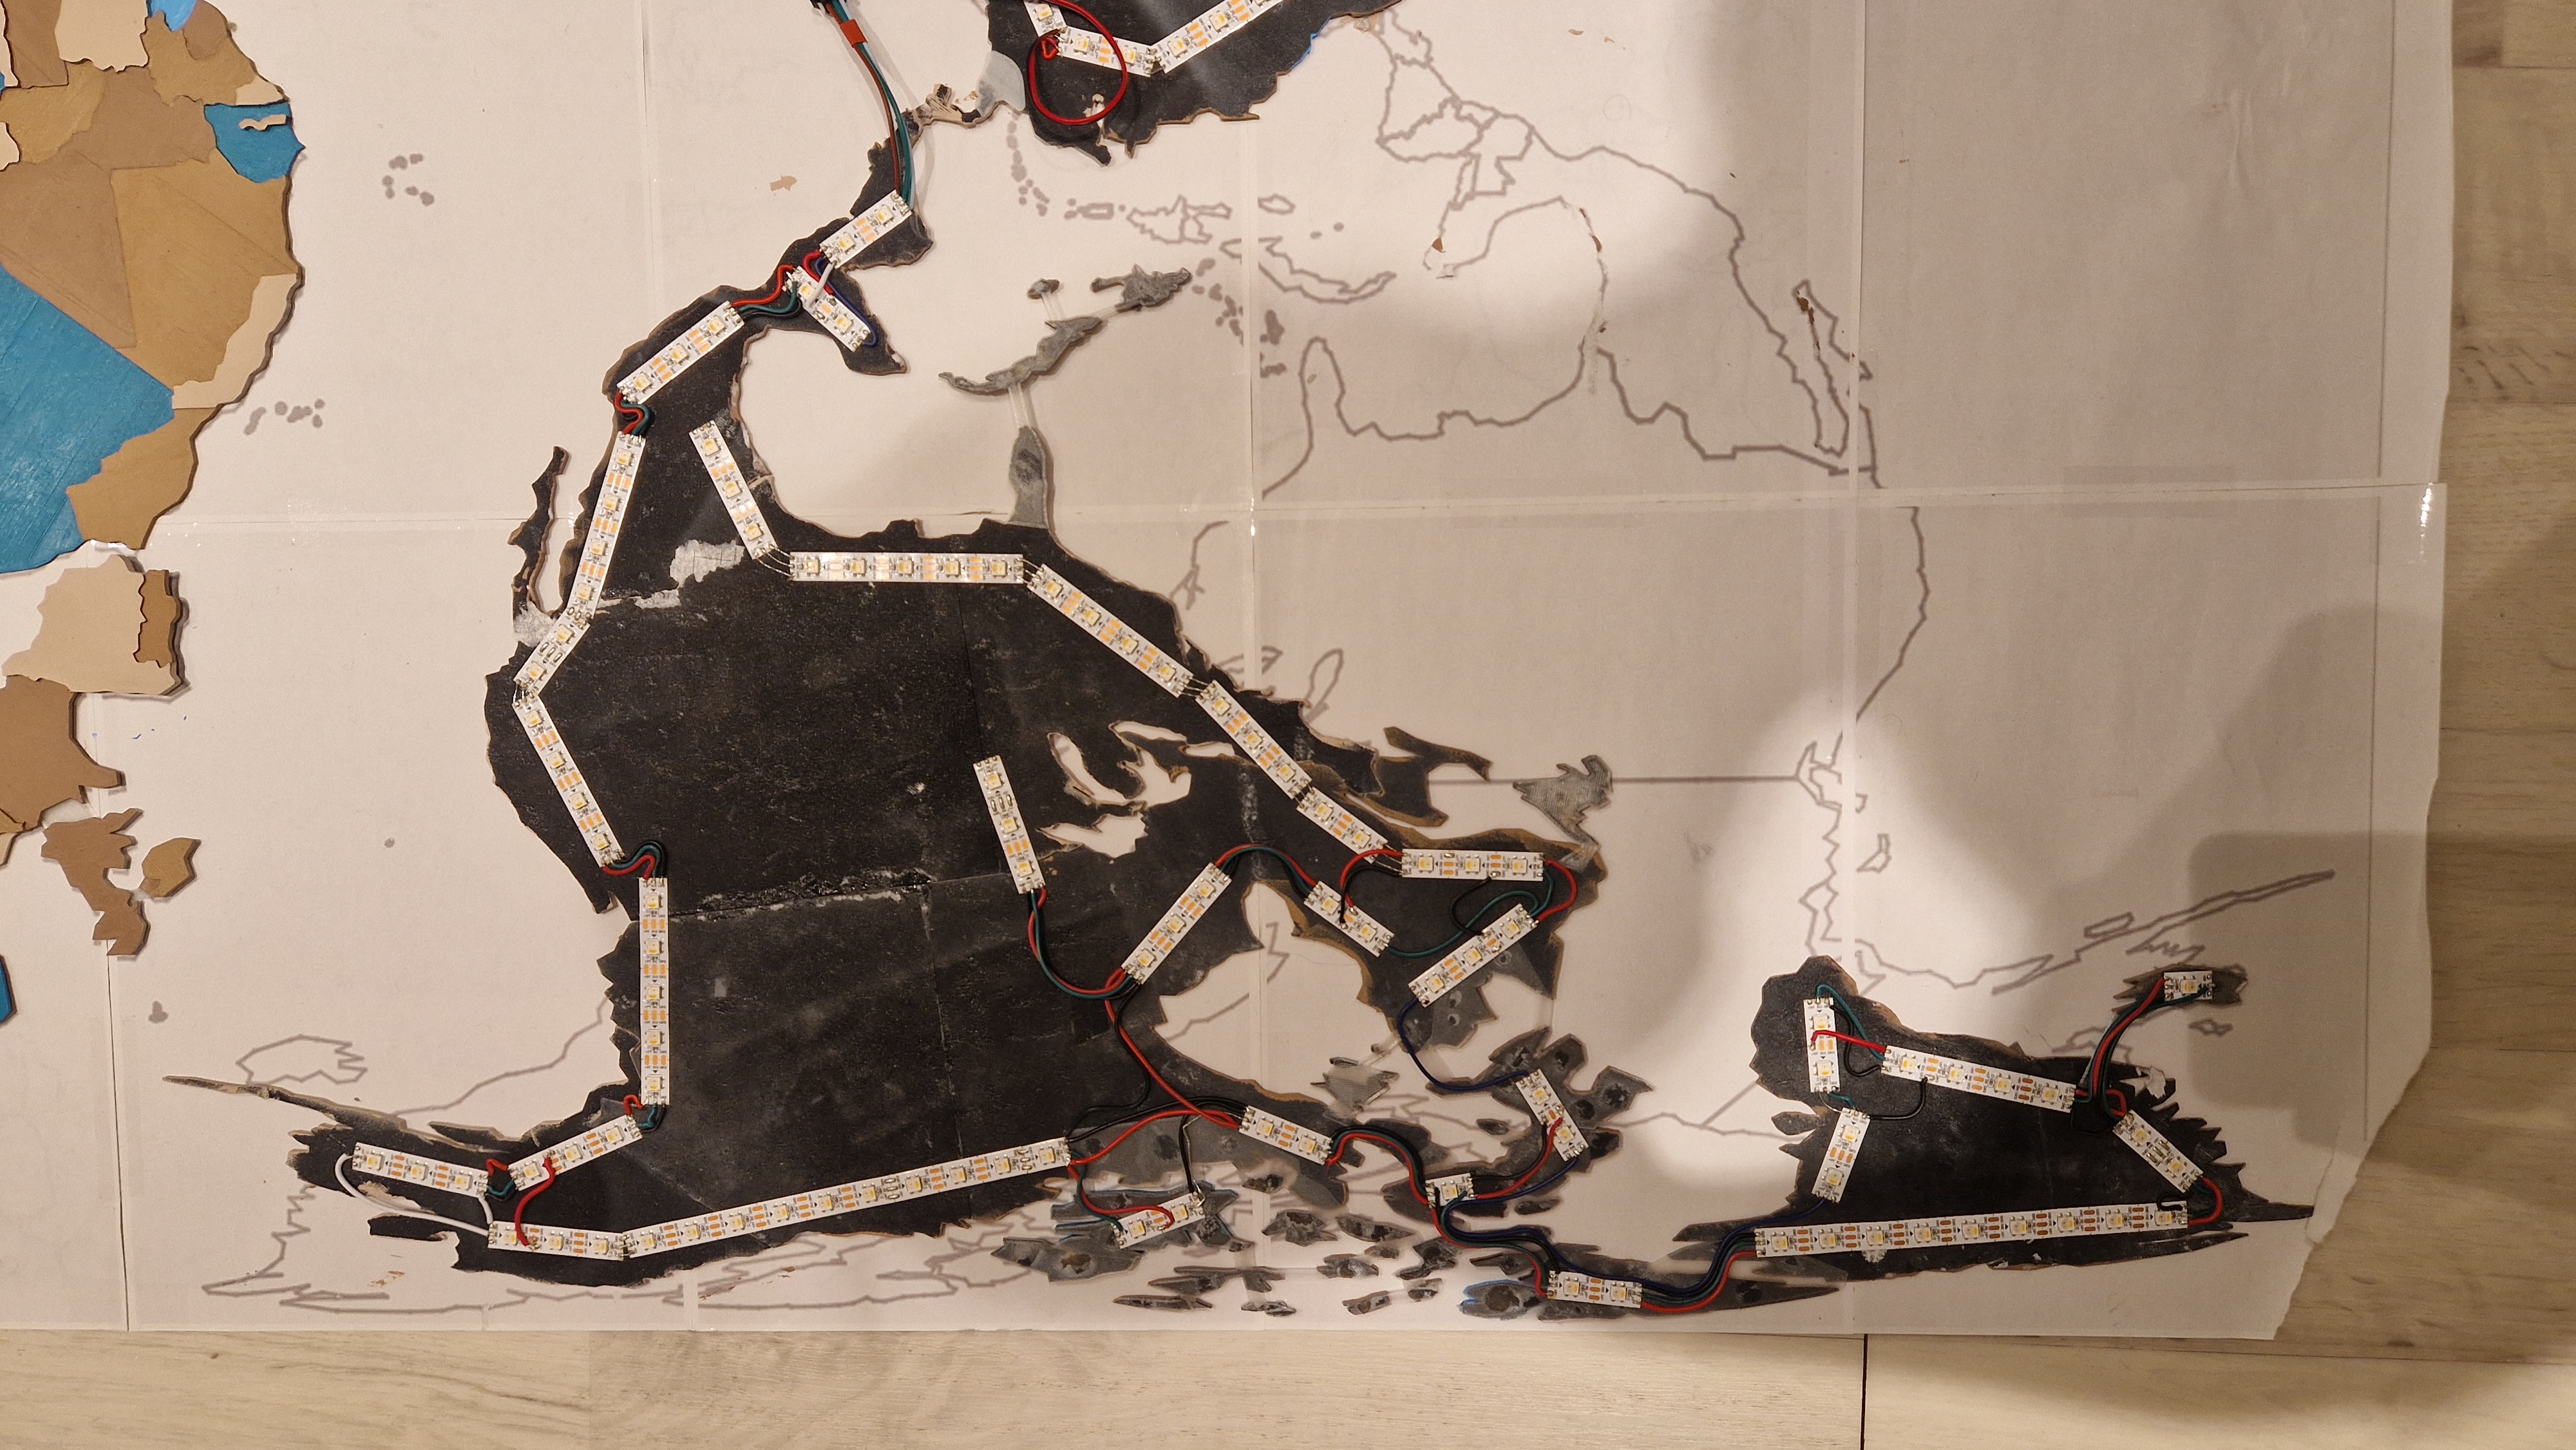
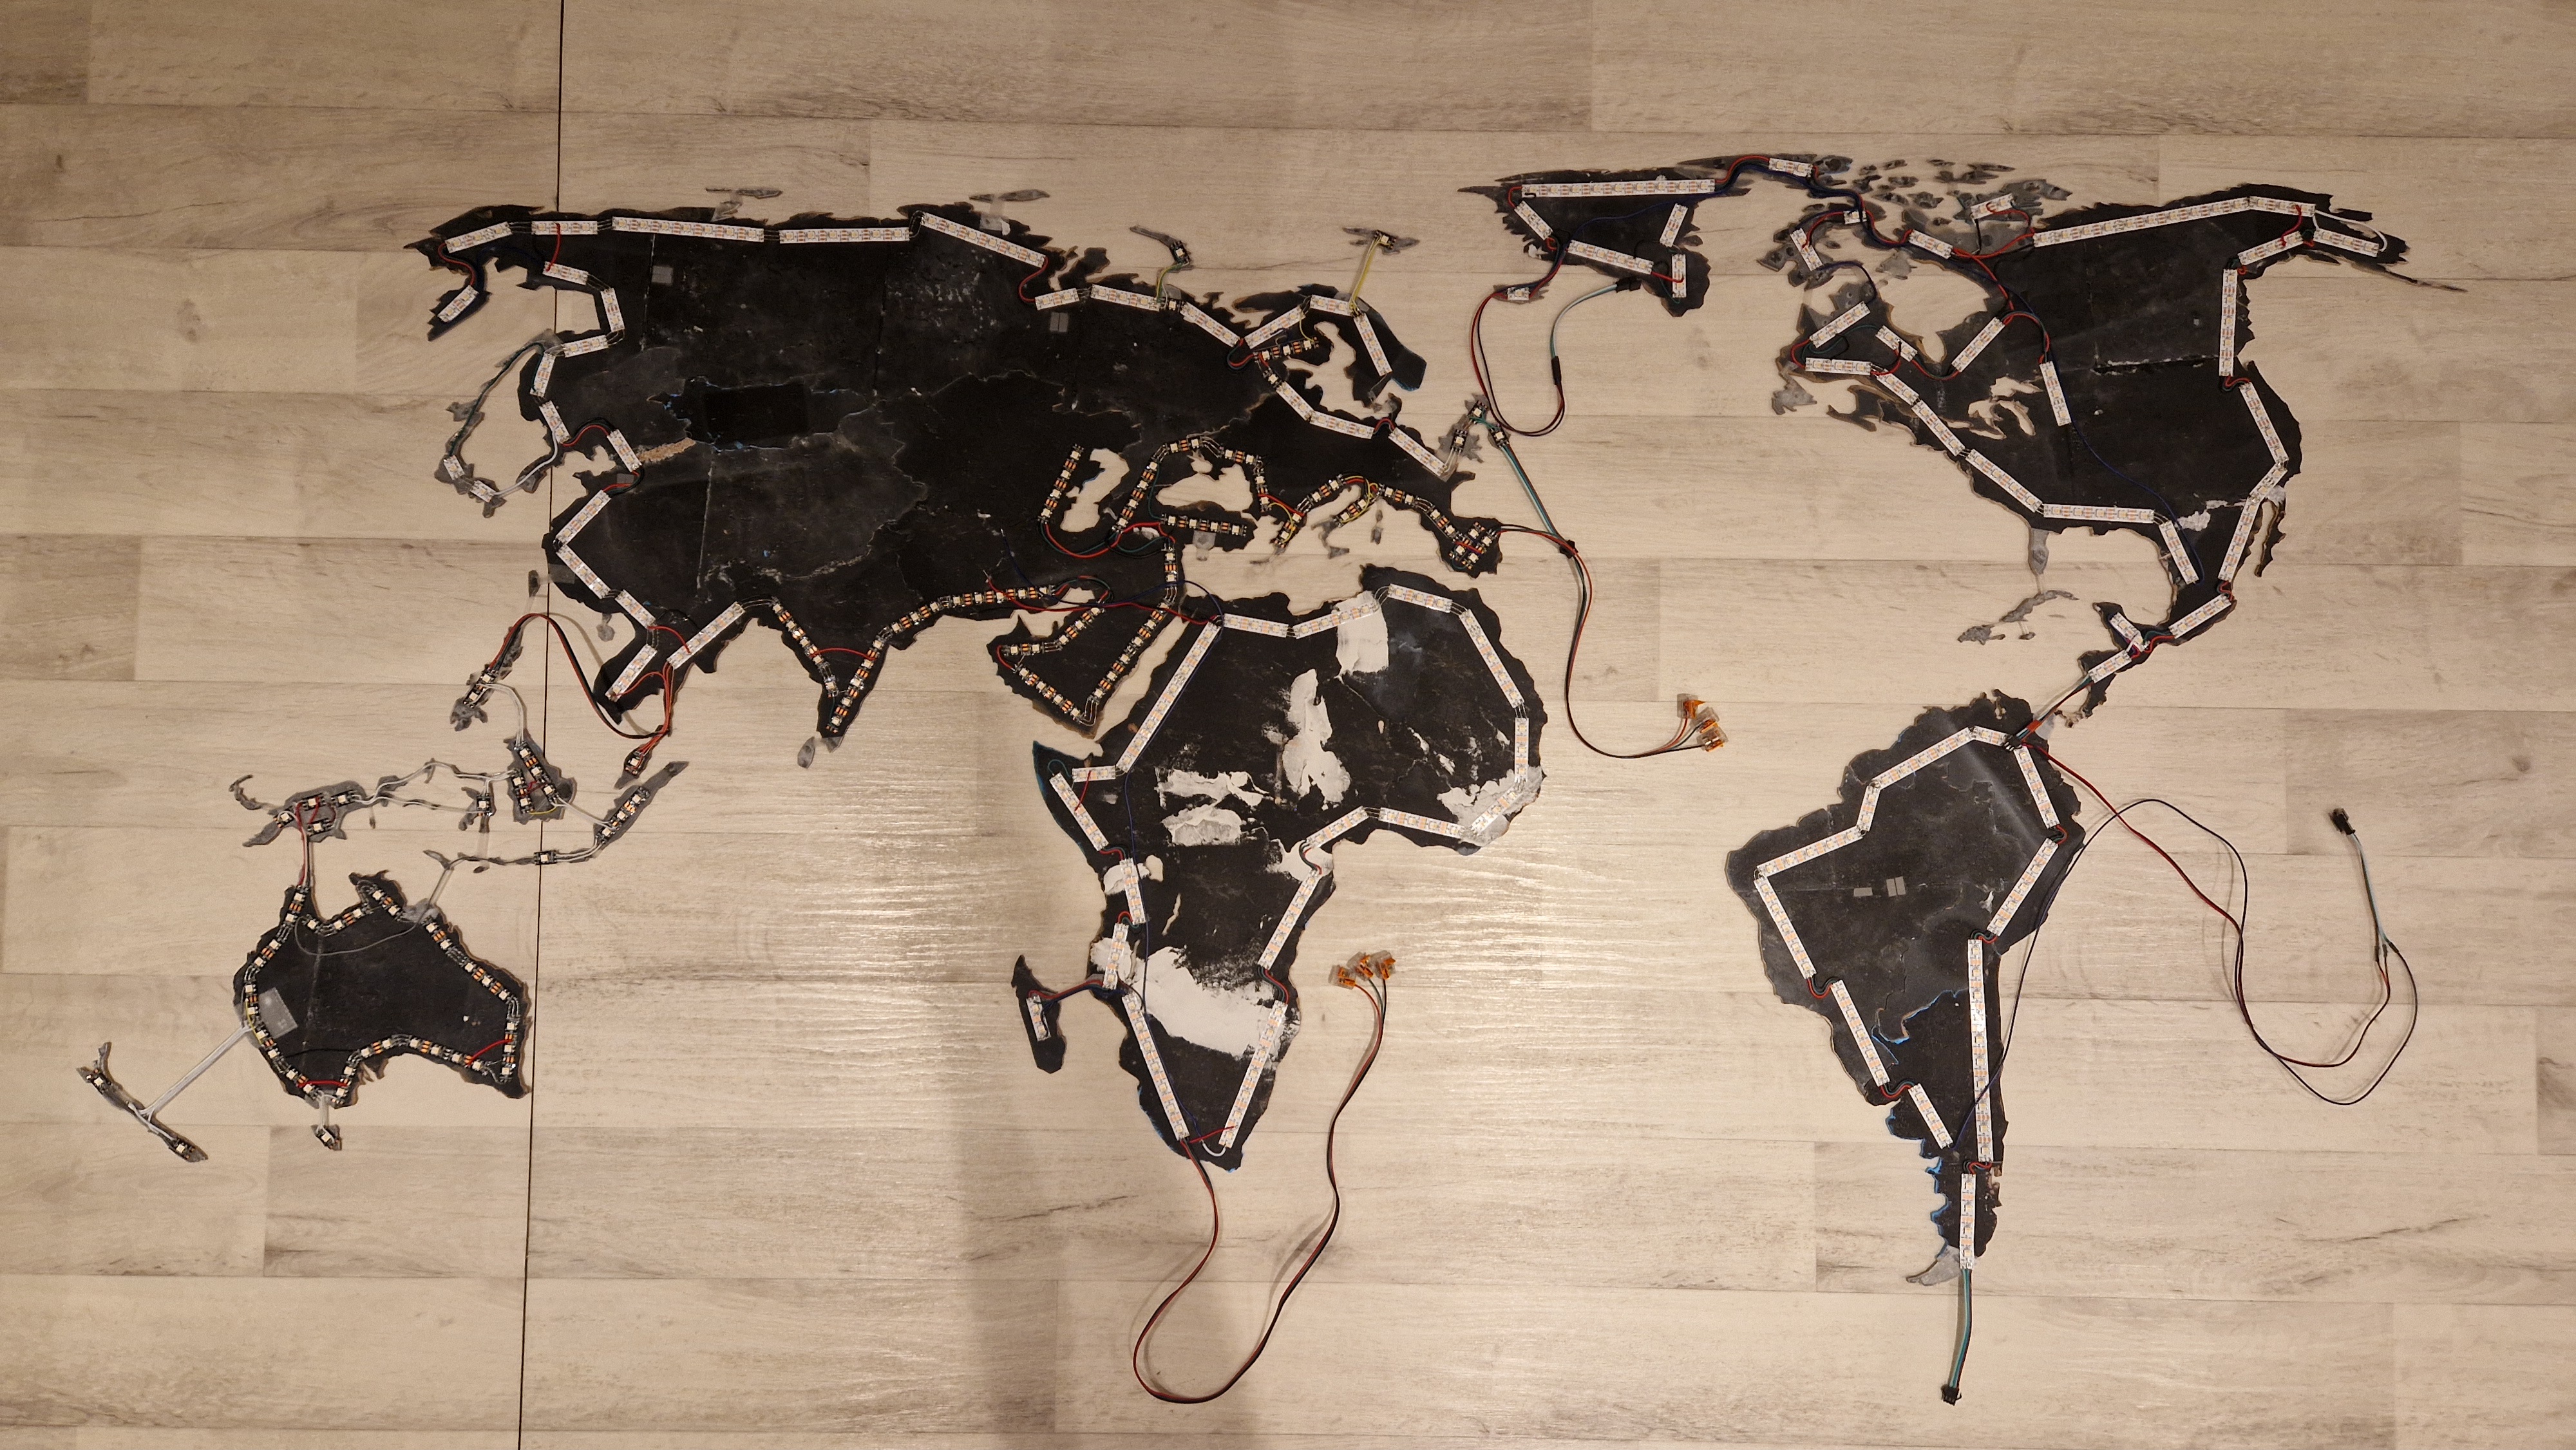
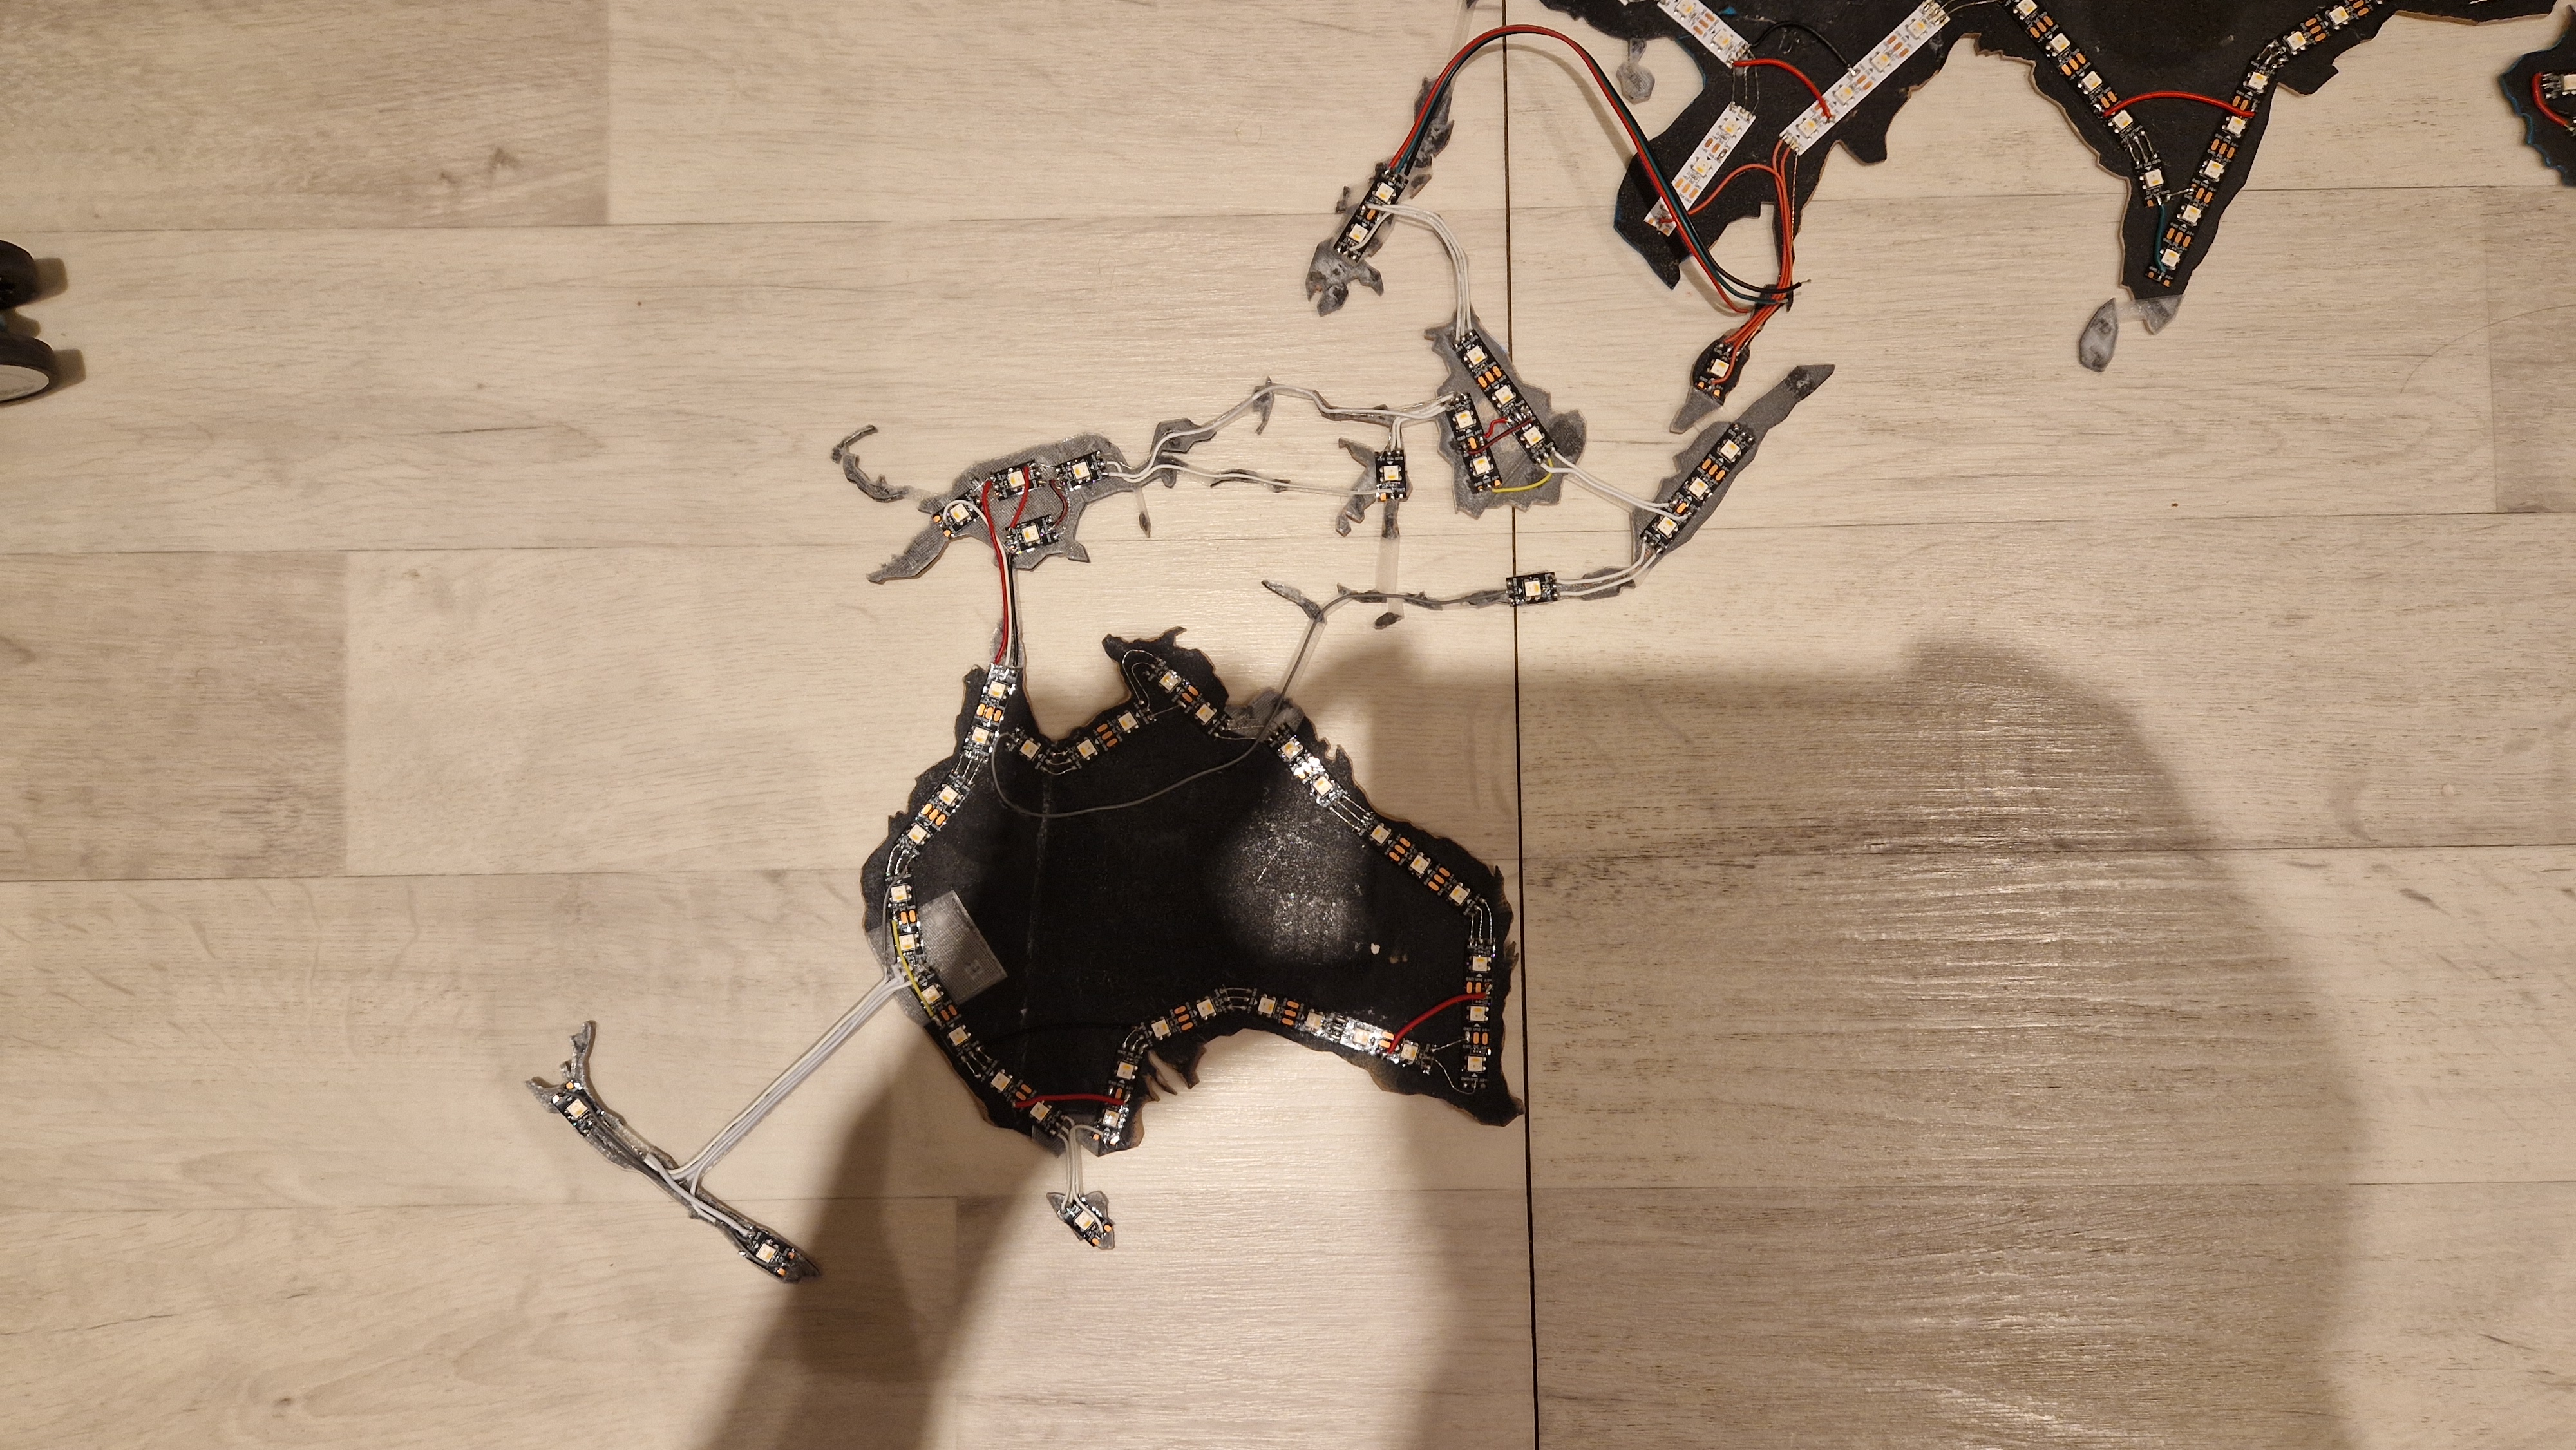
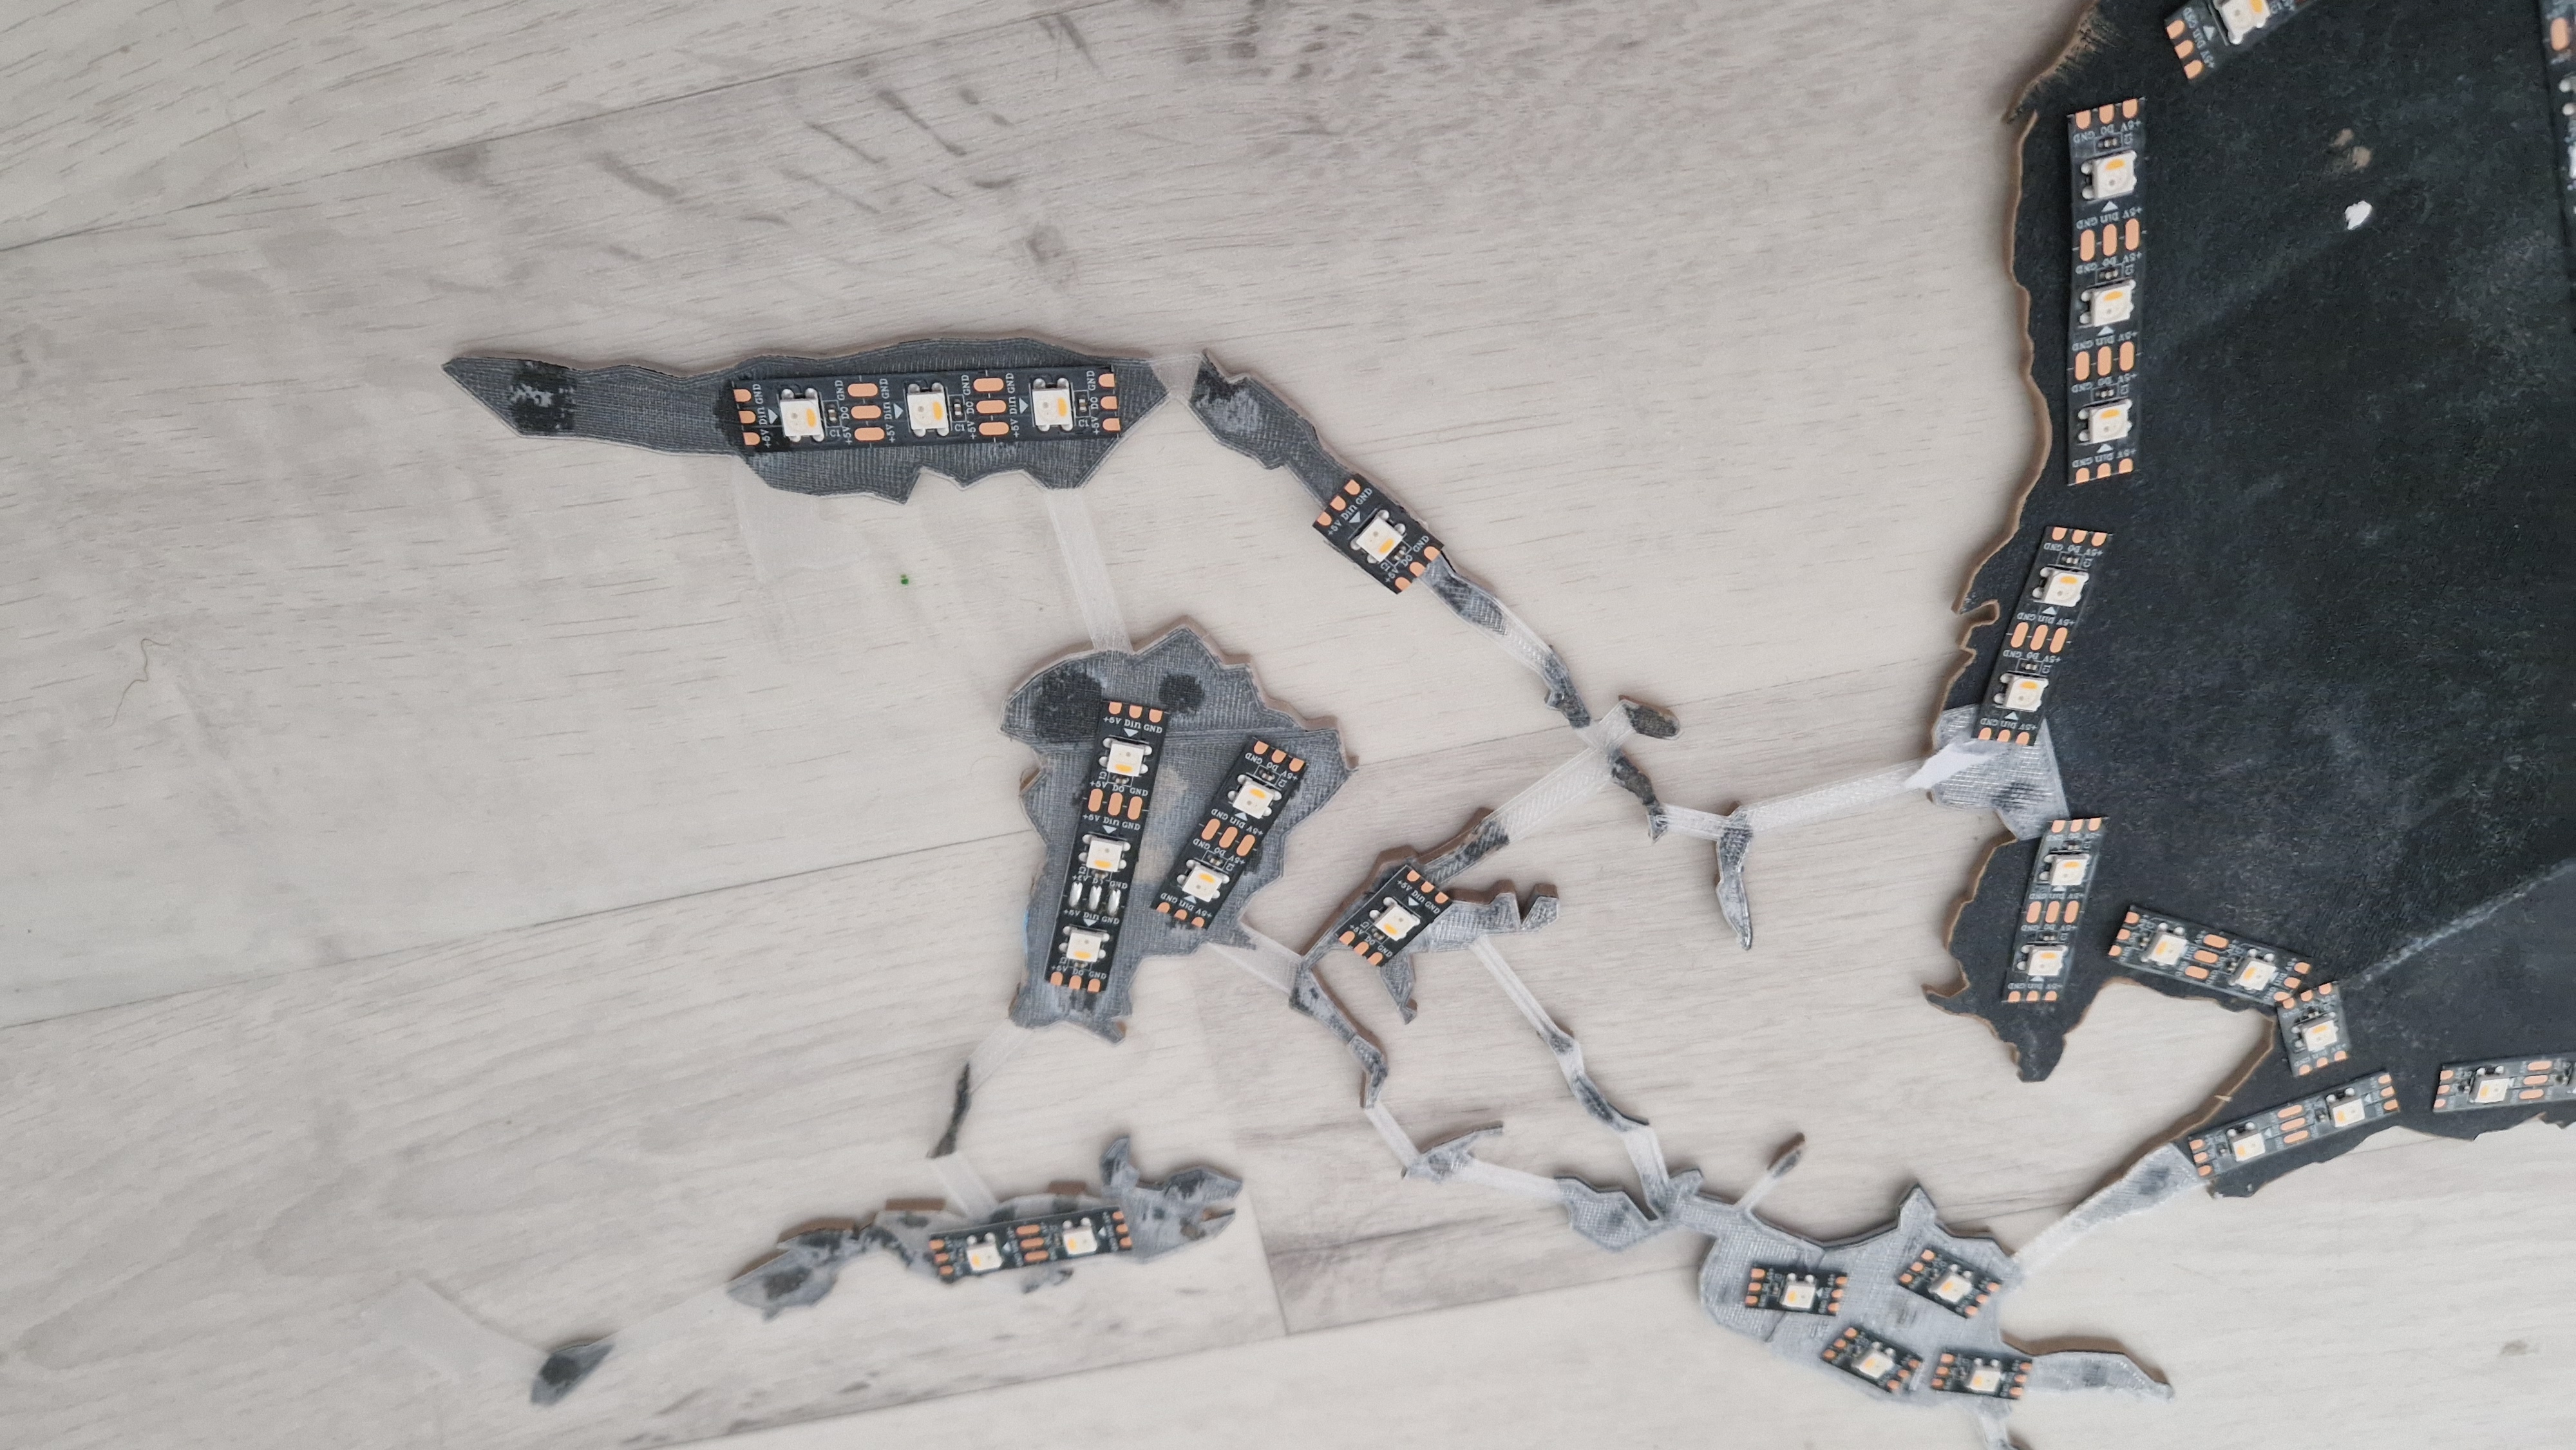
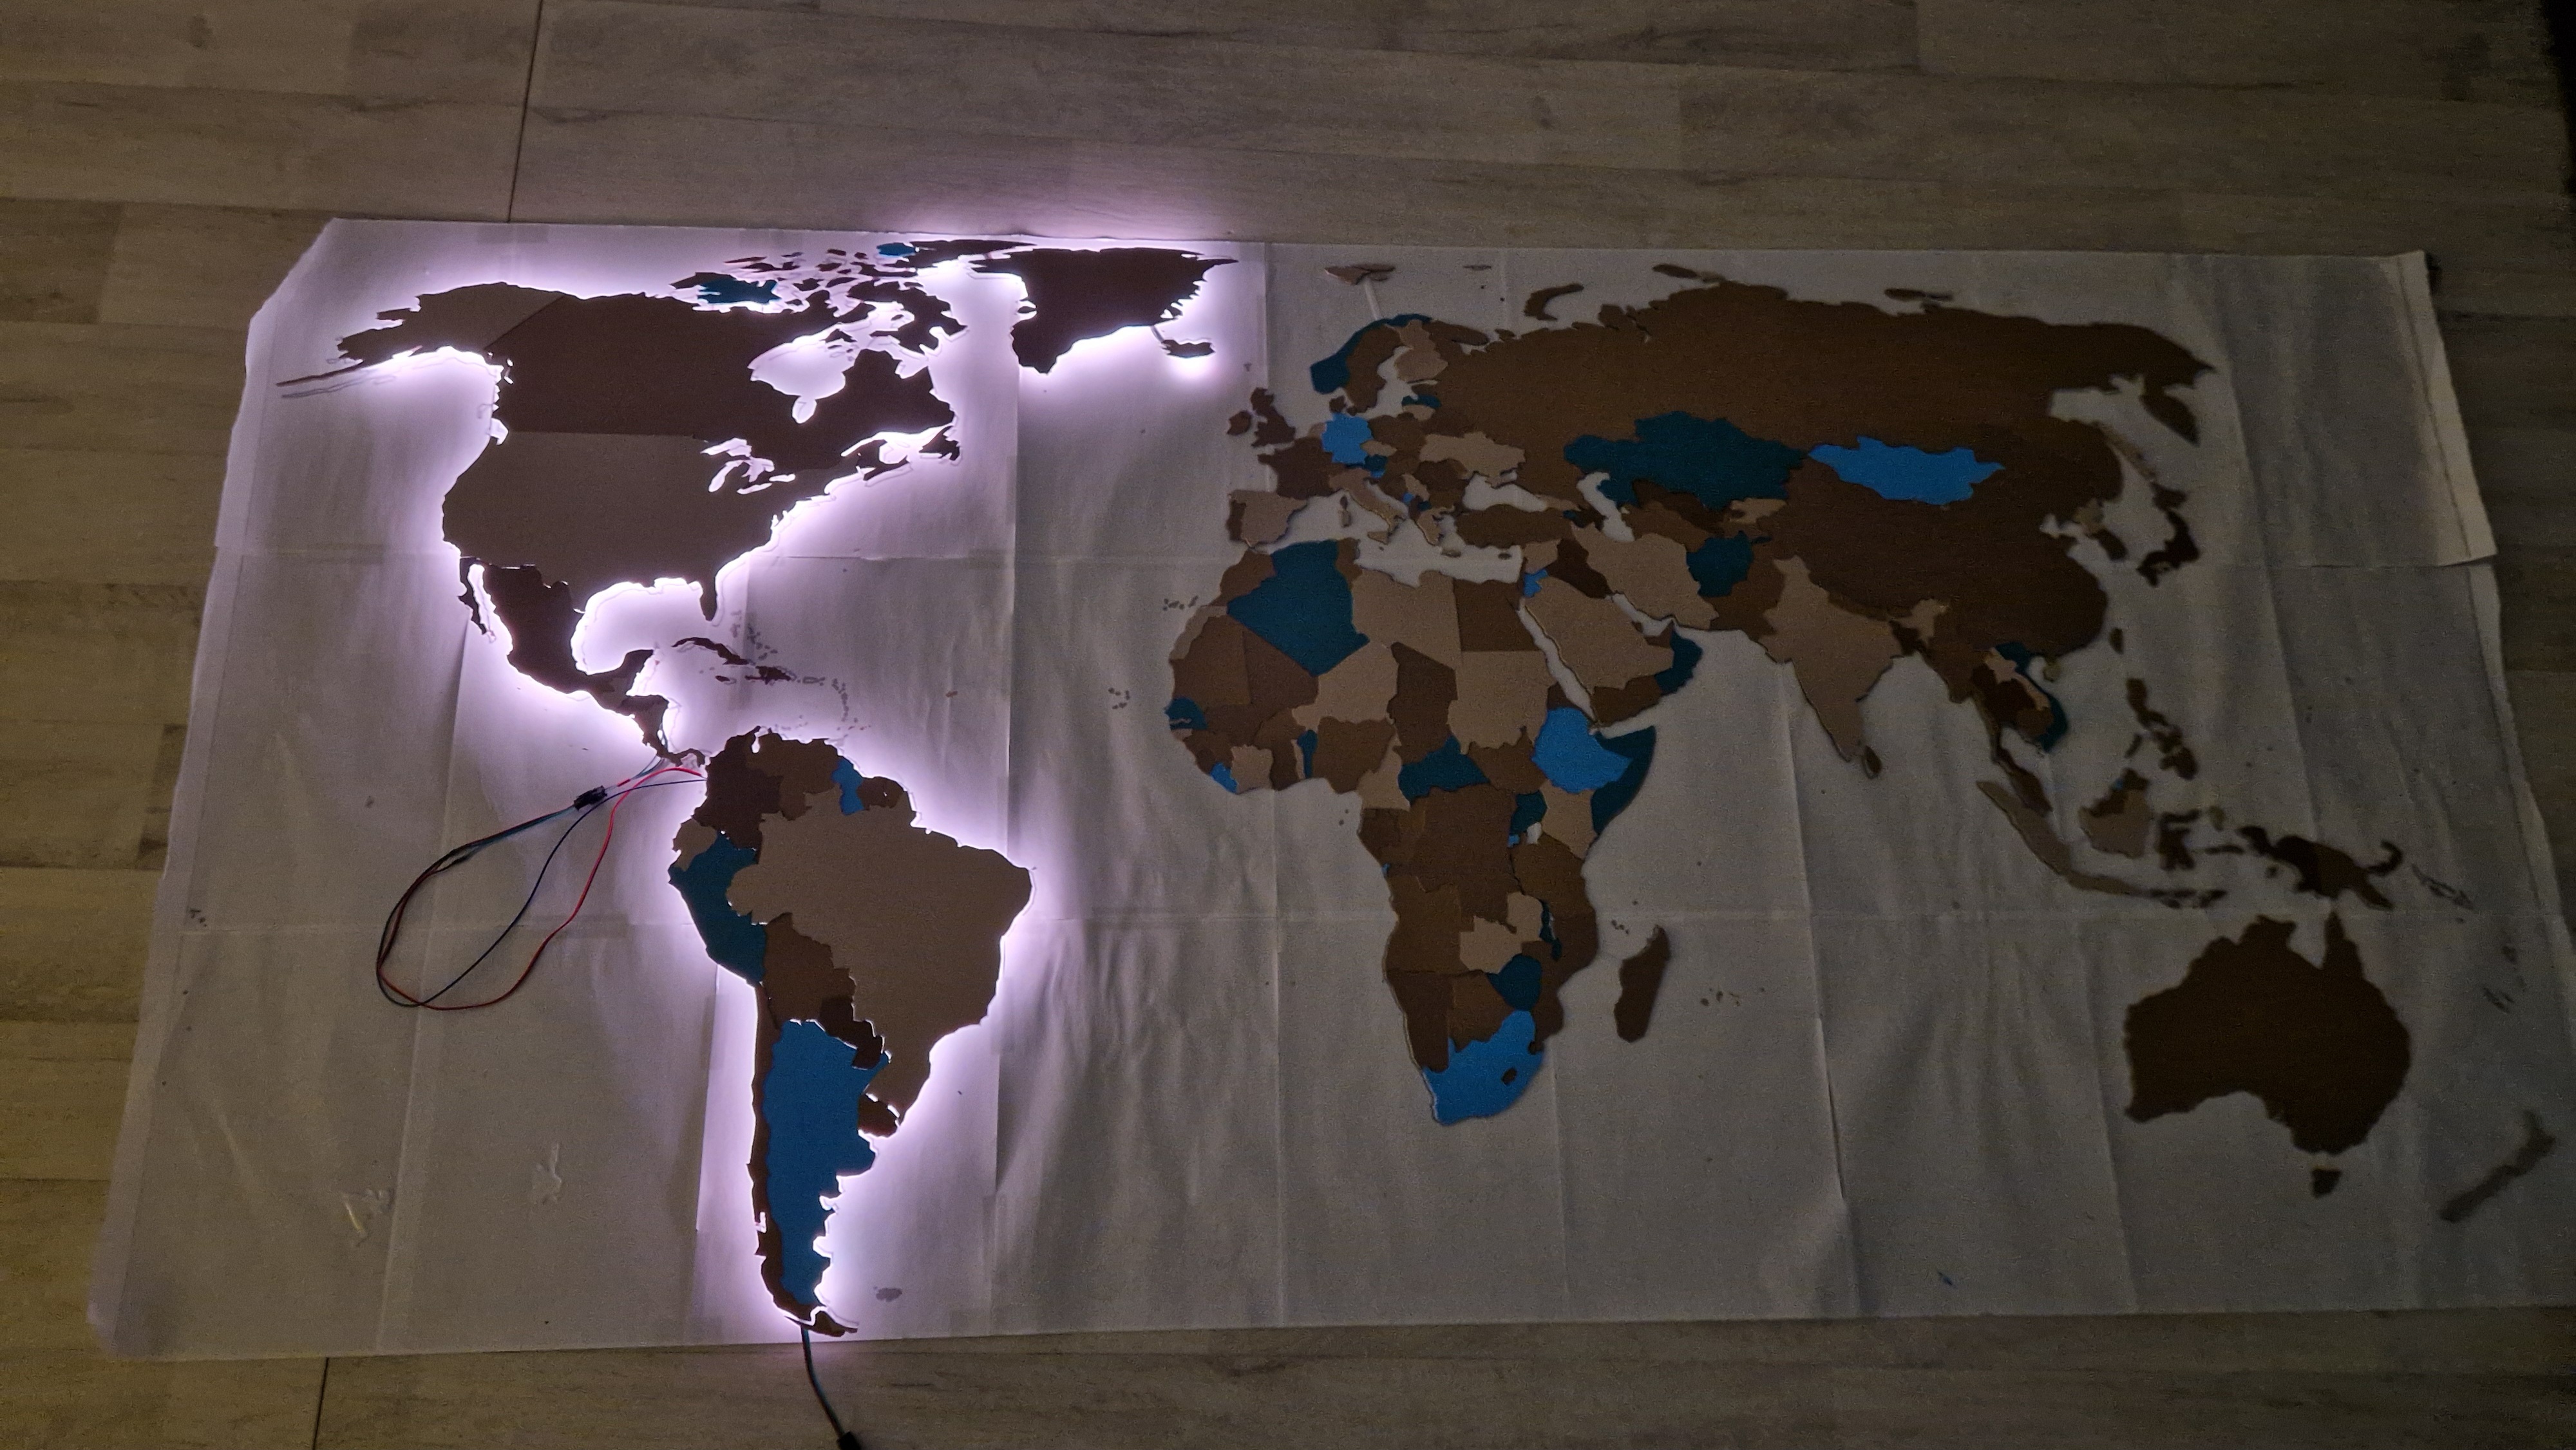
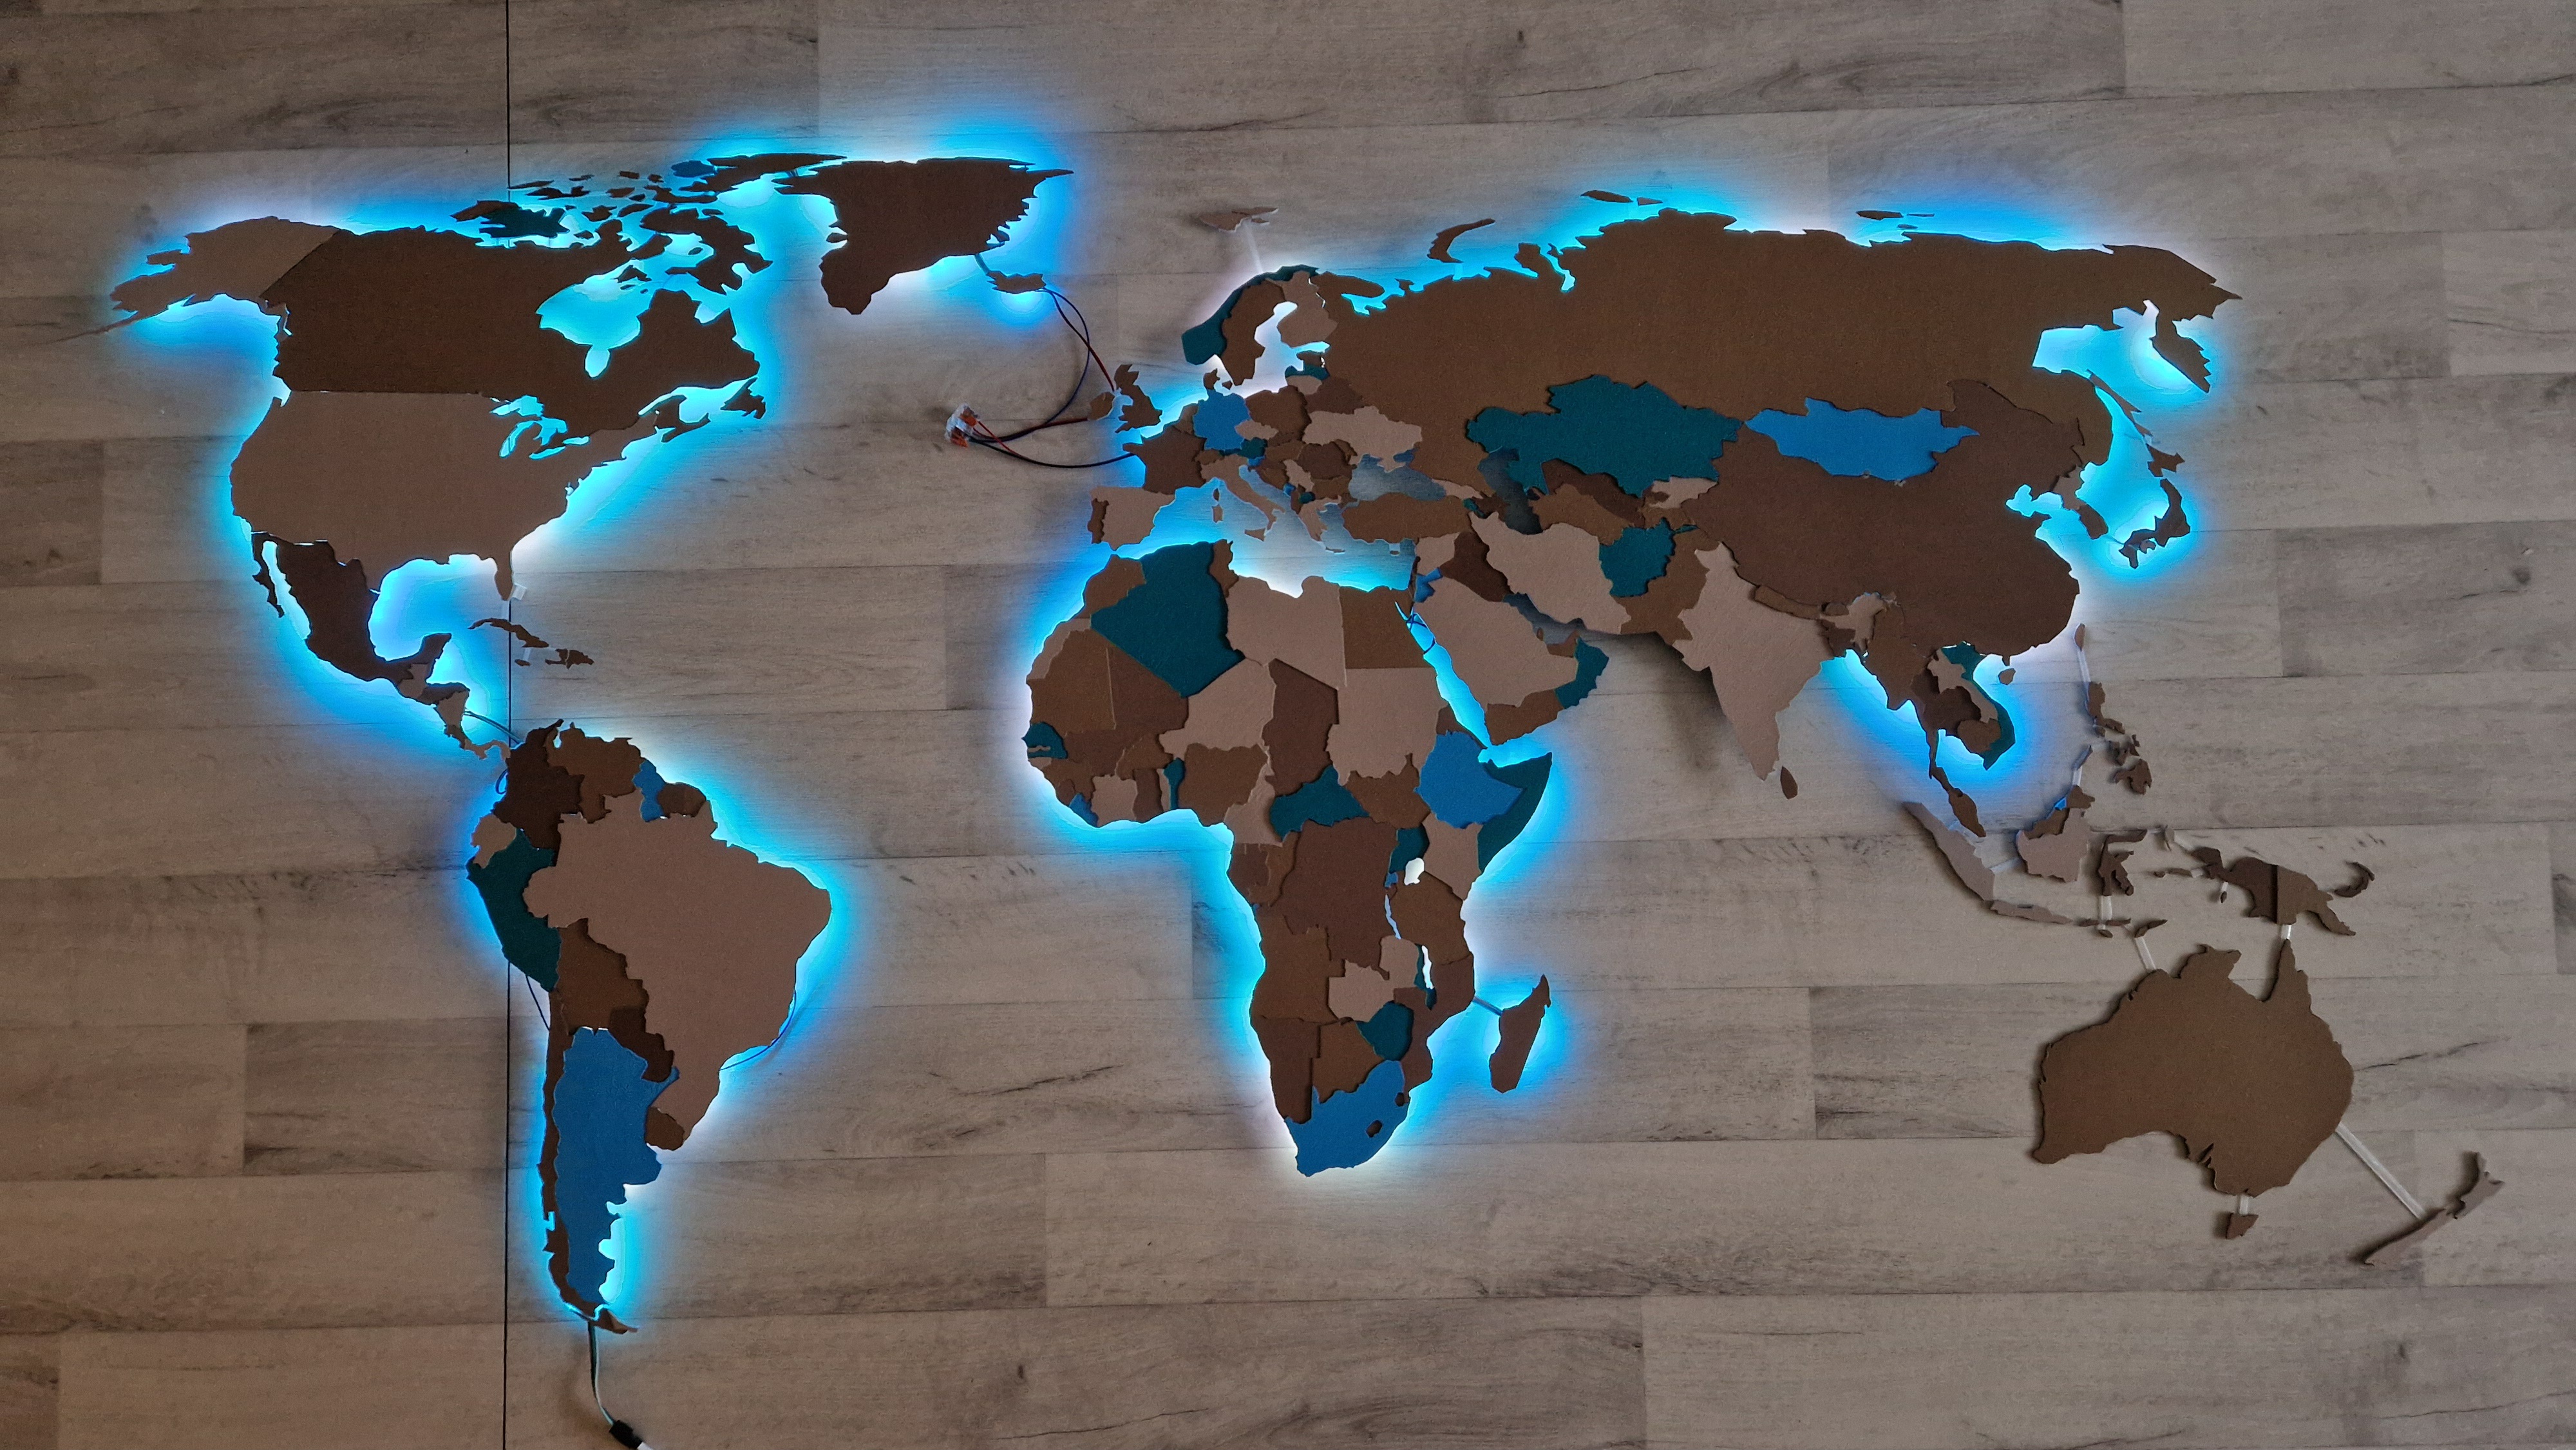
For an extra touch, I added backlights to the map. LEDs connected to NodeMCU with WLED installed.
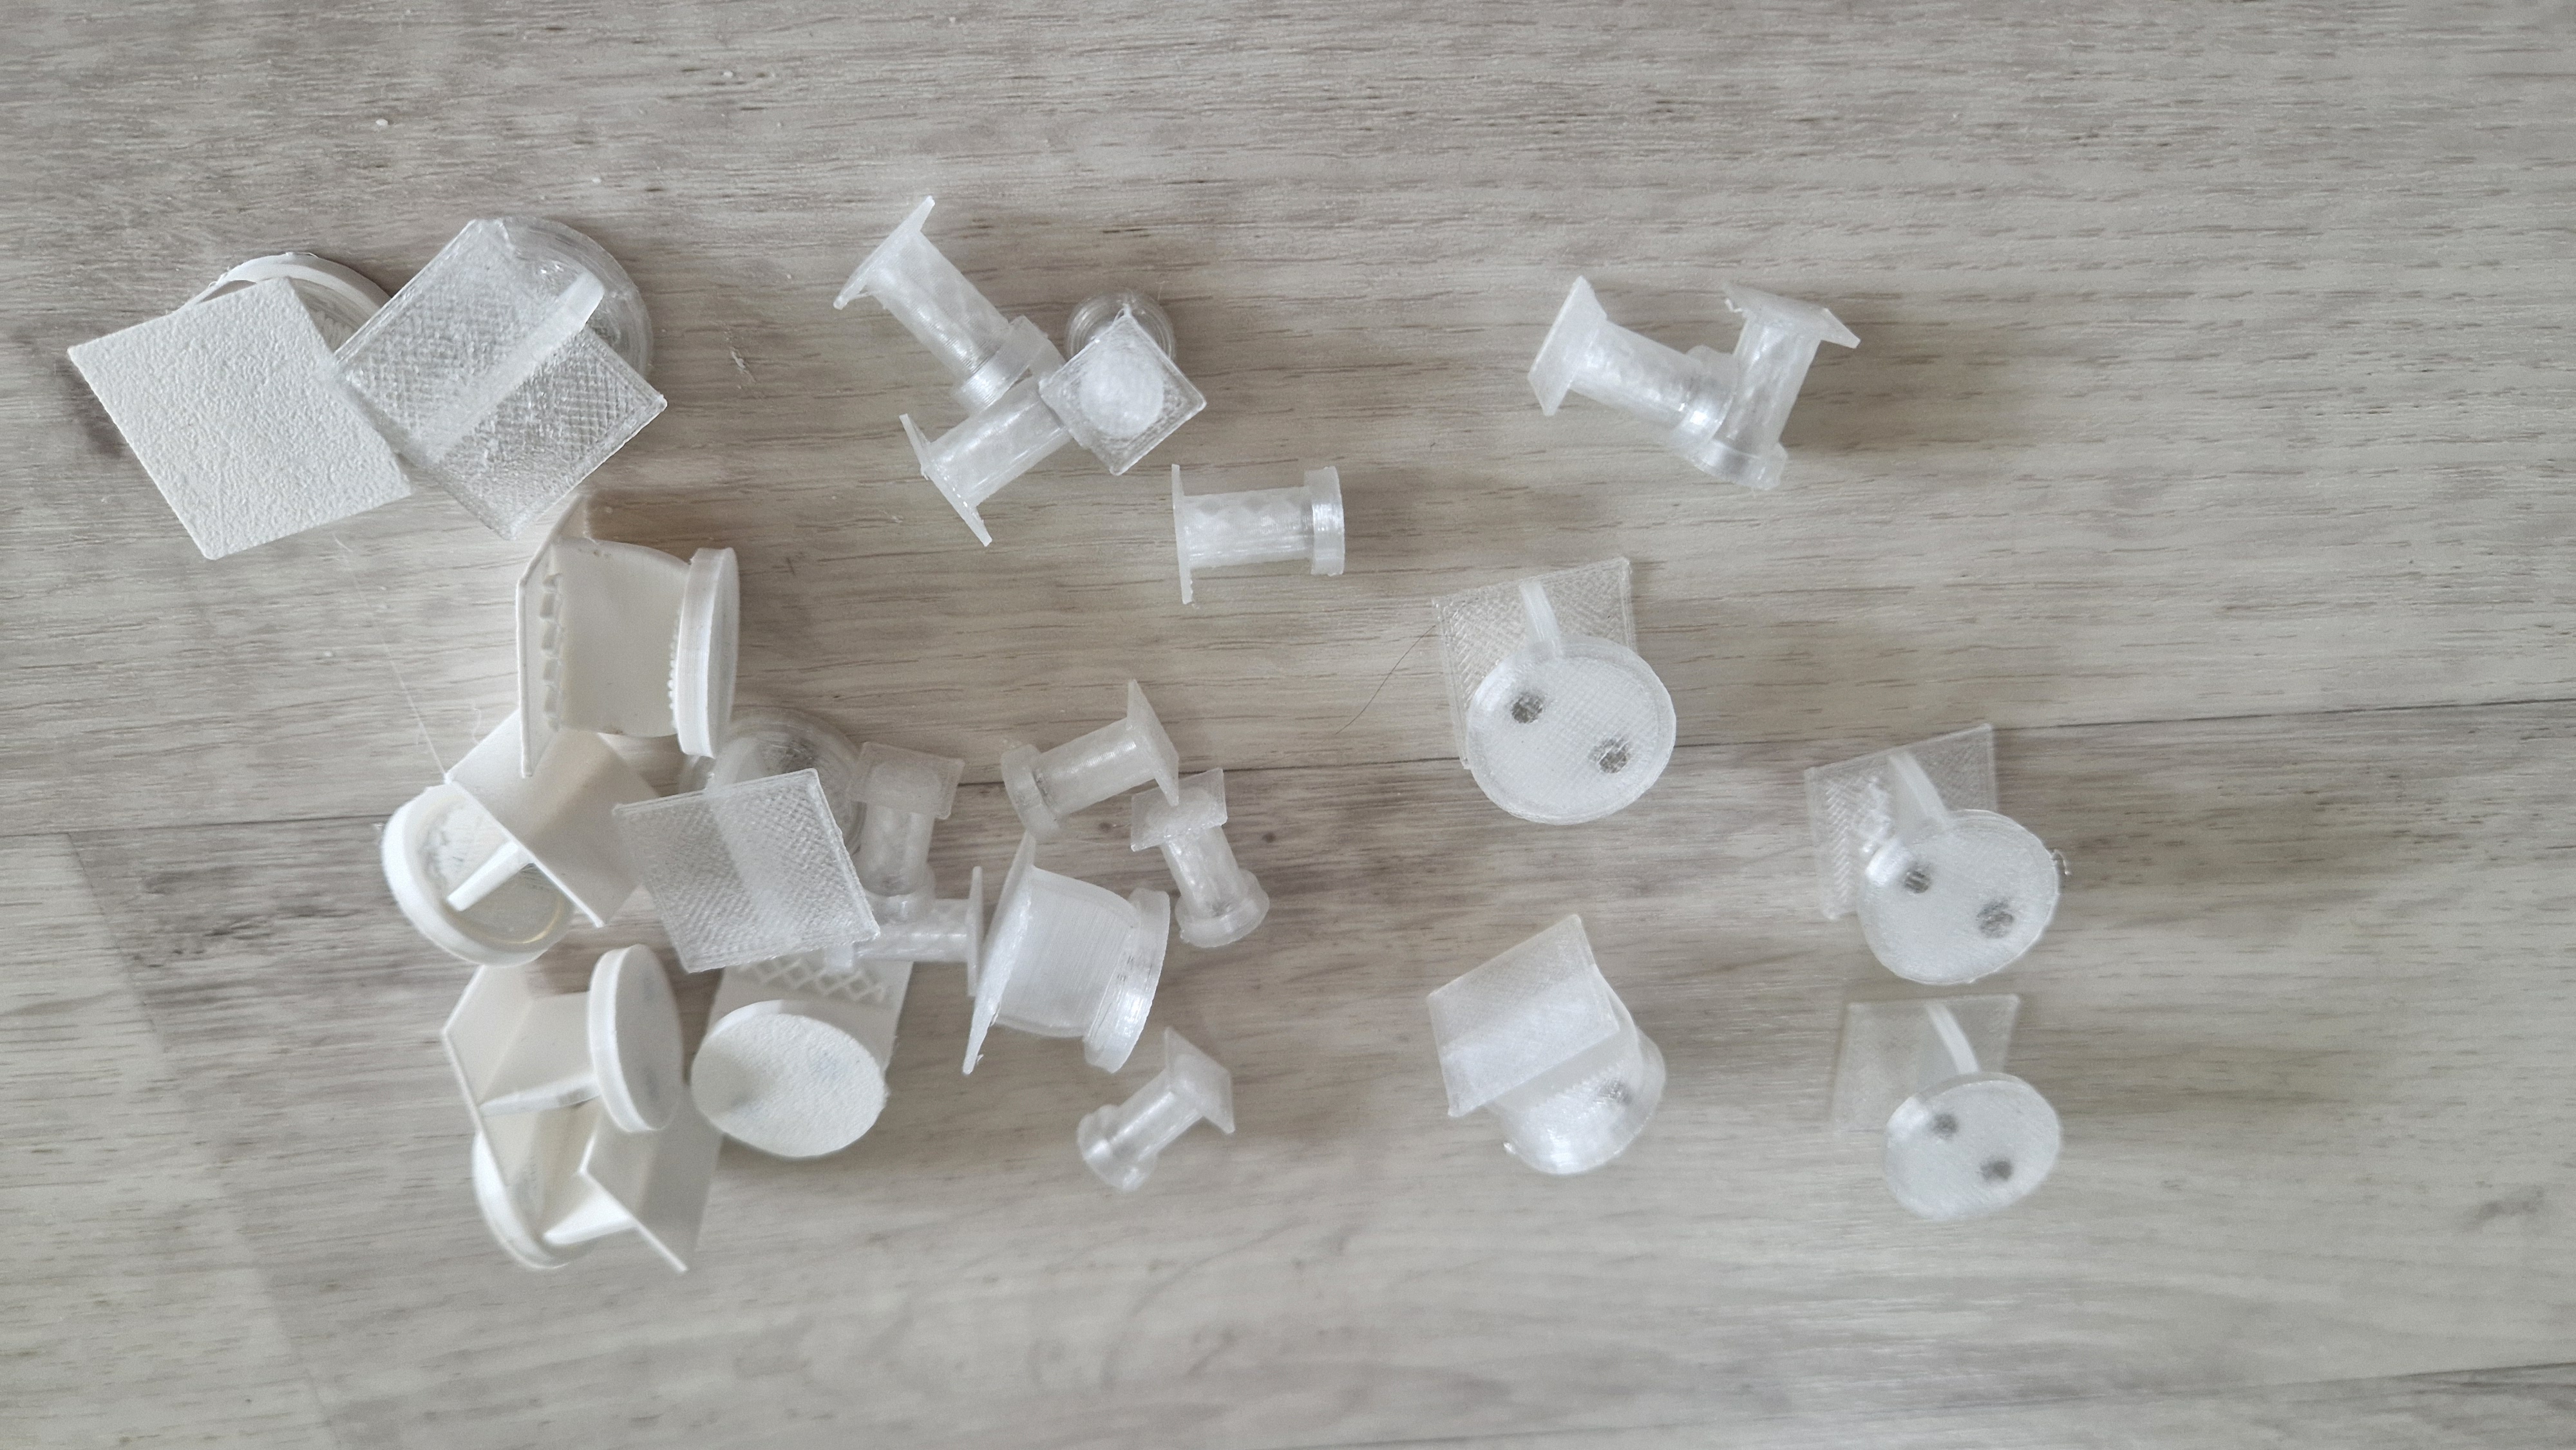
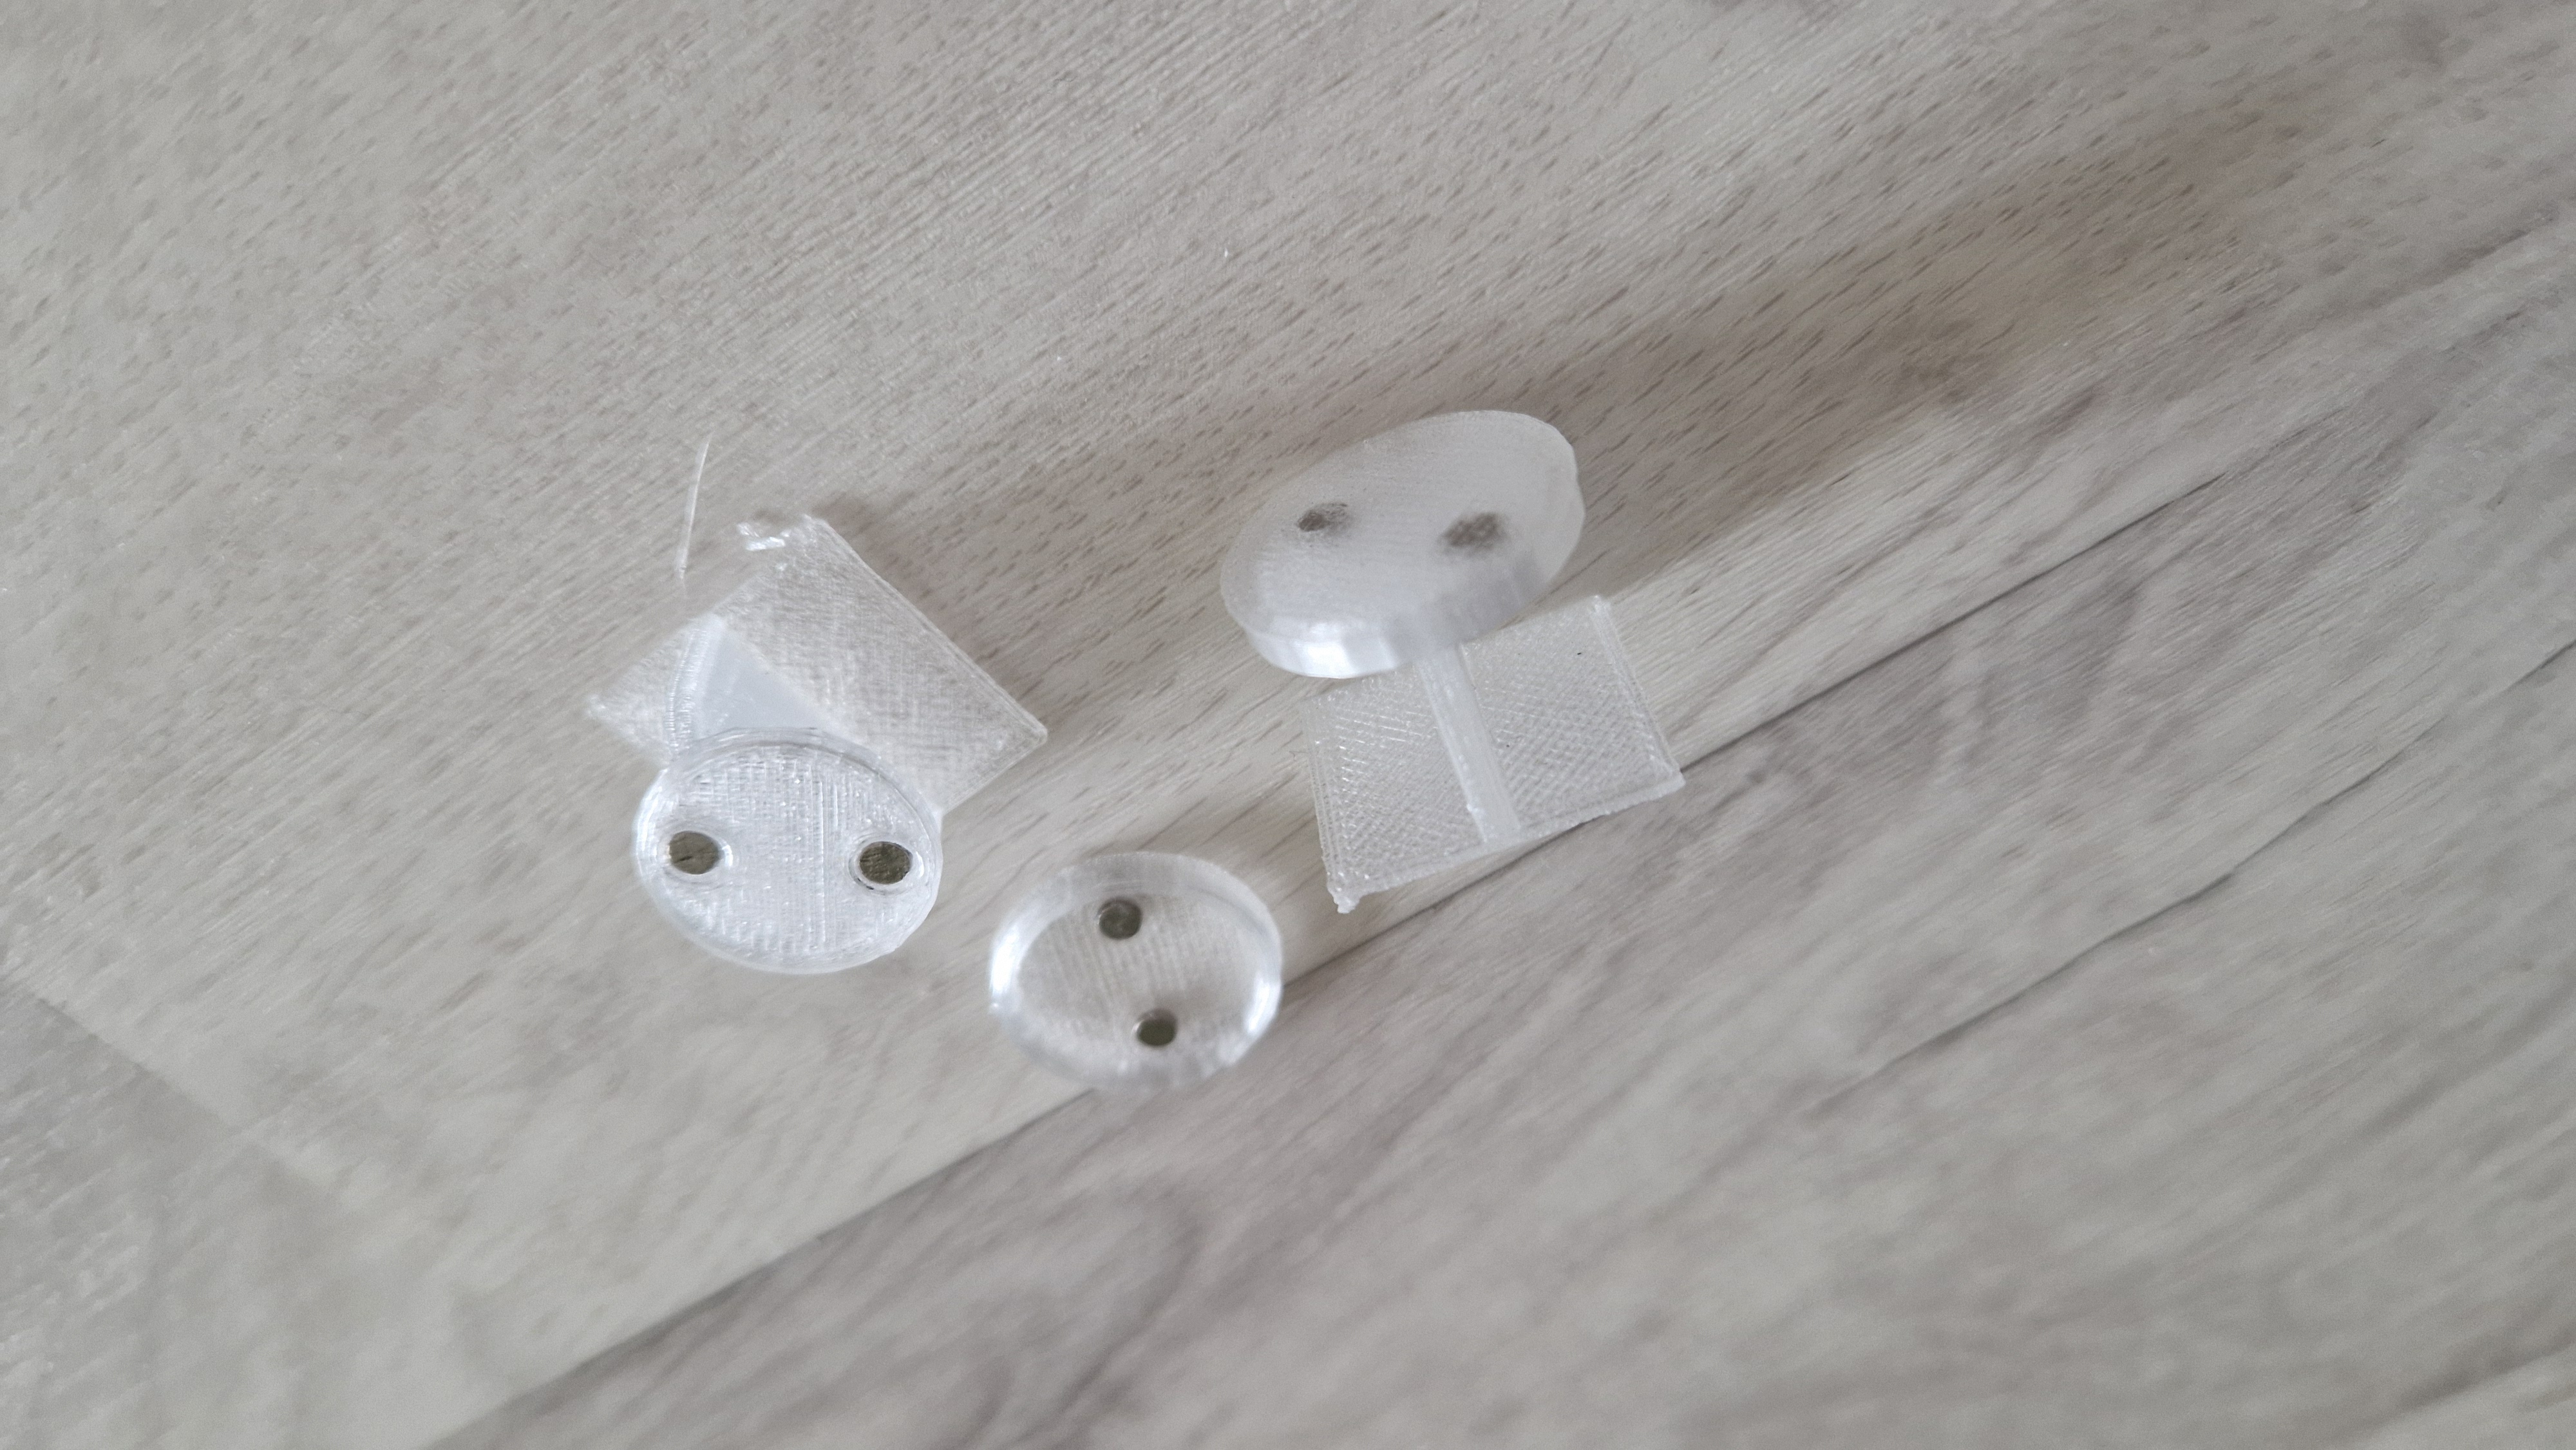
I wanted a solution that would allow easy removal of the map from the wall. Instead of screws, I used double-sided tape and designed mounting standoffs with magnets between the map and the standoffs.

To mount the map correctly:
This method ensured the map was mounted accurately and securely.