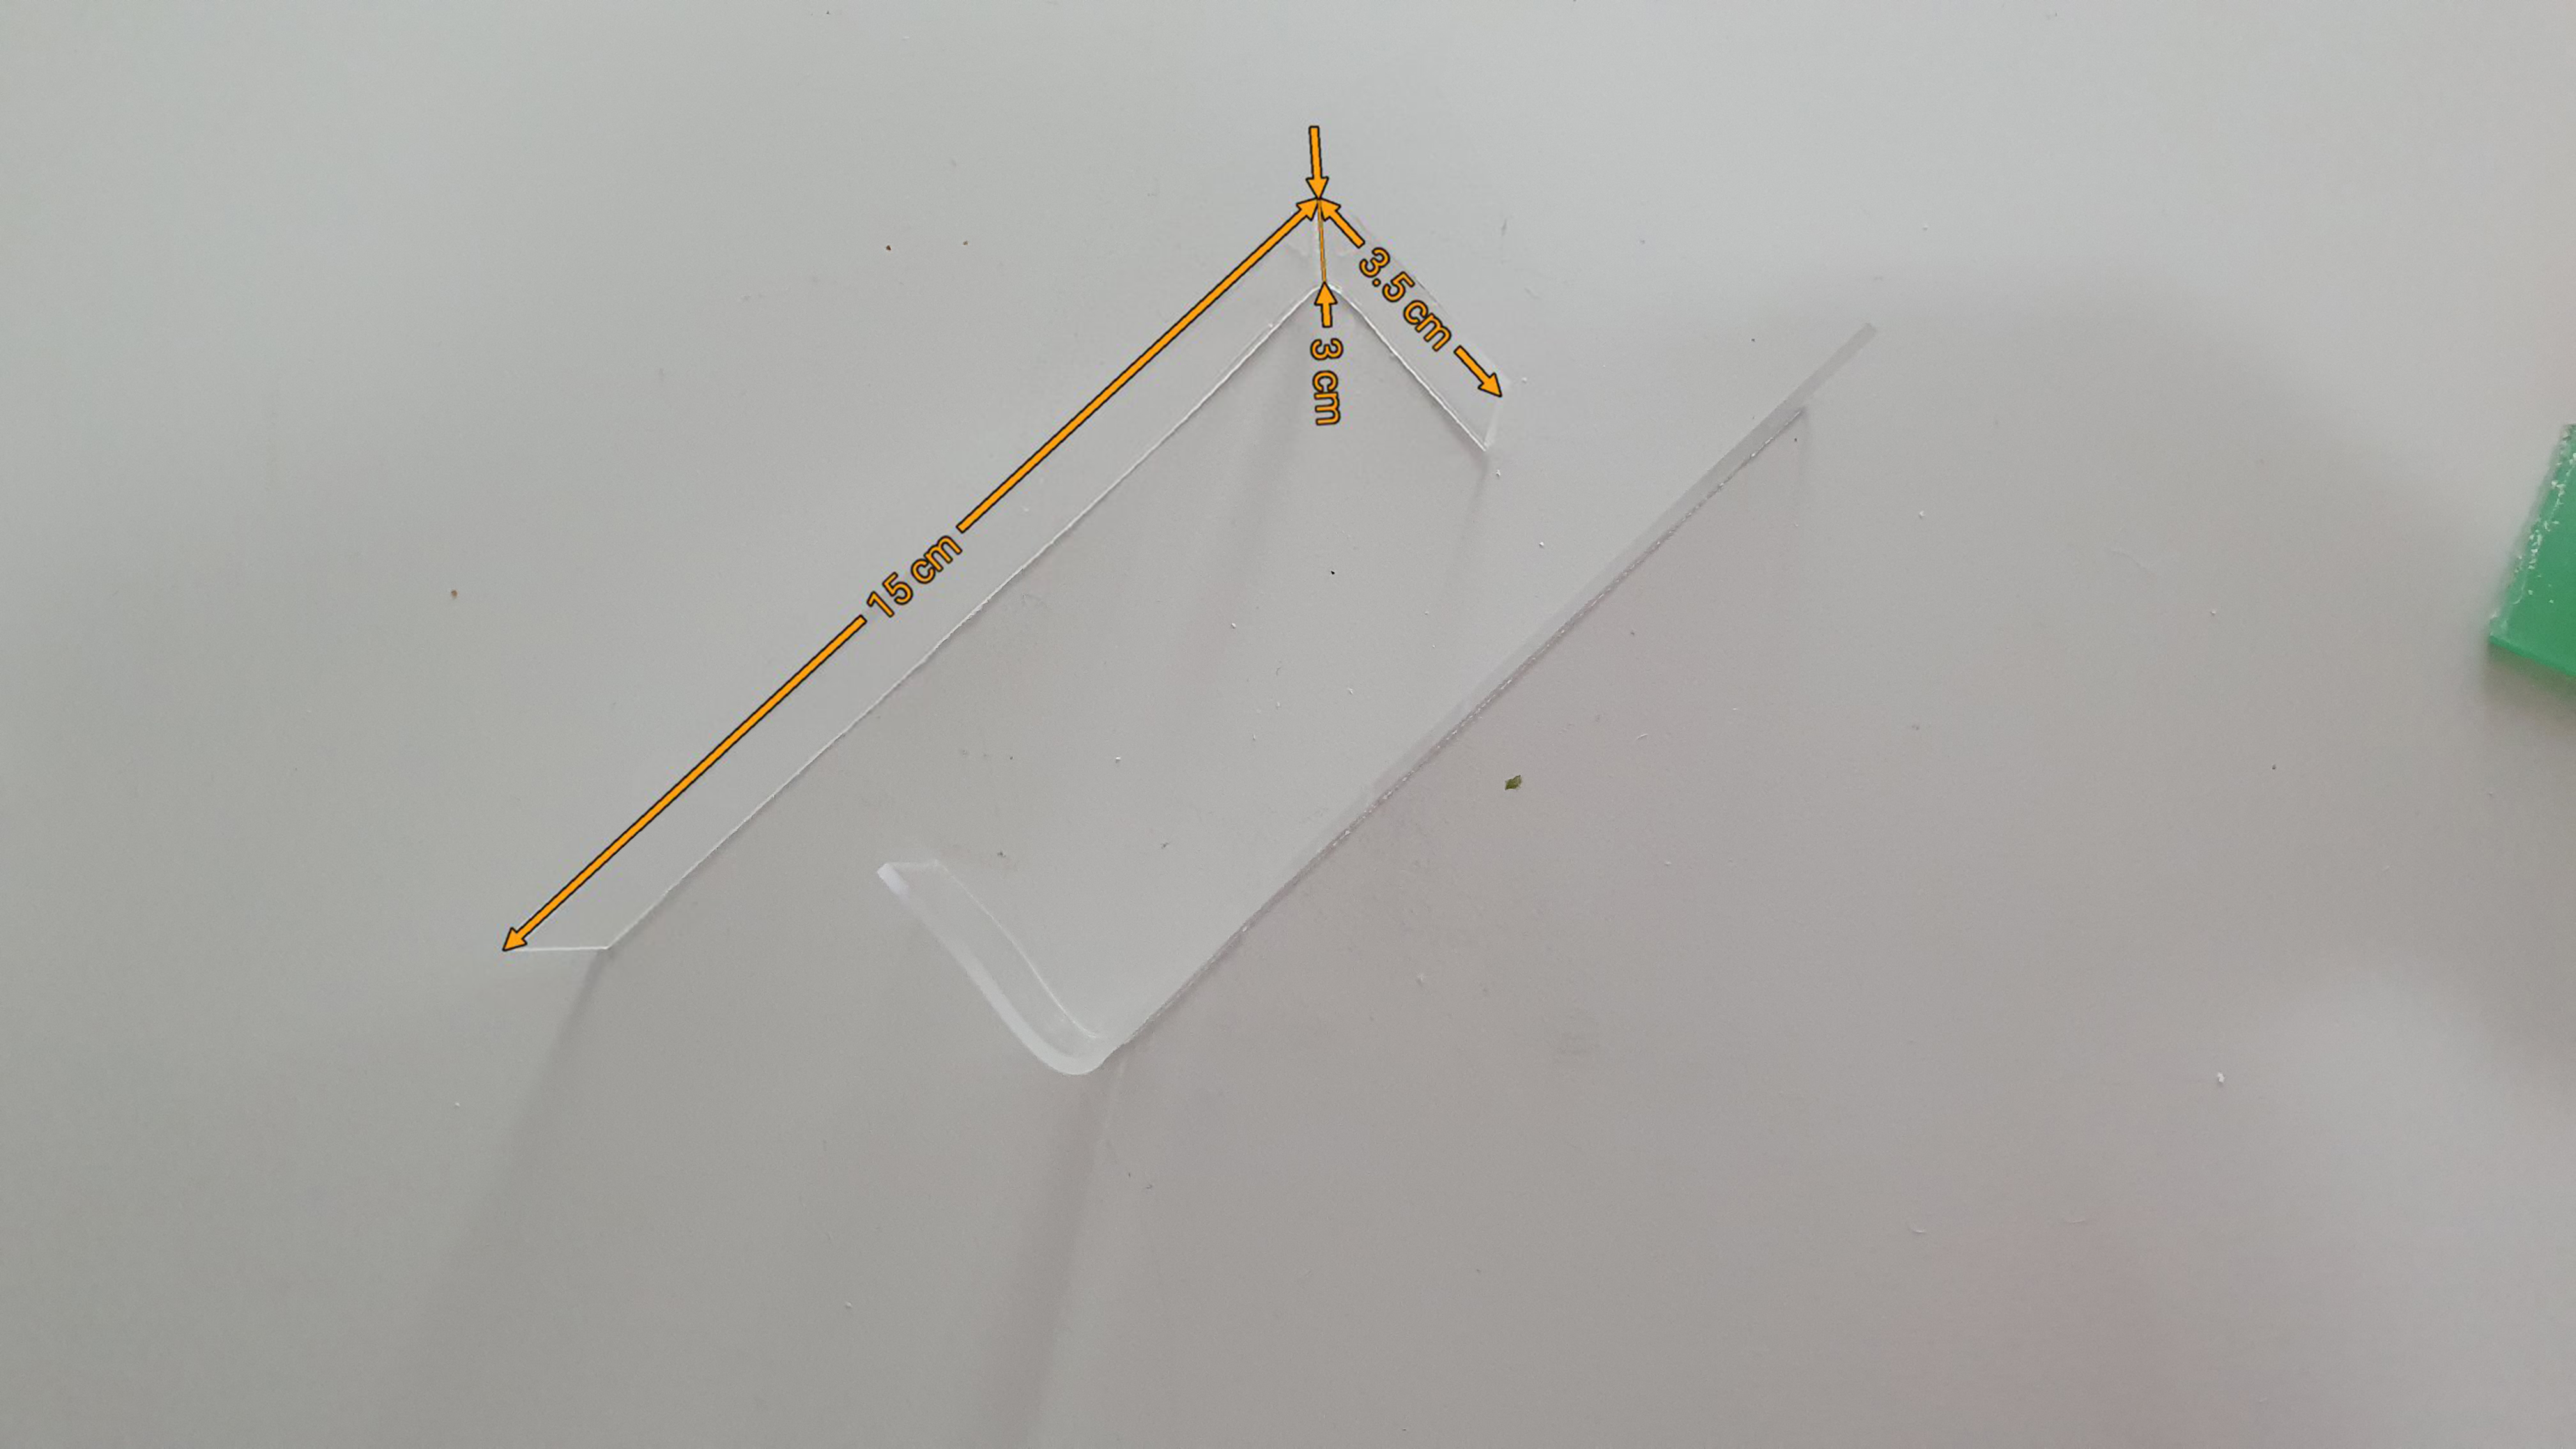
Phone and cup holder
11 March 2023Tech projects
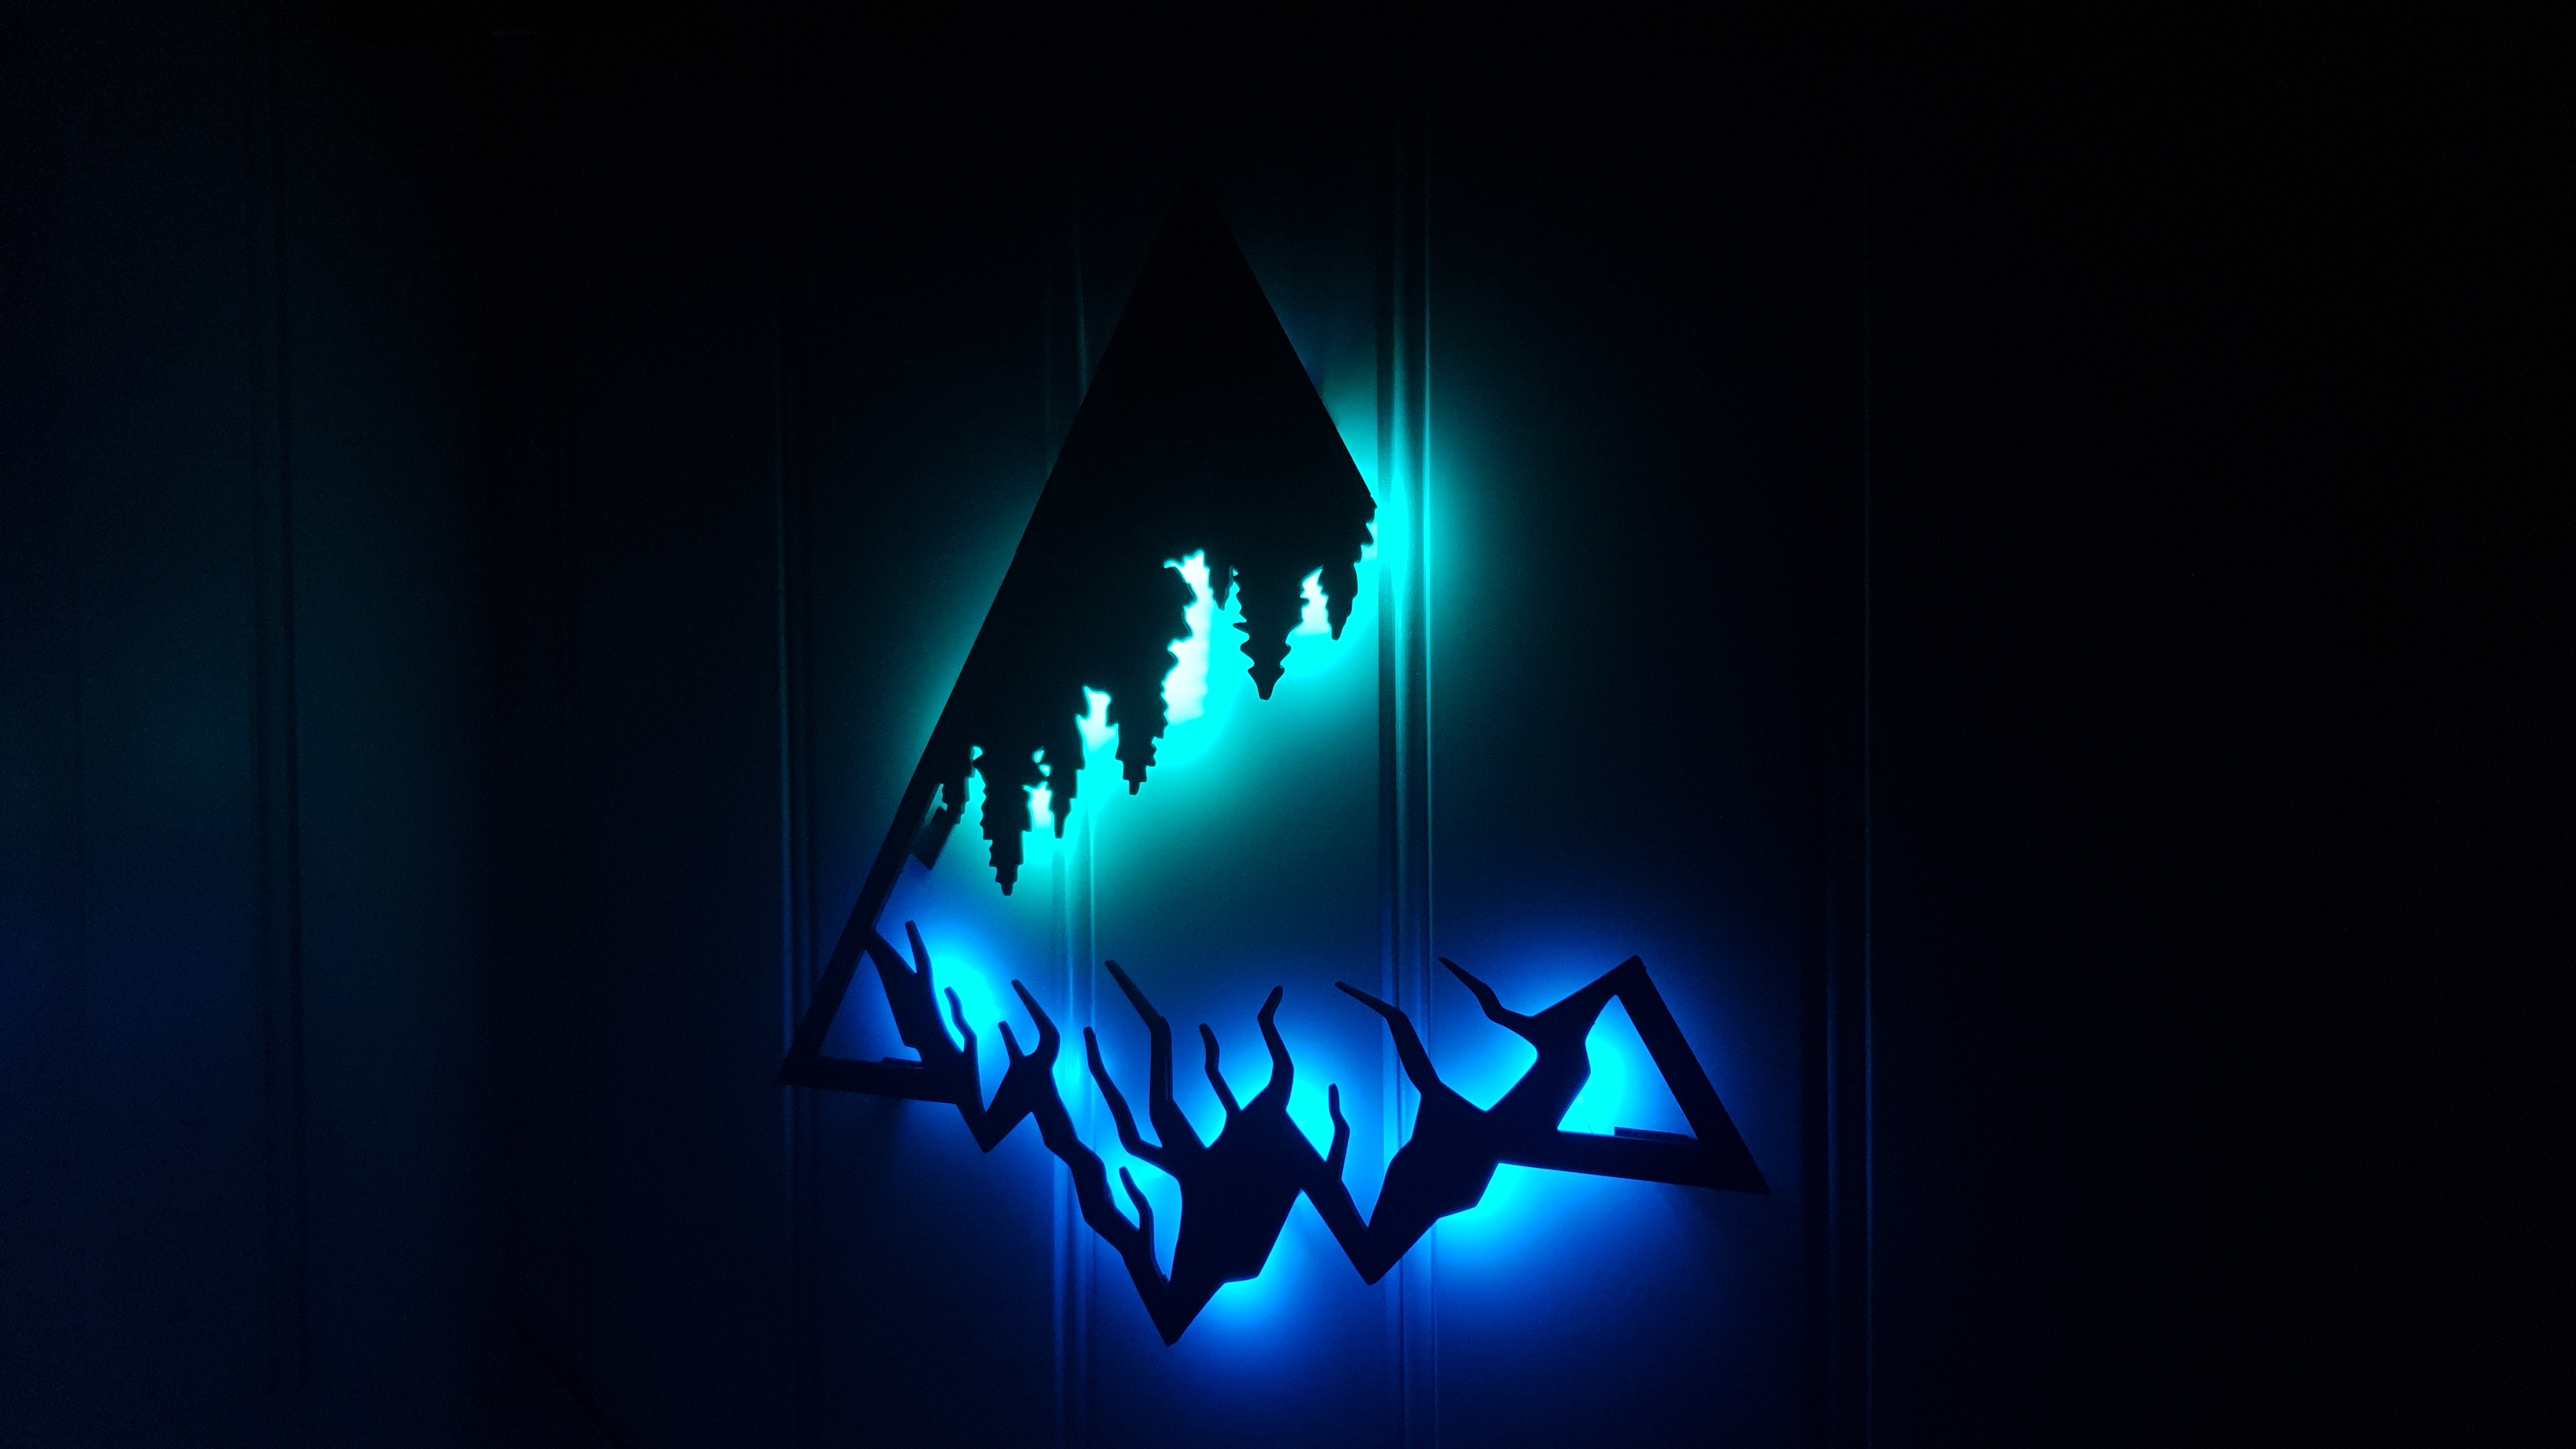
Mountains backlight
06 July 2022Tech projects
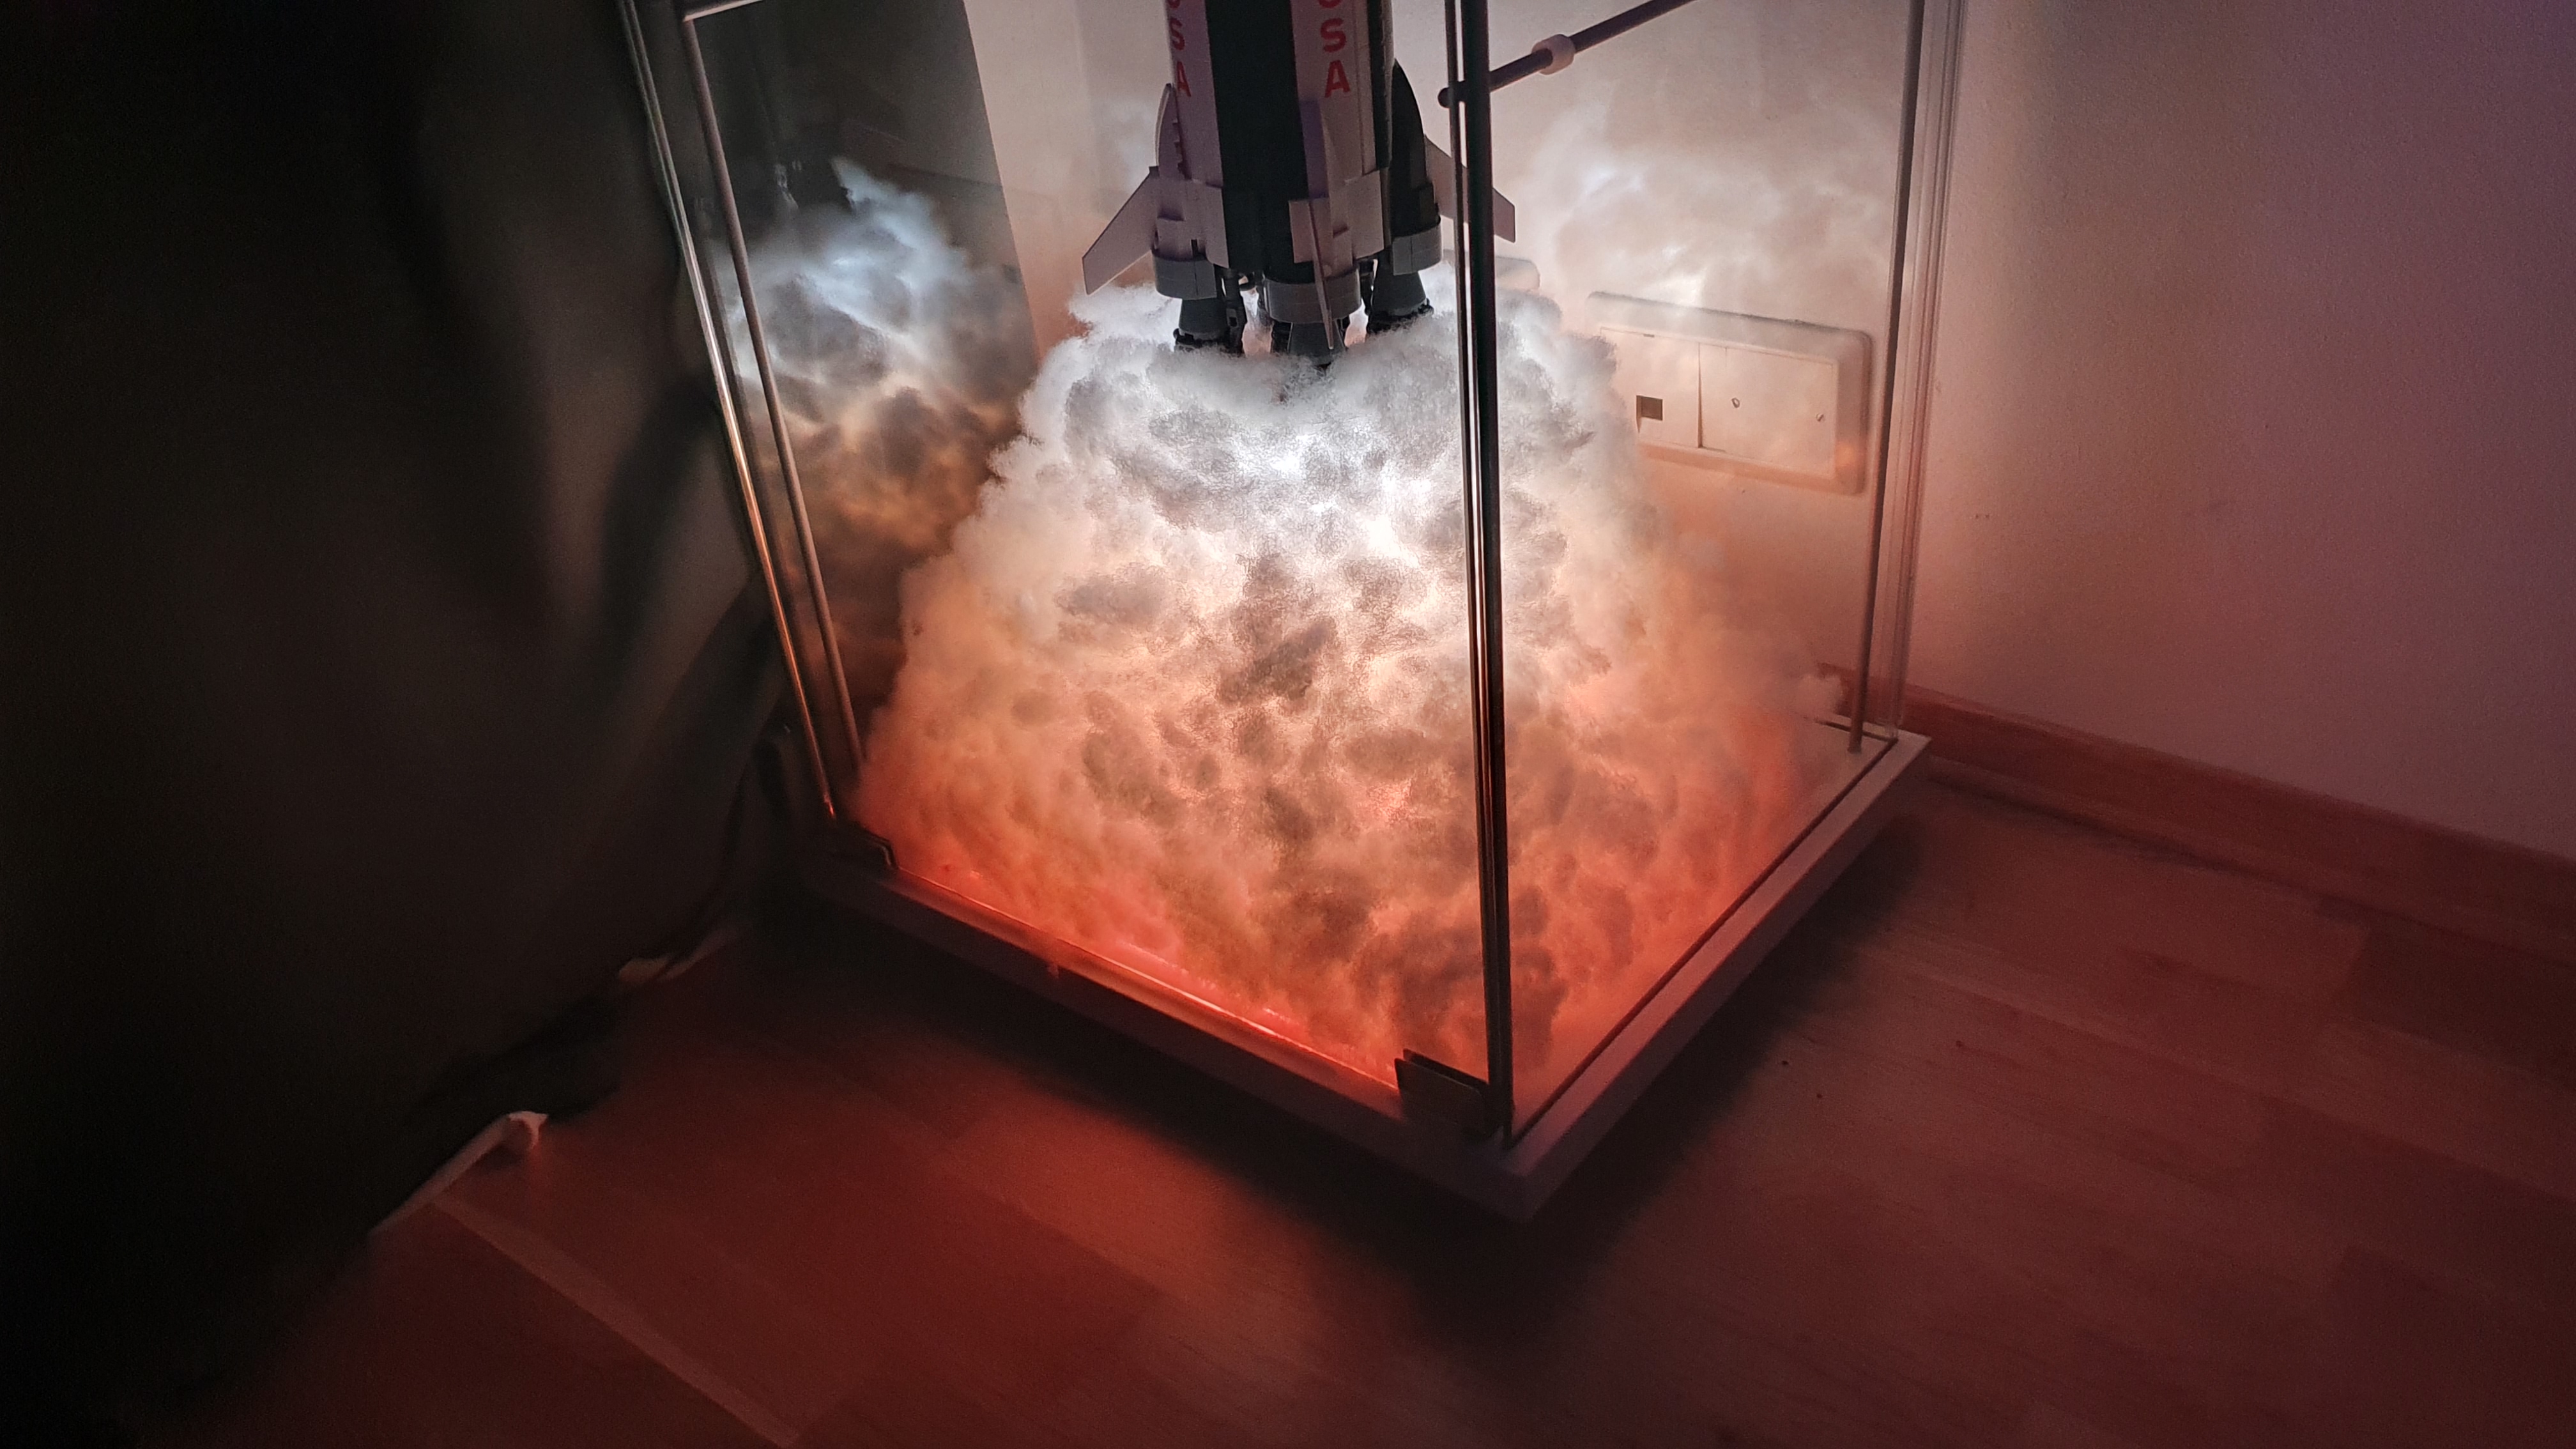
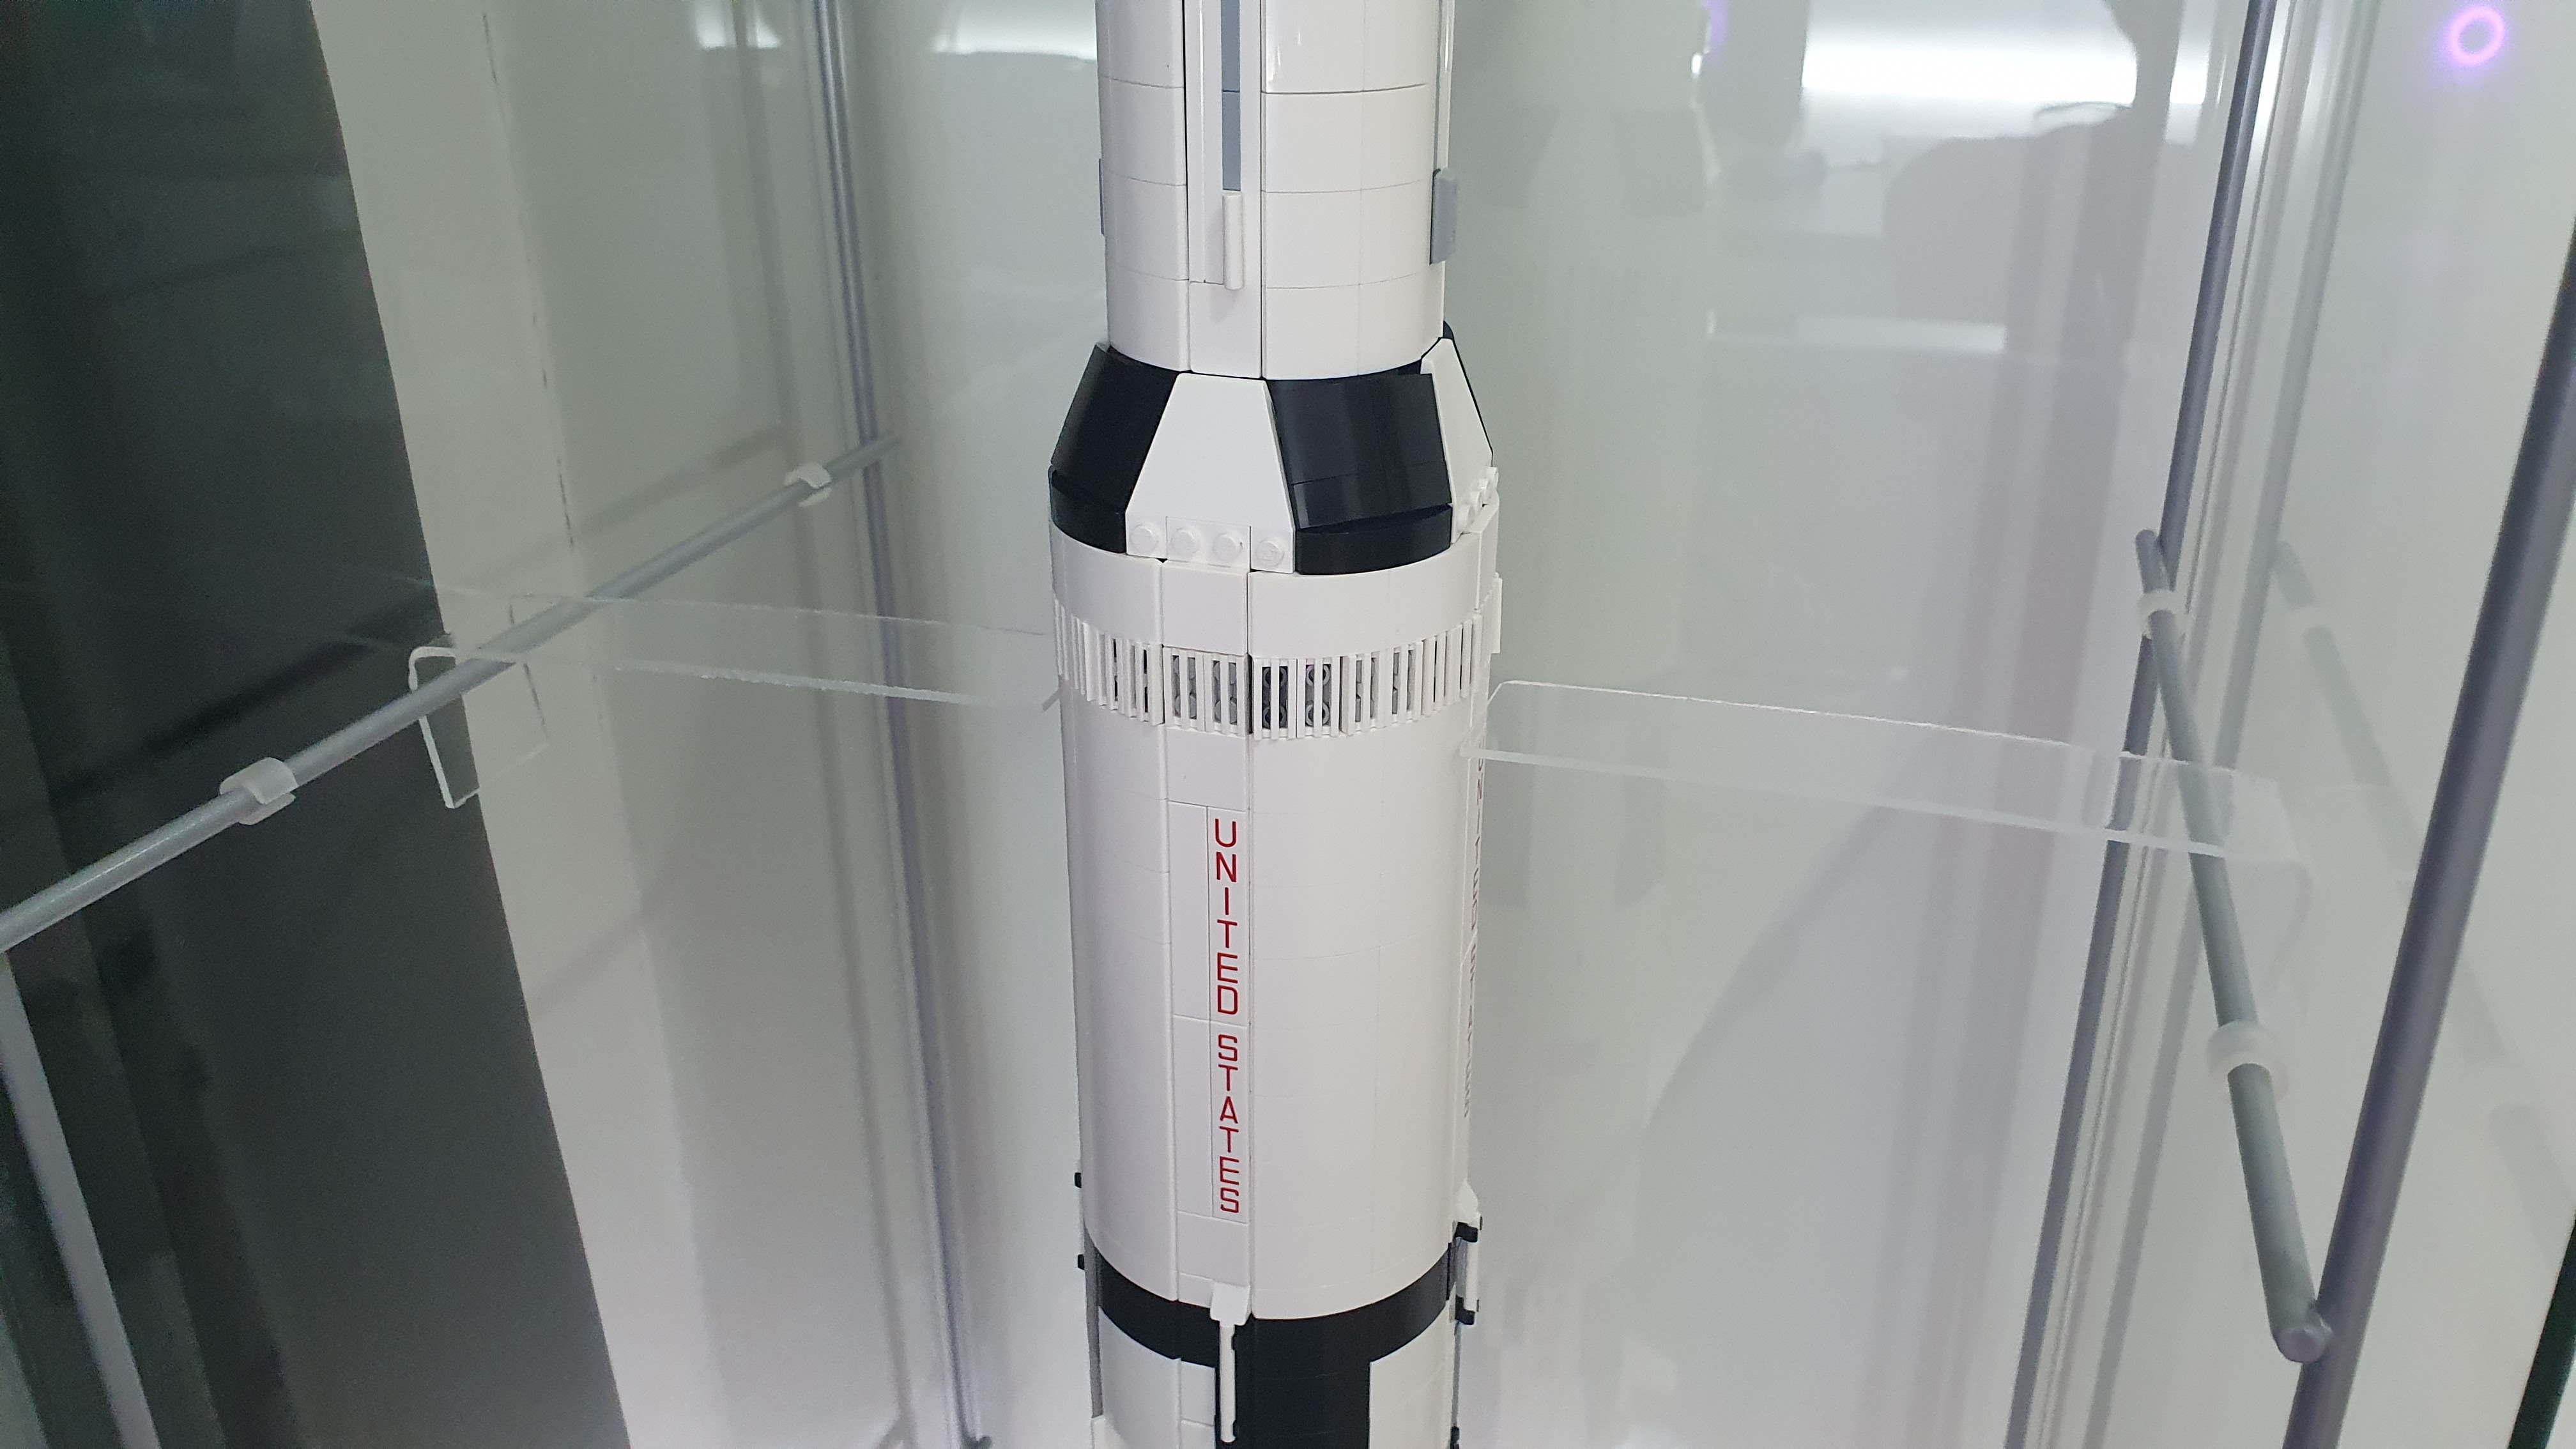
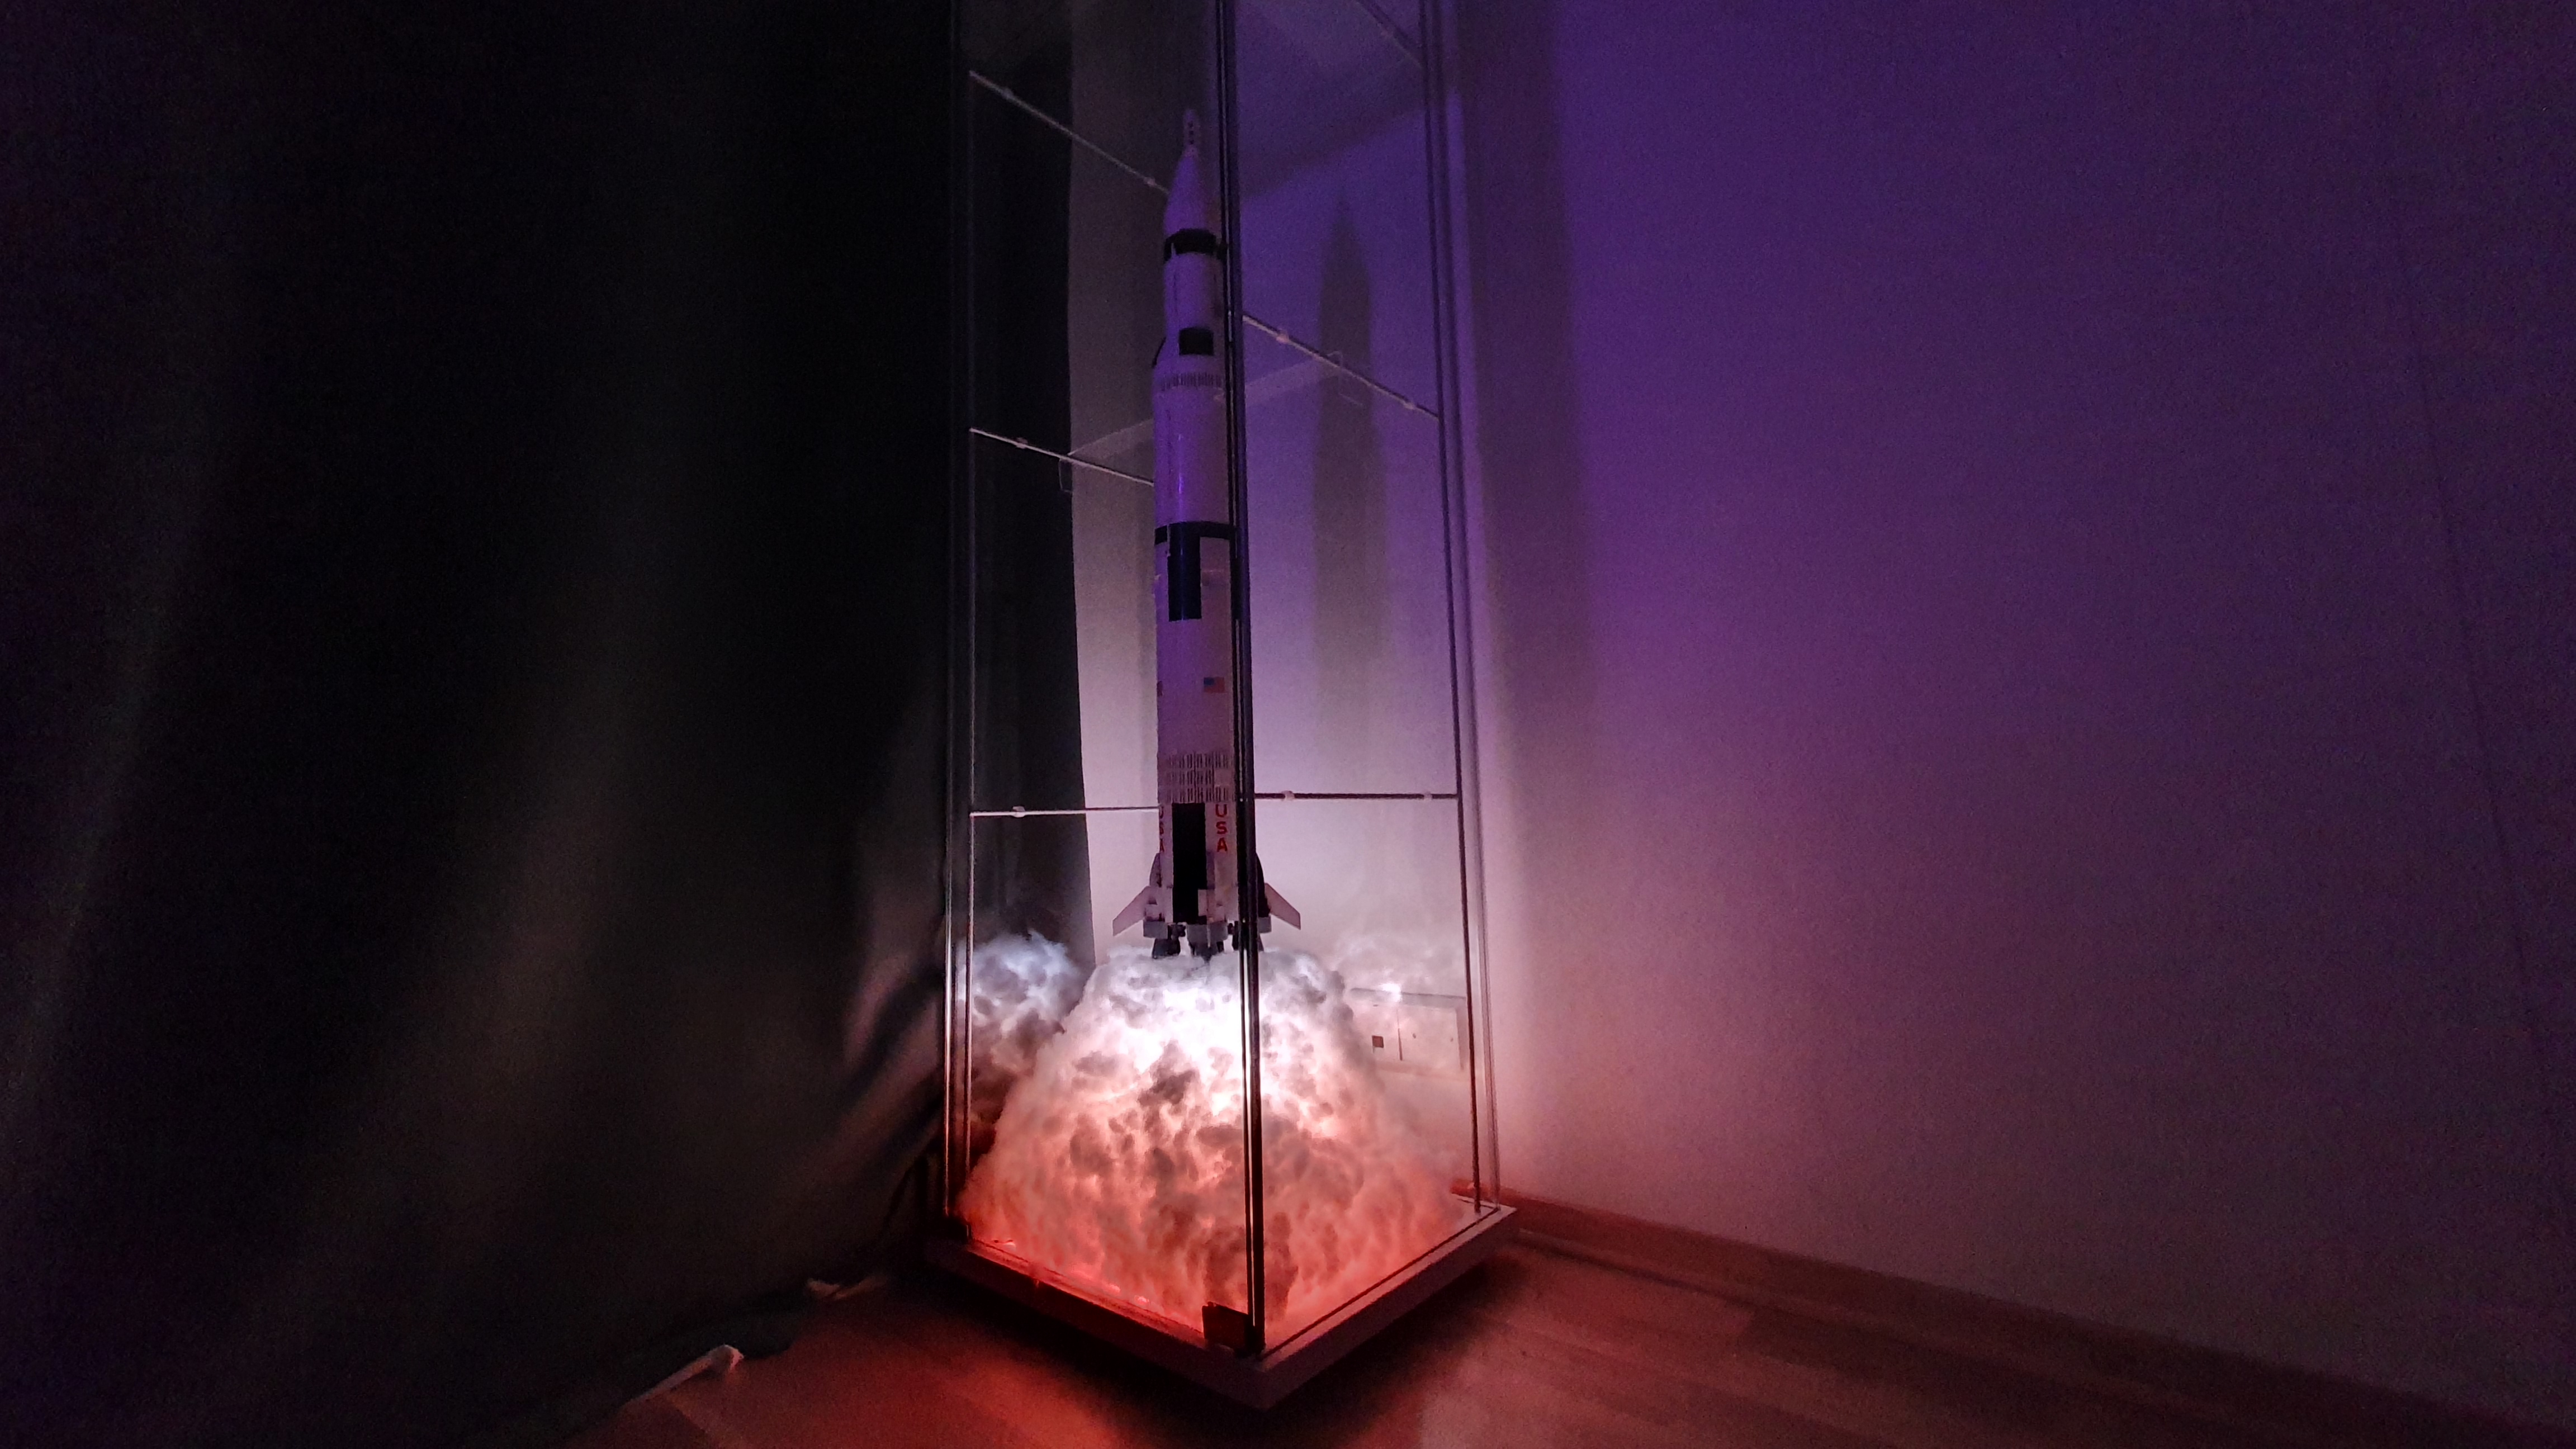
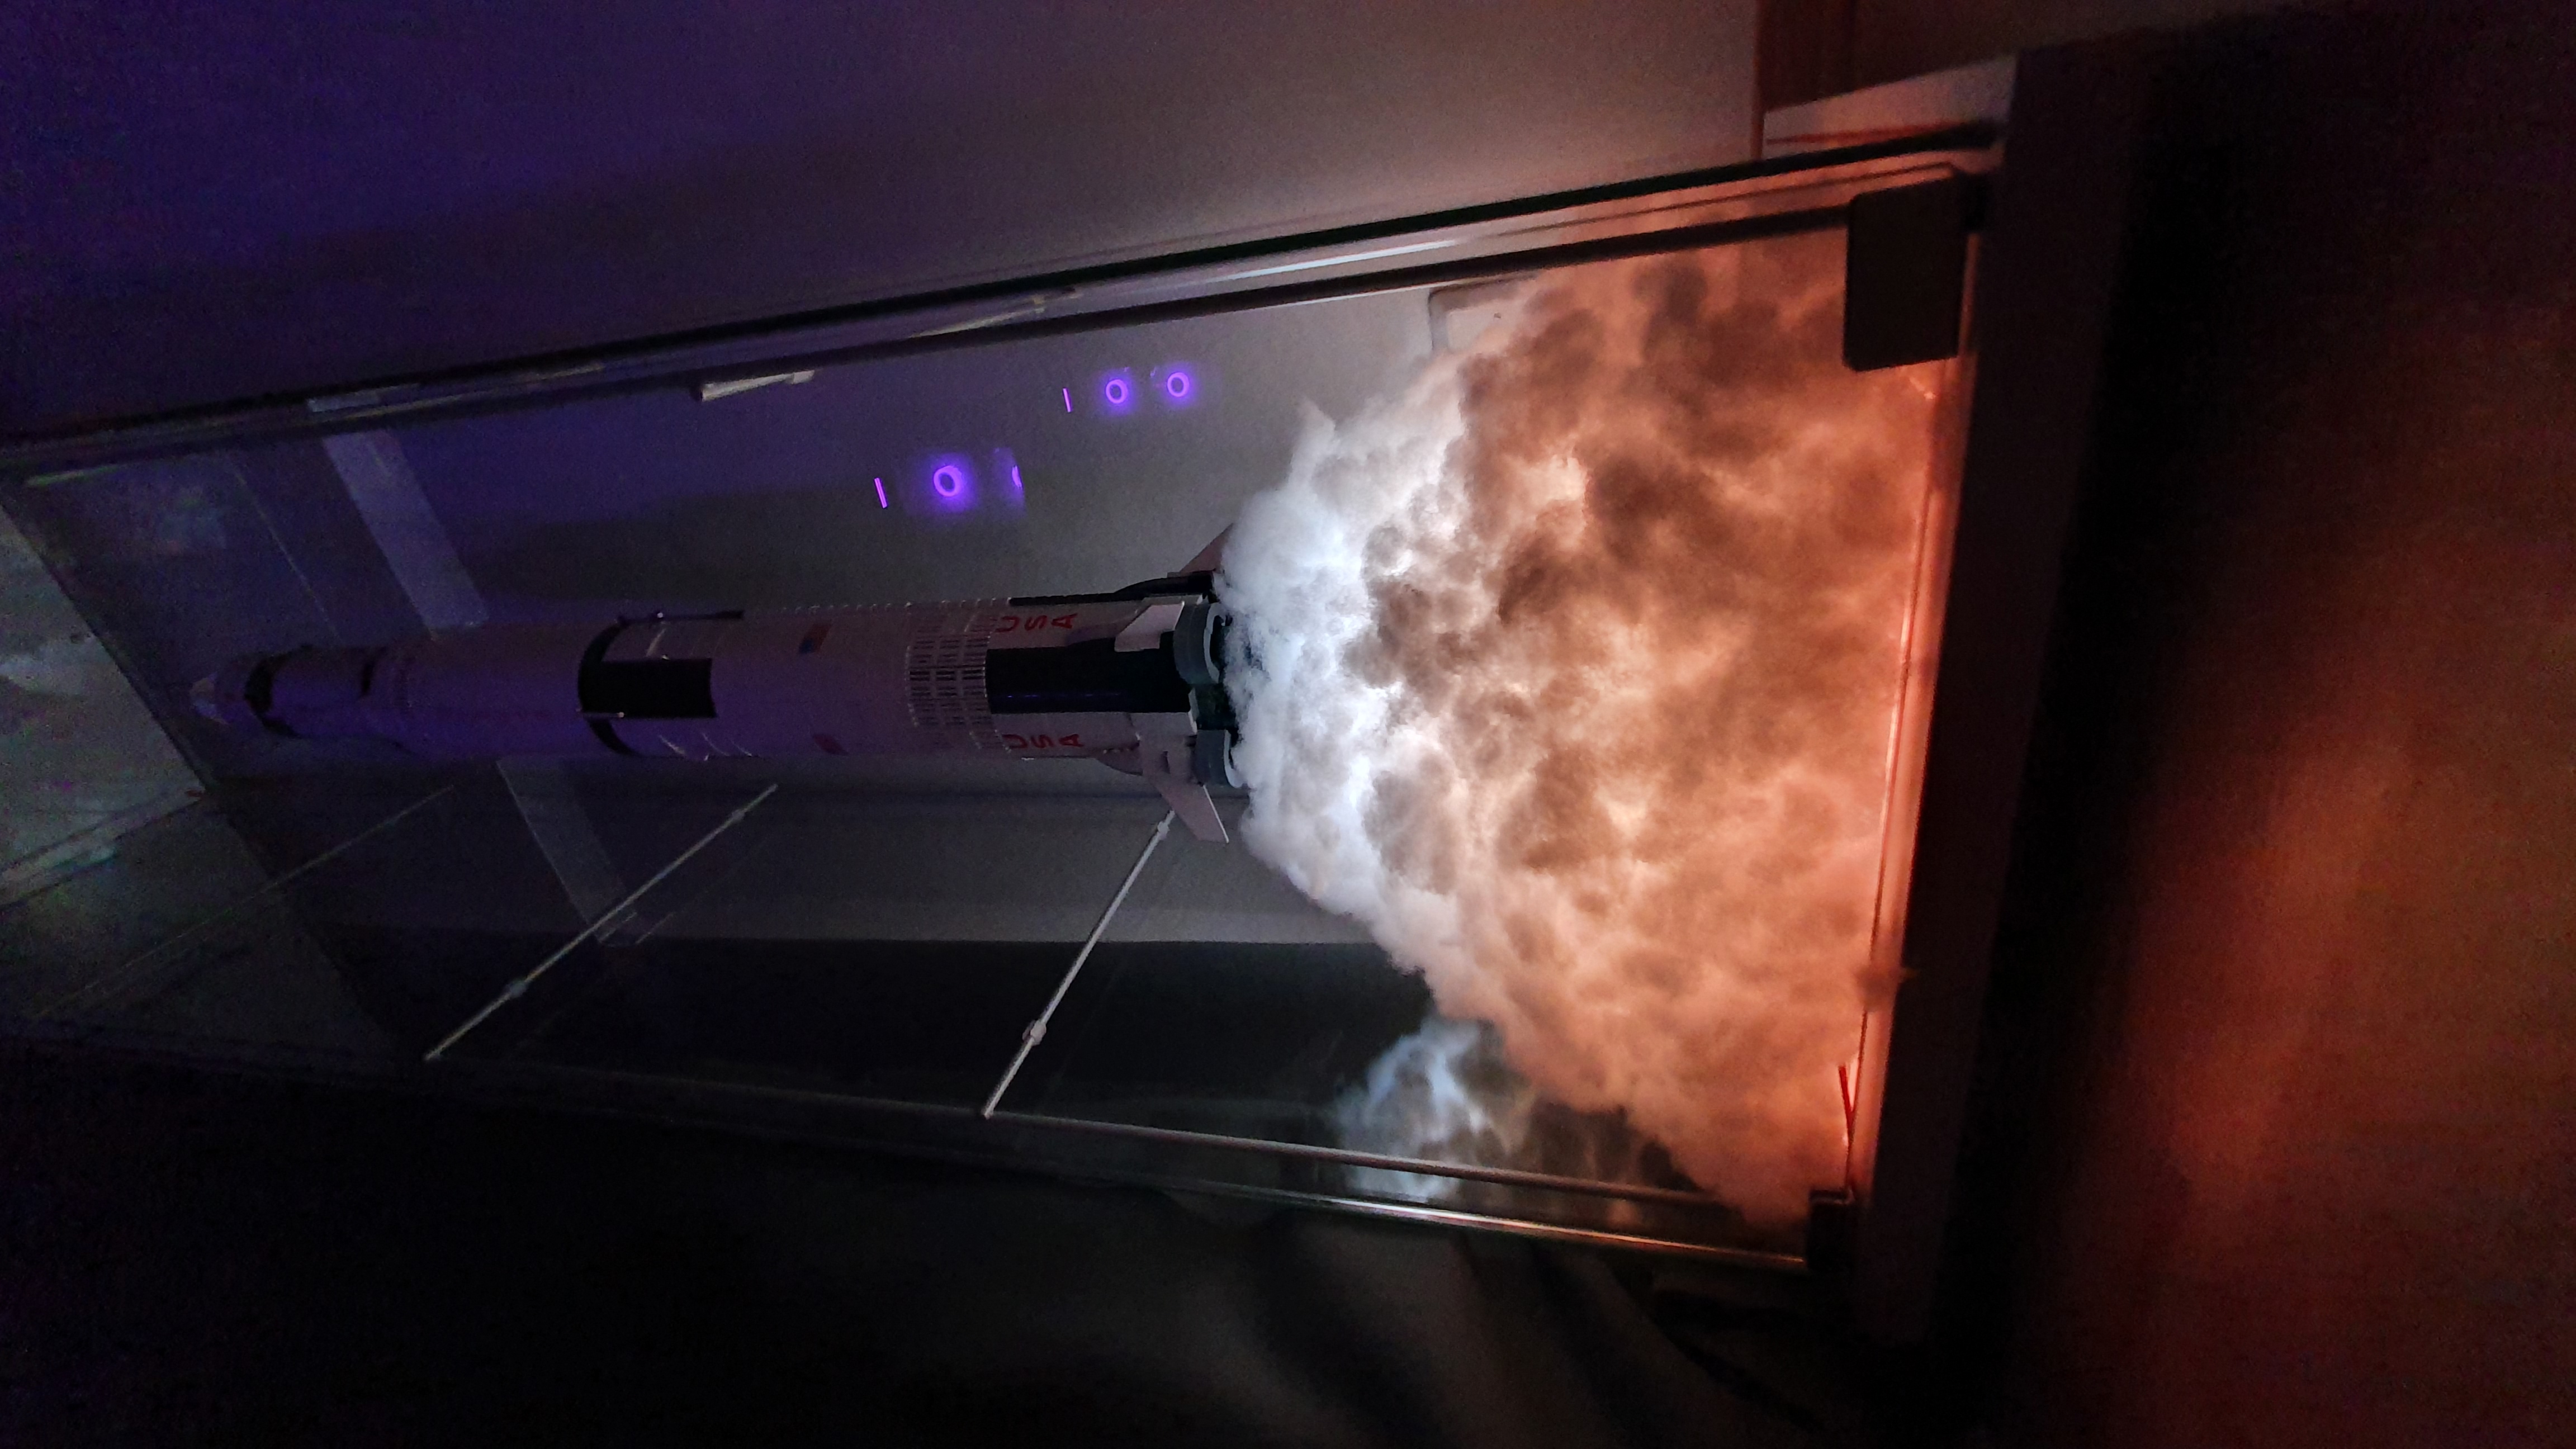
Lego Saturn V Blast off
23 January 2022Tech projects


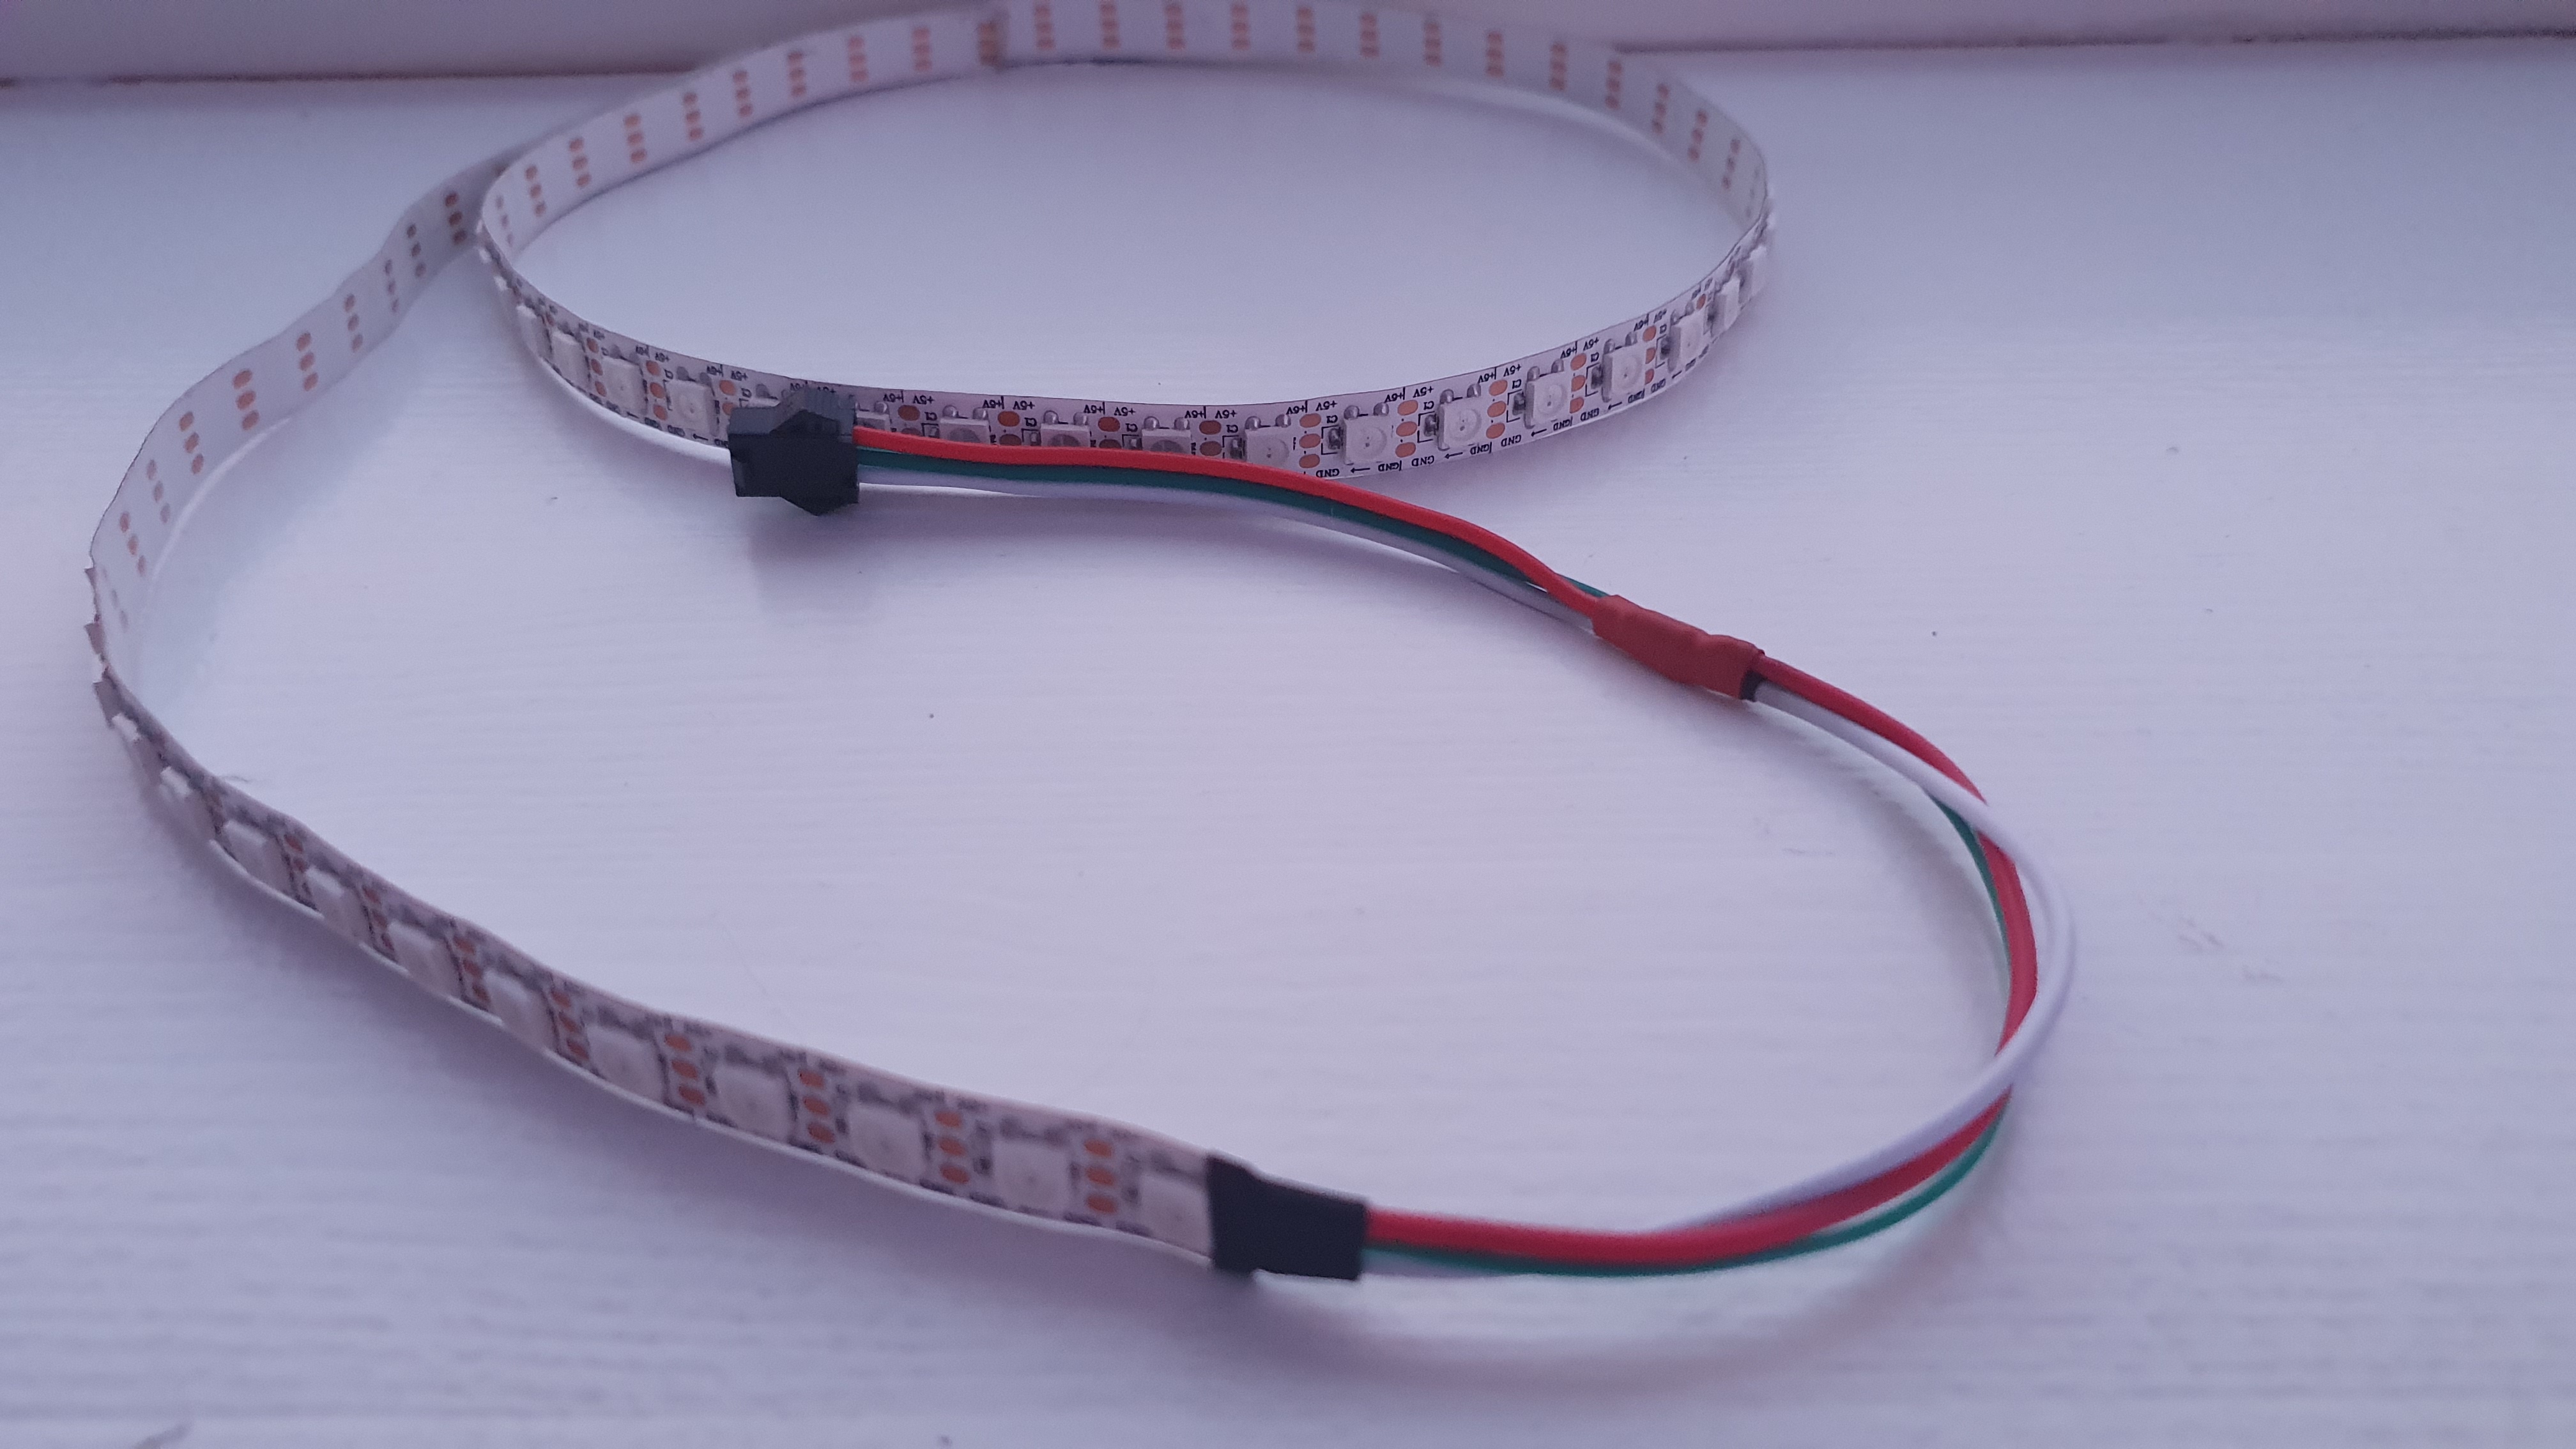
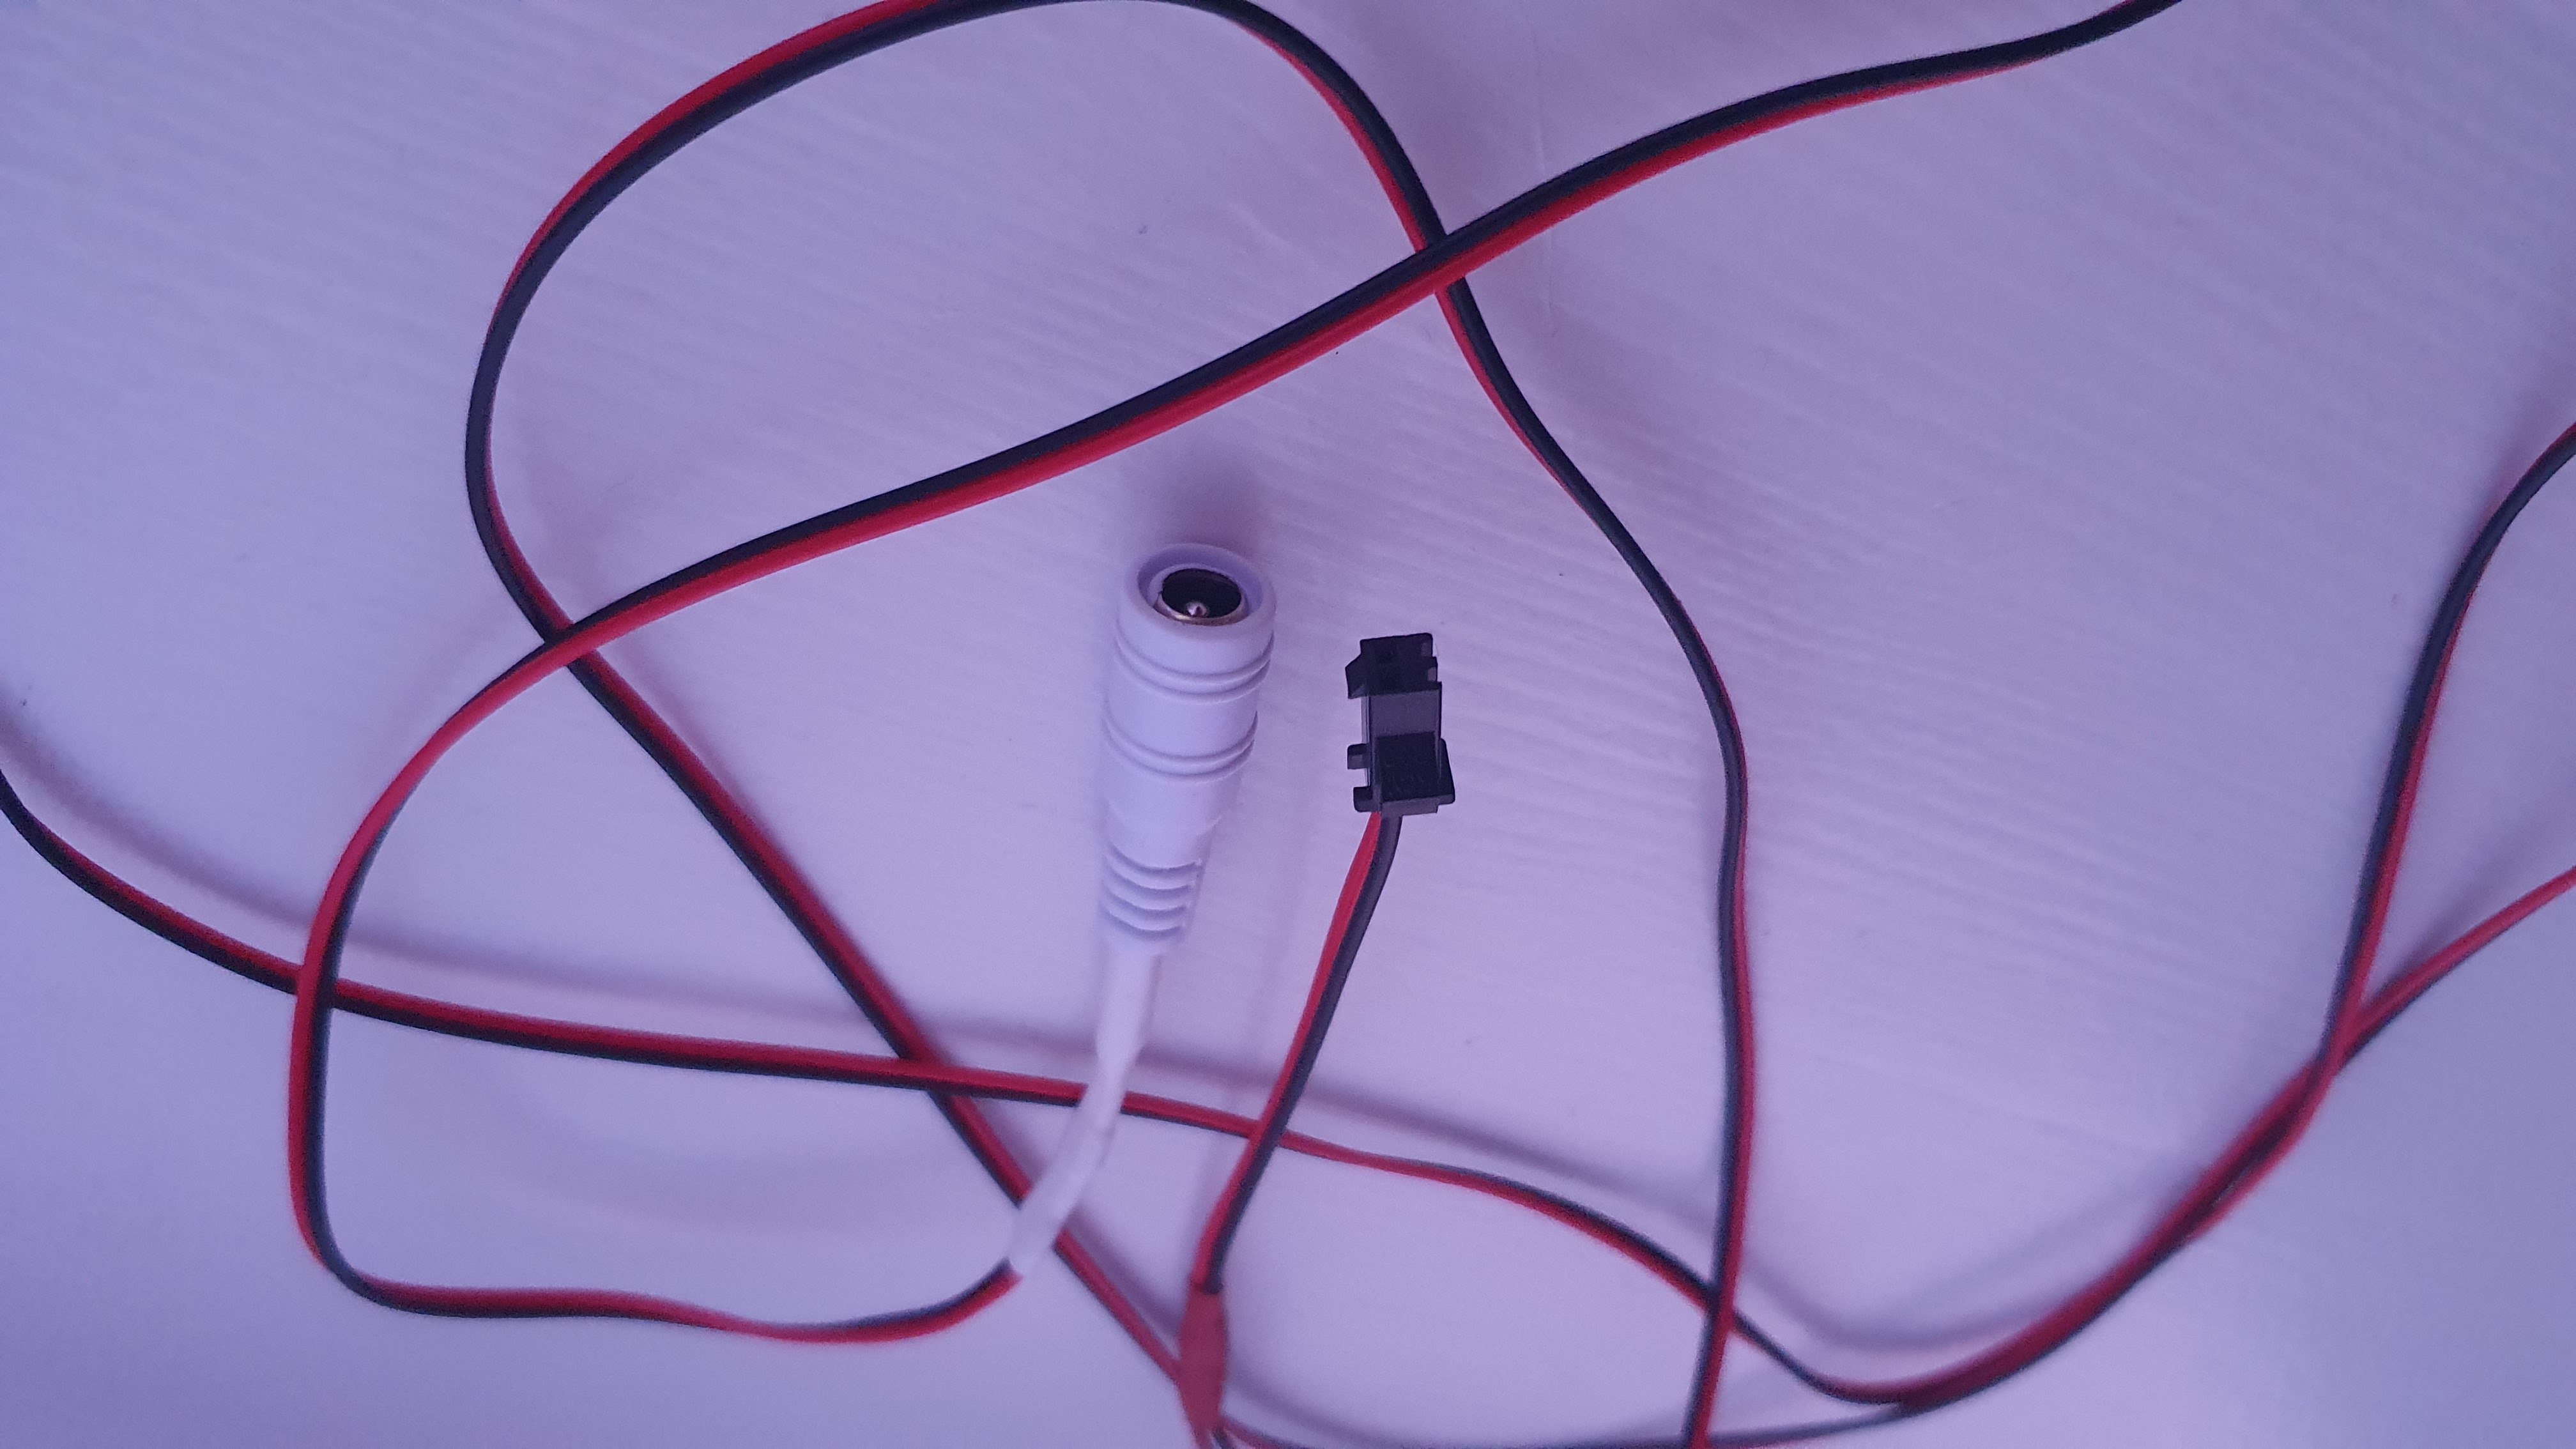
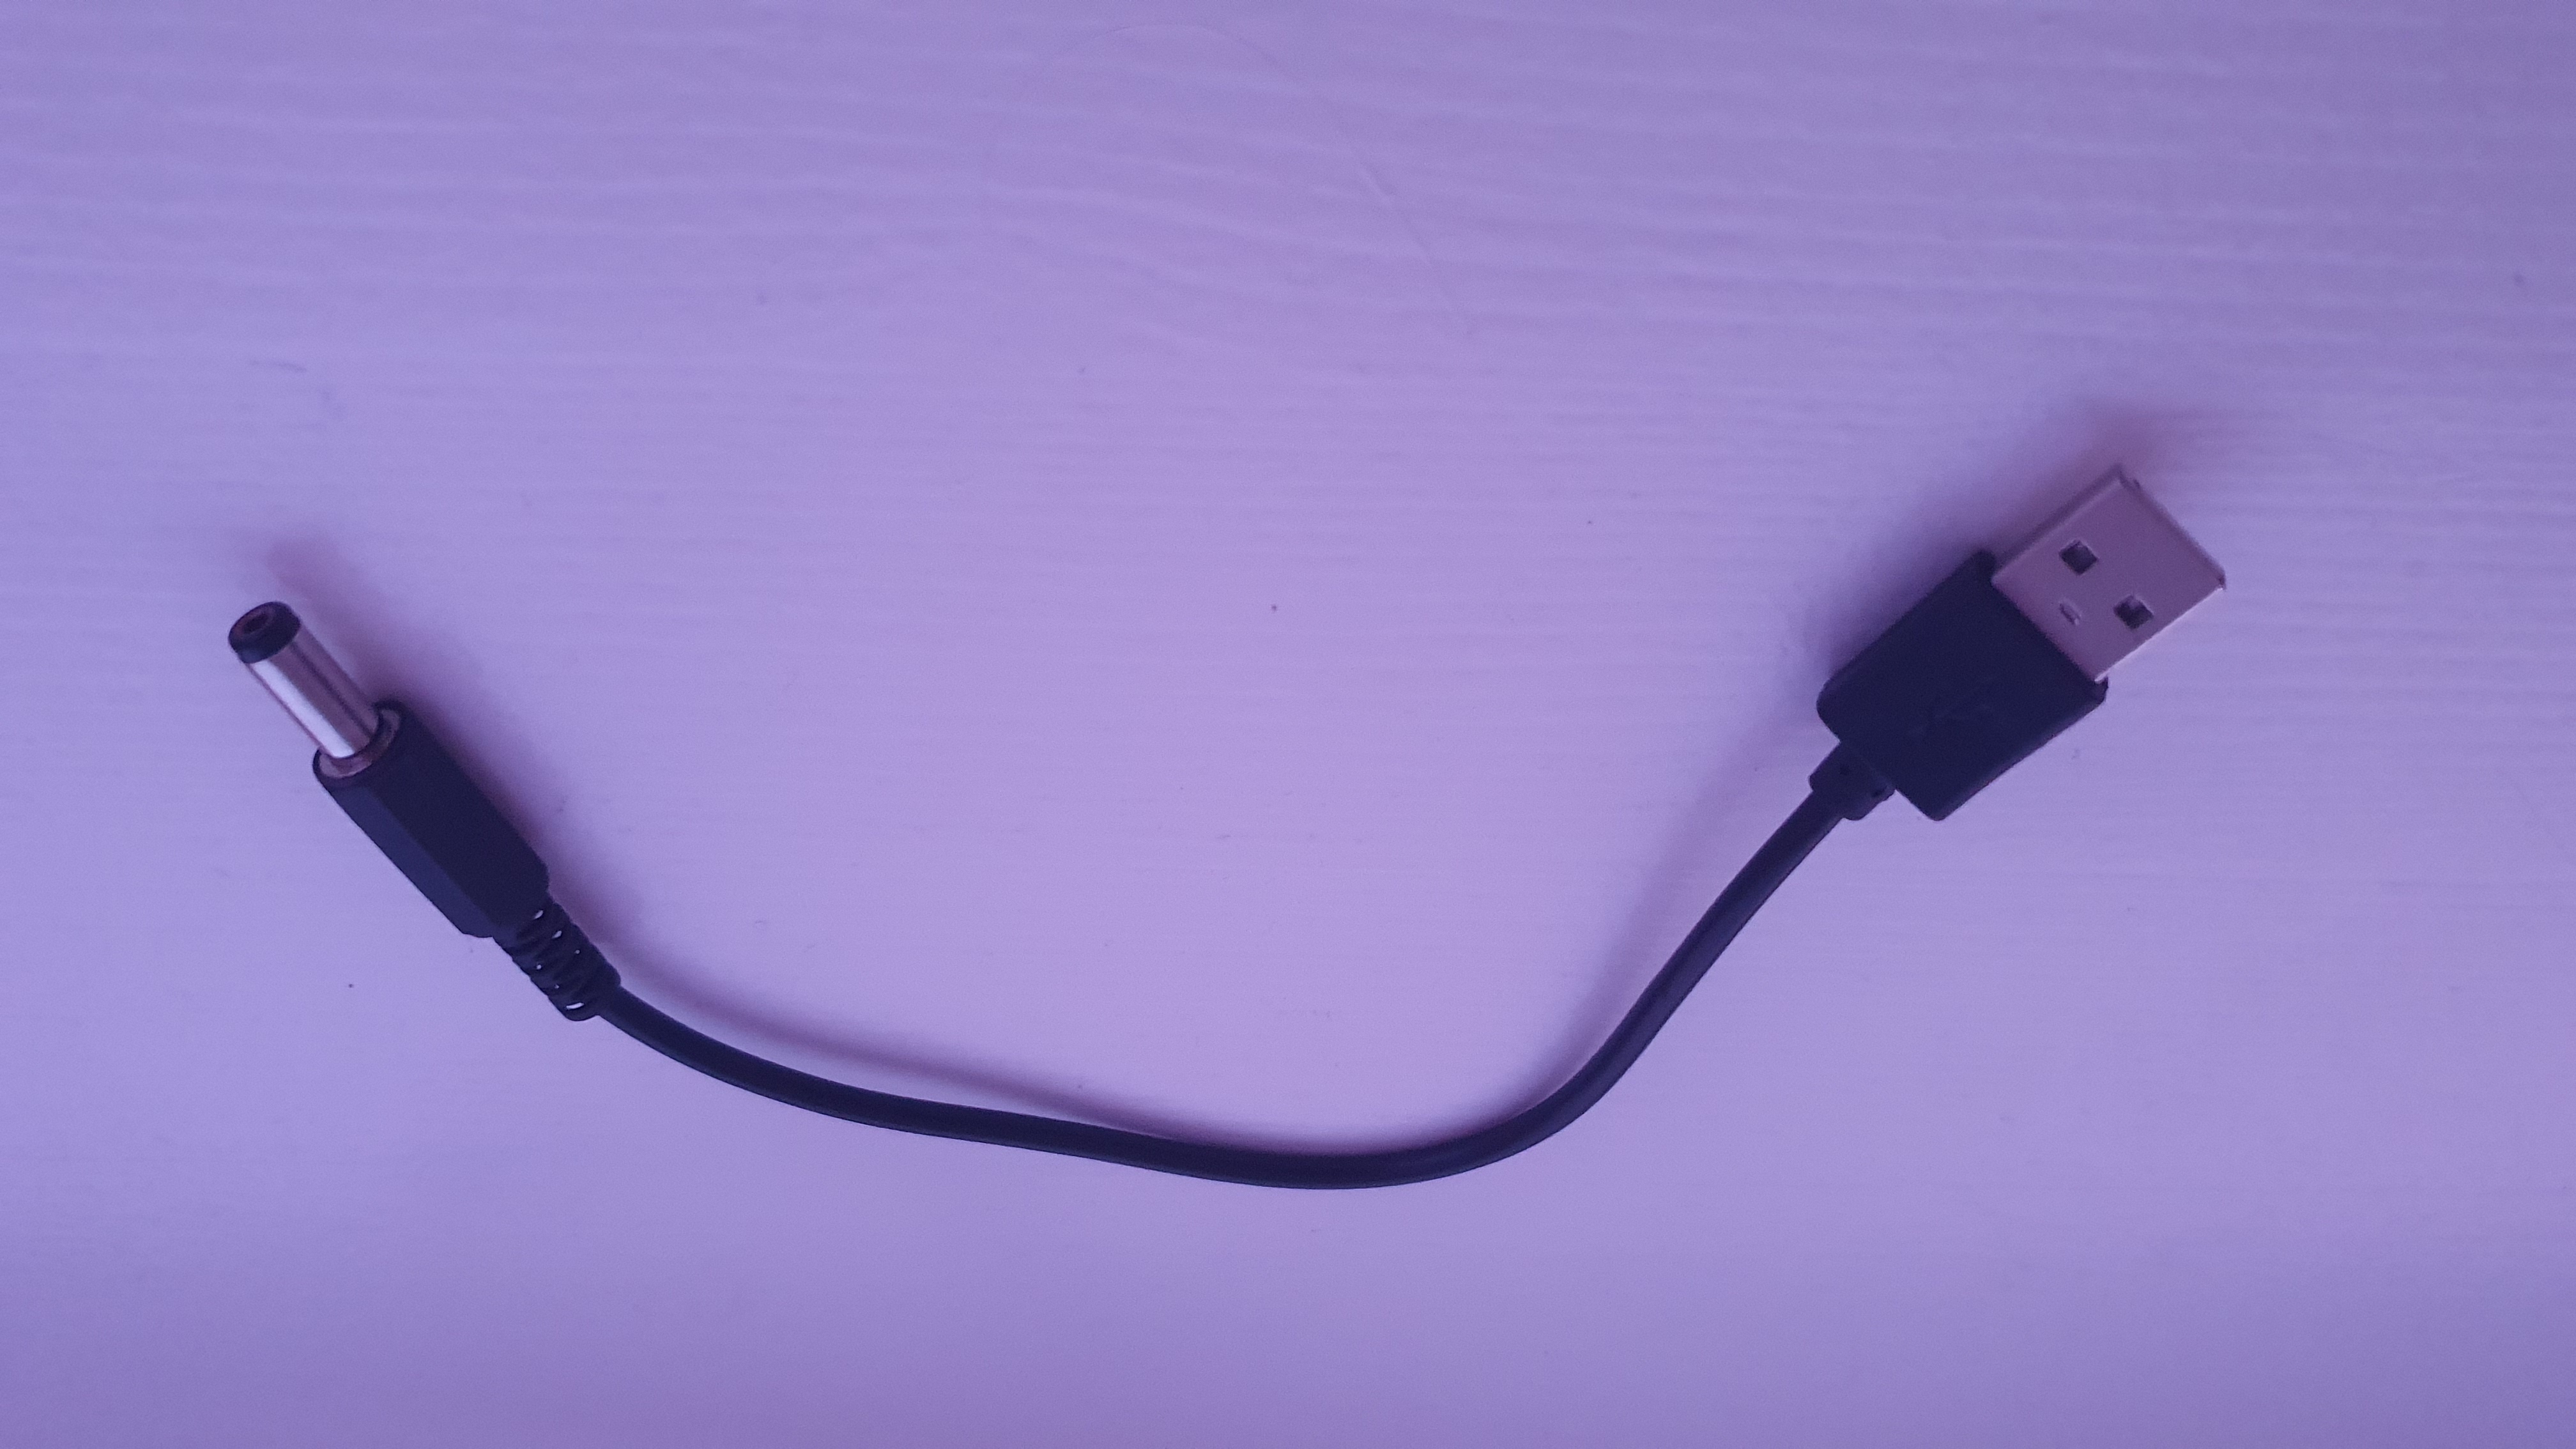
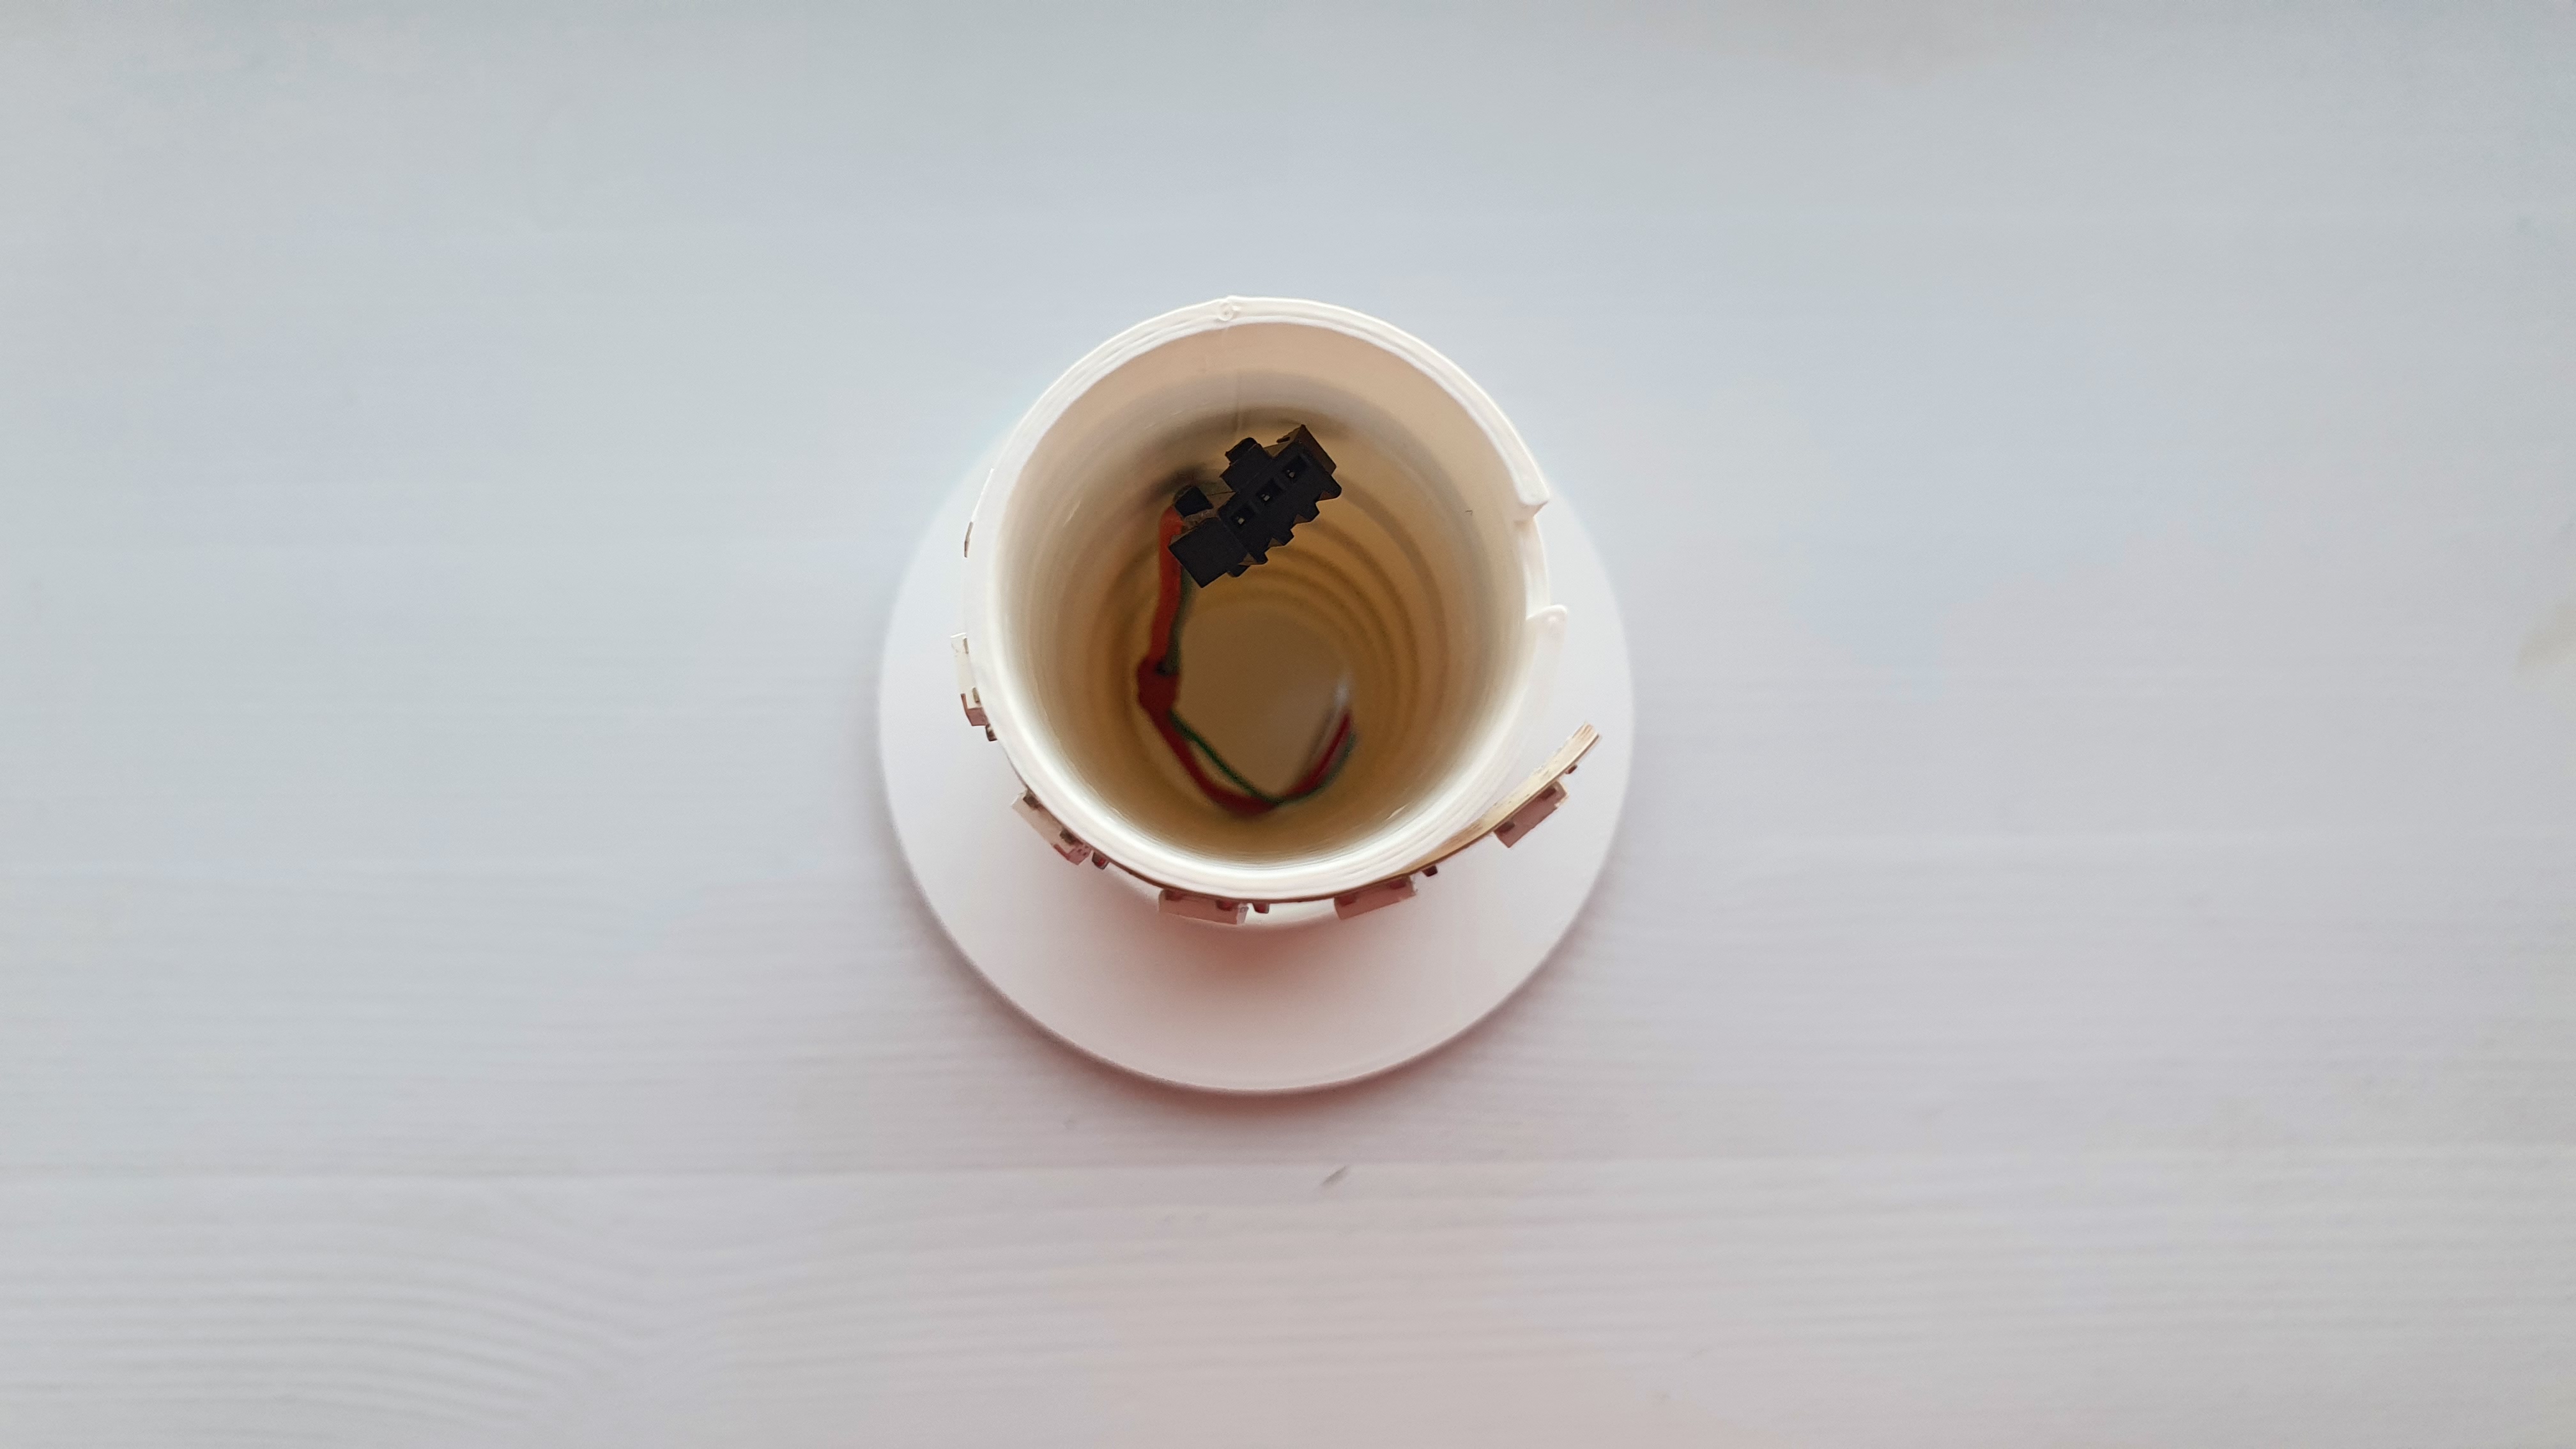
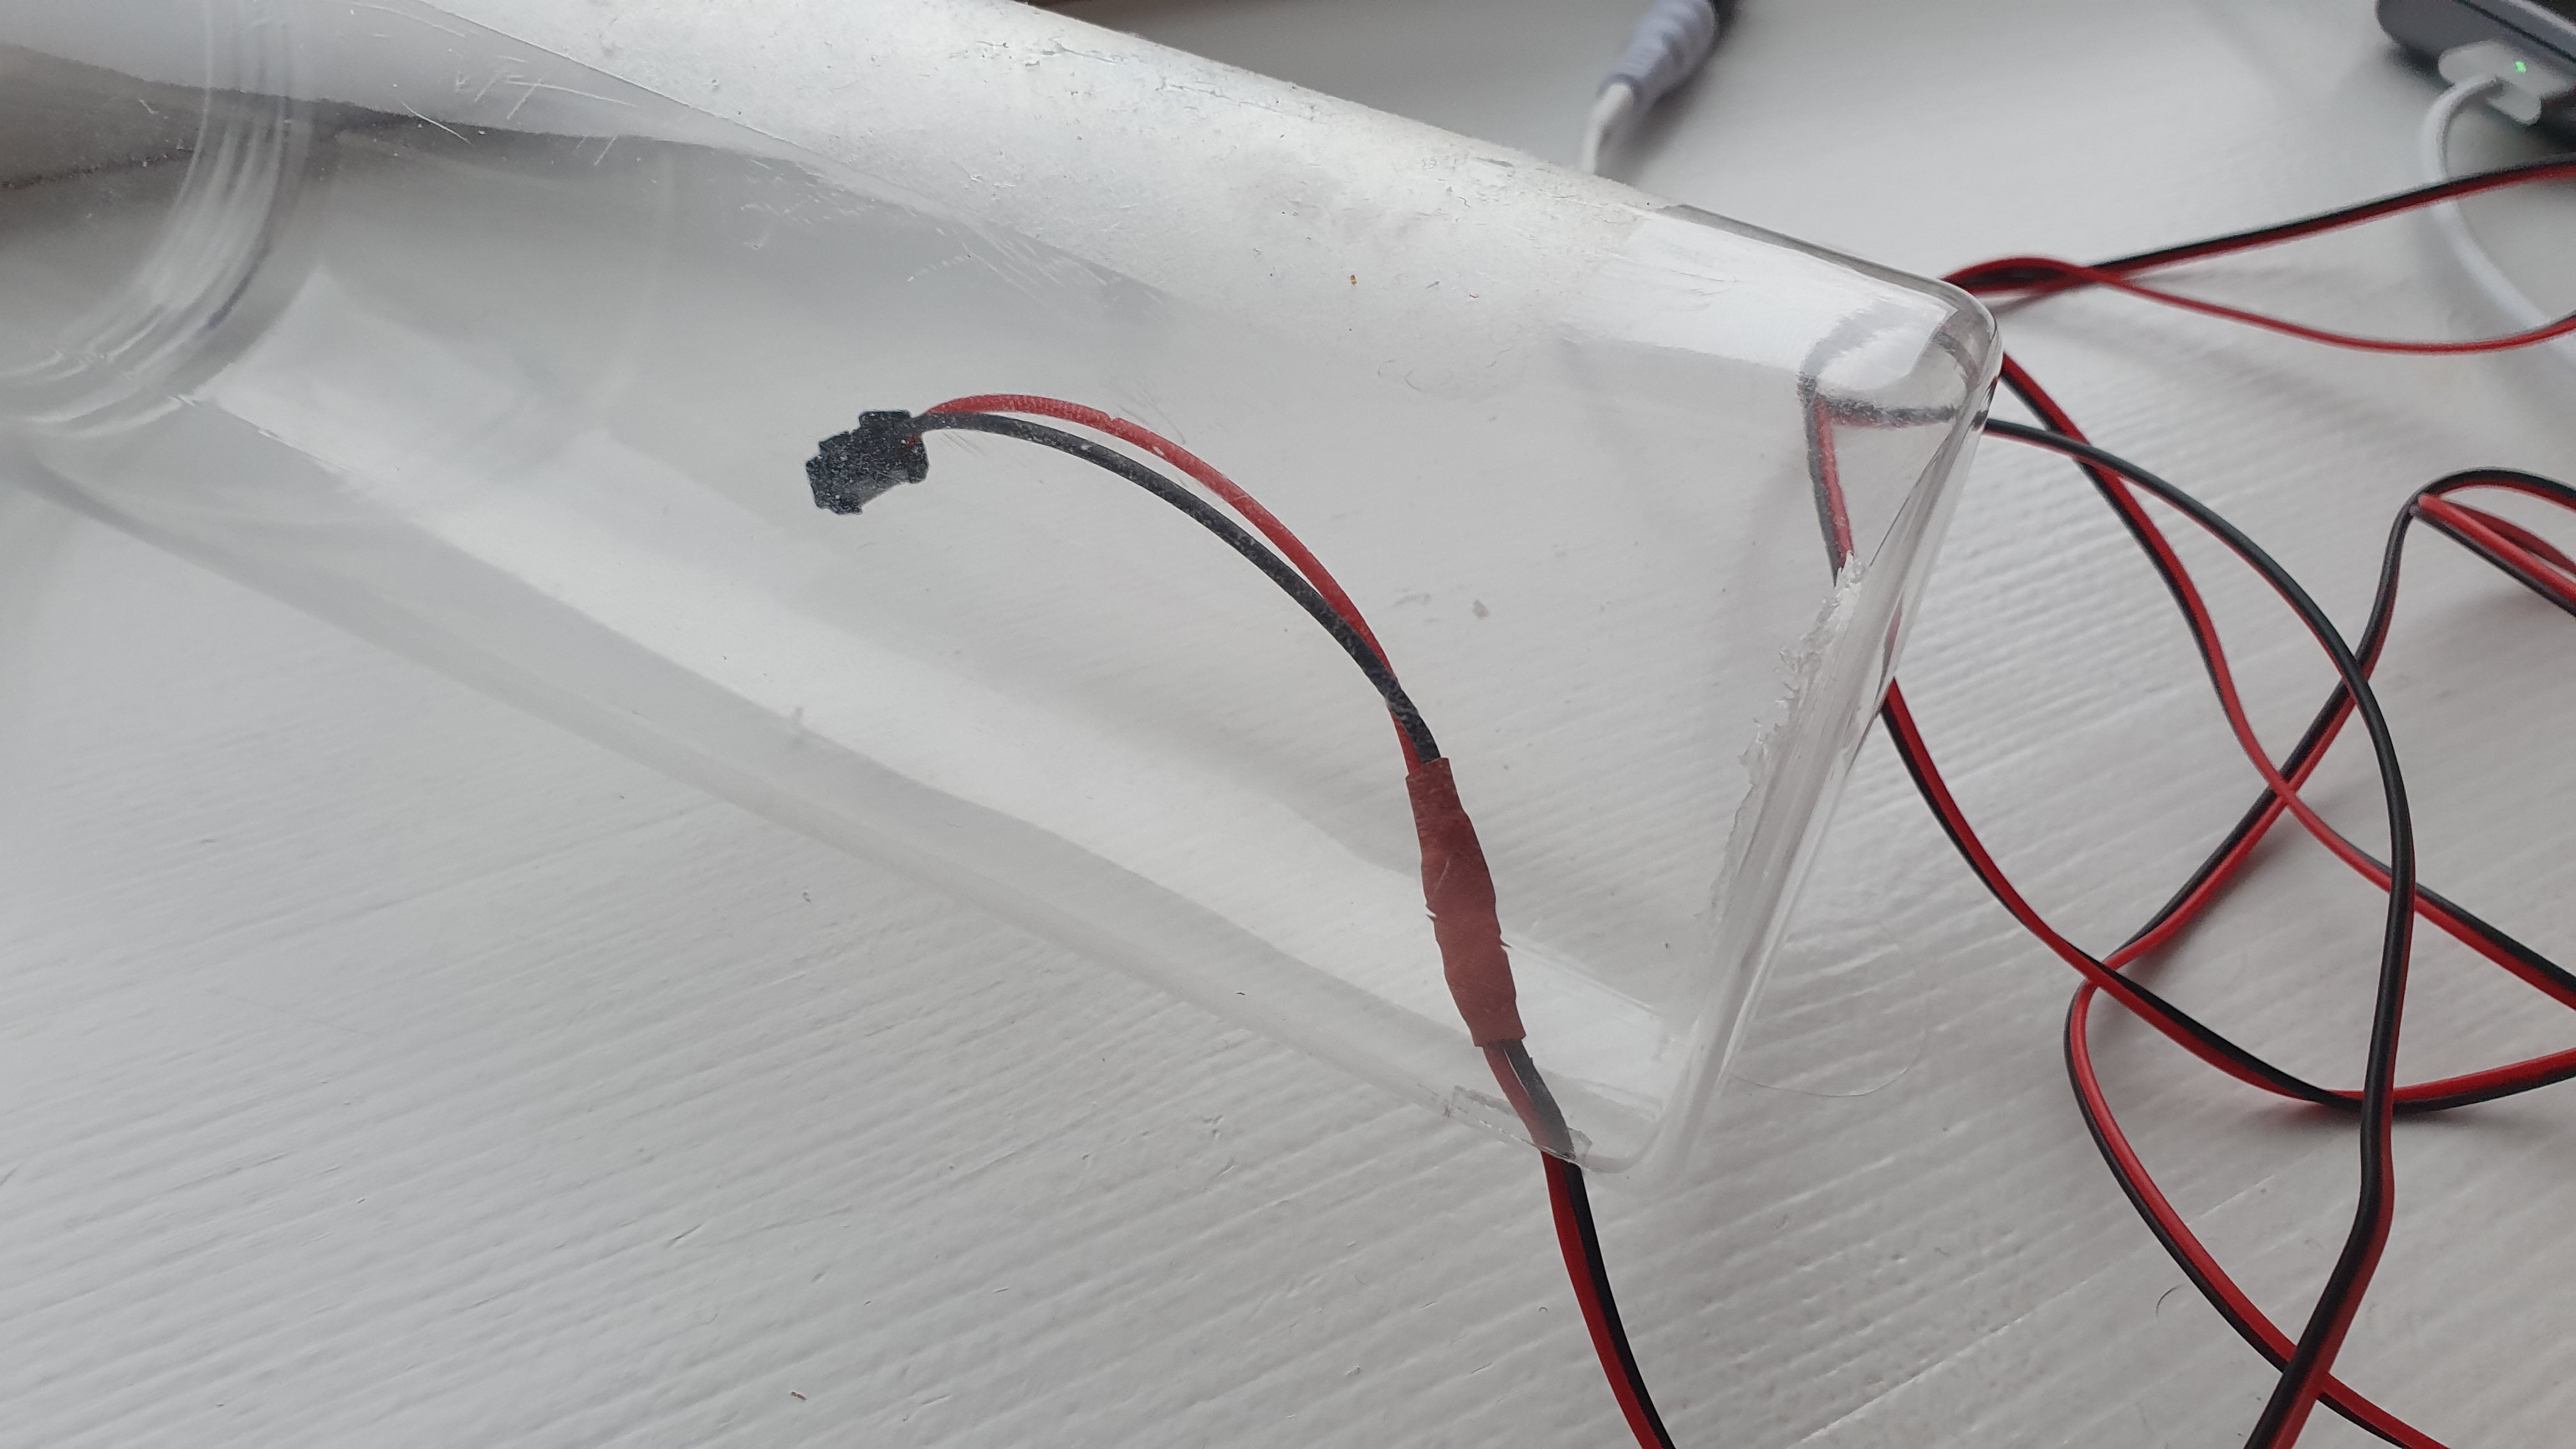
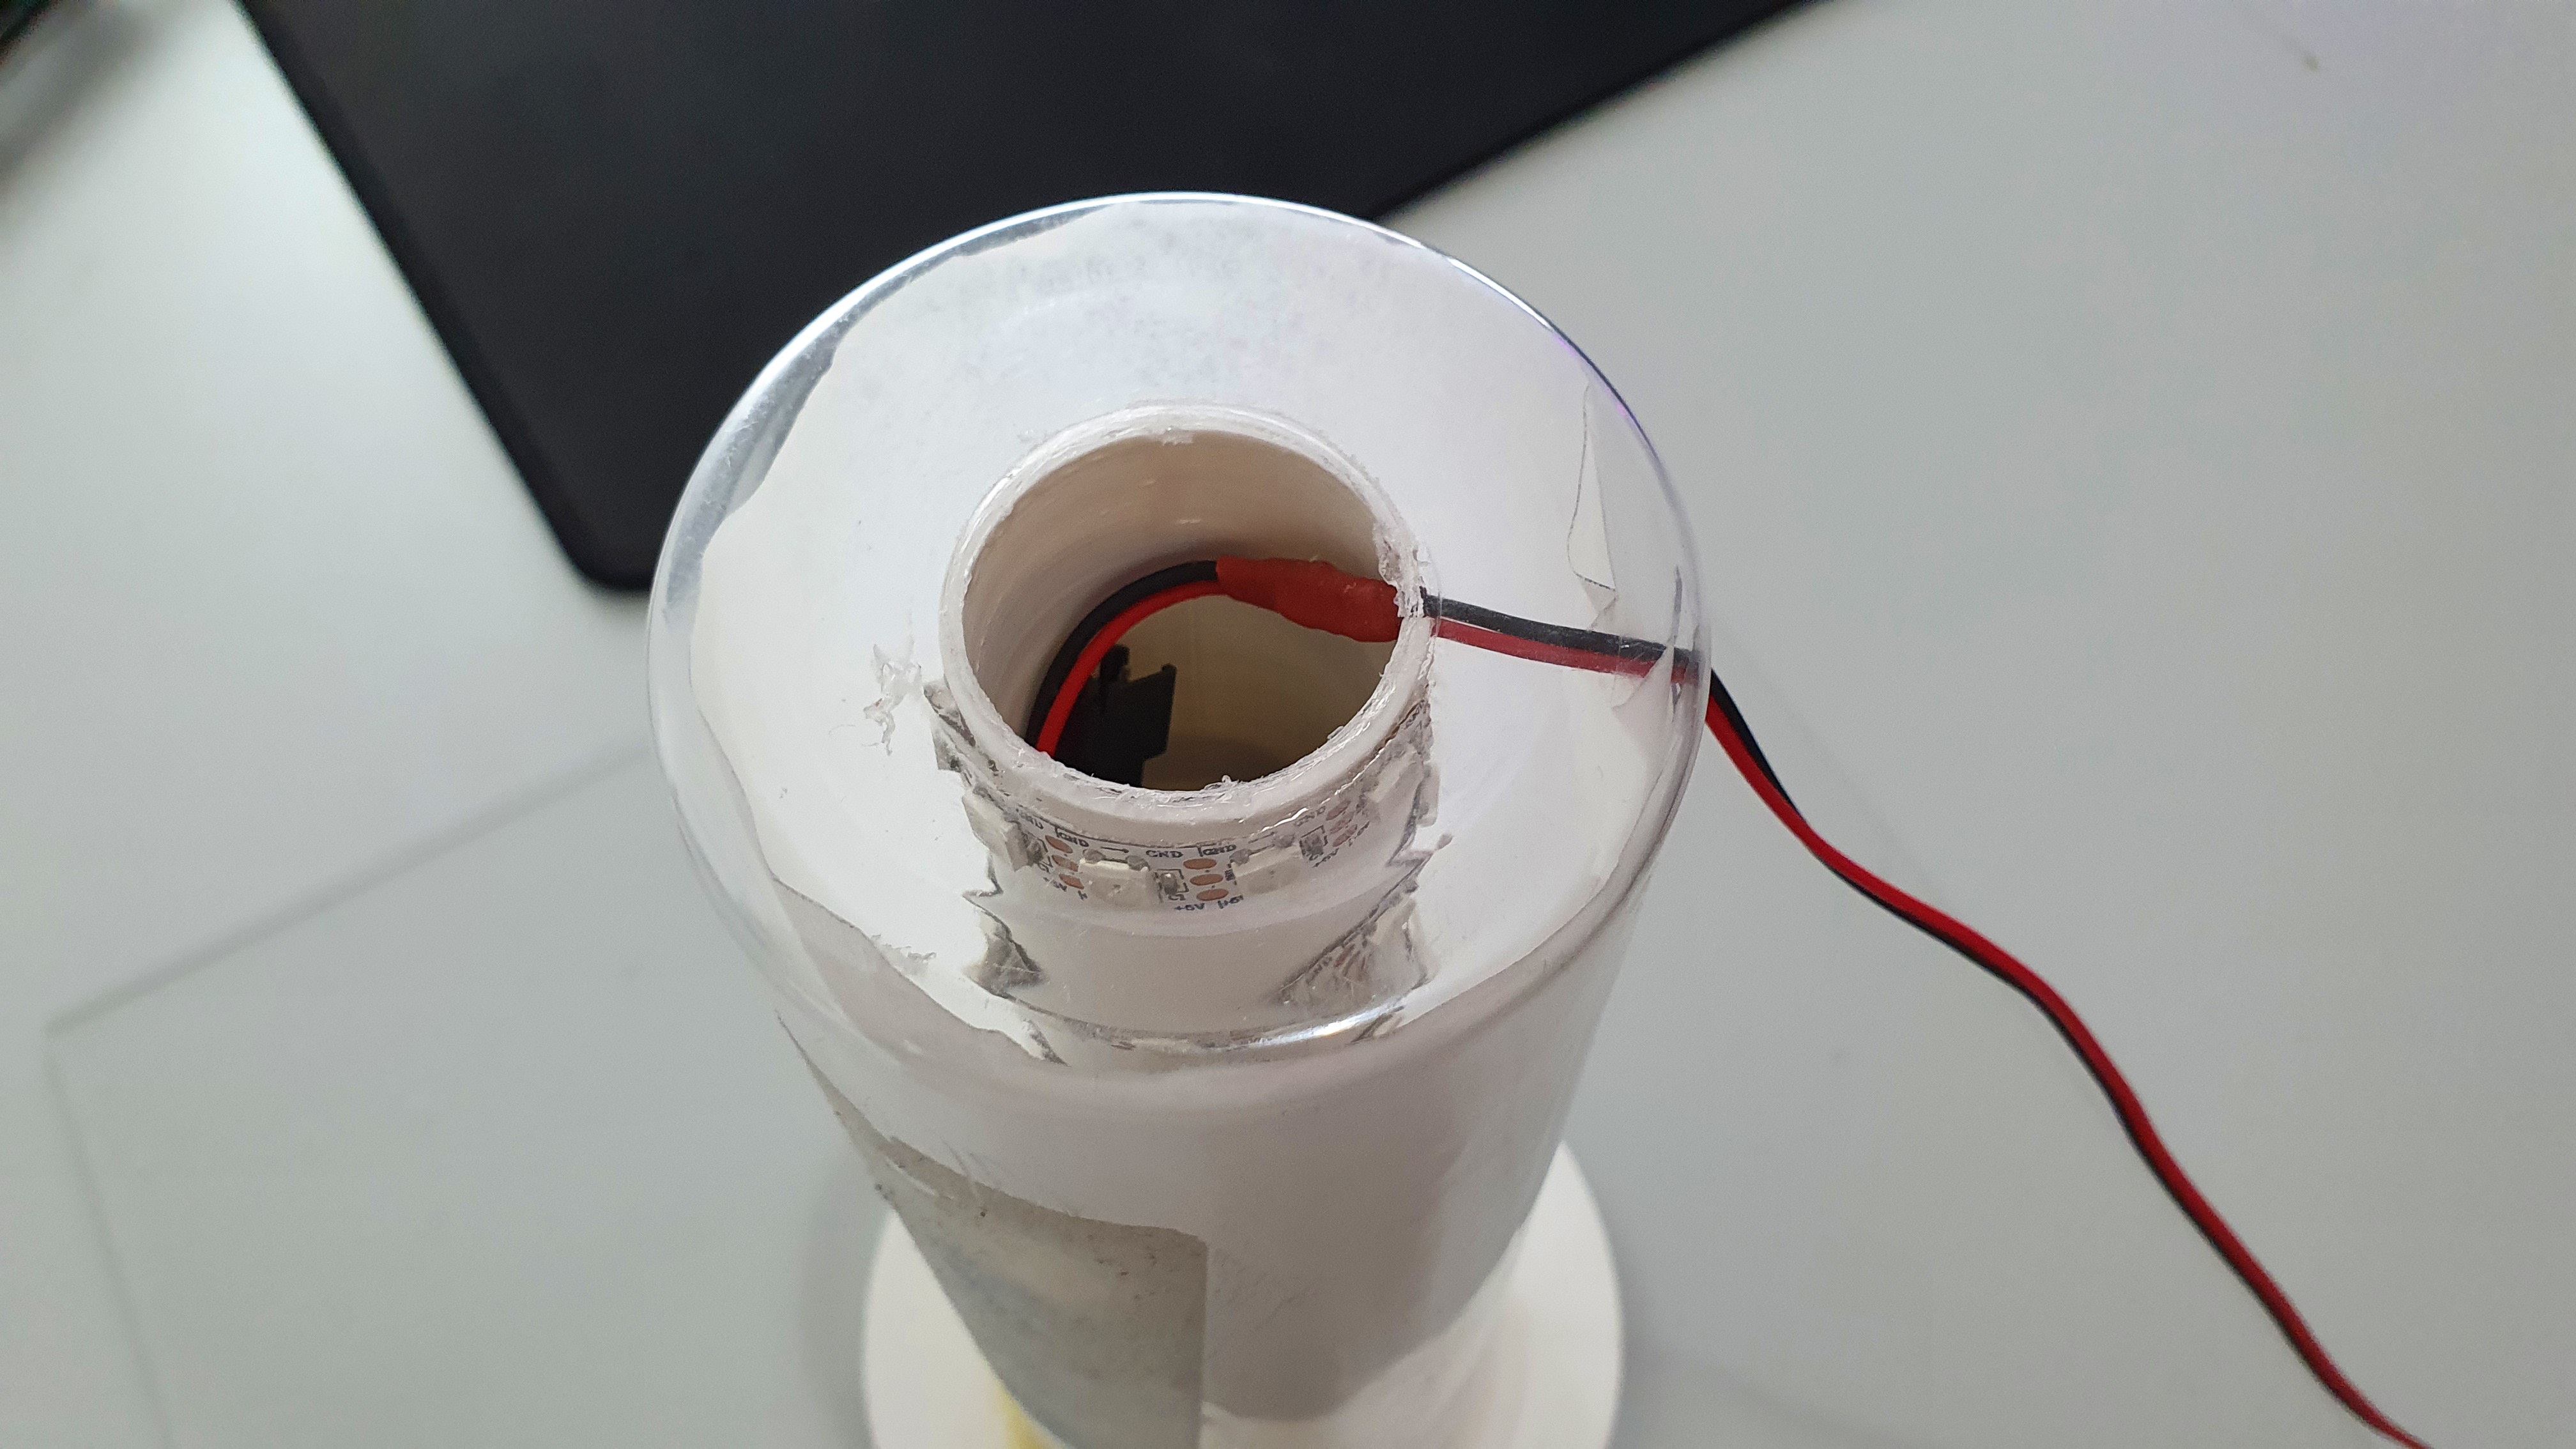
To make everything modular and easy repairable connectors were used. One connector for leds and one for power.

Arduino code: https://github.com/ArtiomBoo/Lego_Satrurn_V_blast_off

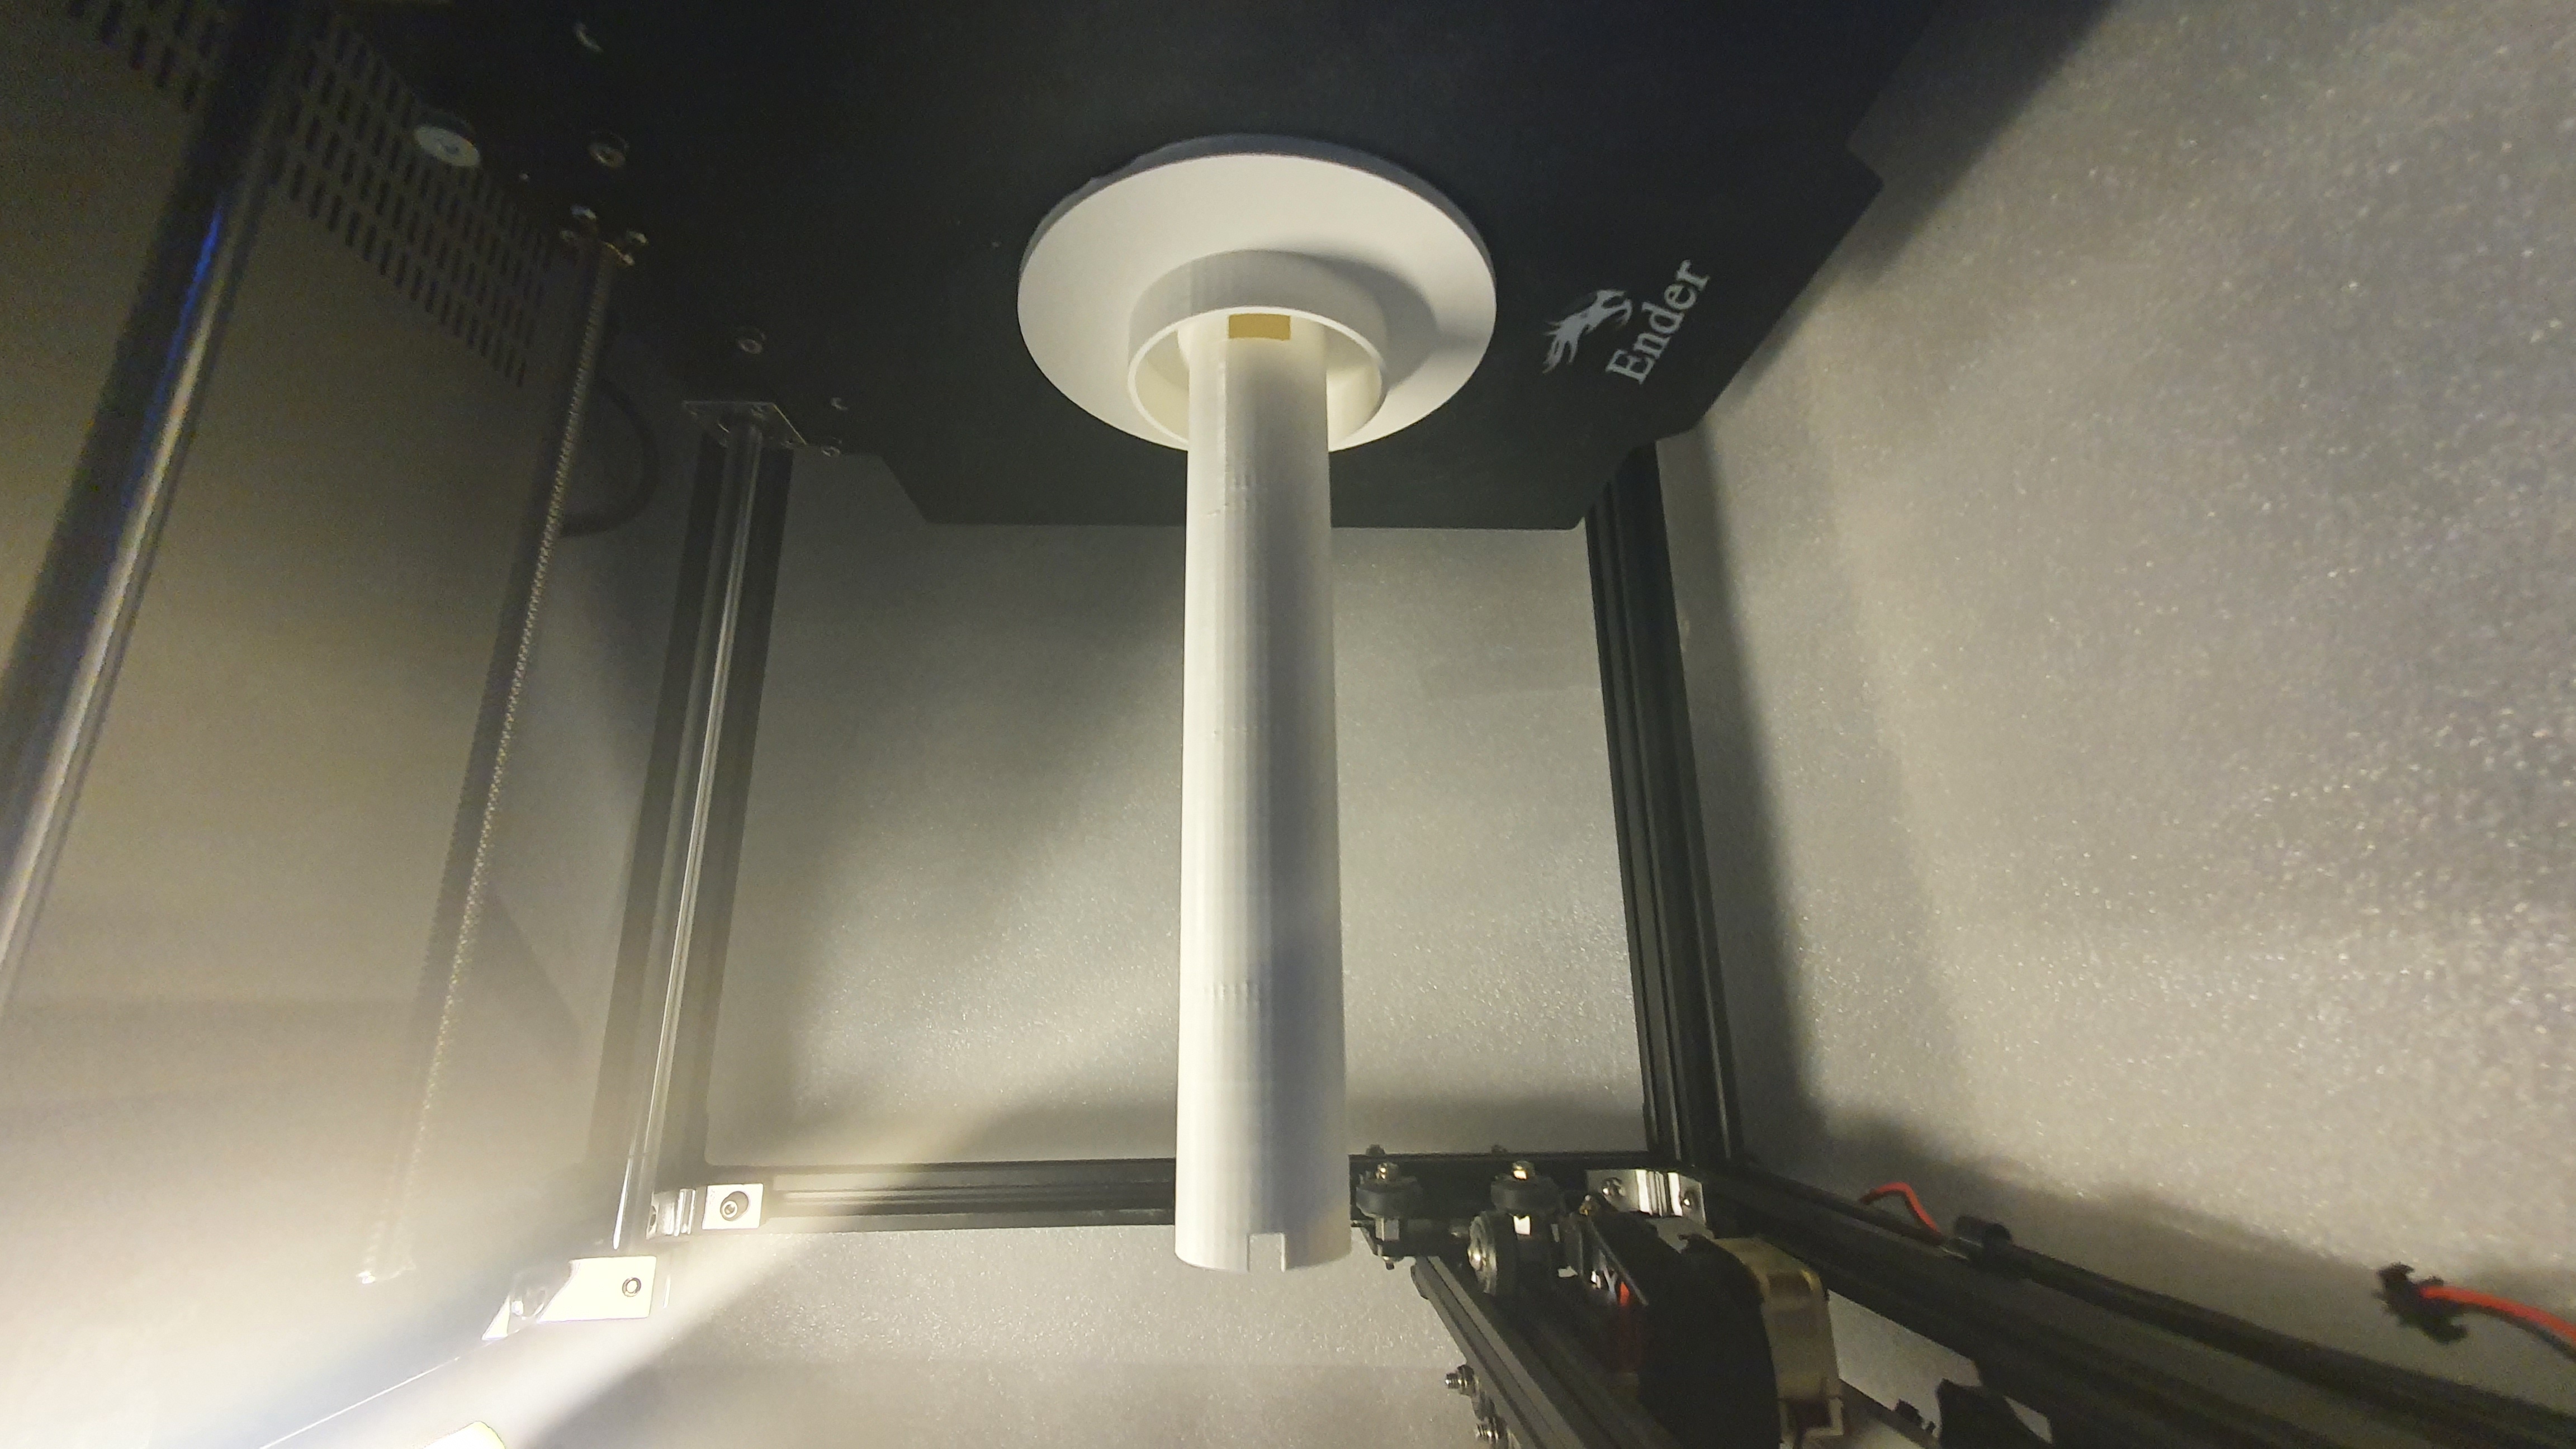
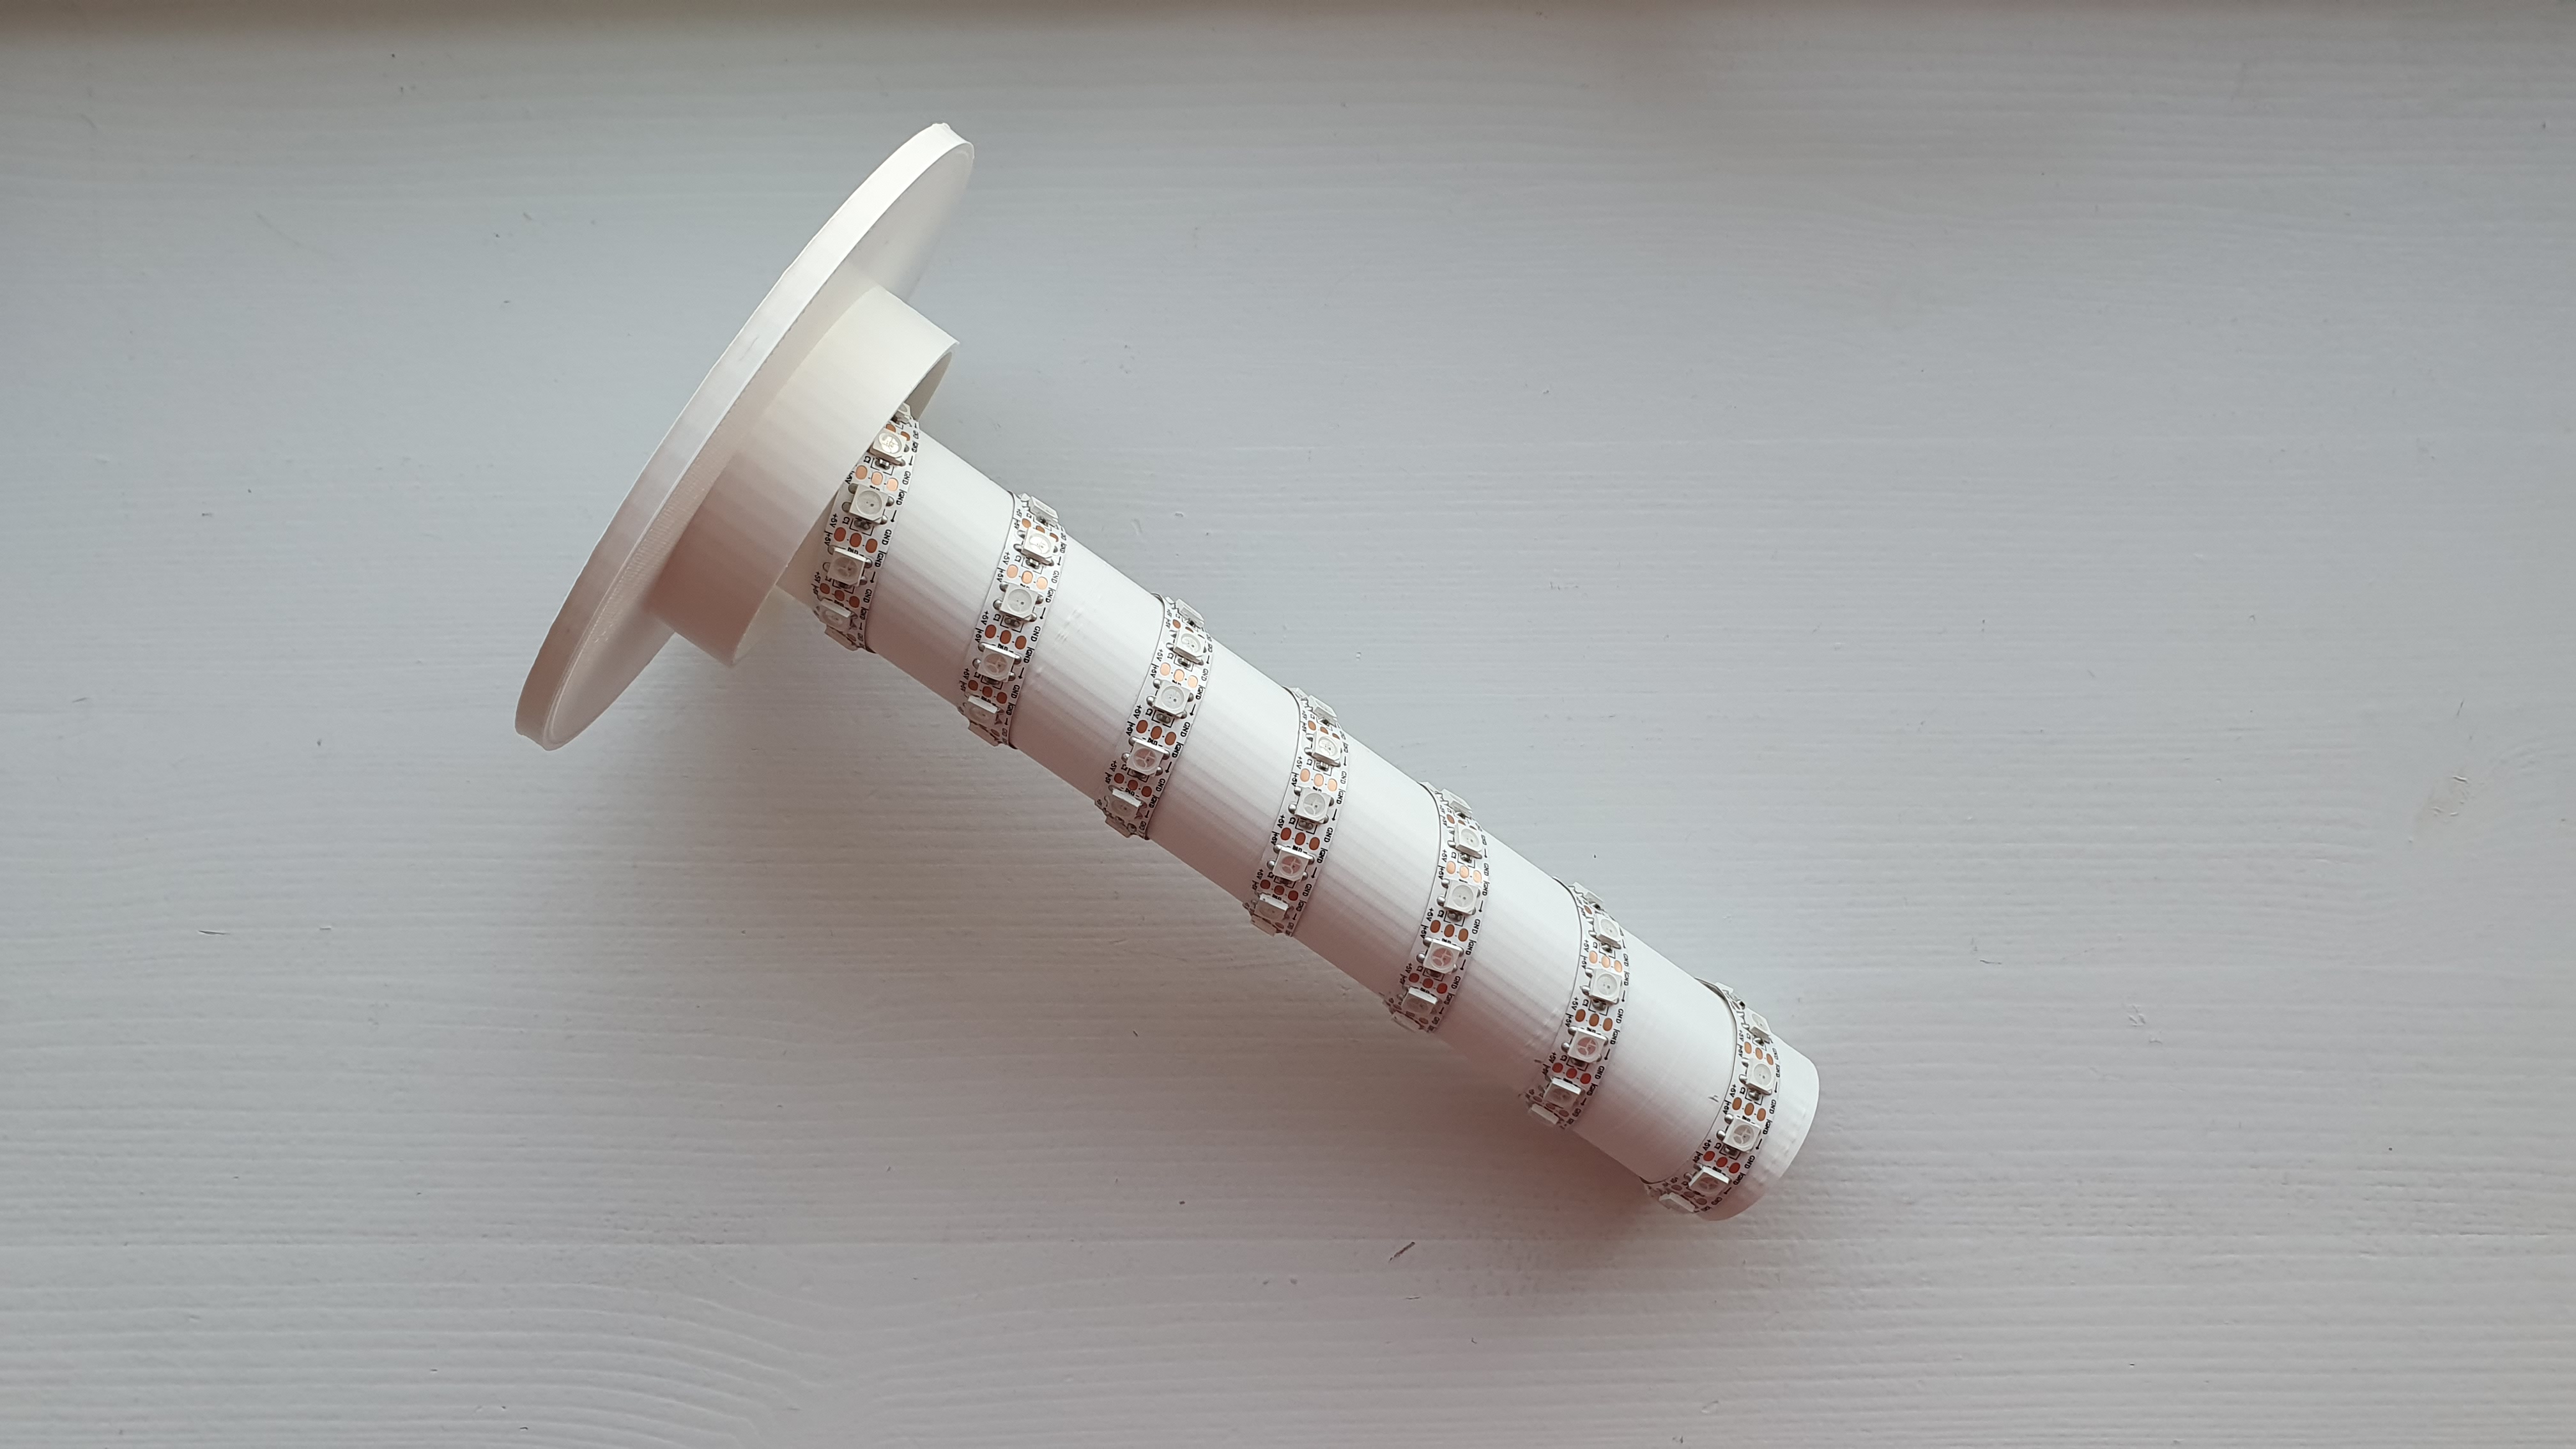
All you need is to insert cable with connector from the top hole and after mount LED strip with double-sided tape all way around. To make construction secure add some superglue on each end of the LED strip.
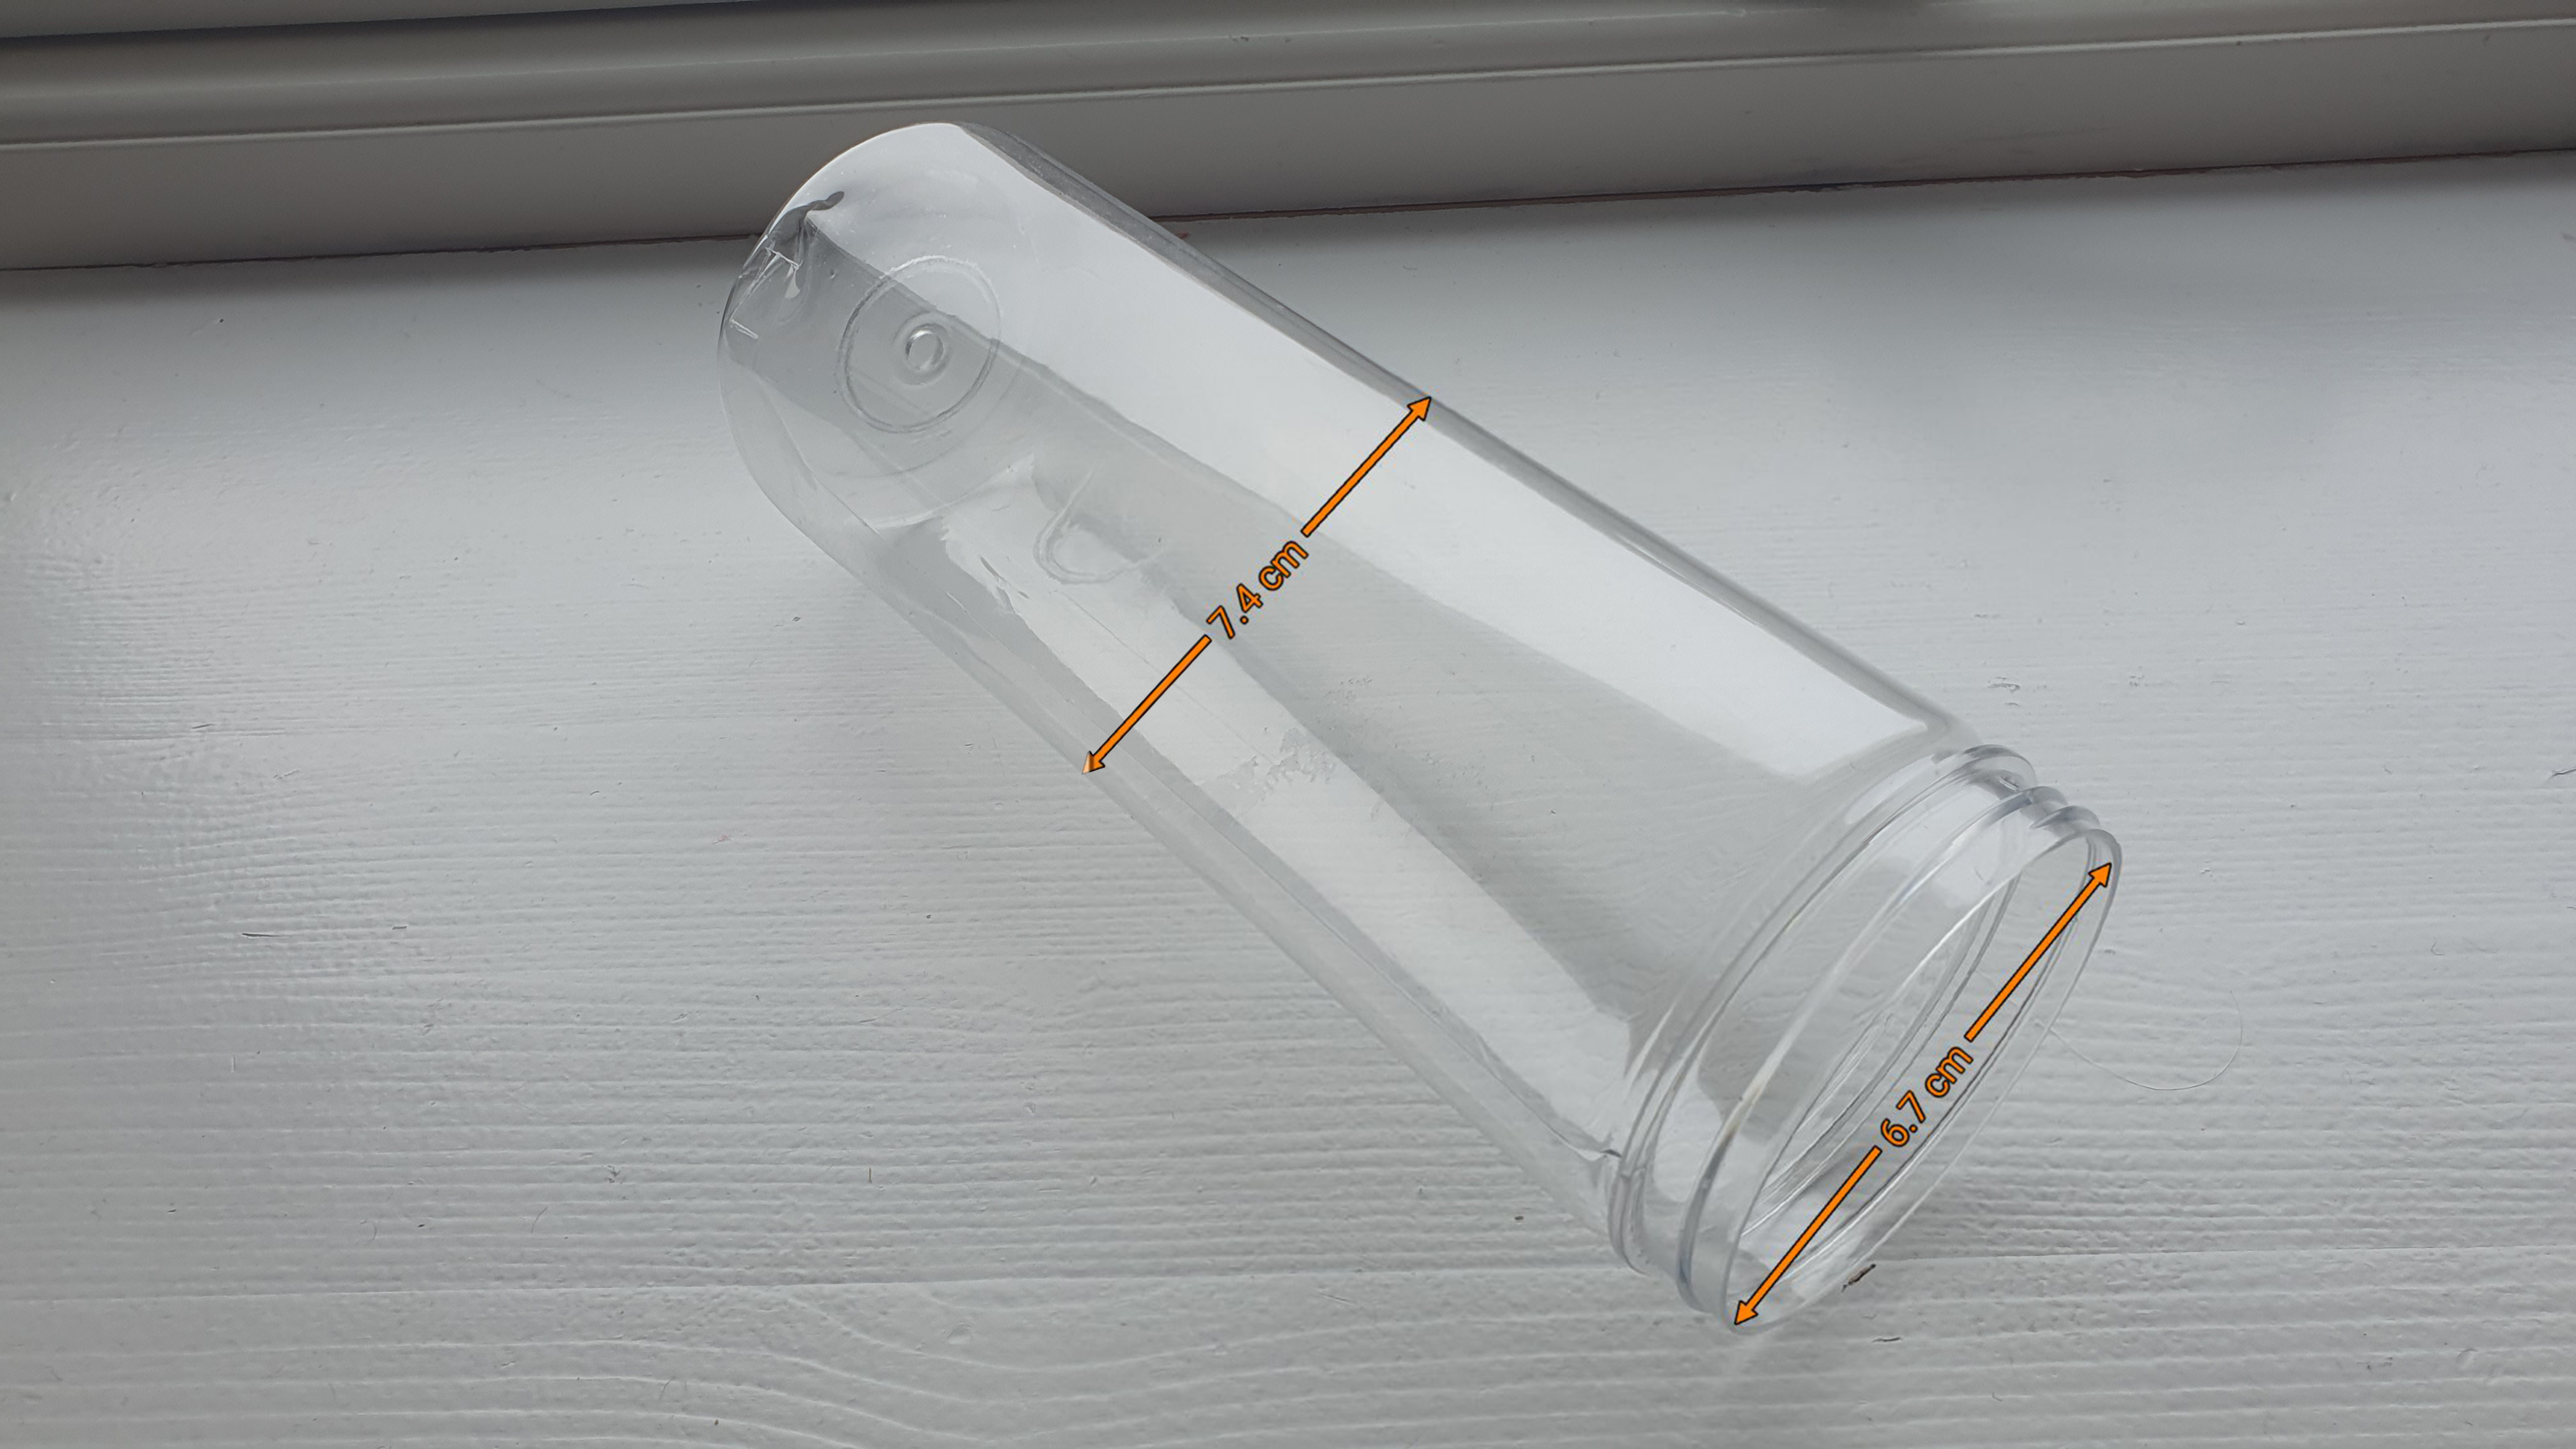
We have used bottle with ⌀67mm inside and ⌀74mm outside. Close to the bottom part a small hole was made for power cable to pass through.
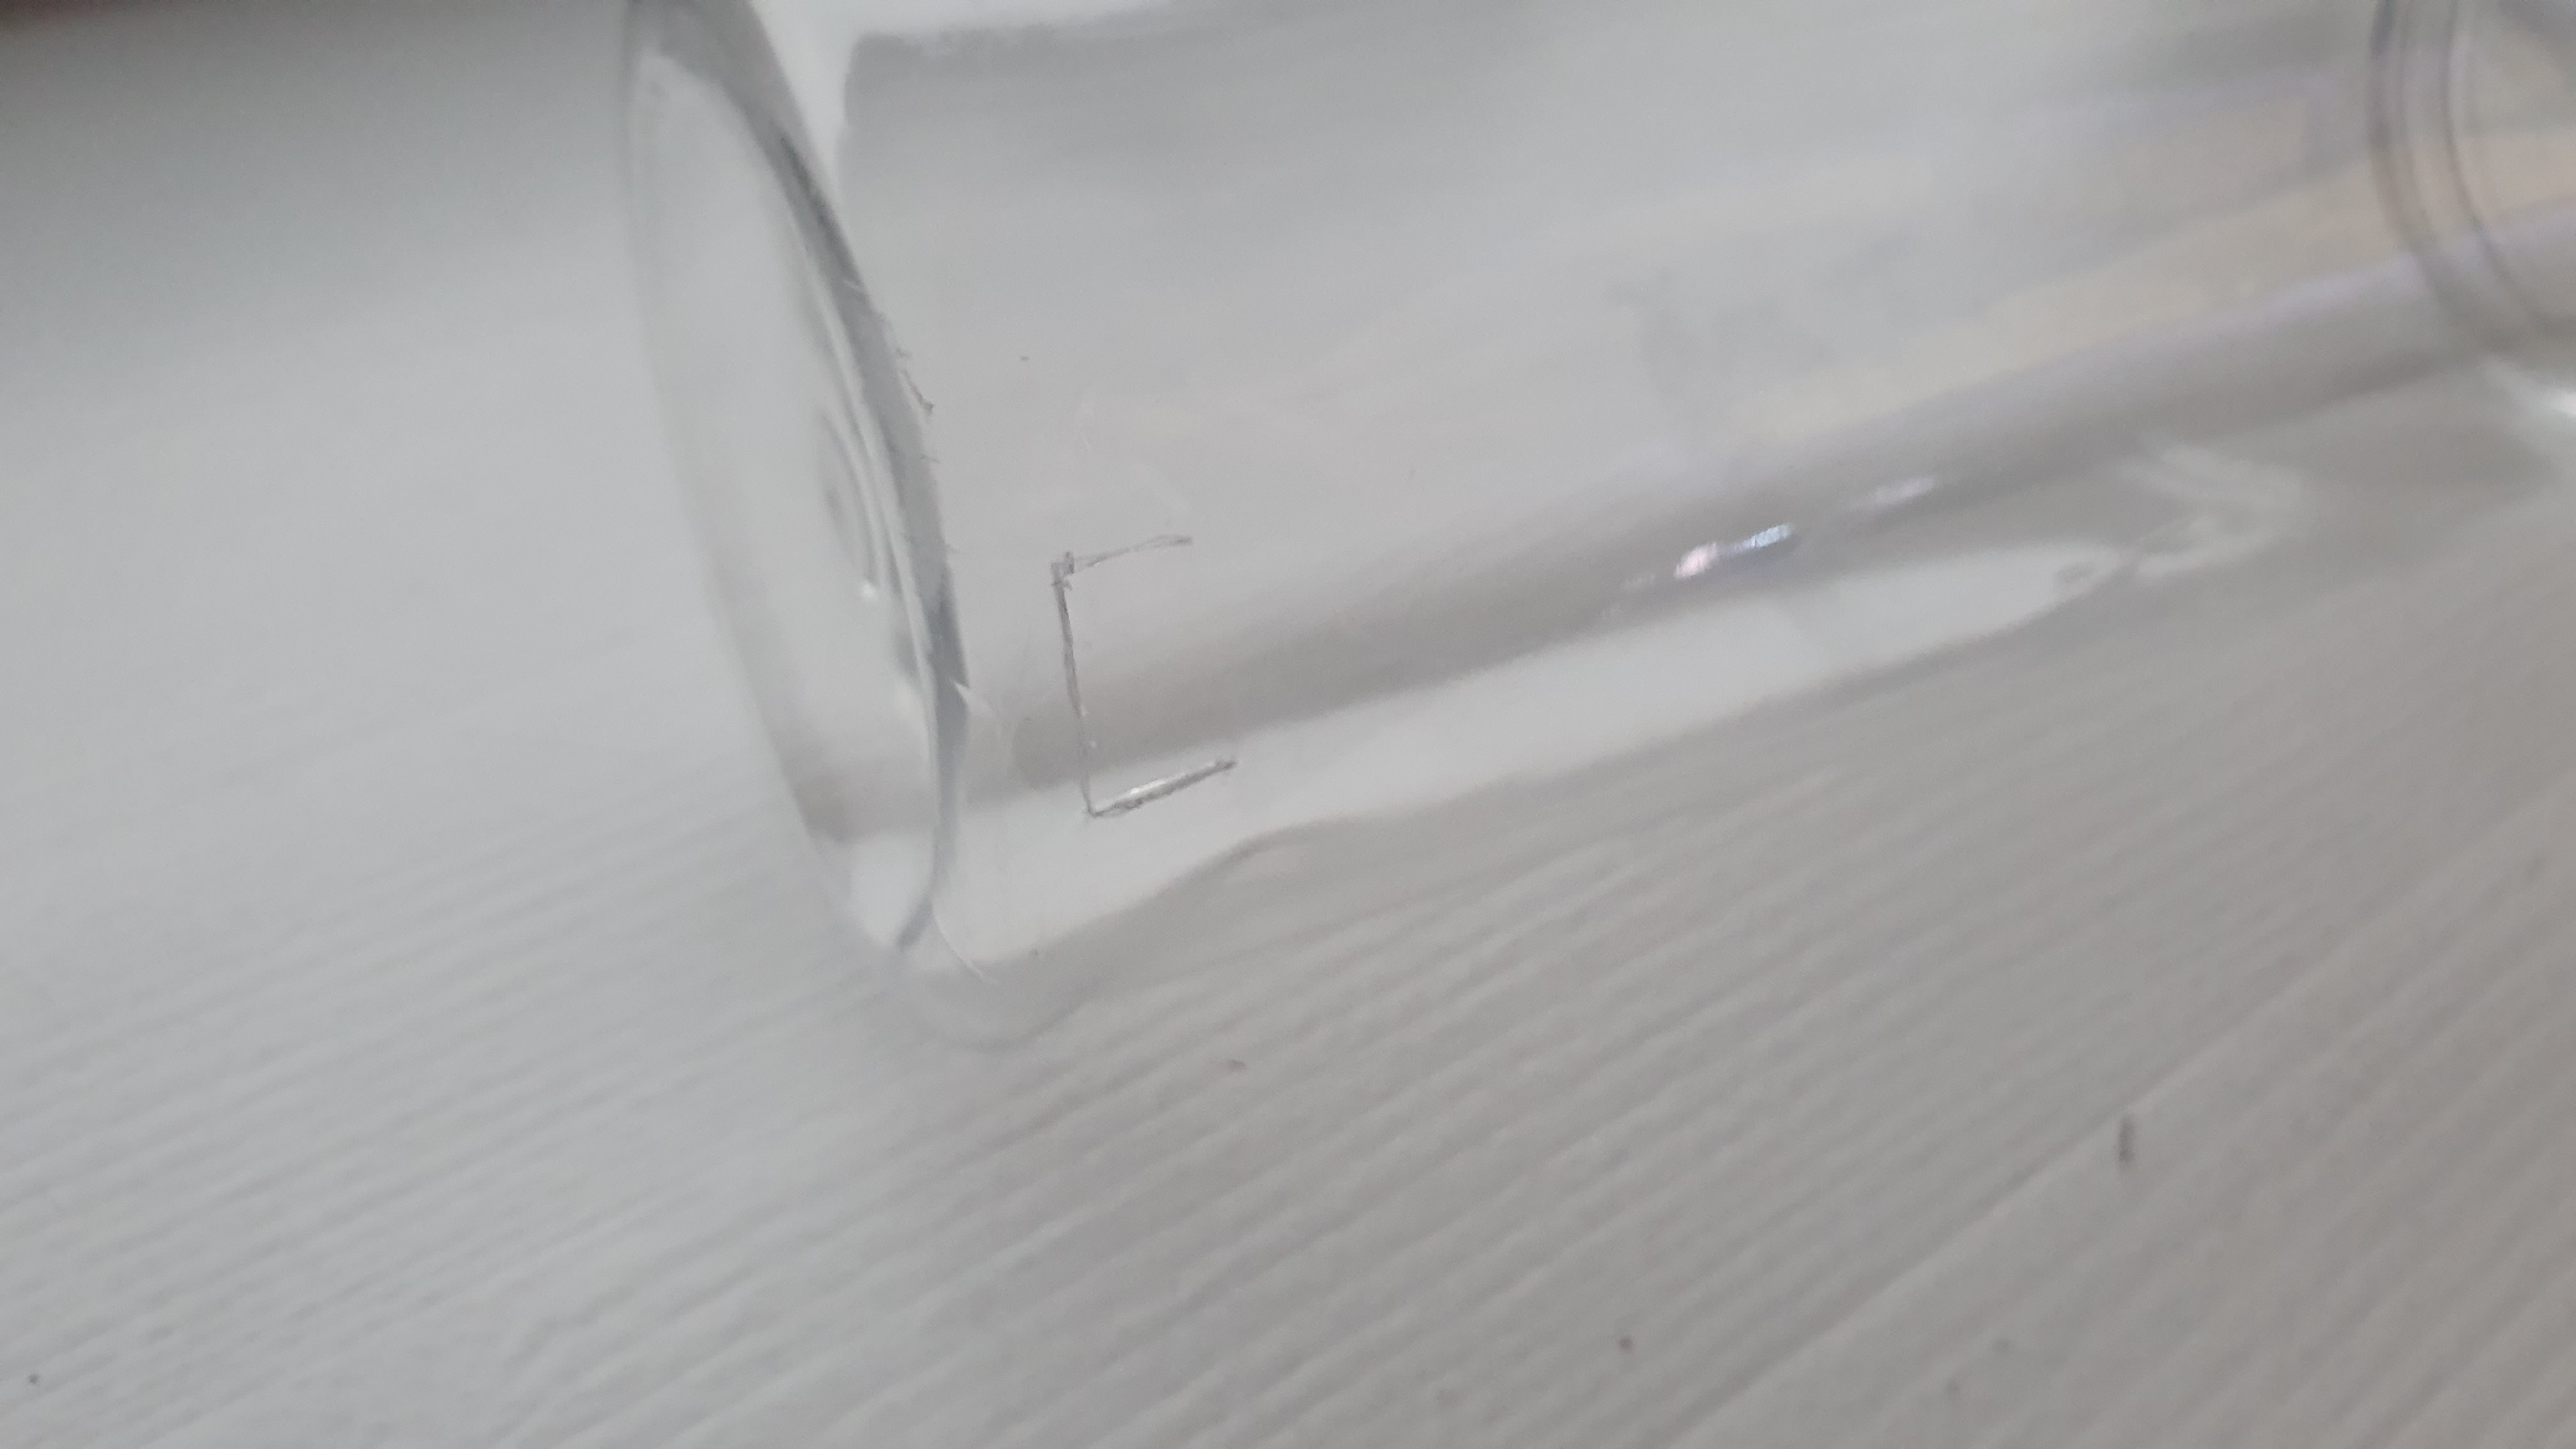
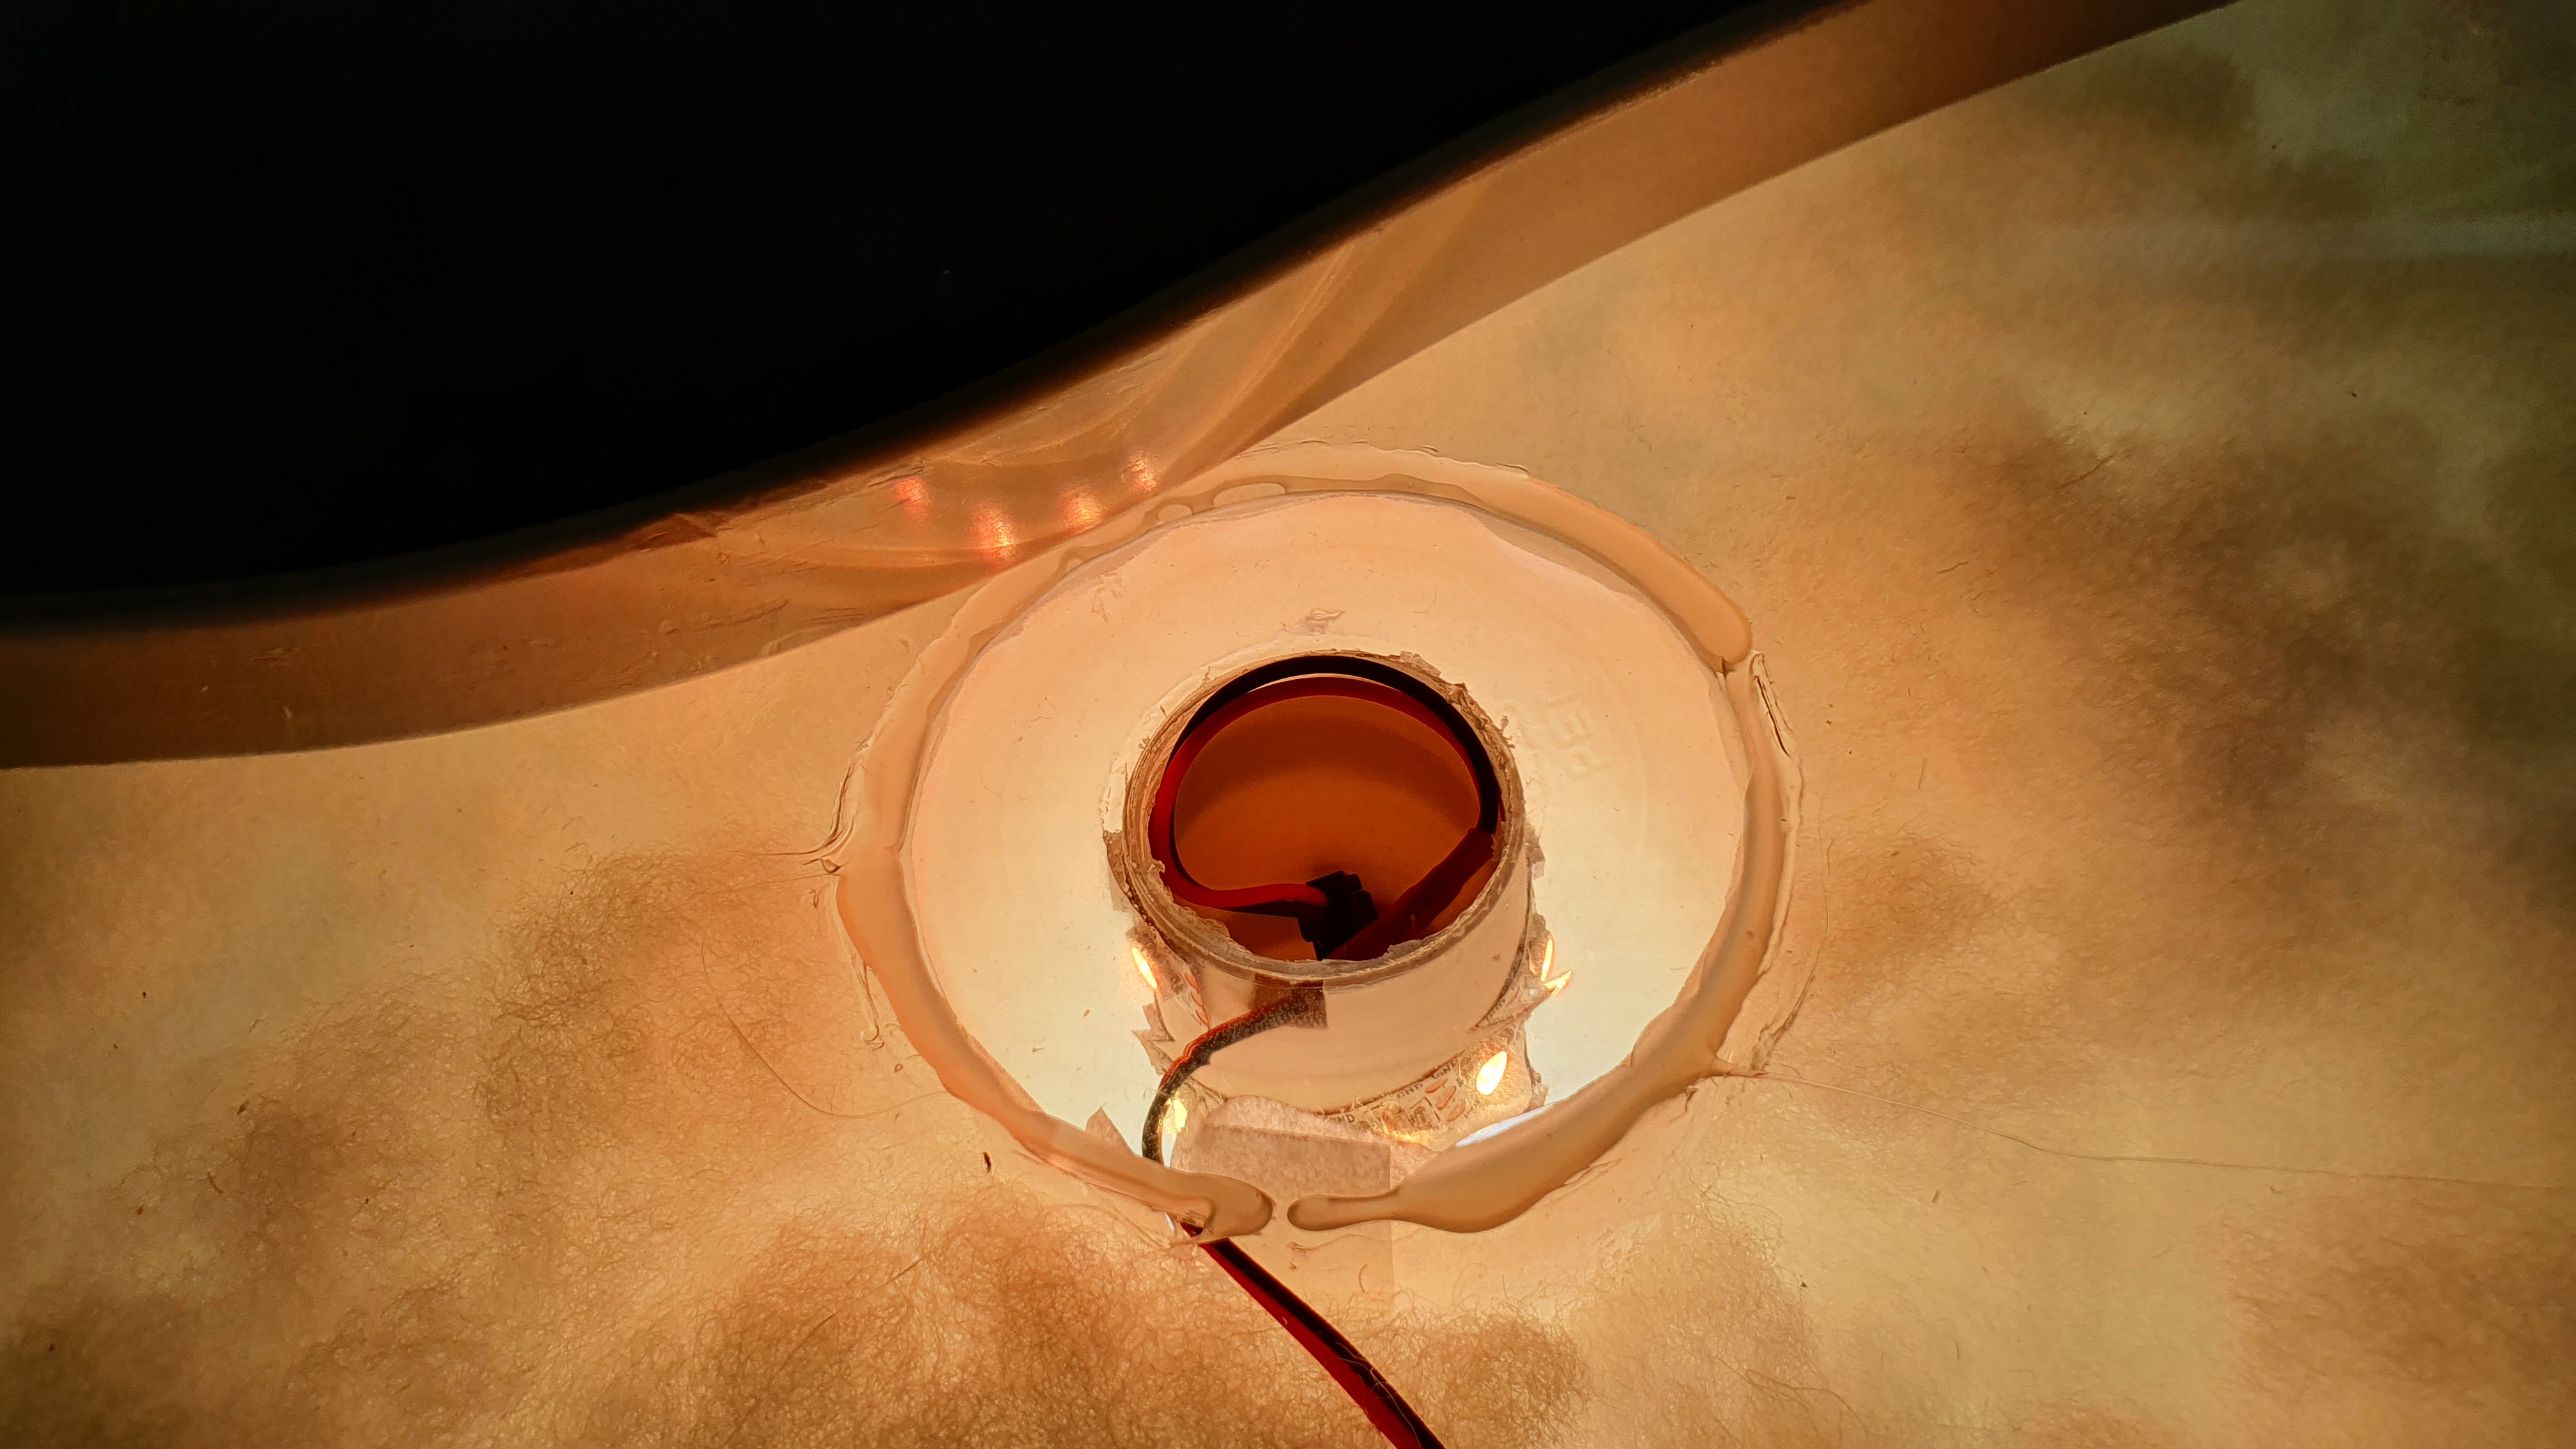
Then drilled a ⌀31mm hole at the bottom to have access to arduino and all connections in case something happens.

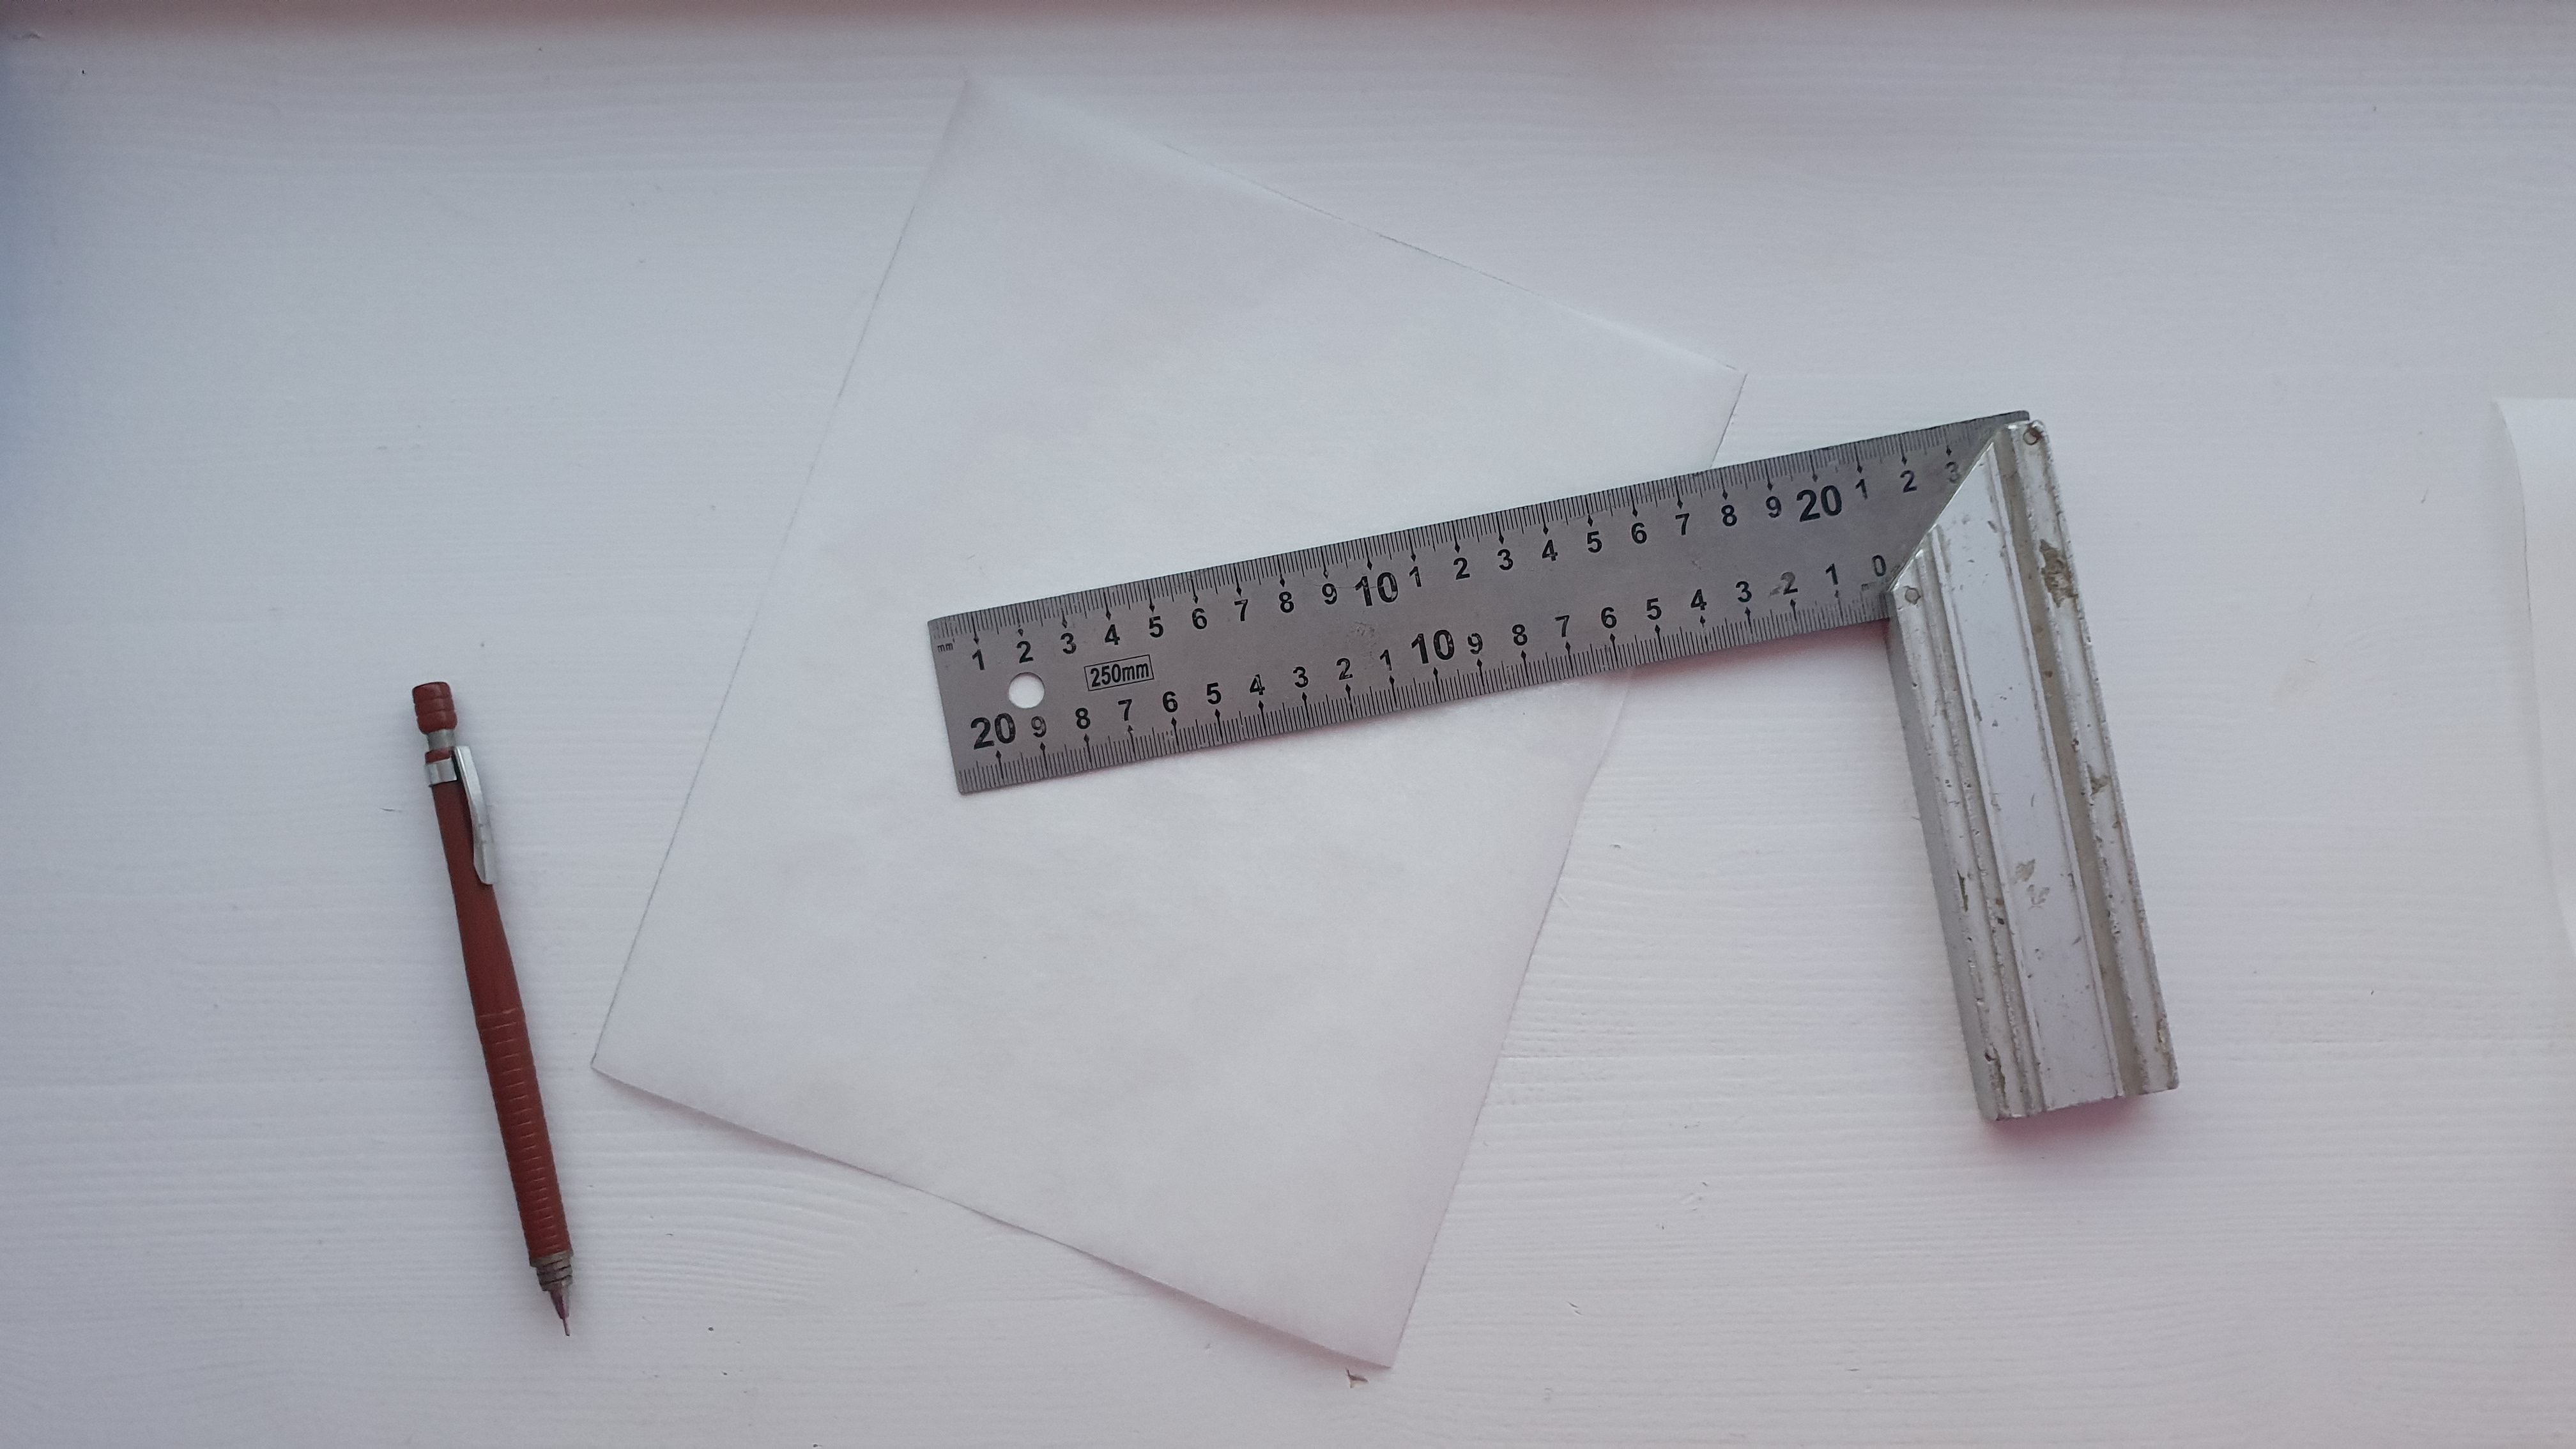
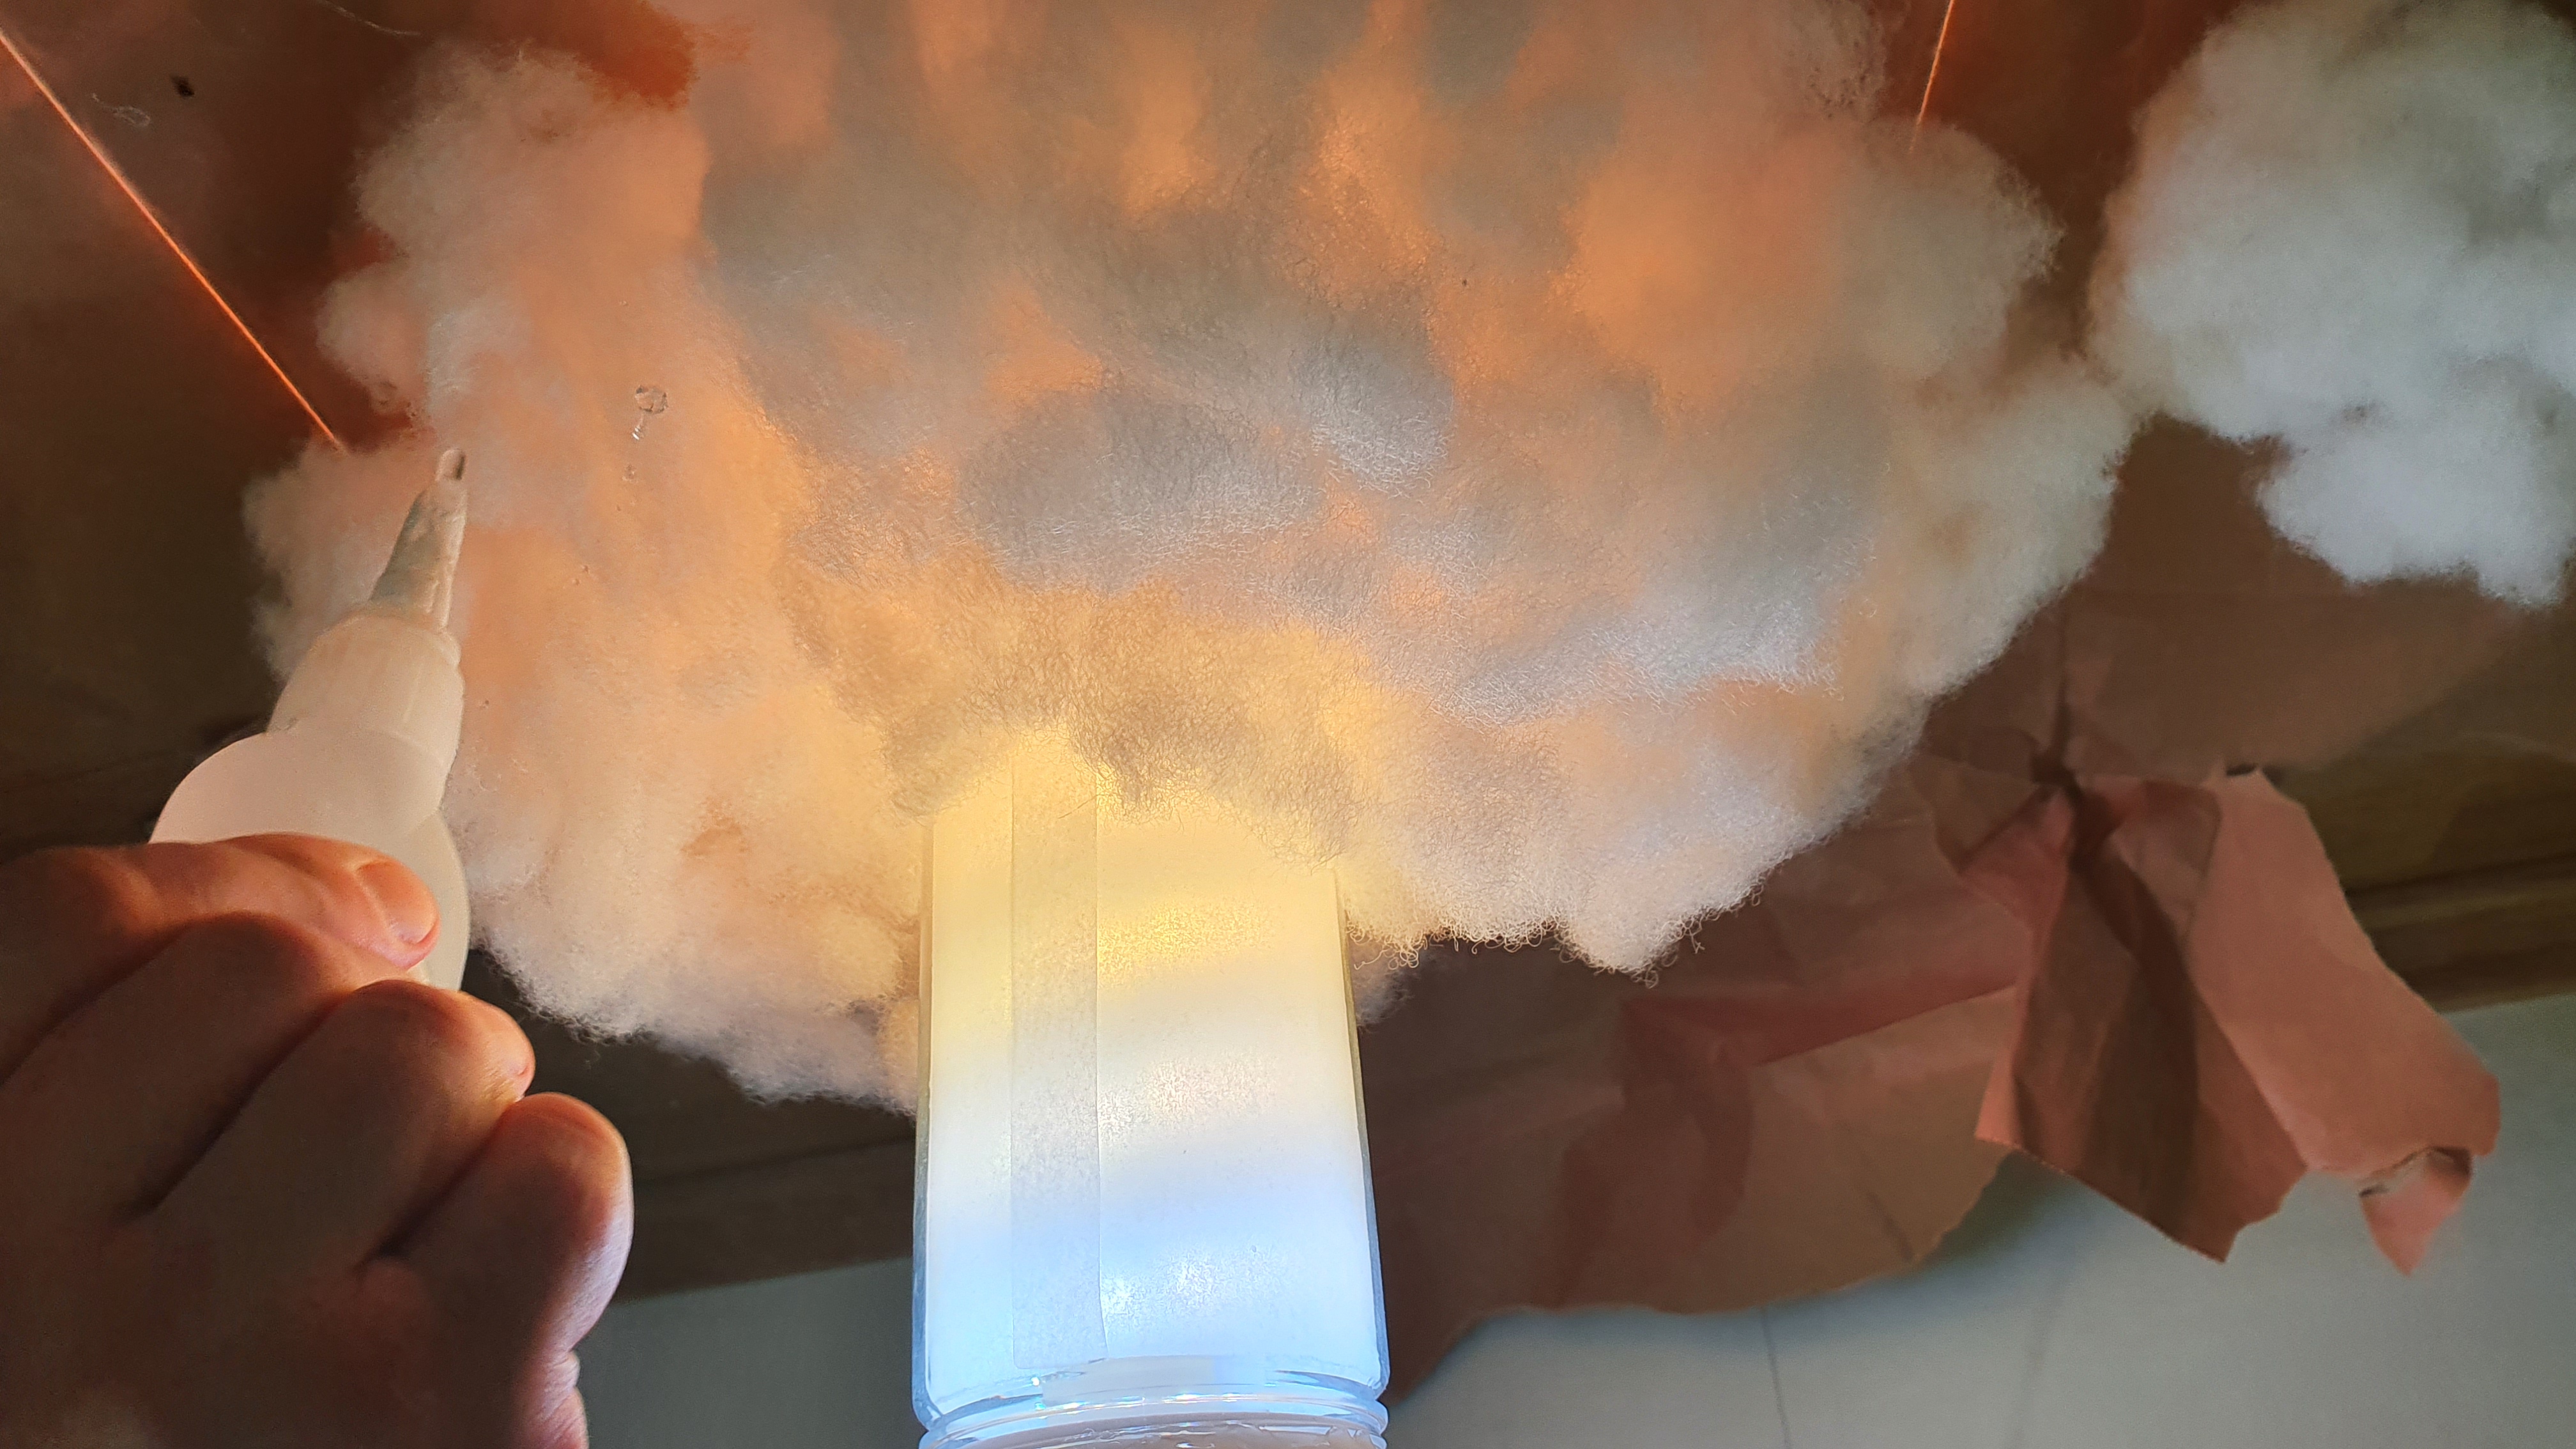
Next step - adding some backing paper to act as light diffuser, measurements: 19x25cm.

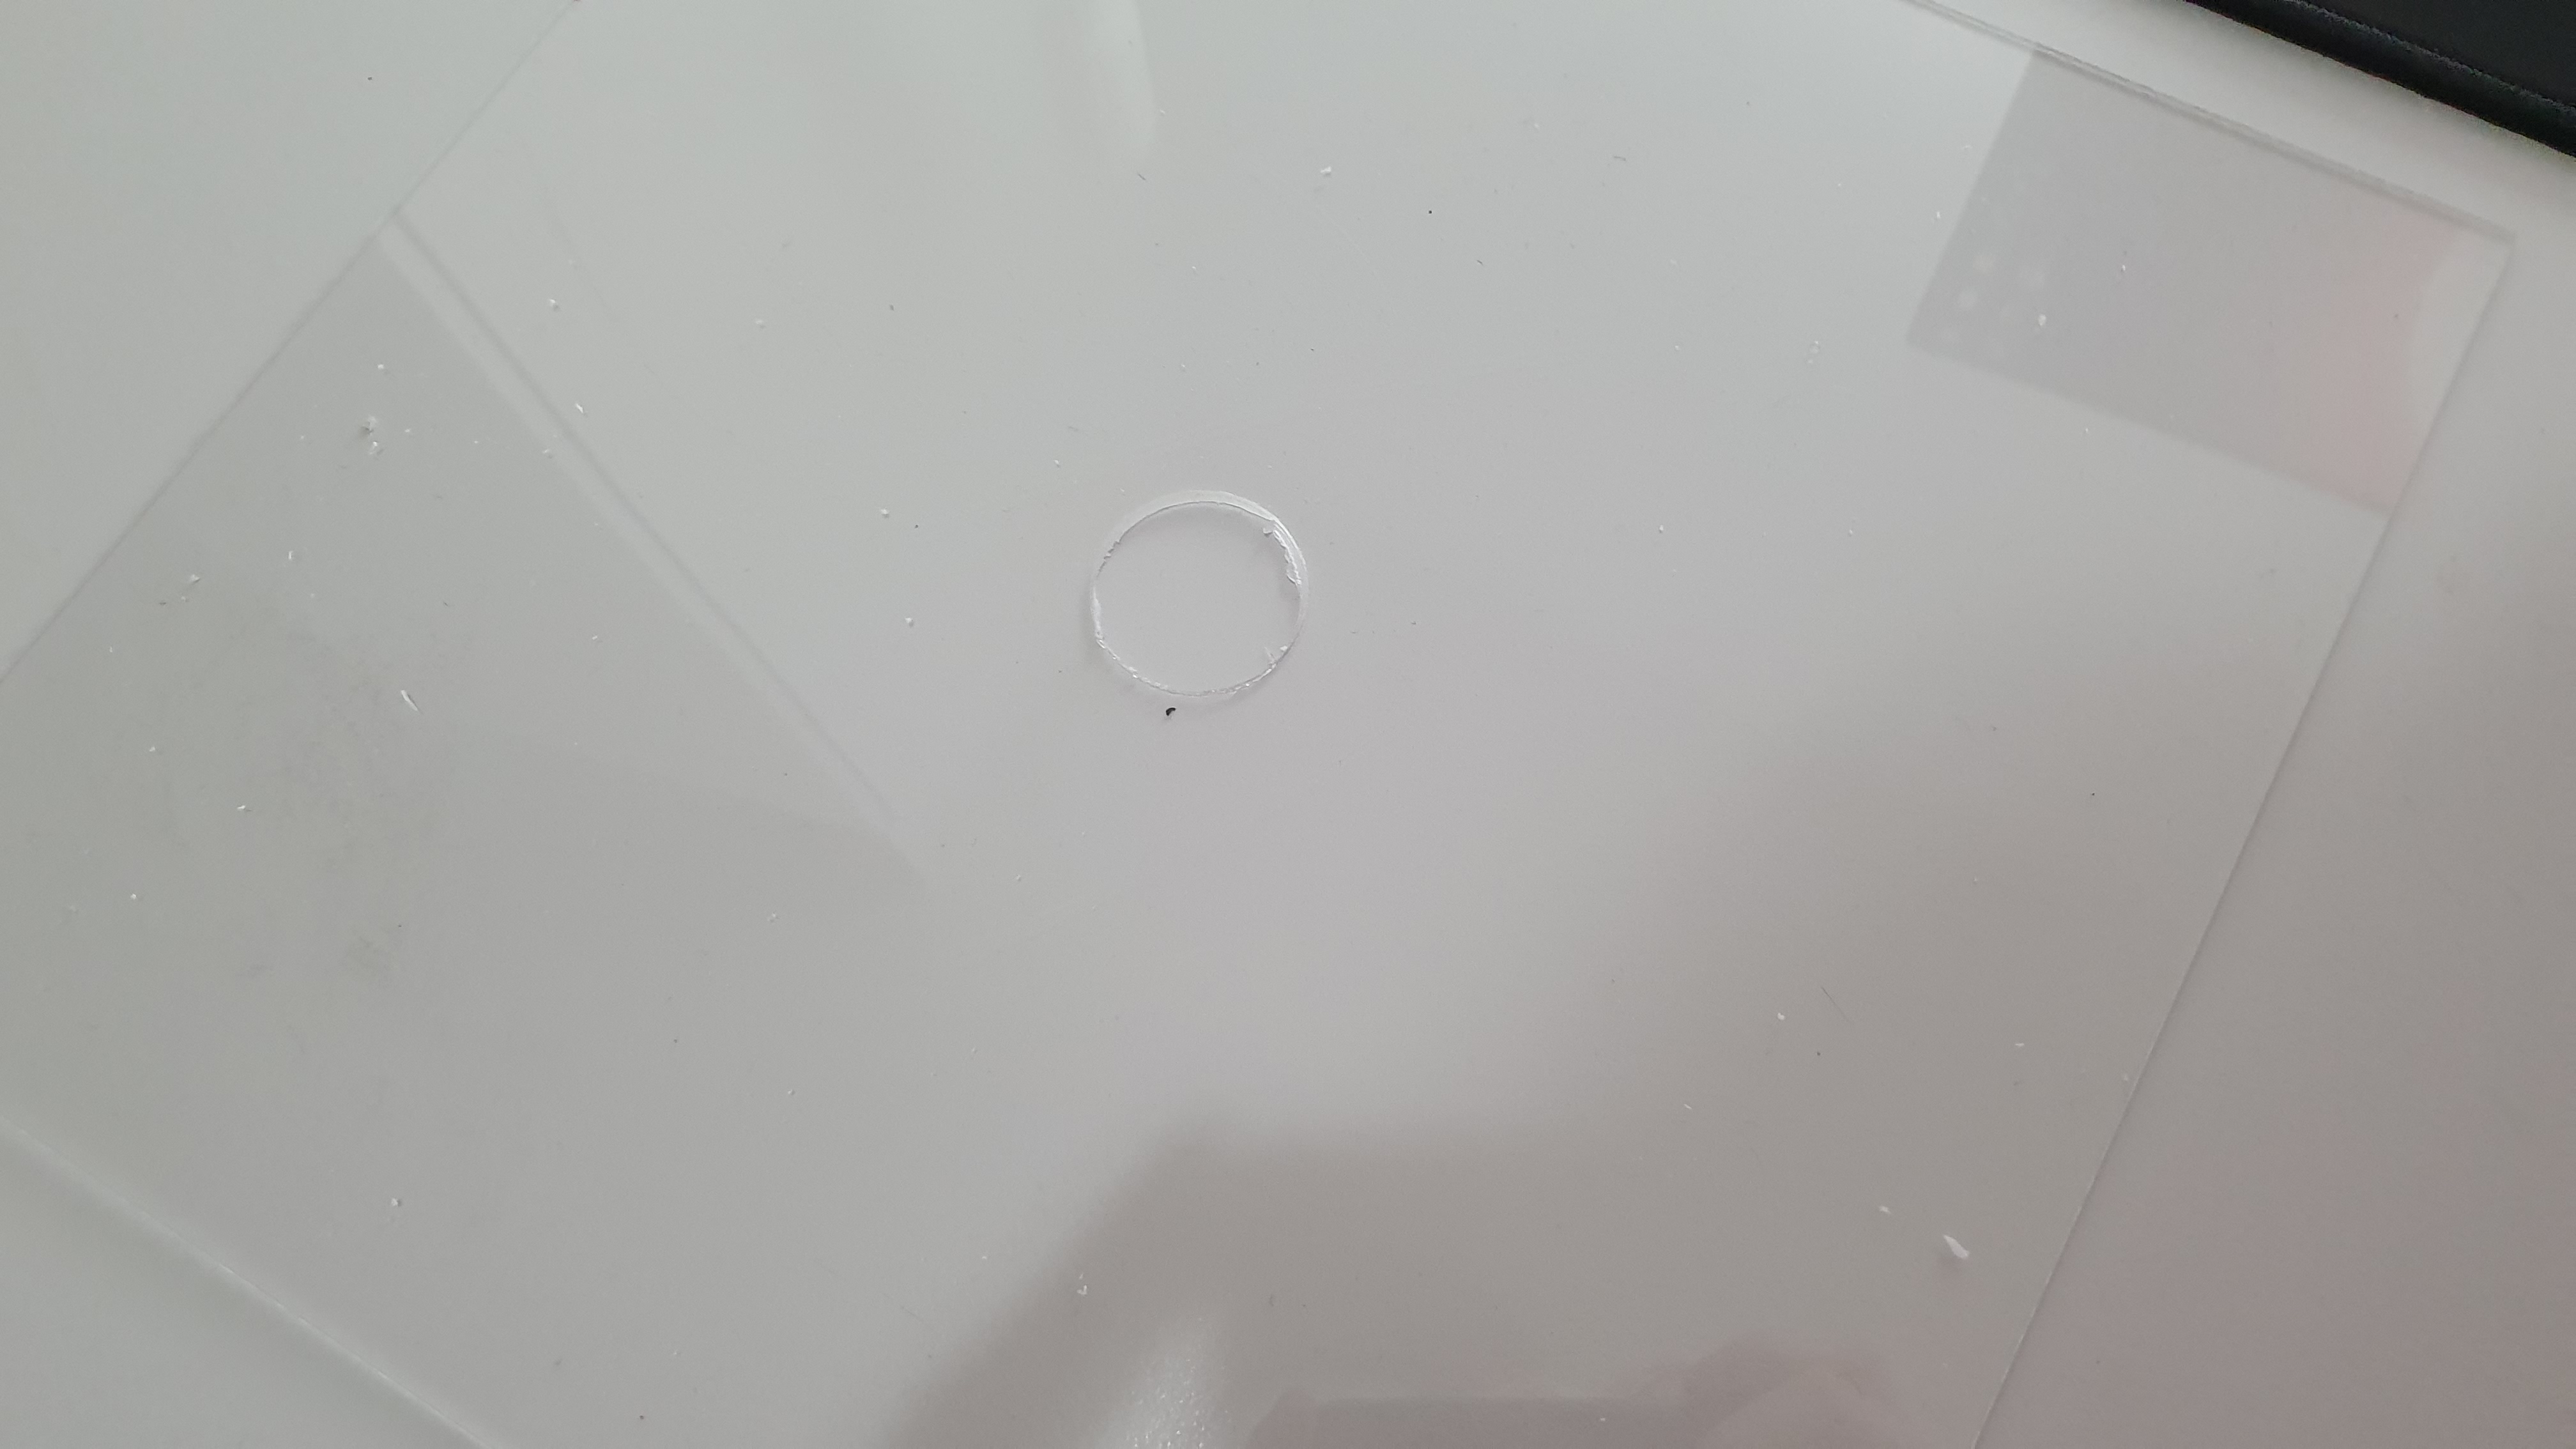
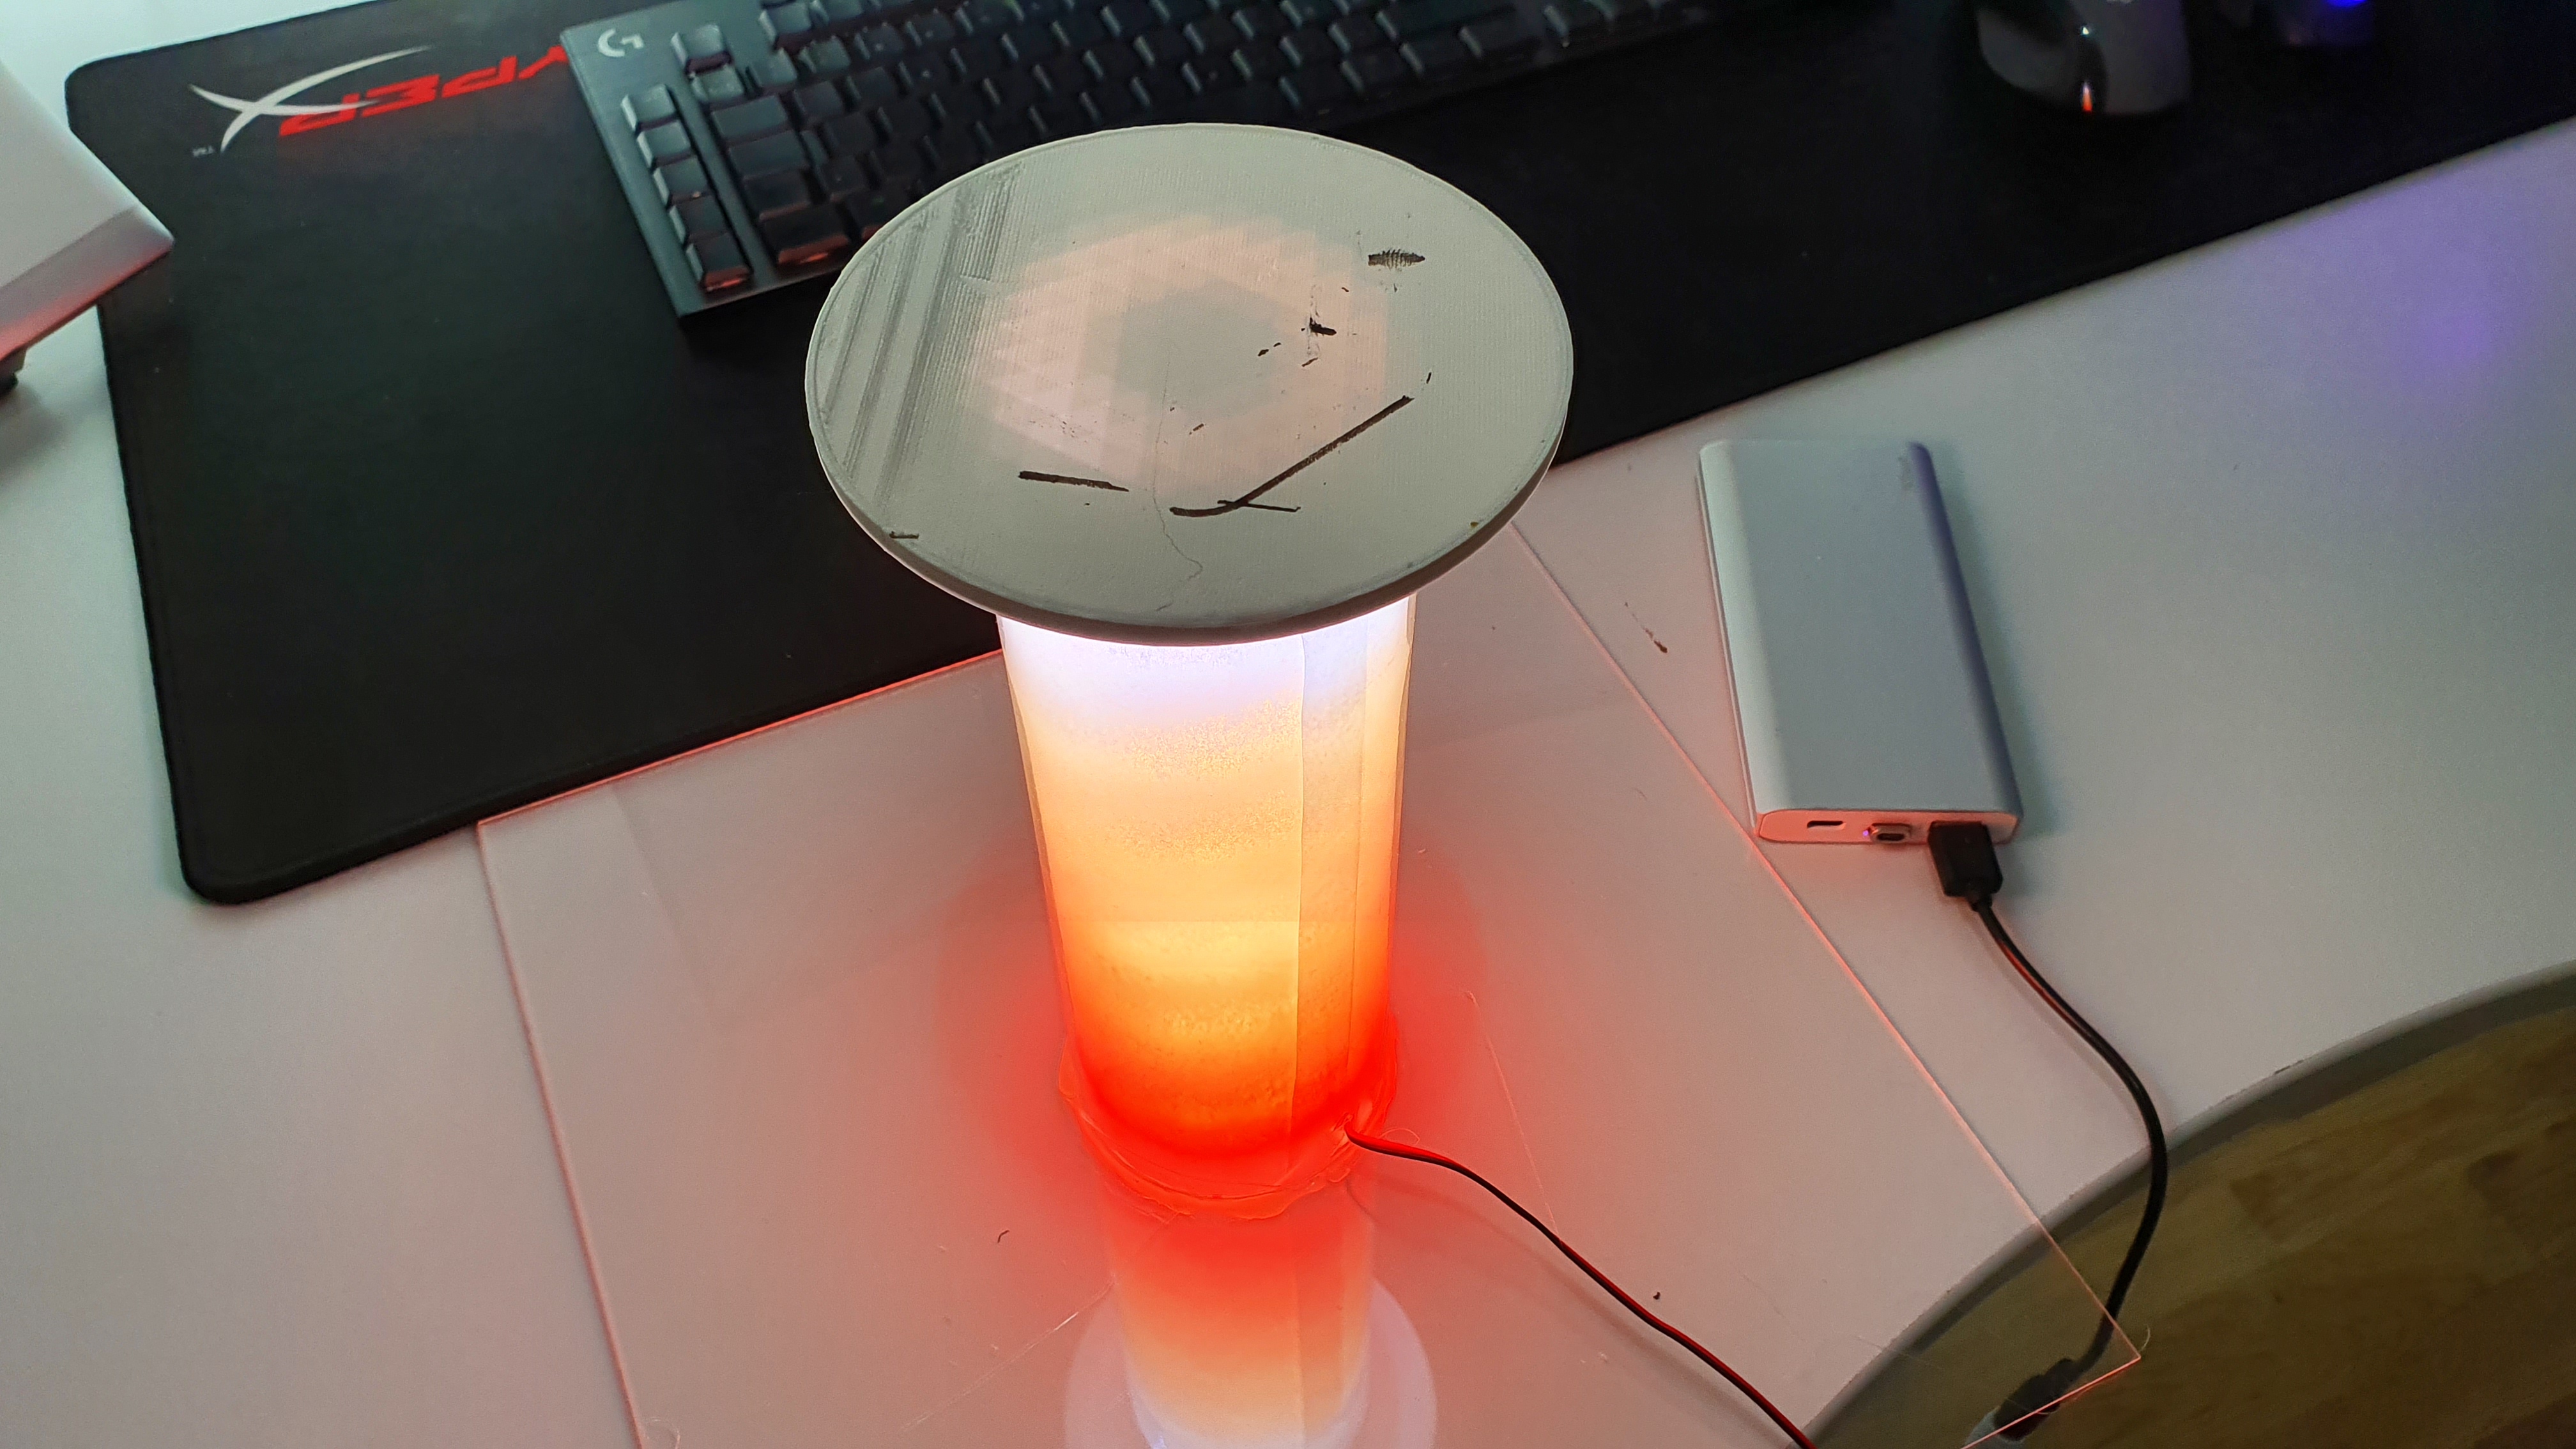
For more stability of the construction acrylic glass 30x30cm was used and drilled ⌀31mm hole in the middle of it.
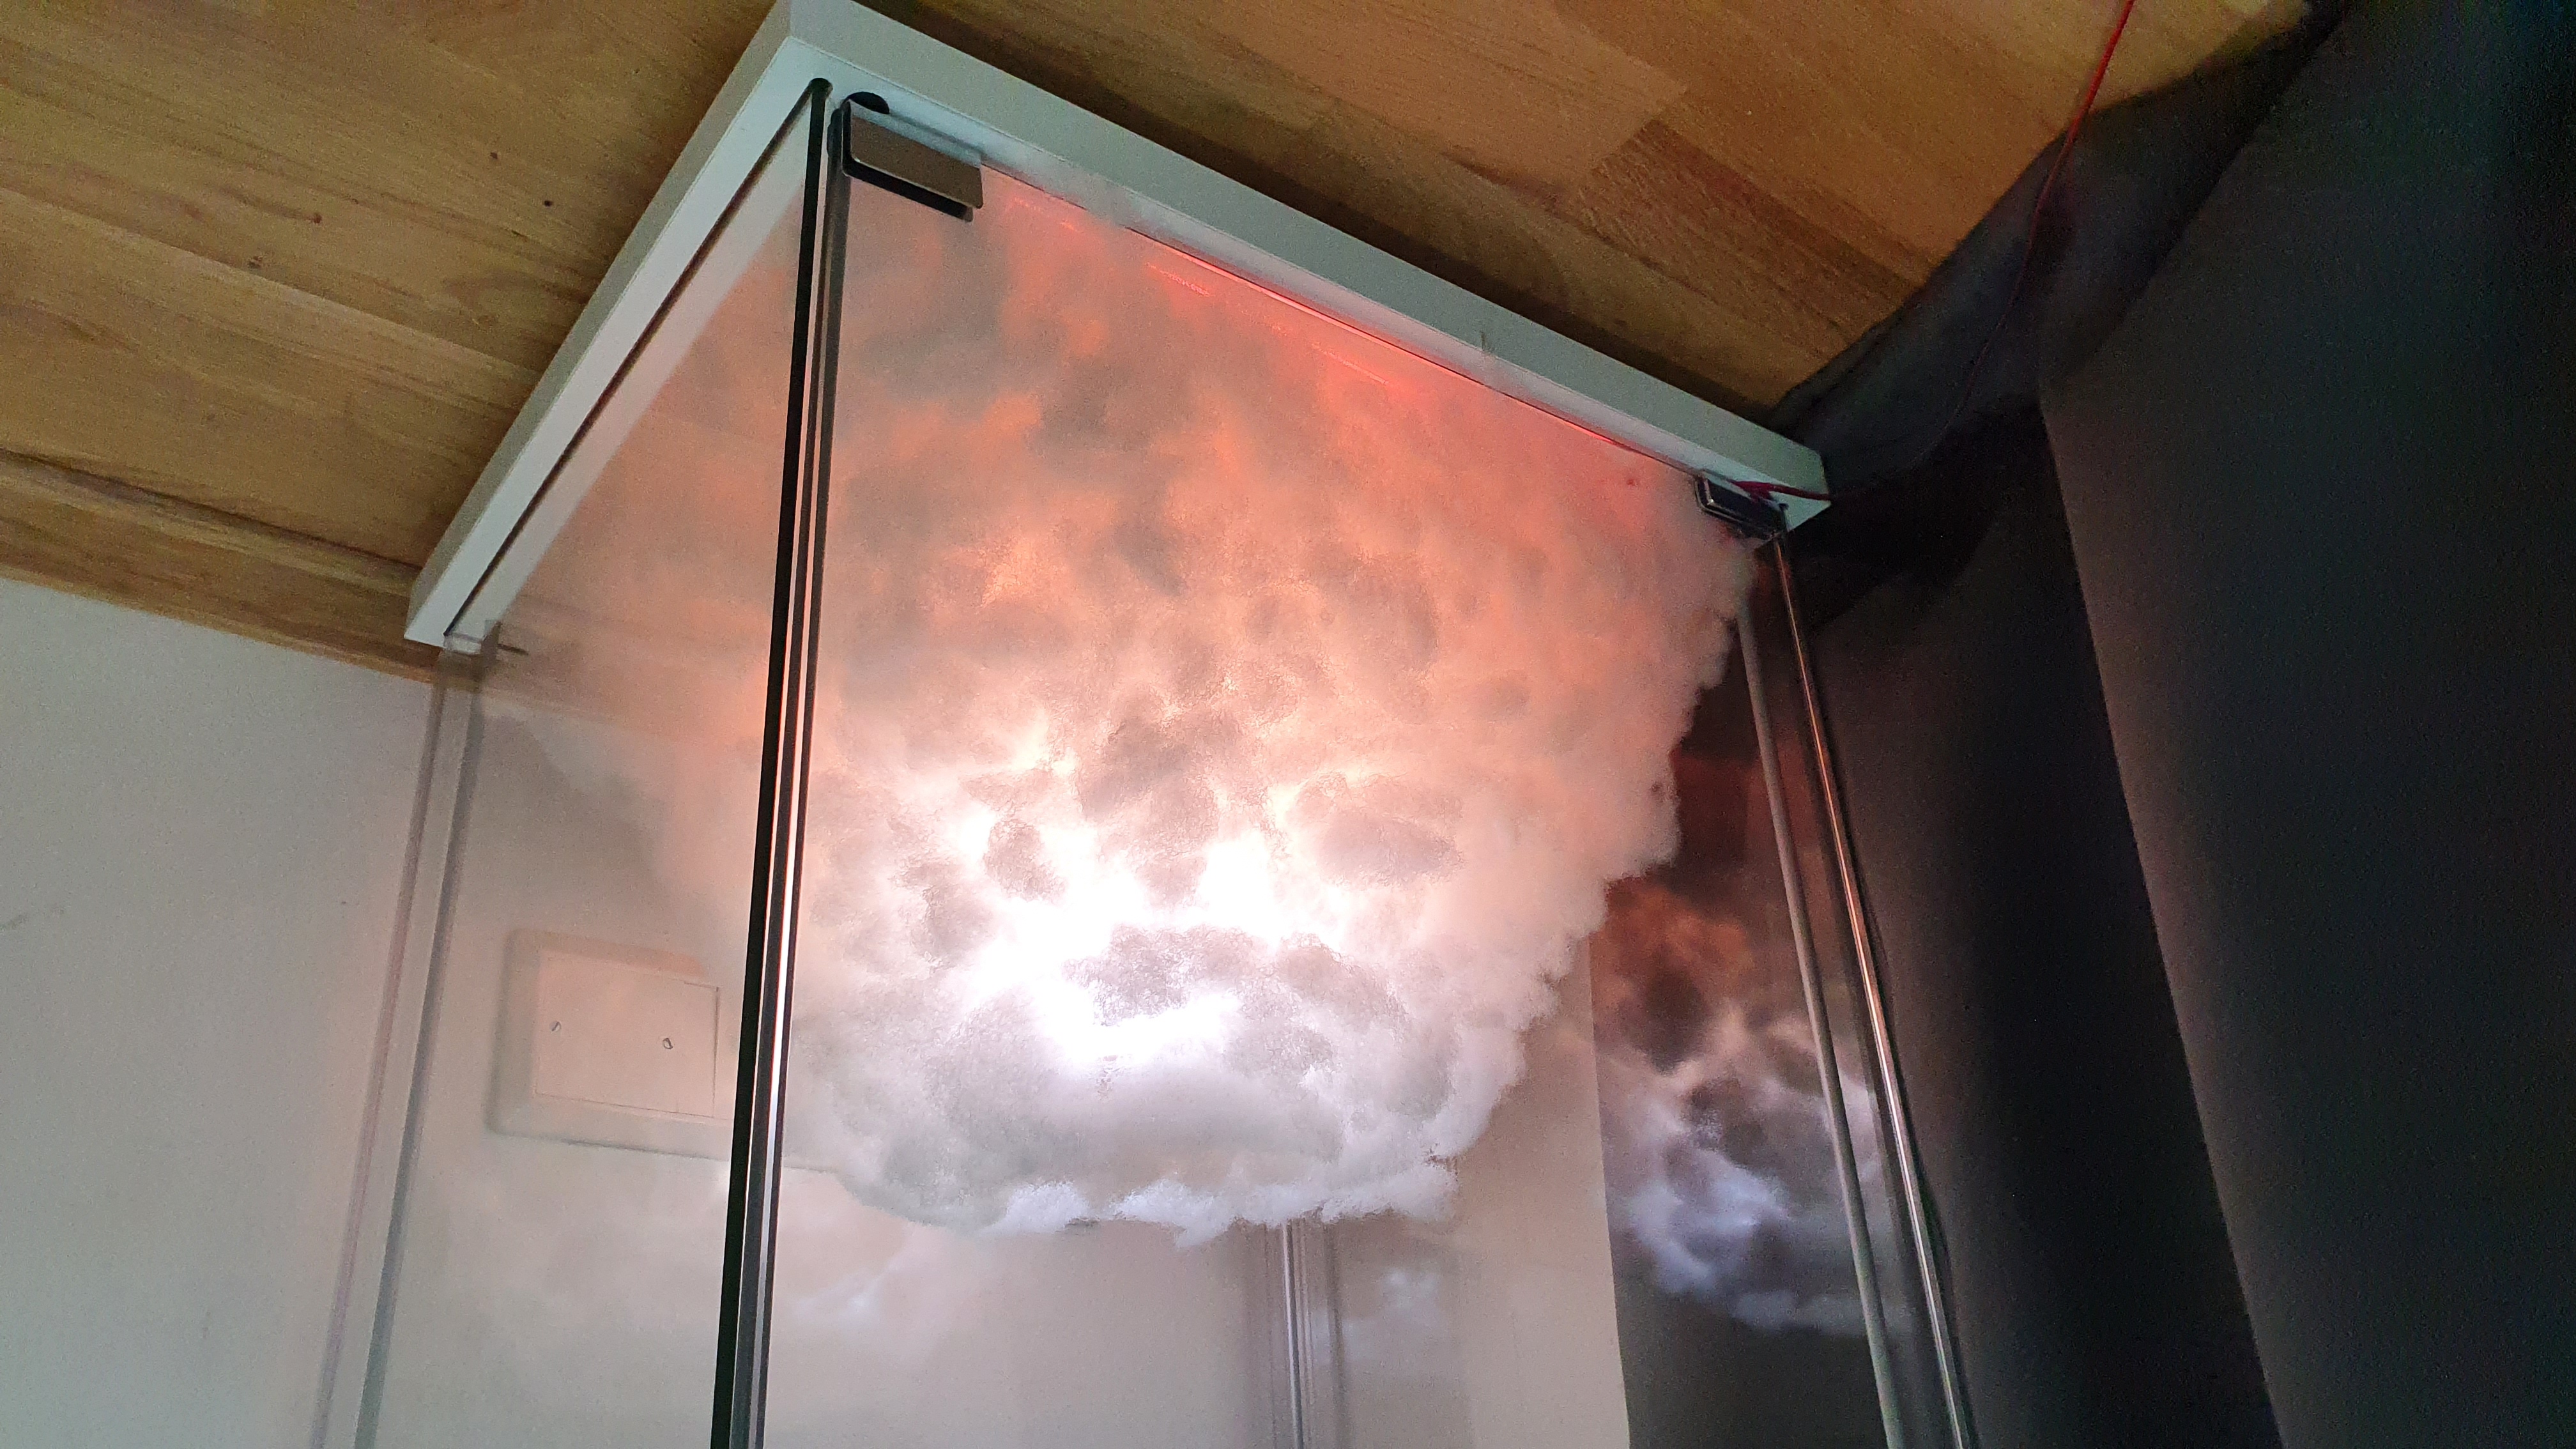
By adding acrylic glass as a base it gives us place to put cotton on.
First of all we put some superglue on the bottom of 3d printed led base and insert it to the bottle. Add some hot glue on the top to make construction sit together.
Now it's time to glue acrylic glass with the rest of the construction.

After connecting all wires together and testing it was time to get to the next step.

We have used cotton from the ikea pillow.
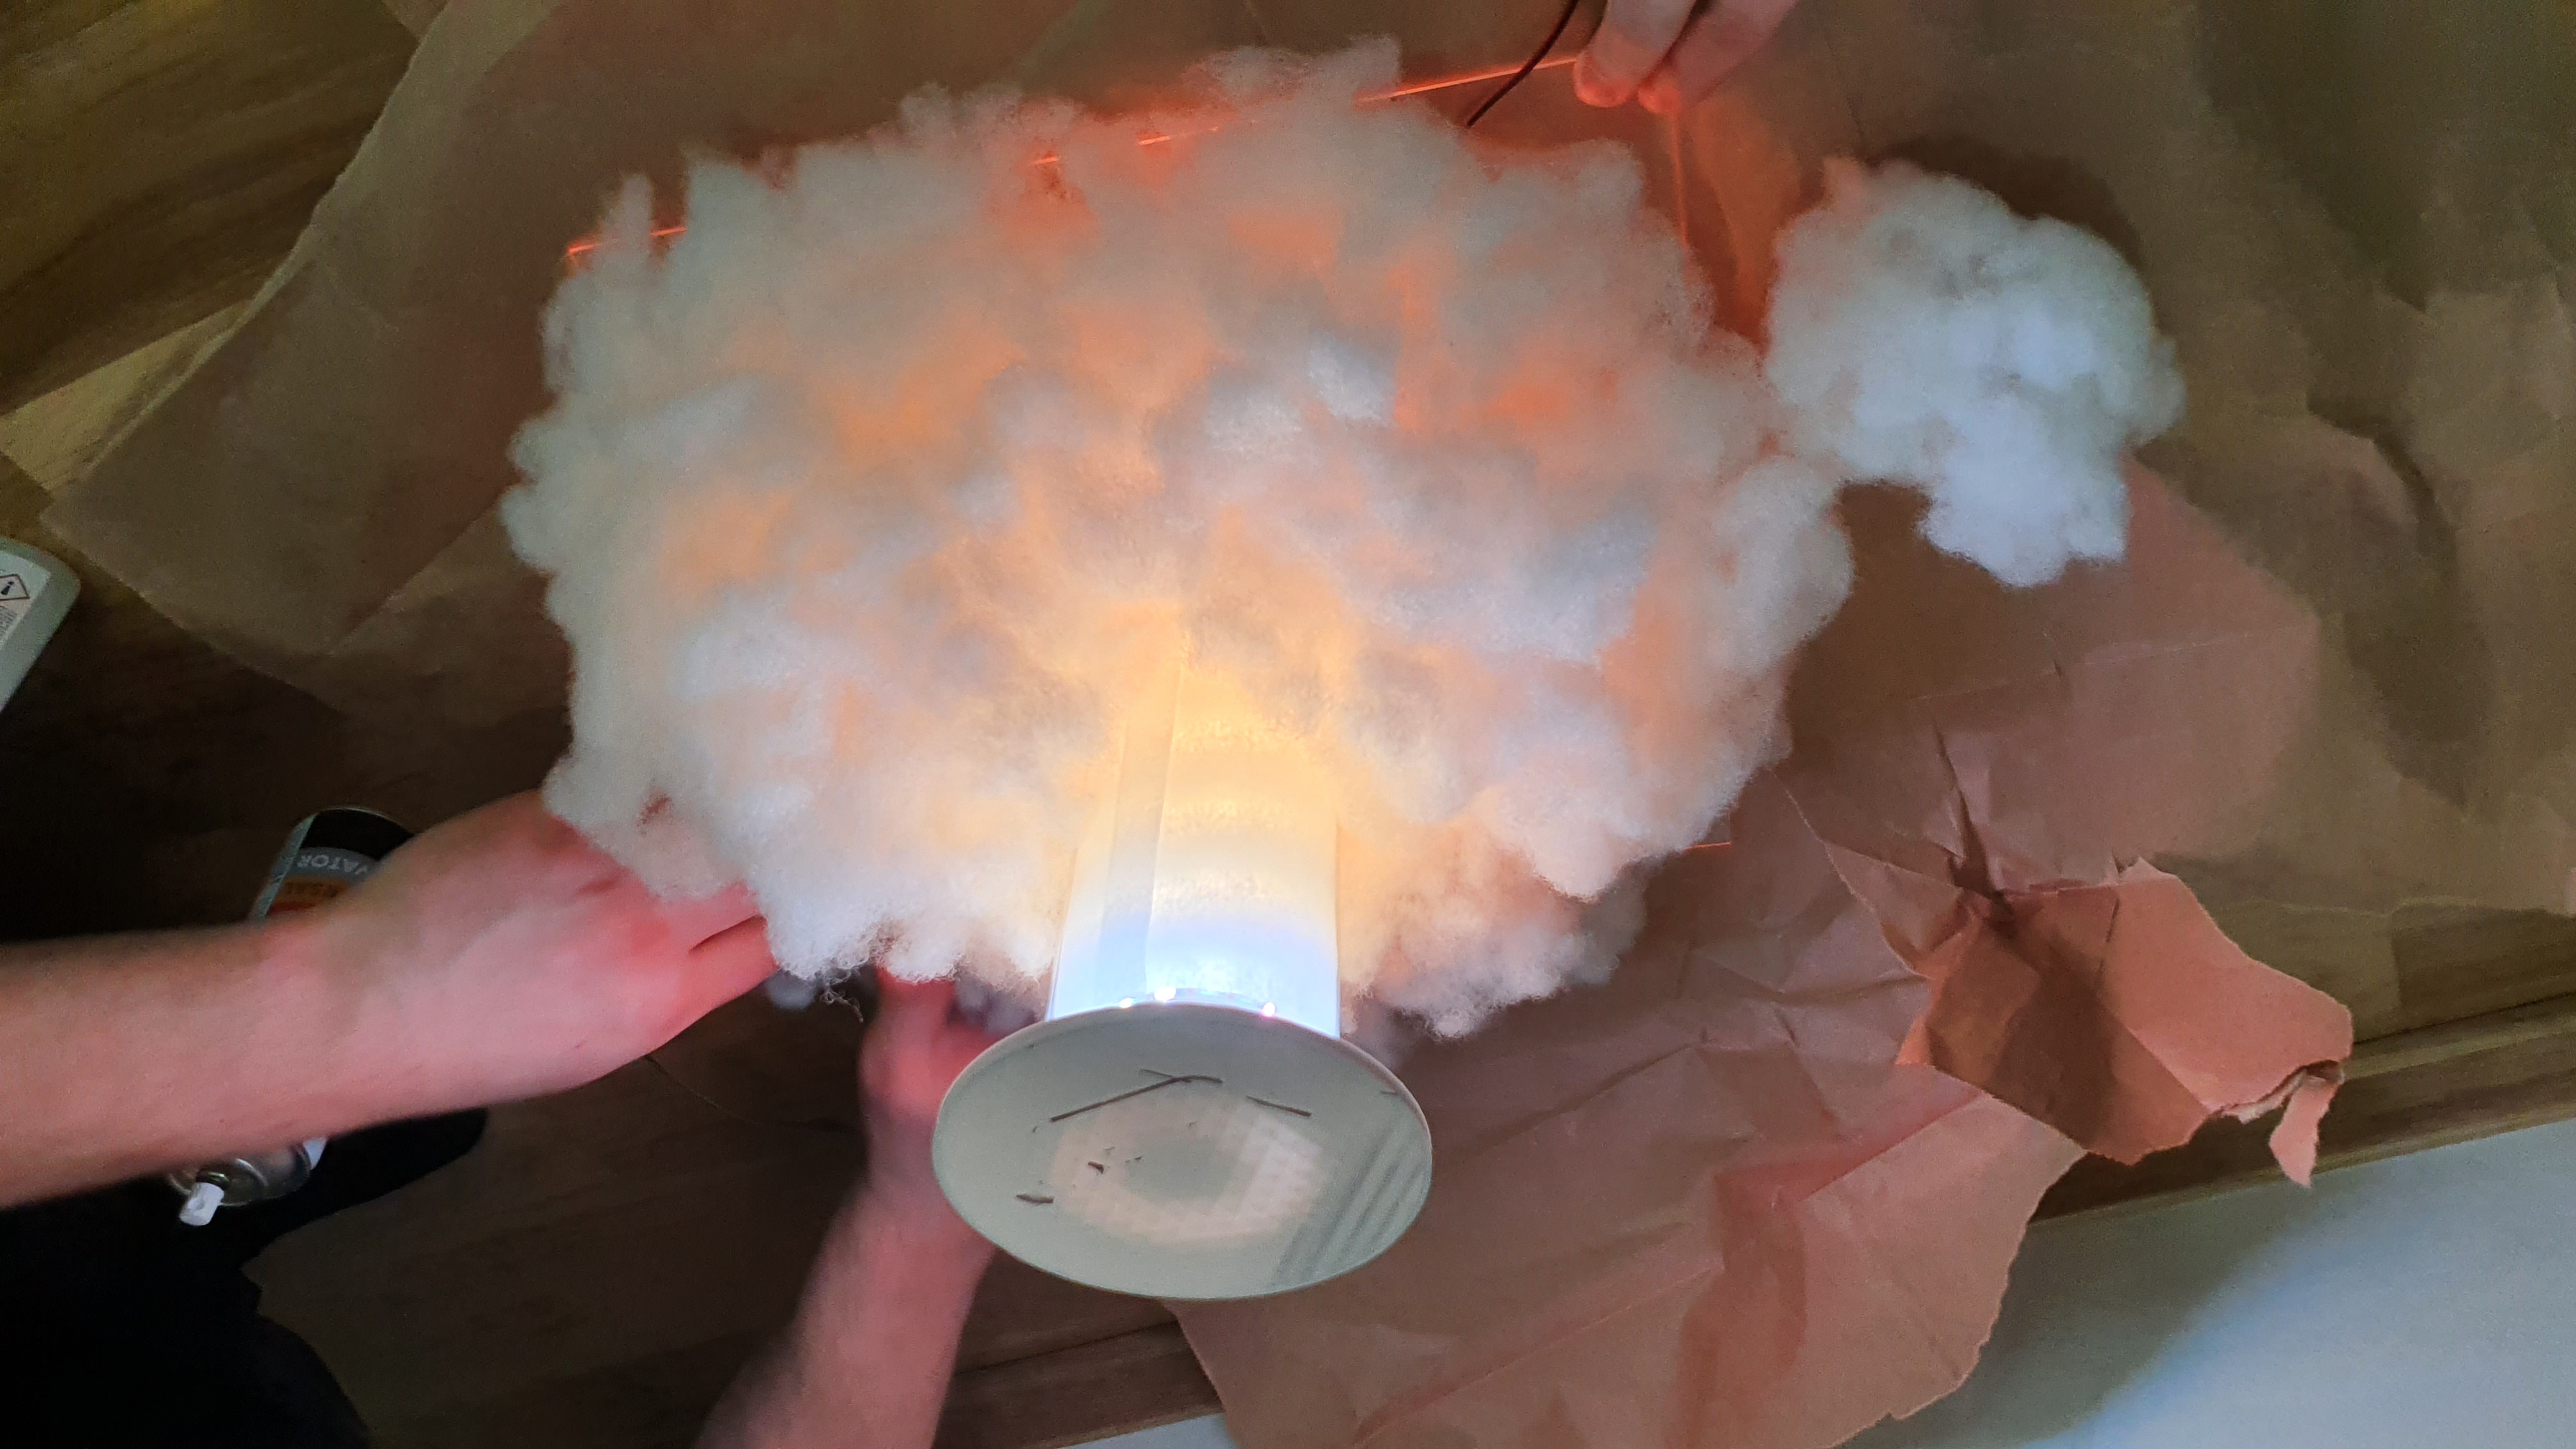
From the acrylic glass we bend two supports.