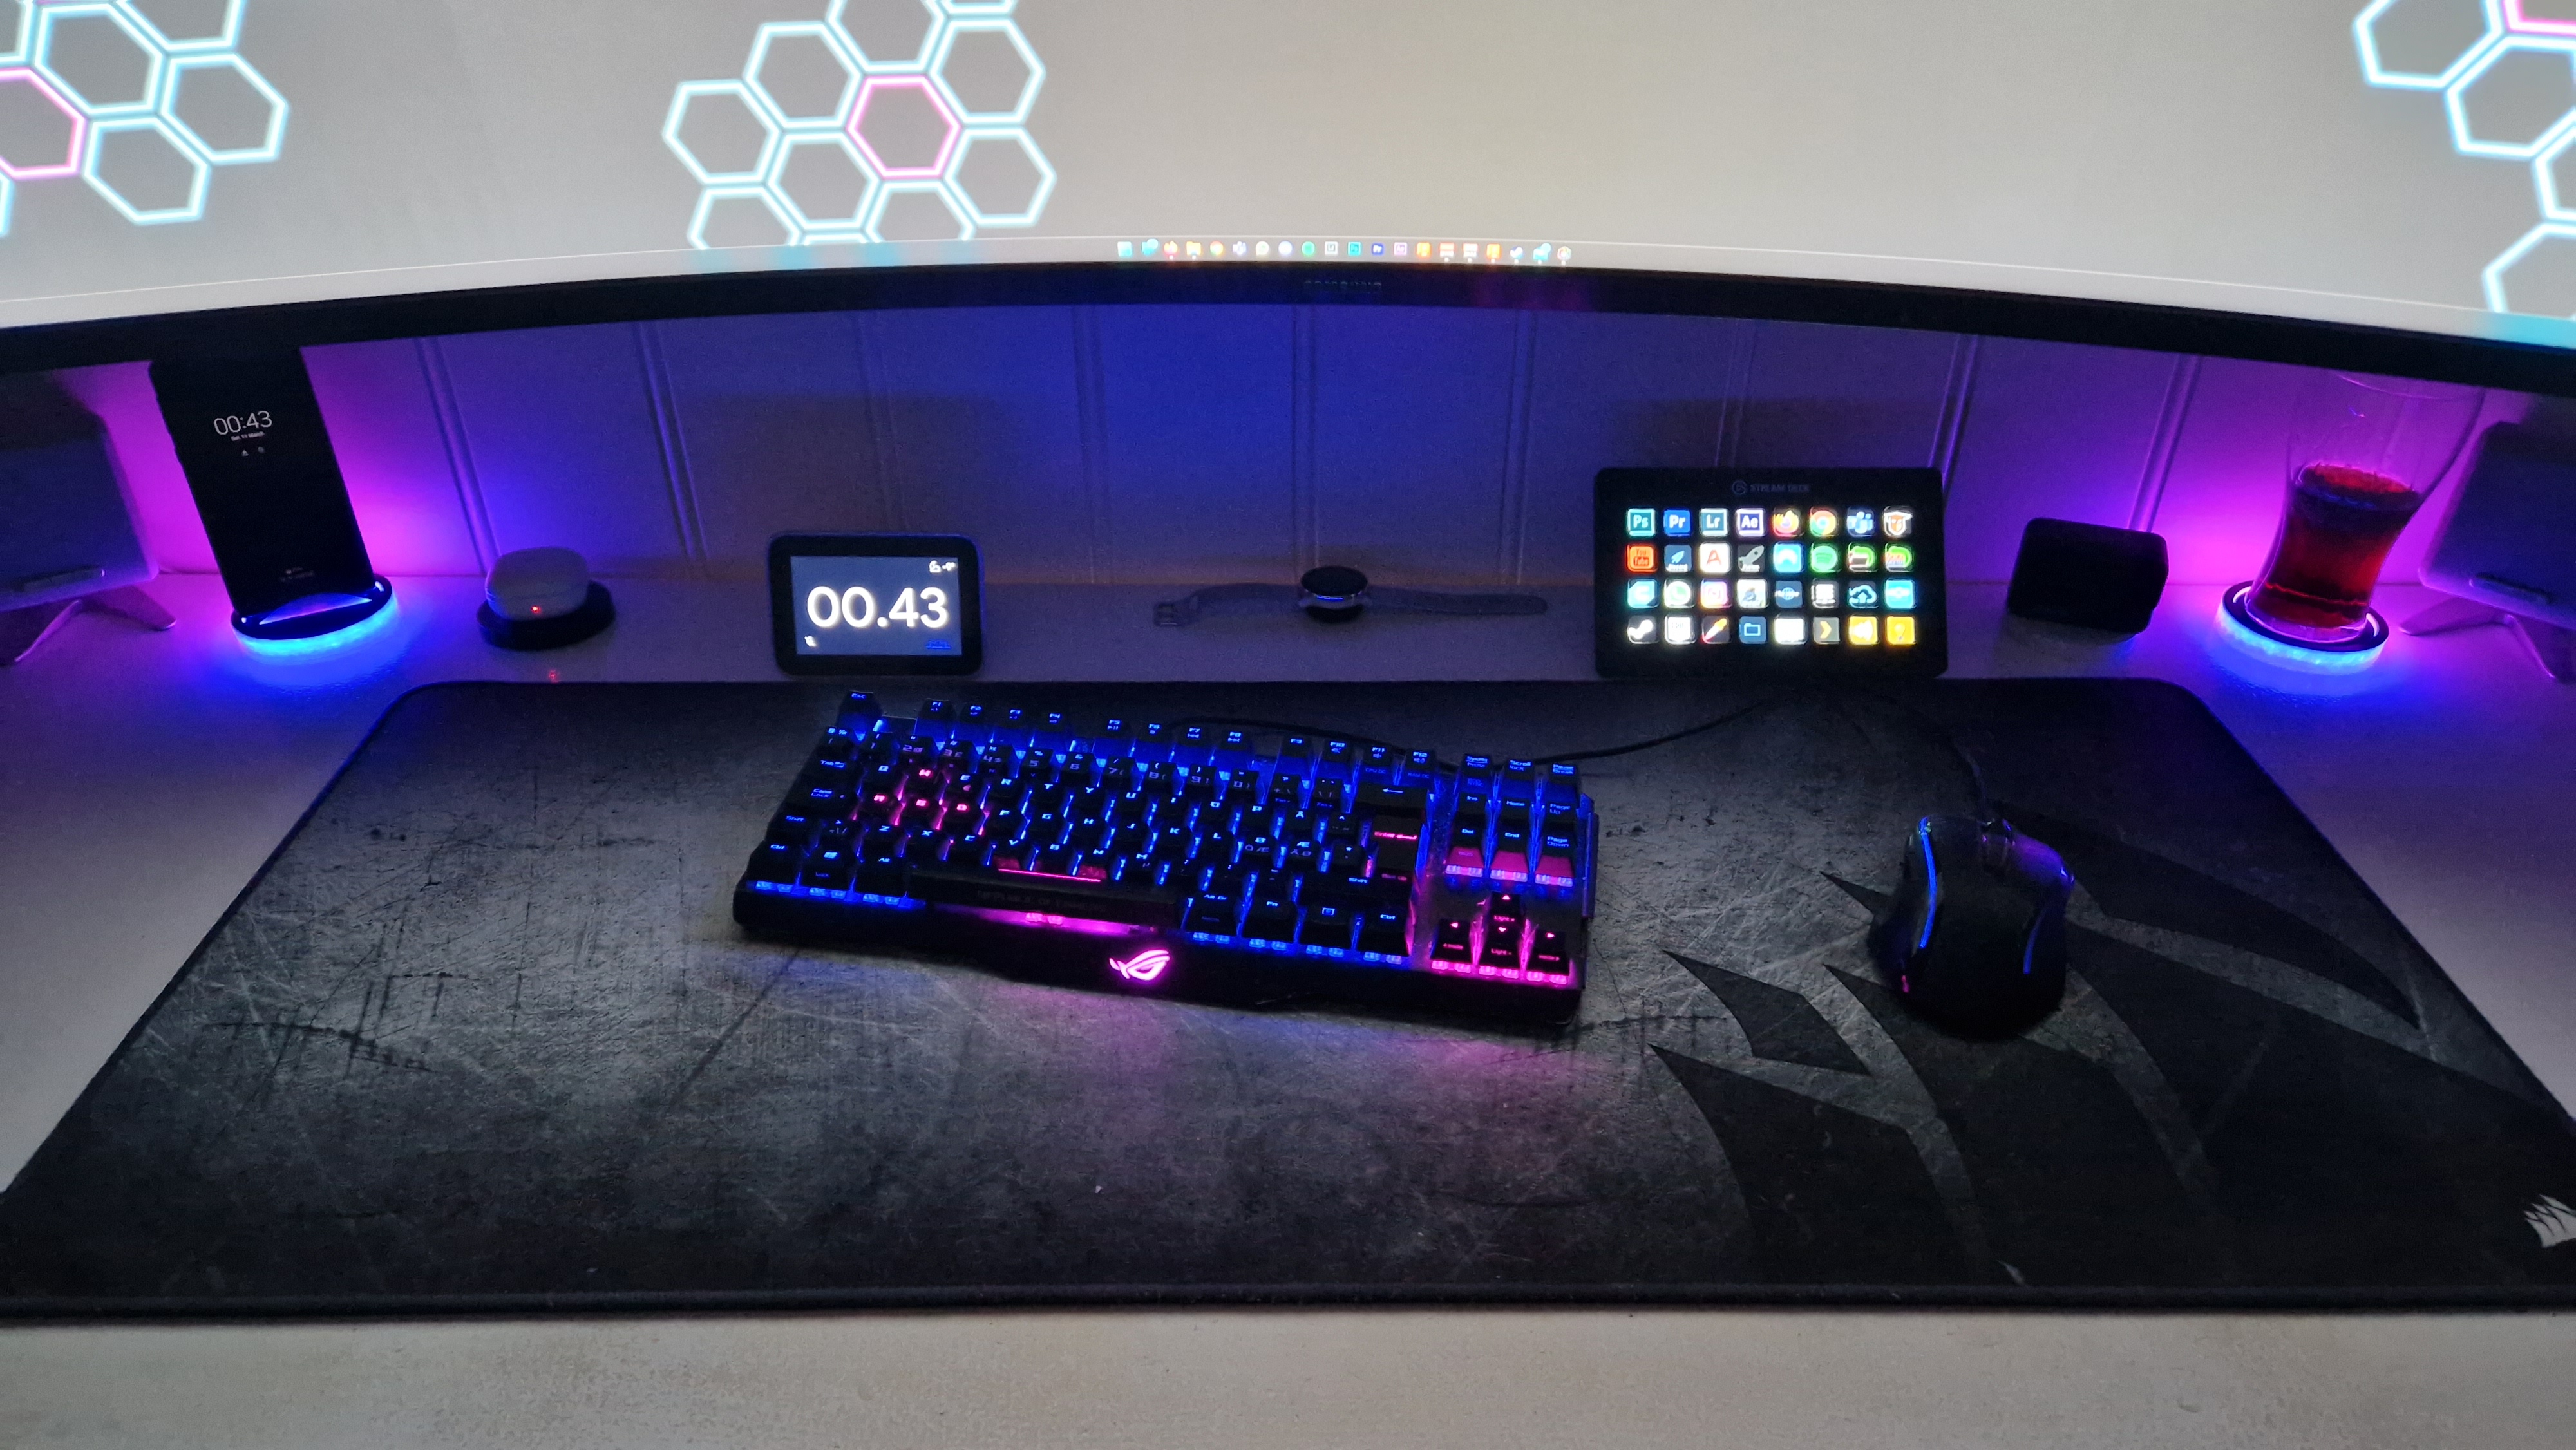
Phone and cup holder
11 March 2023Tech projects
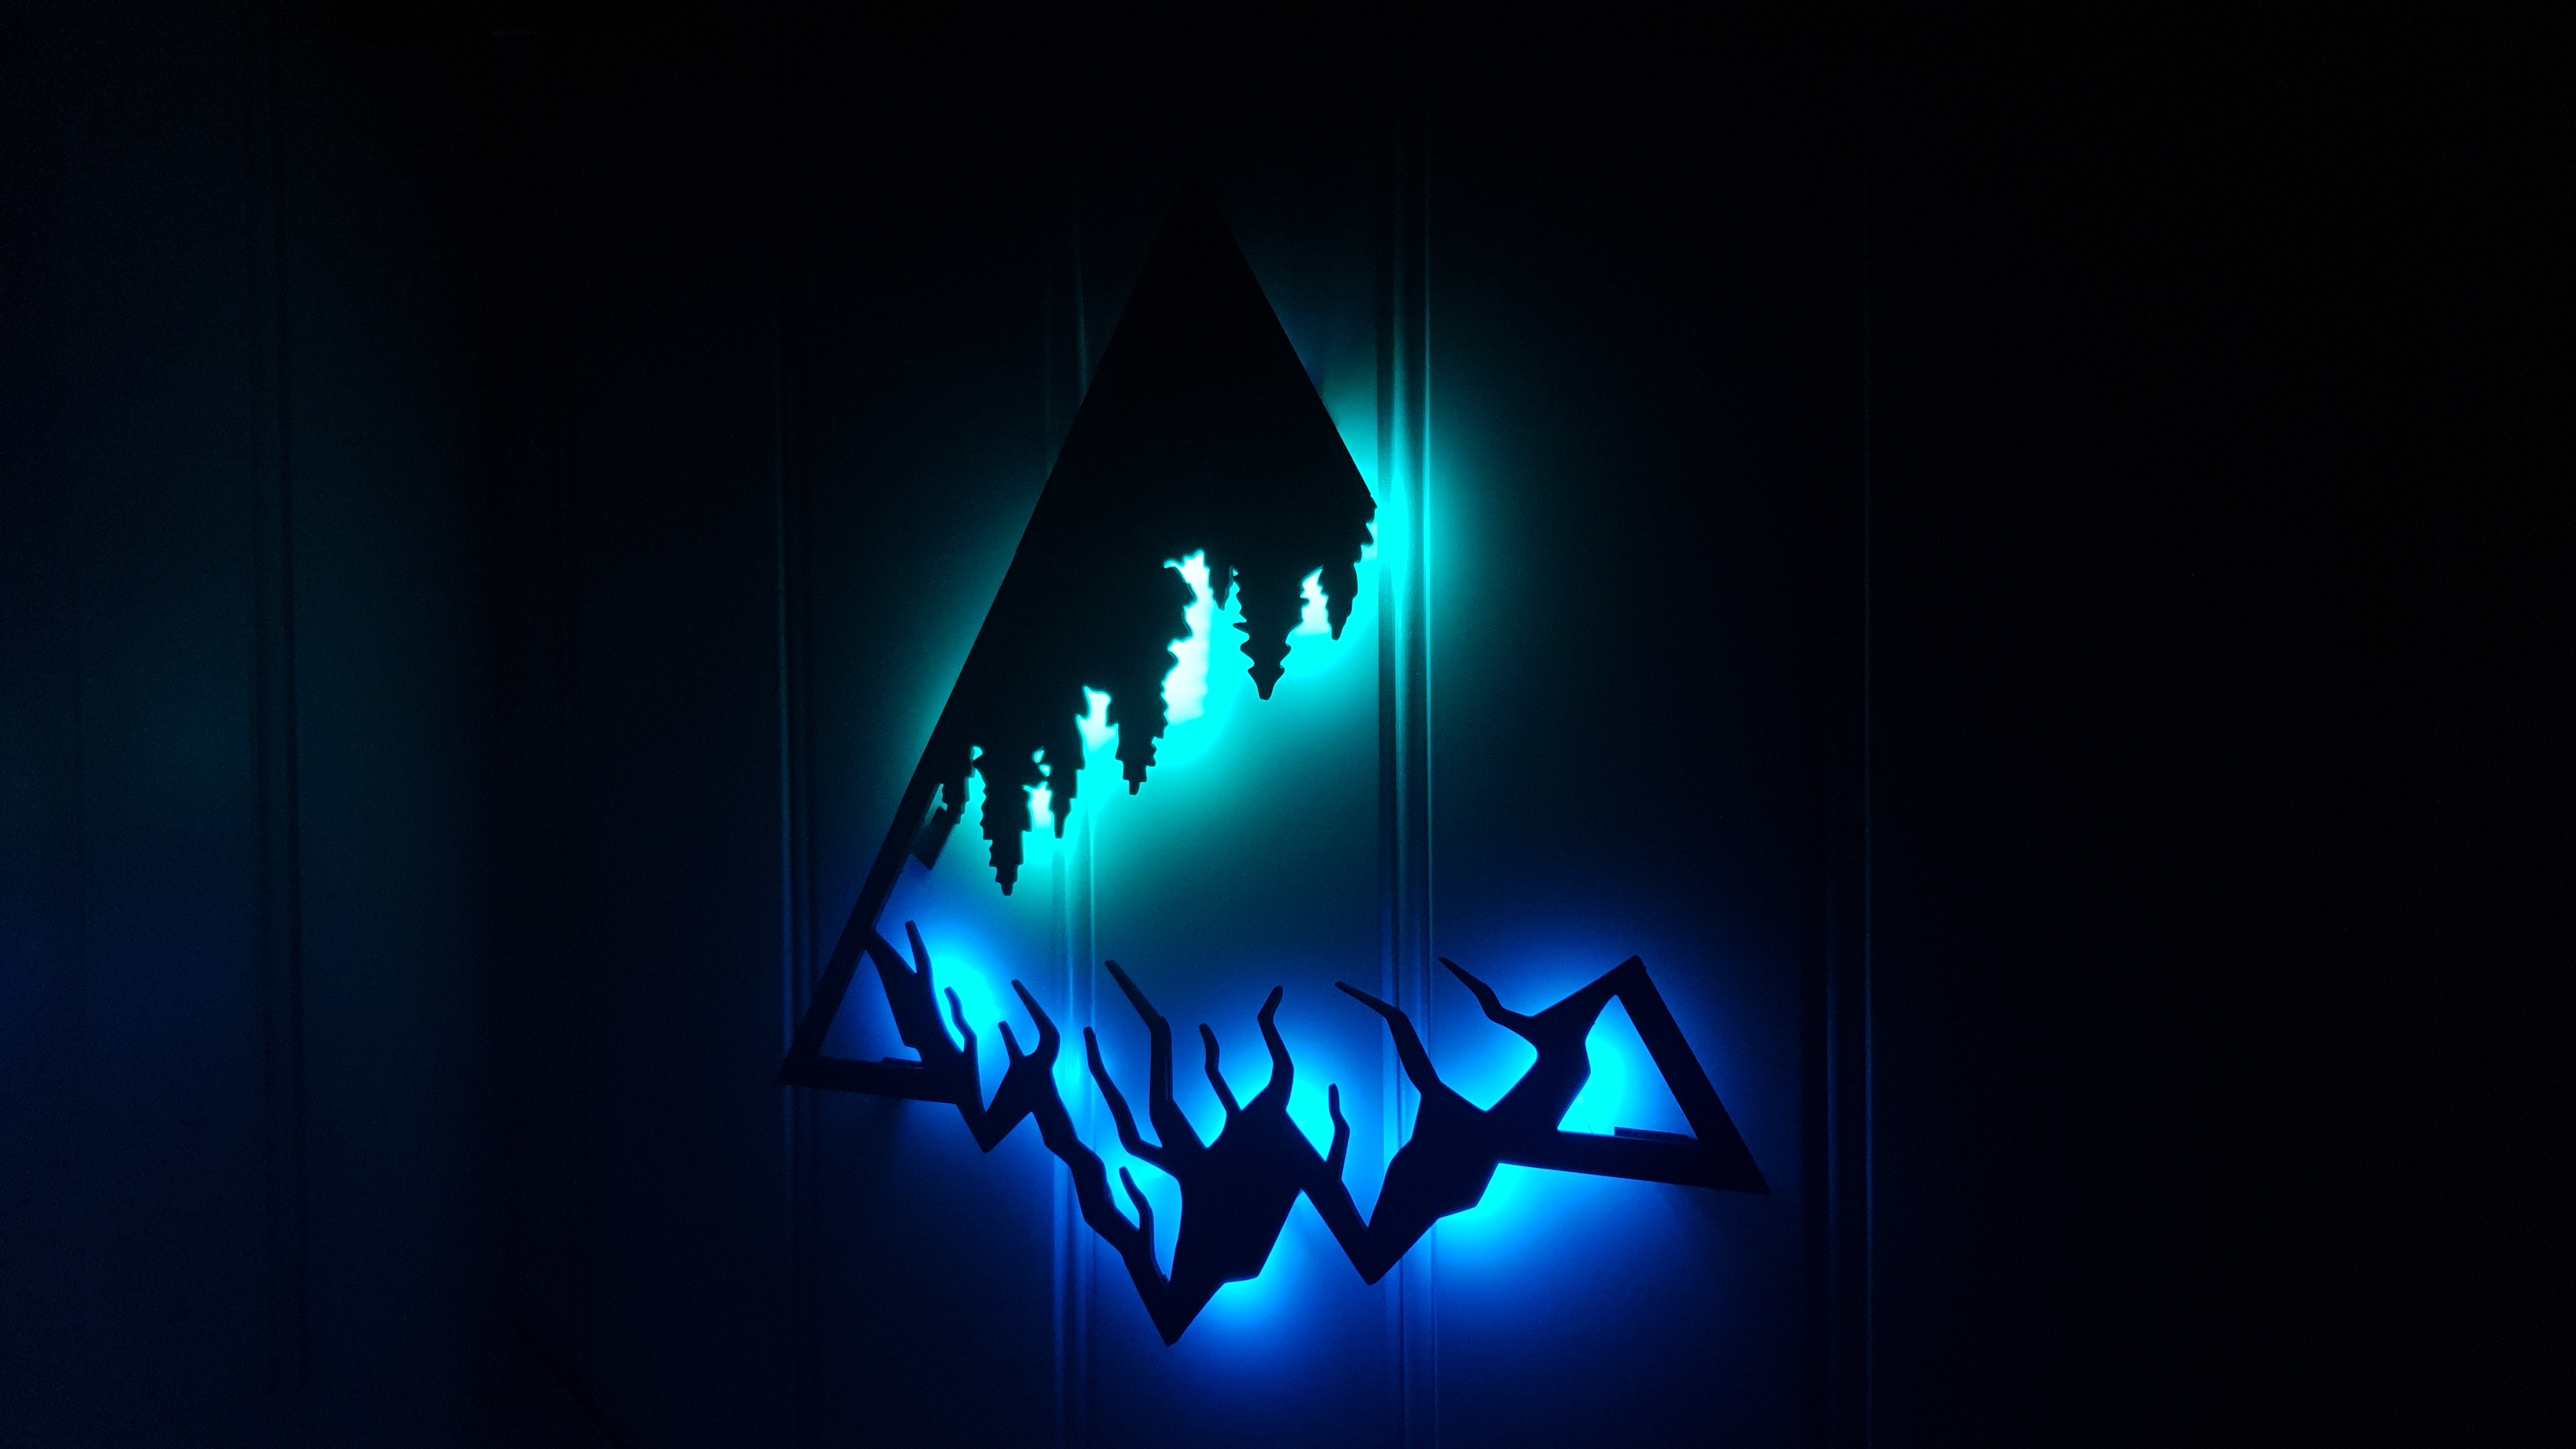
Mountains backlight
06 July 2022Tech projects
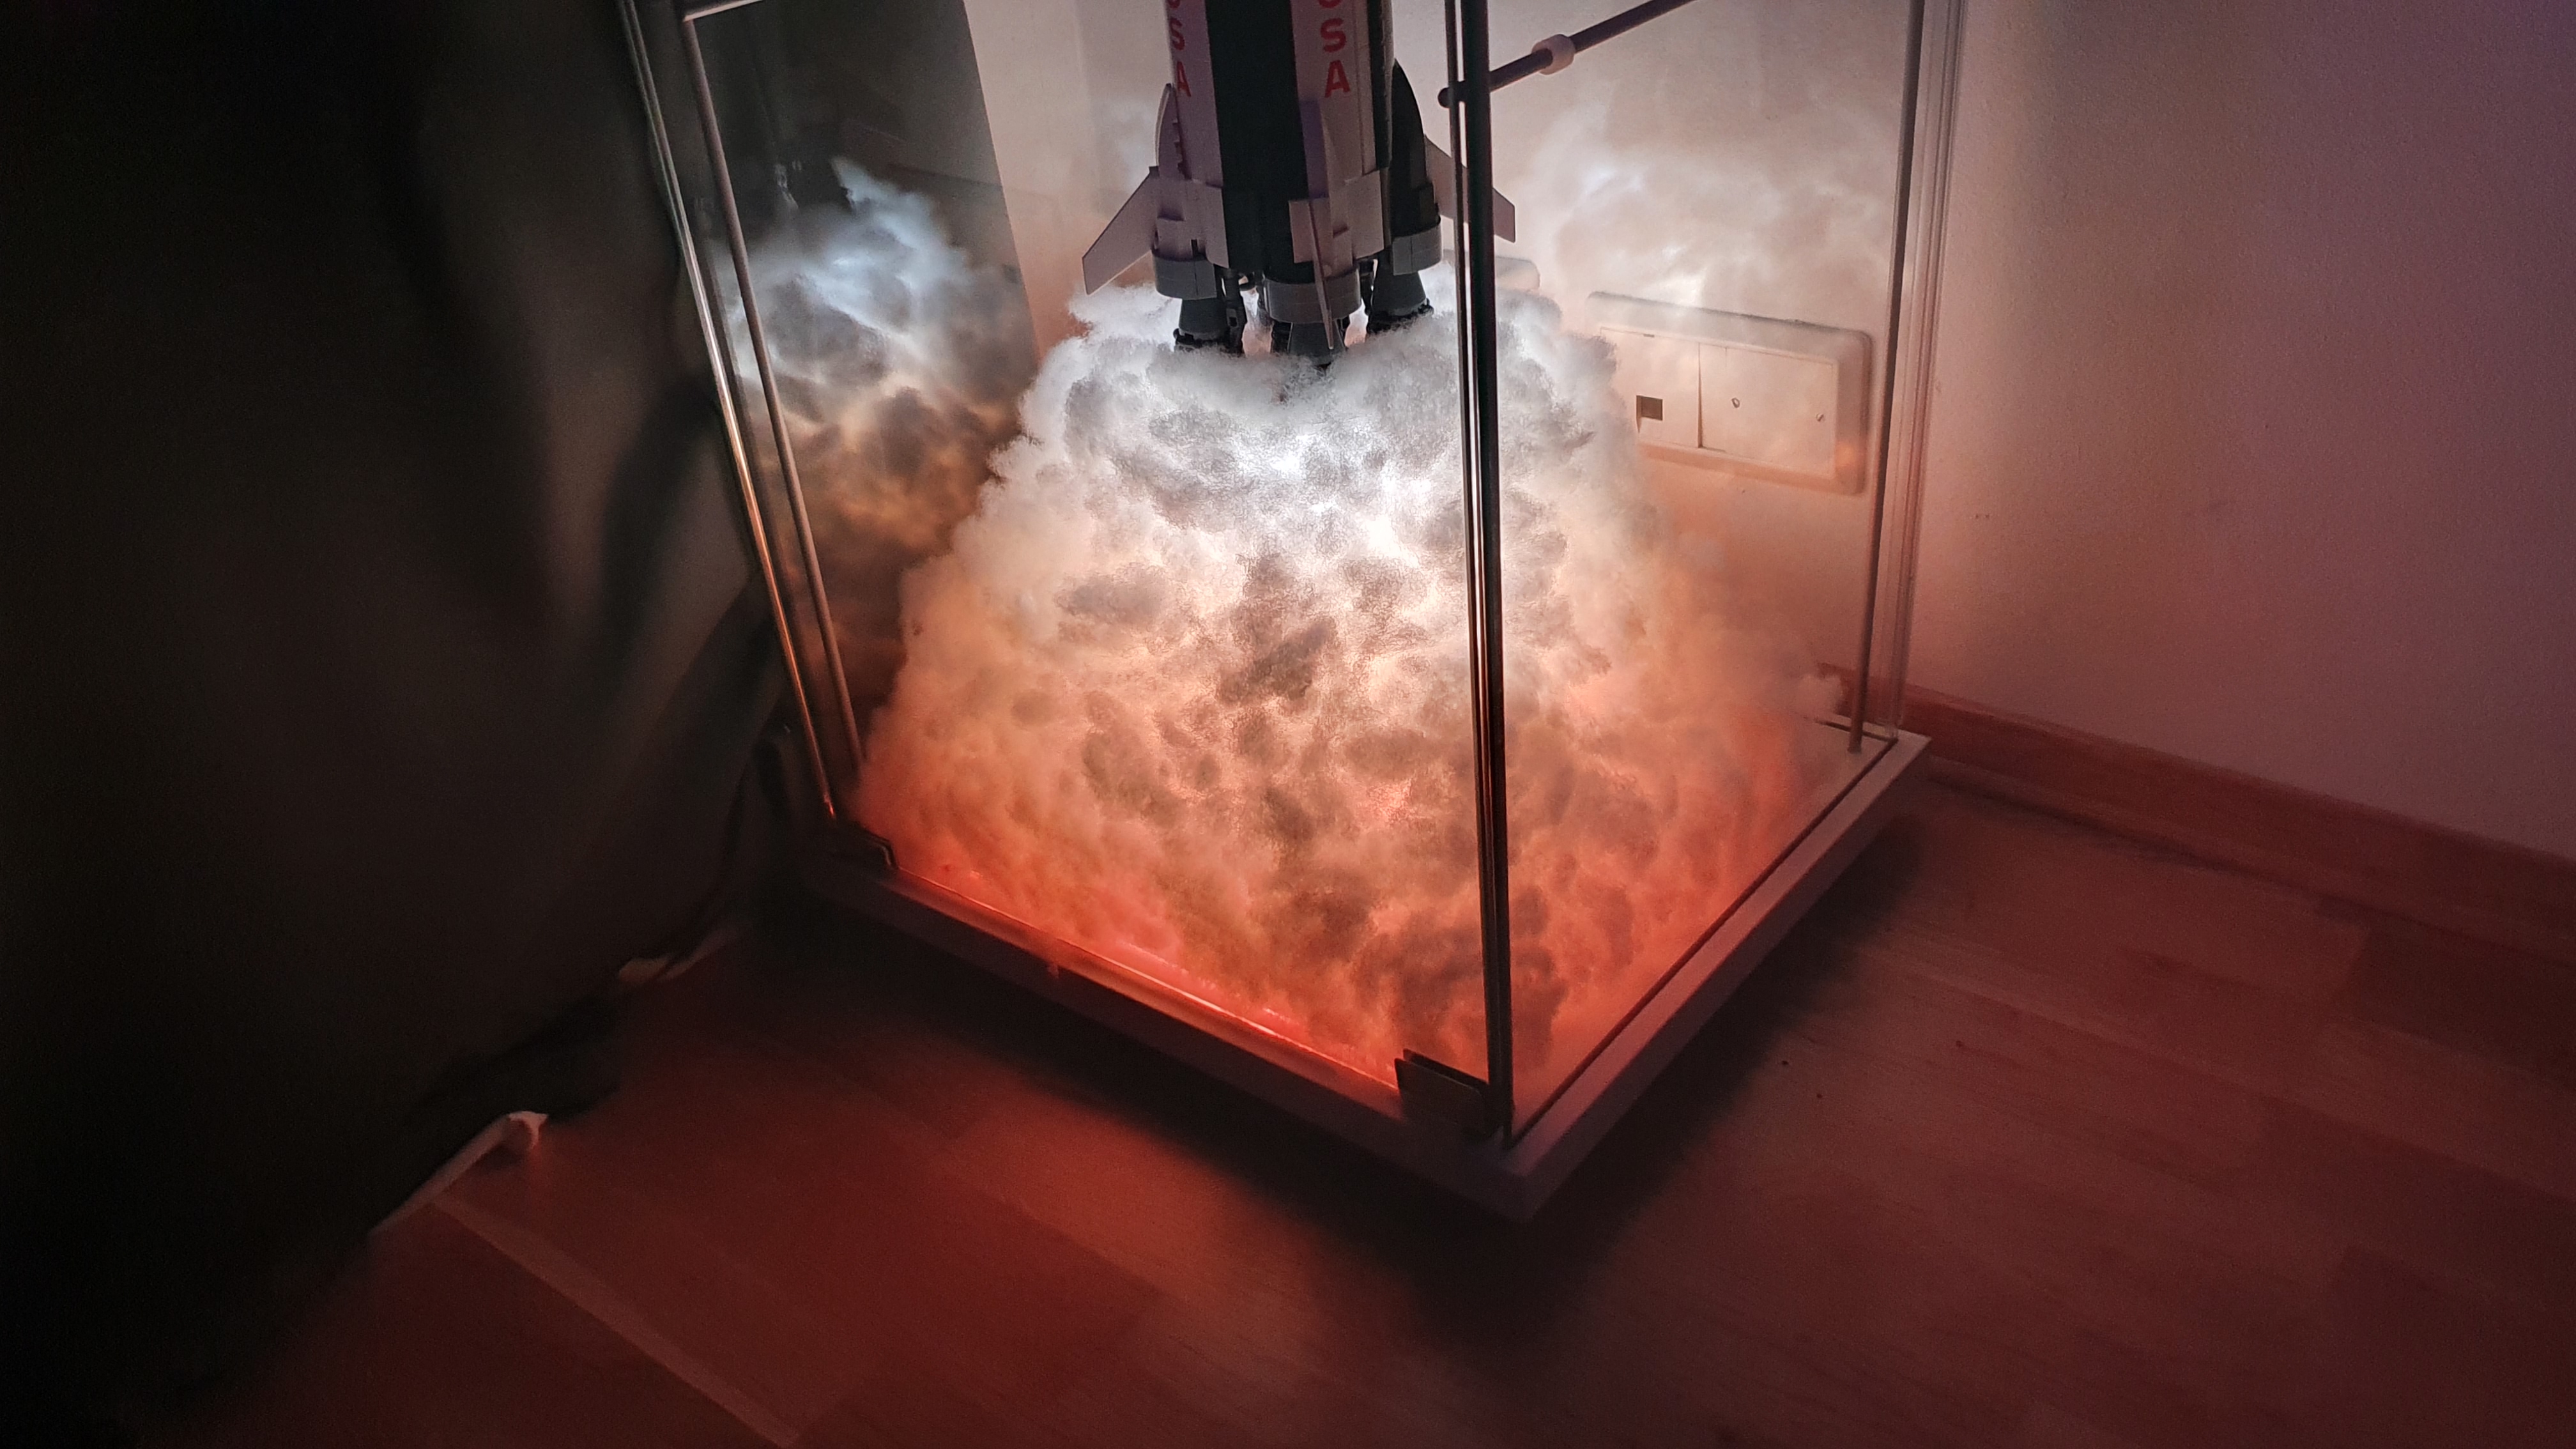
Lego Saturn V Blast off
23 January 2022Tech projects
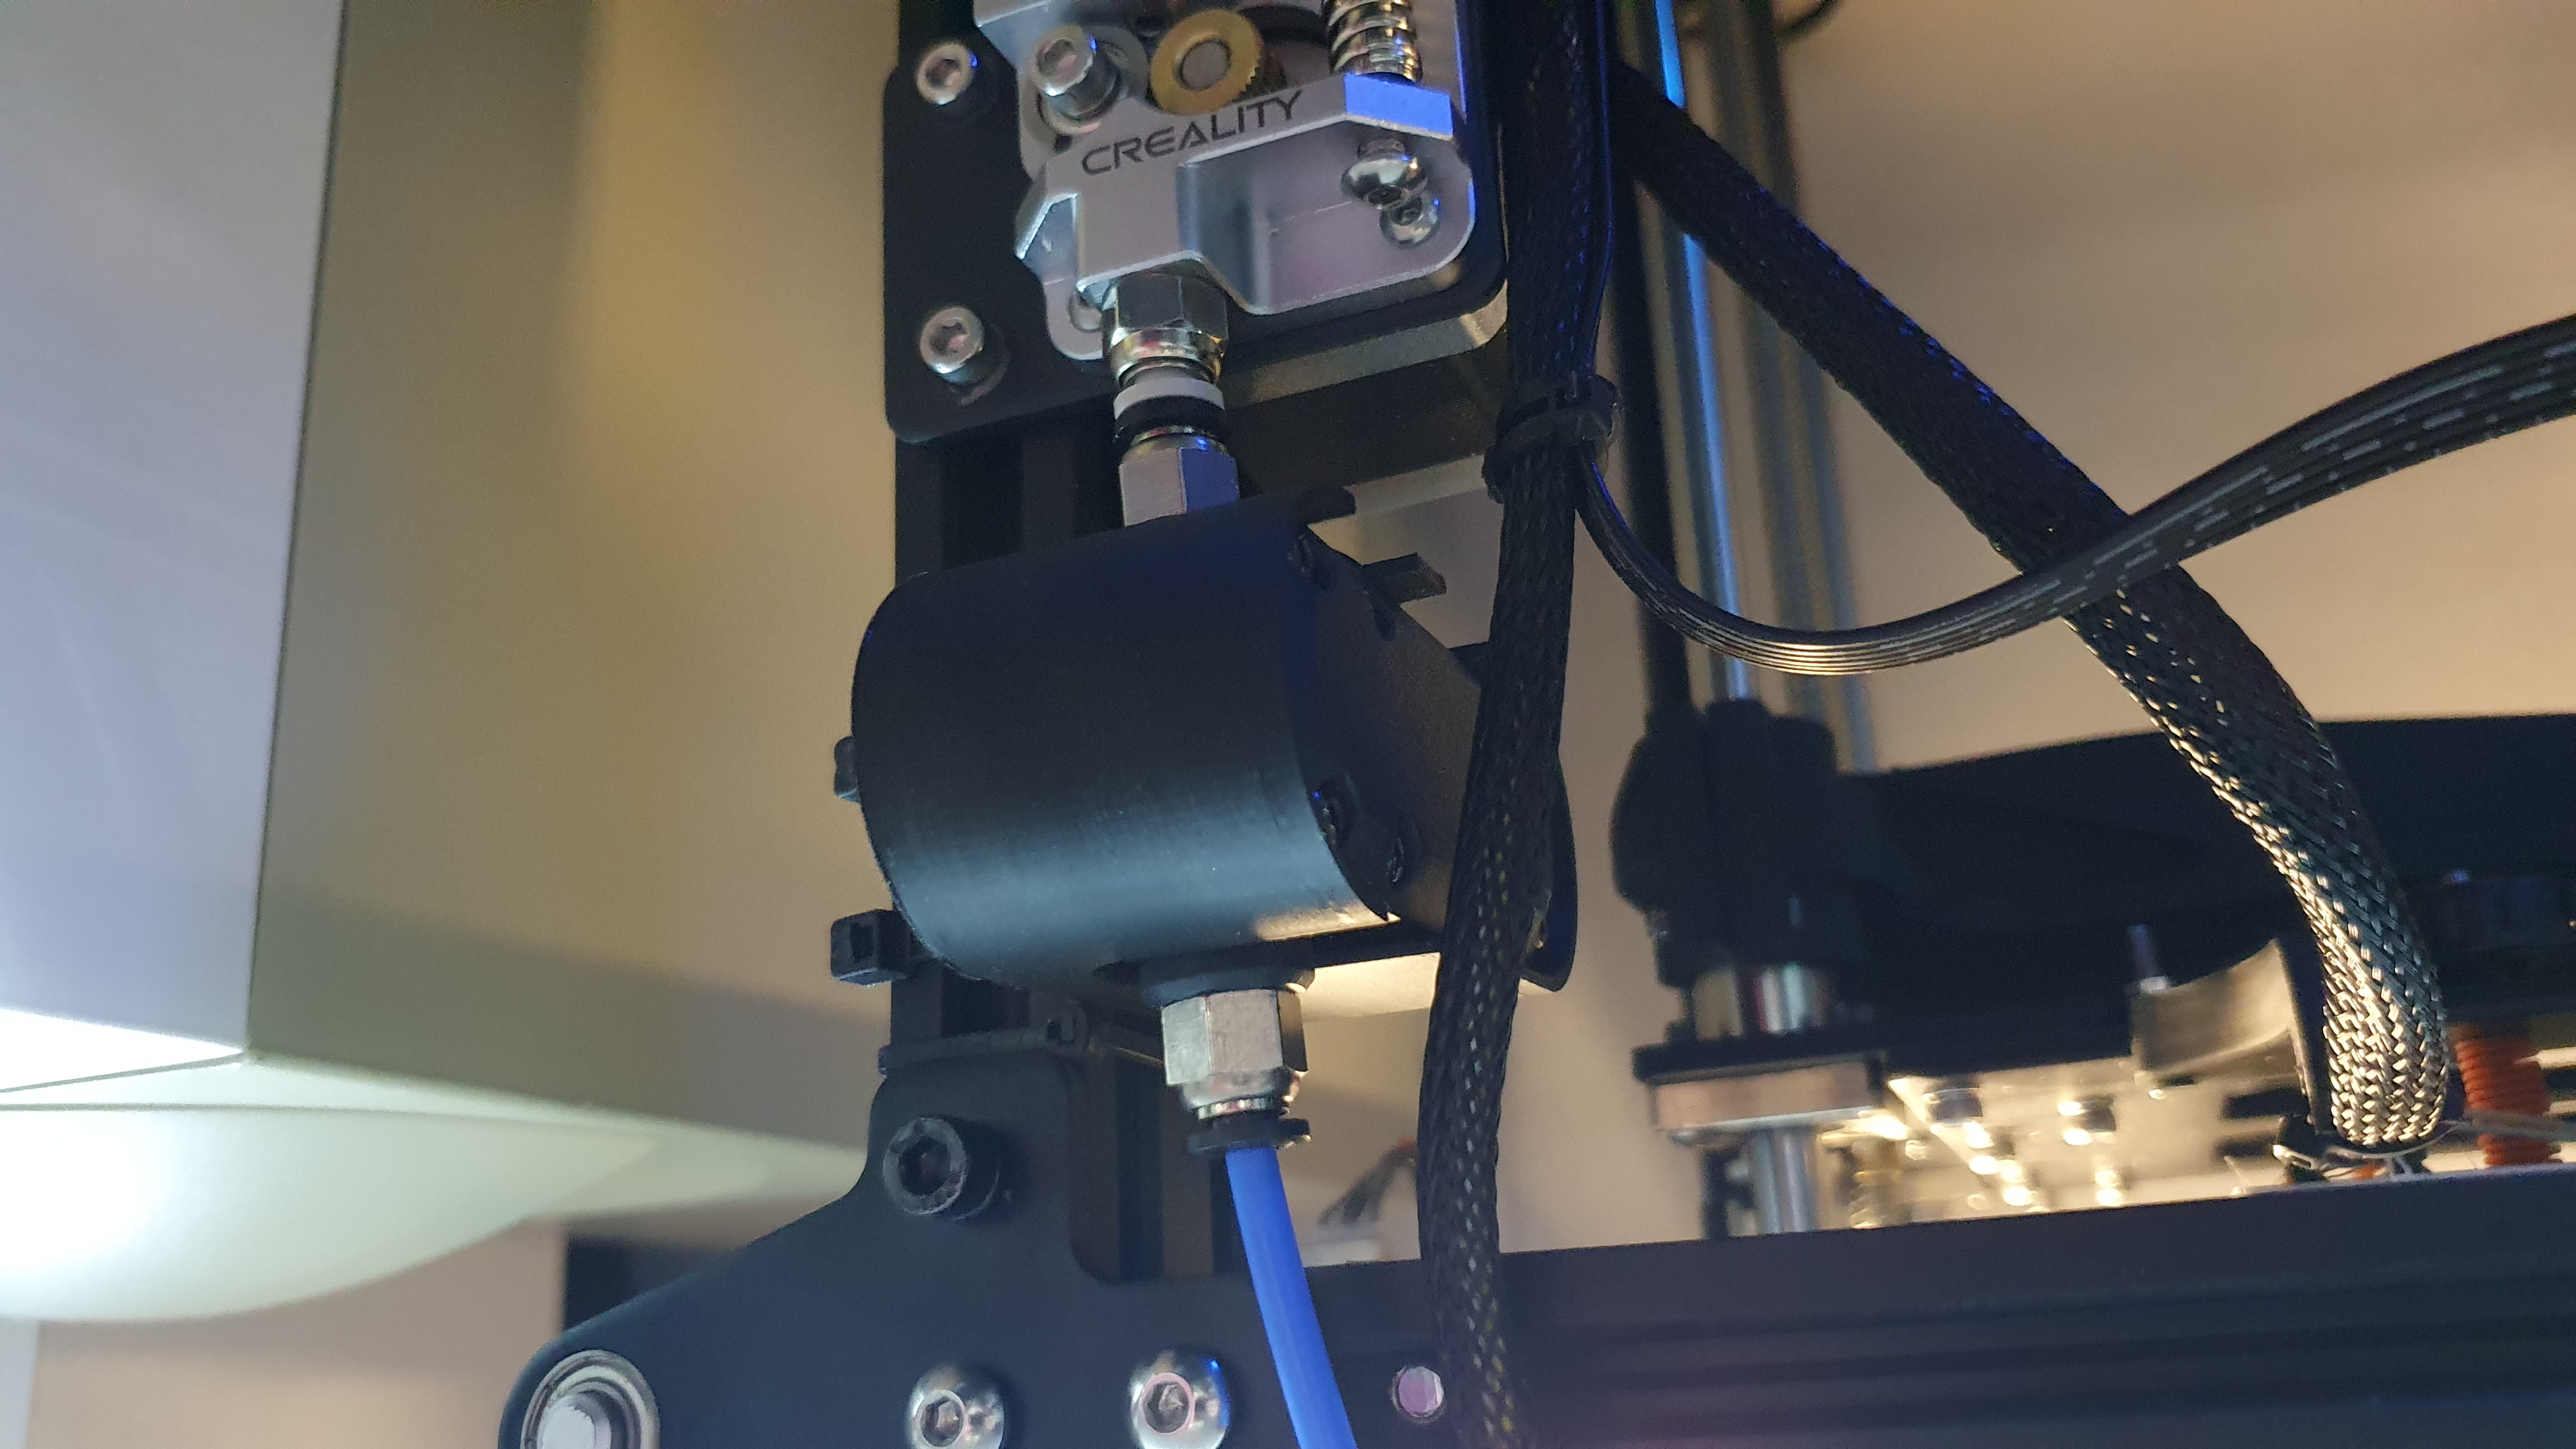
One of the first things that I bought was a Bowden tube with fittings, reason was that fitting wanted to hold the Bowden tube. So when the filament was extruded it pulled out the tube.
Ebay: https://www.ebay.com/itm/293087728742?ssPageName=STRK%3AMEBIDX%3AIT&_trksid=p2060353.m2749.l2649
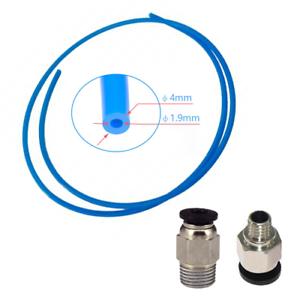
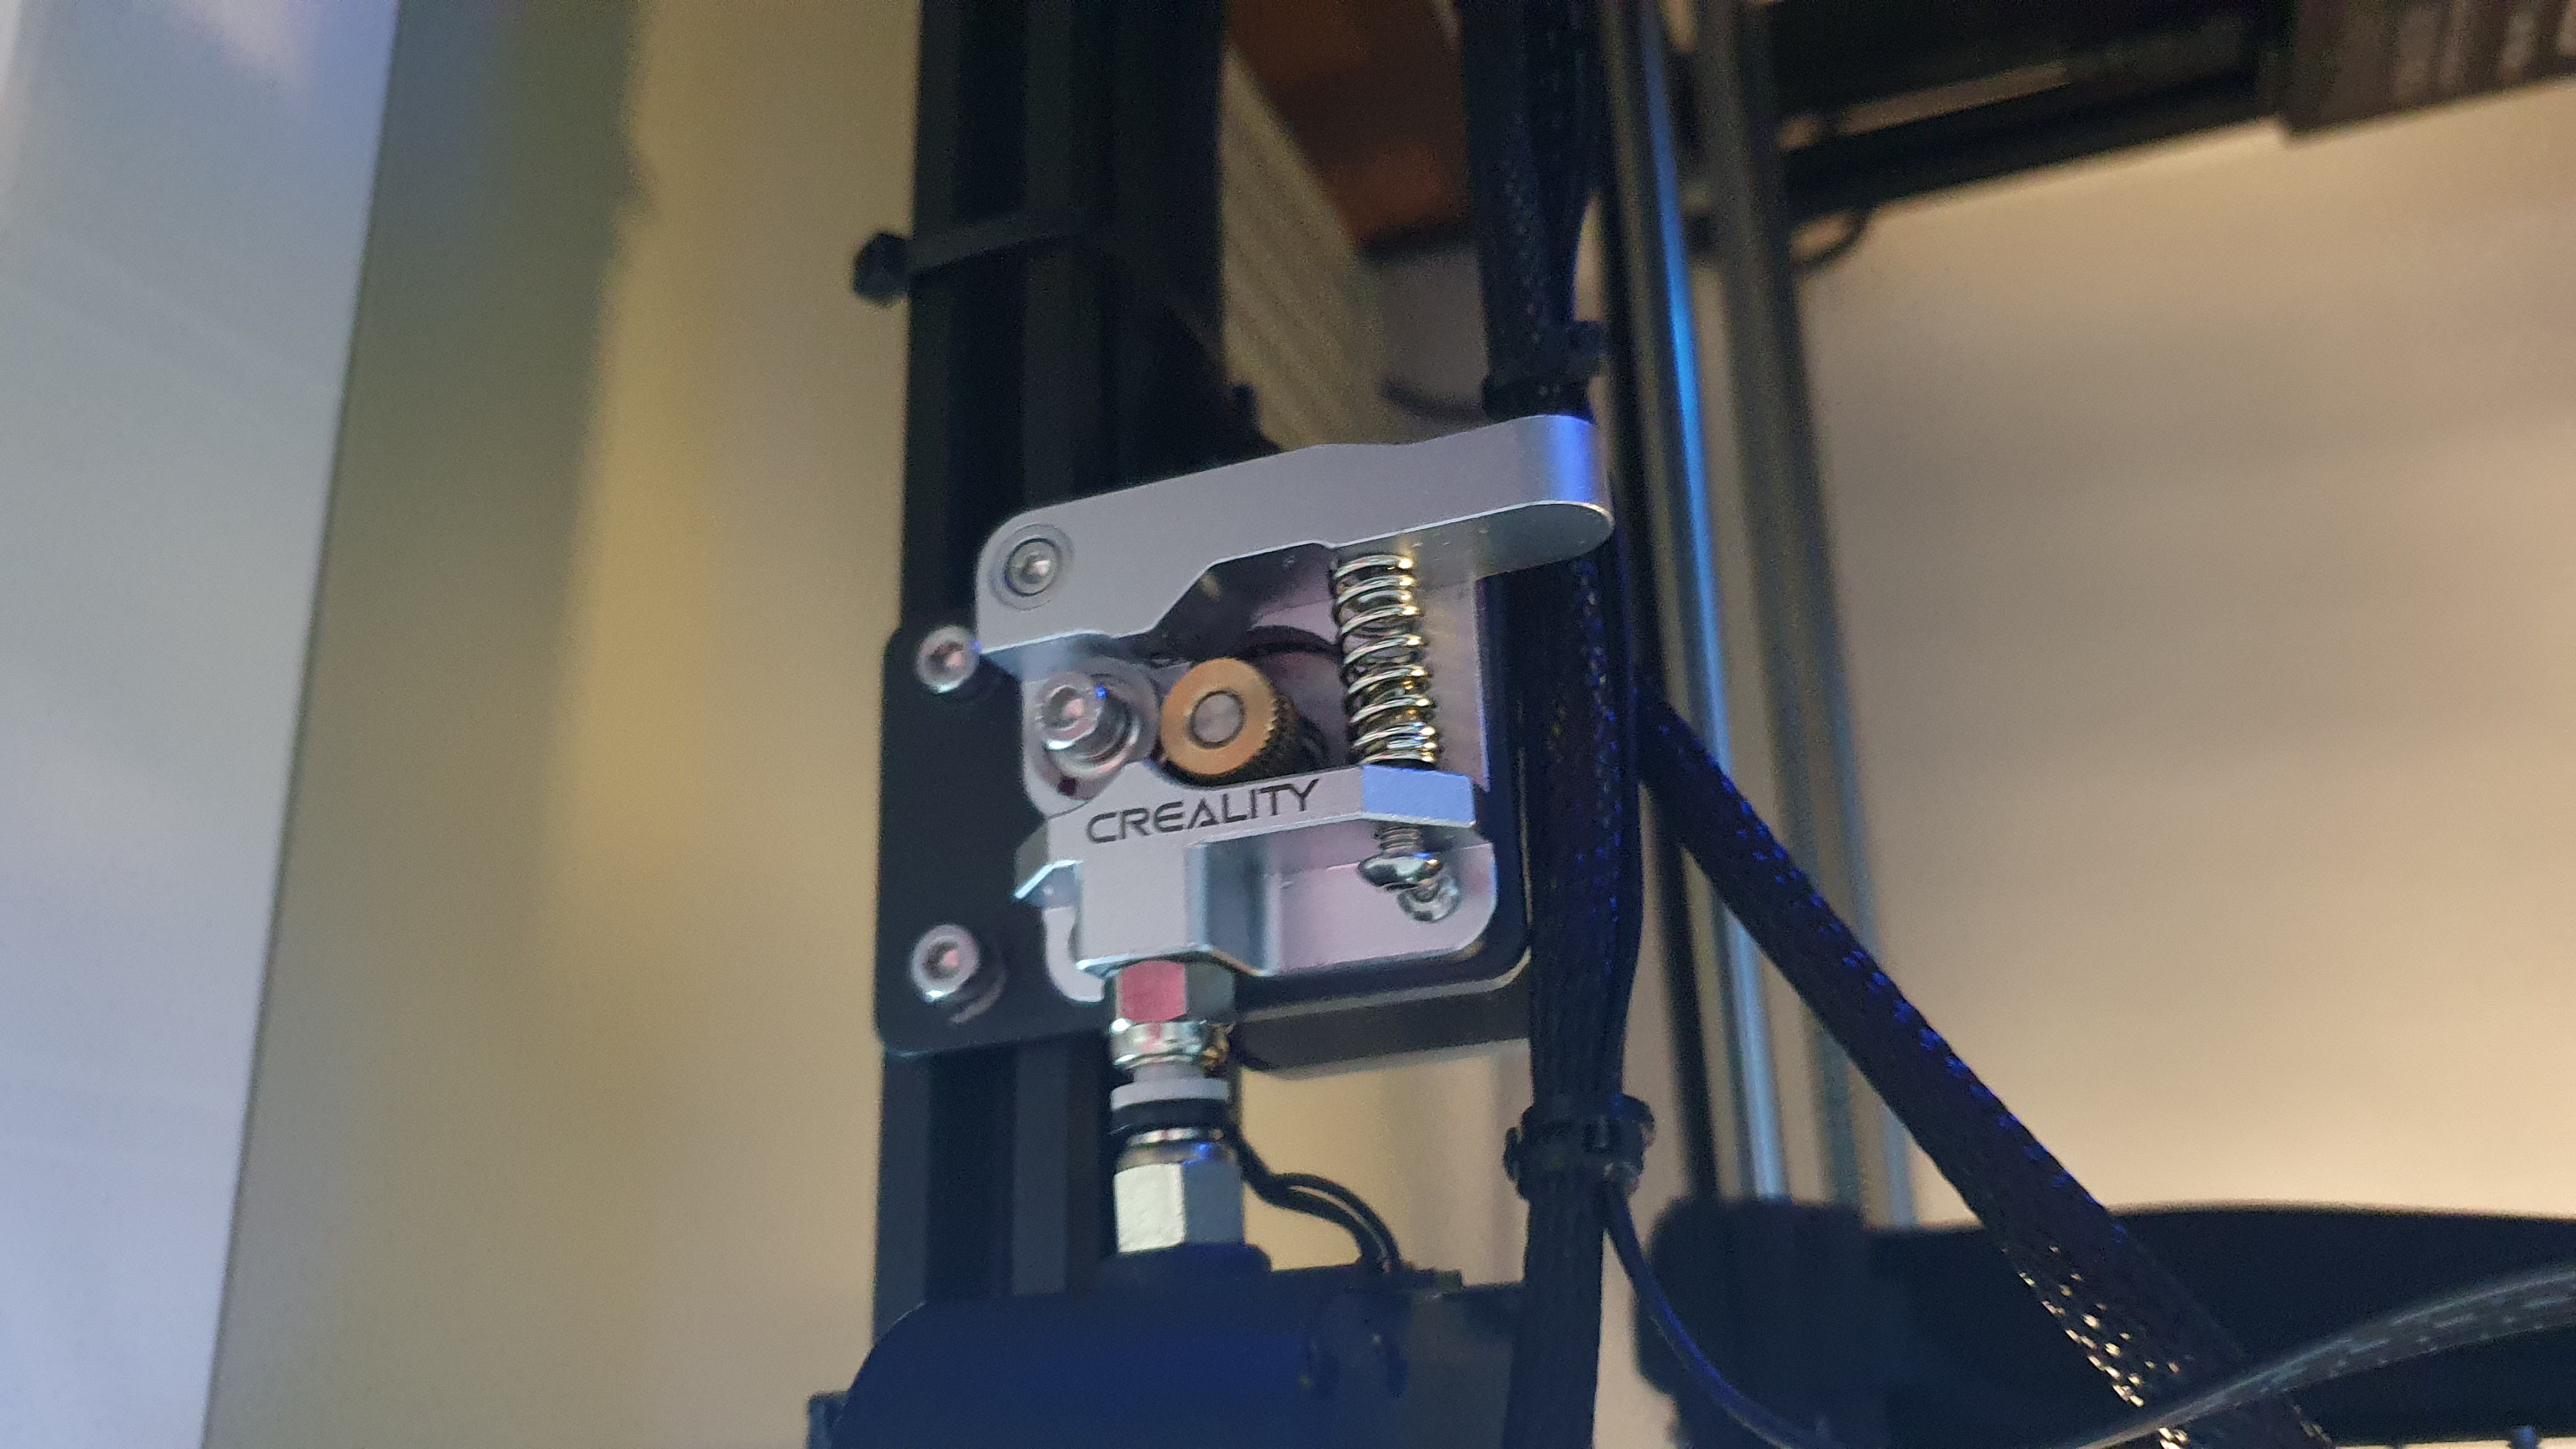
Instead buying tube and fittings, I would suggest to buy metal extruder drive feed kit. Because plastic extruder started to break after 3 months of use. So this kit has both fittings and all extruder parts you will need.
Ebay: https://www.ebay.com/itm/133490391483?ssPageName=STRK%3AMEBIDX%3AIT&_trksid=p2060353.m2749.l2649

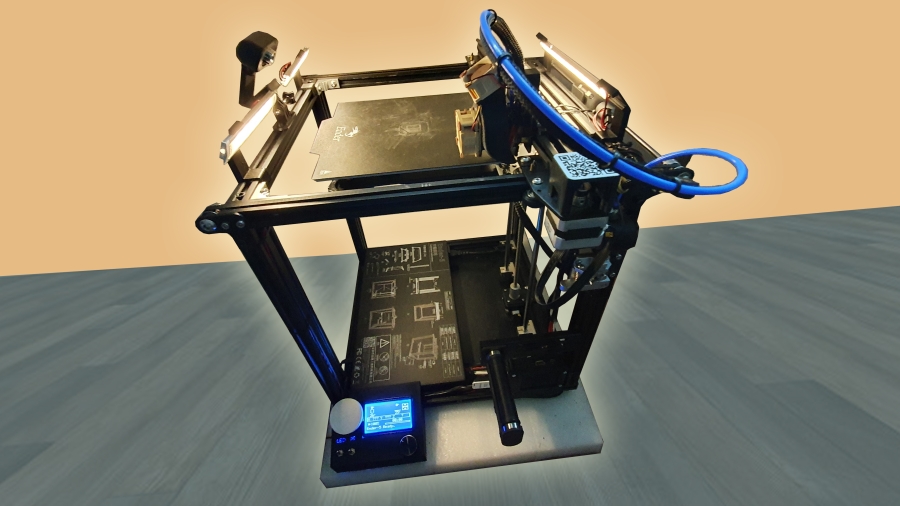
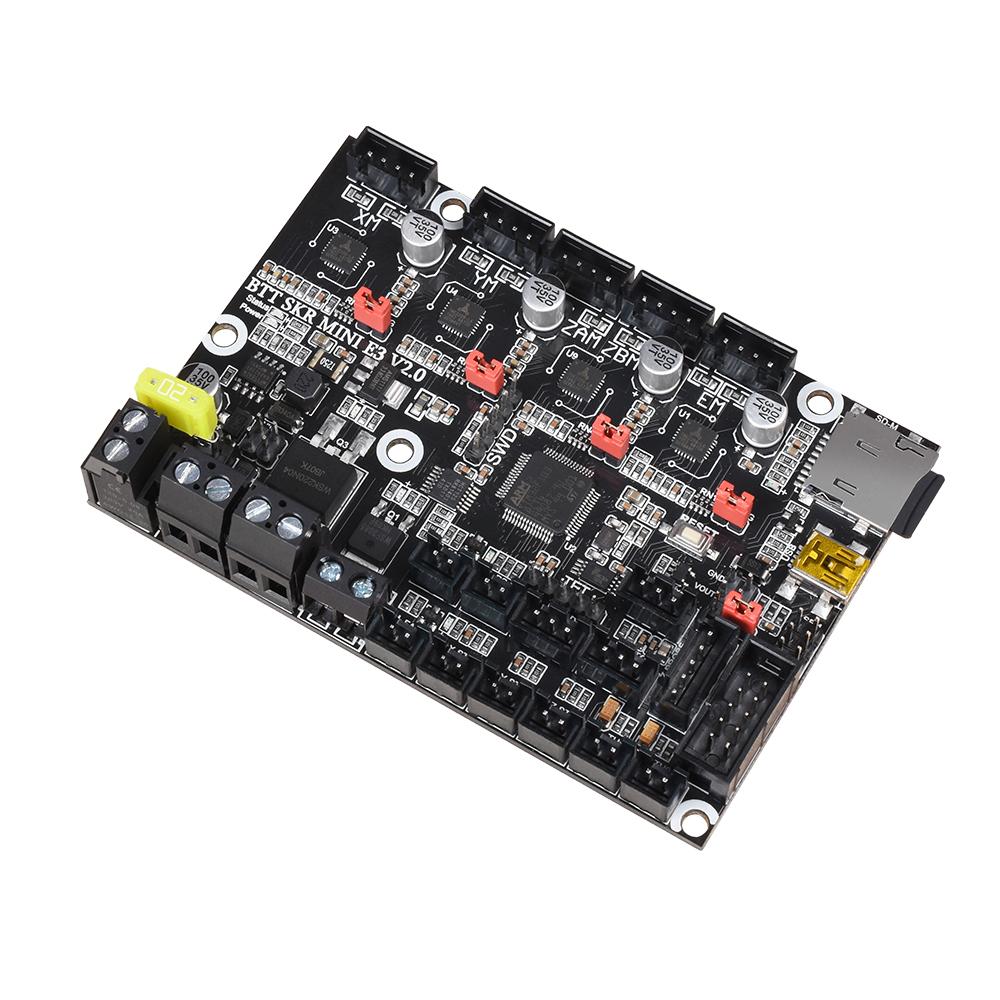
After using some time printer I started to google how to make printer more silence and found out that changing motherboard to 32bit one can help a lot. I want to say right away that it's worth it.

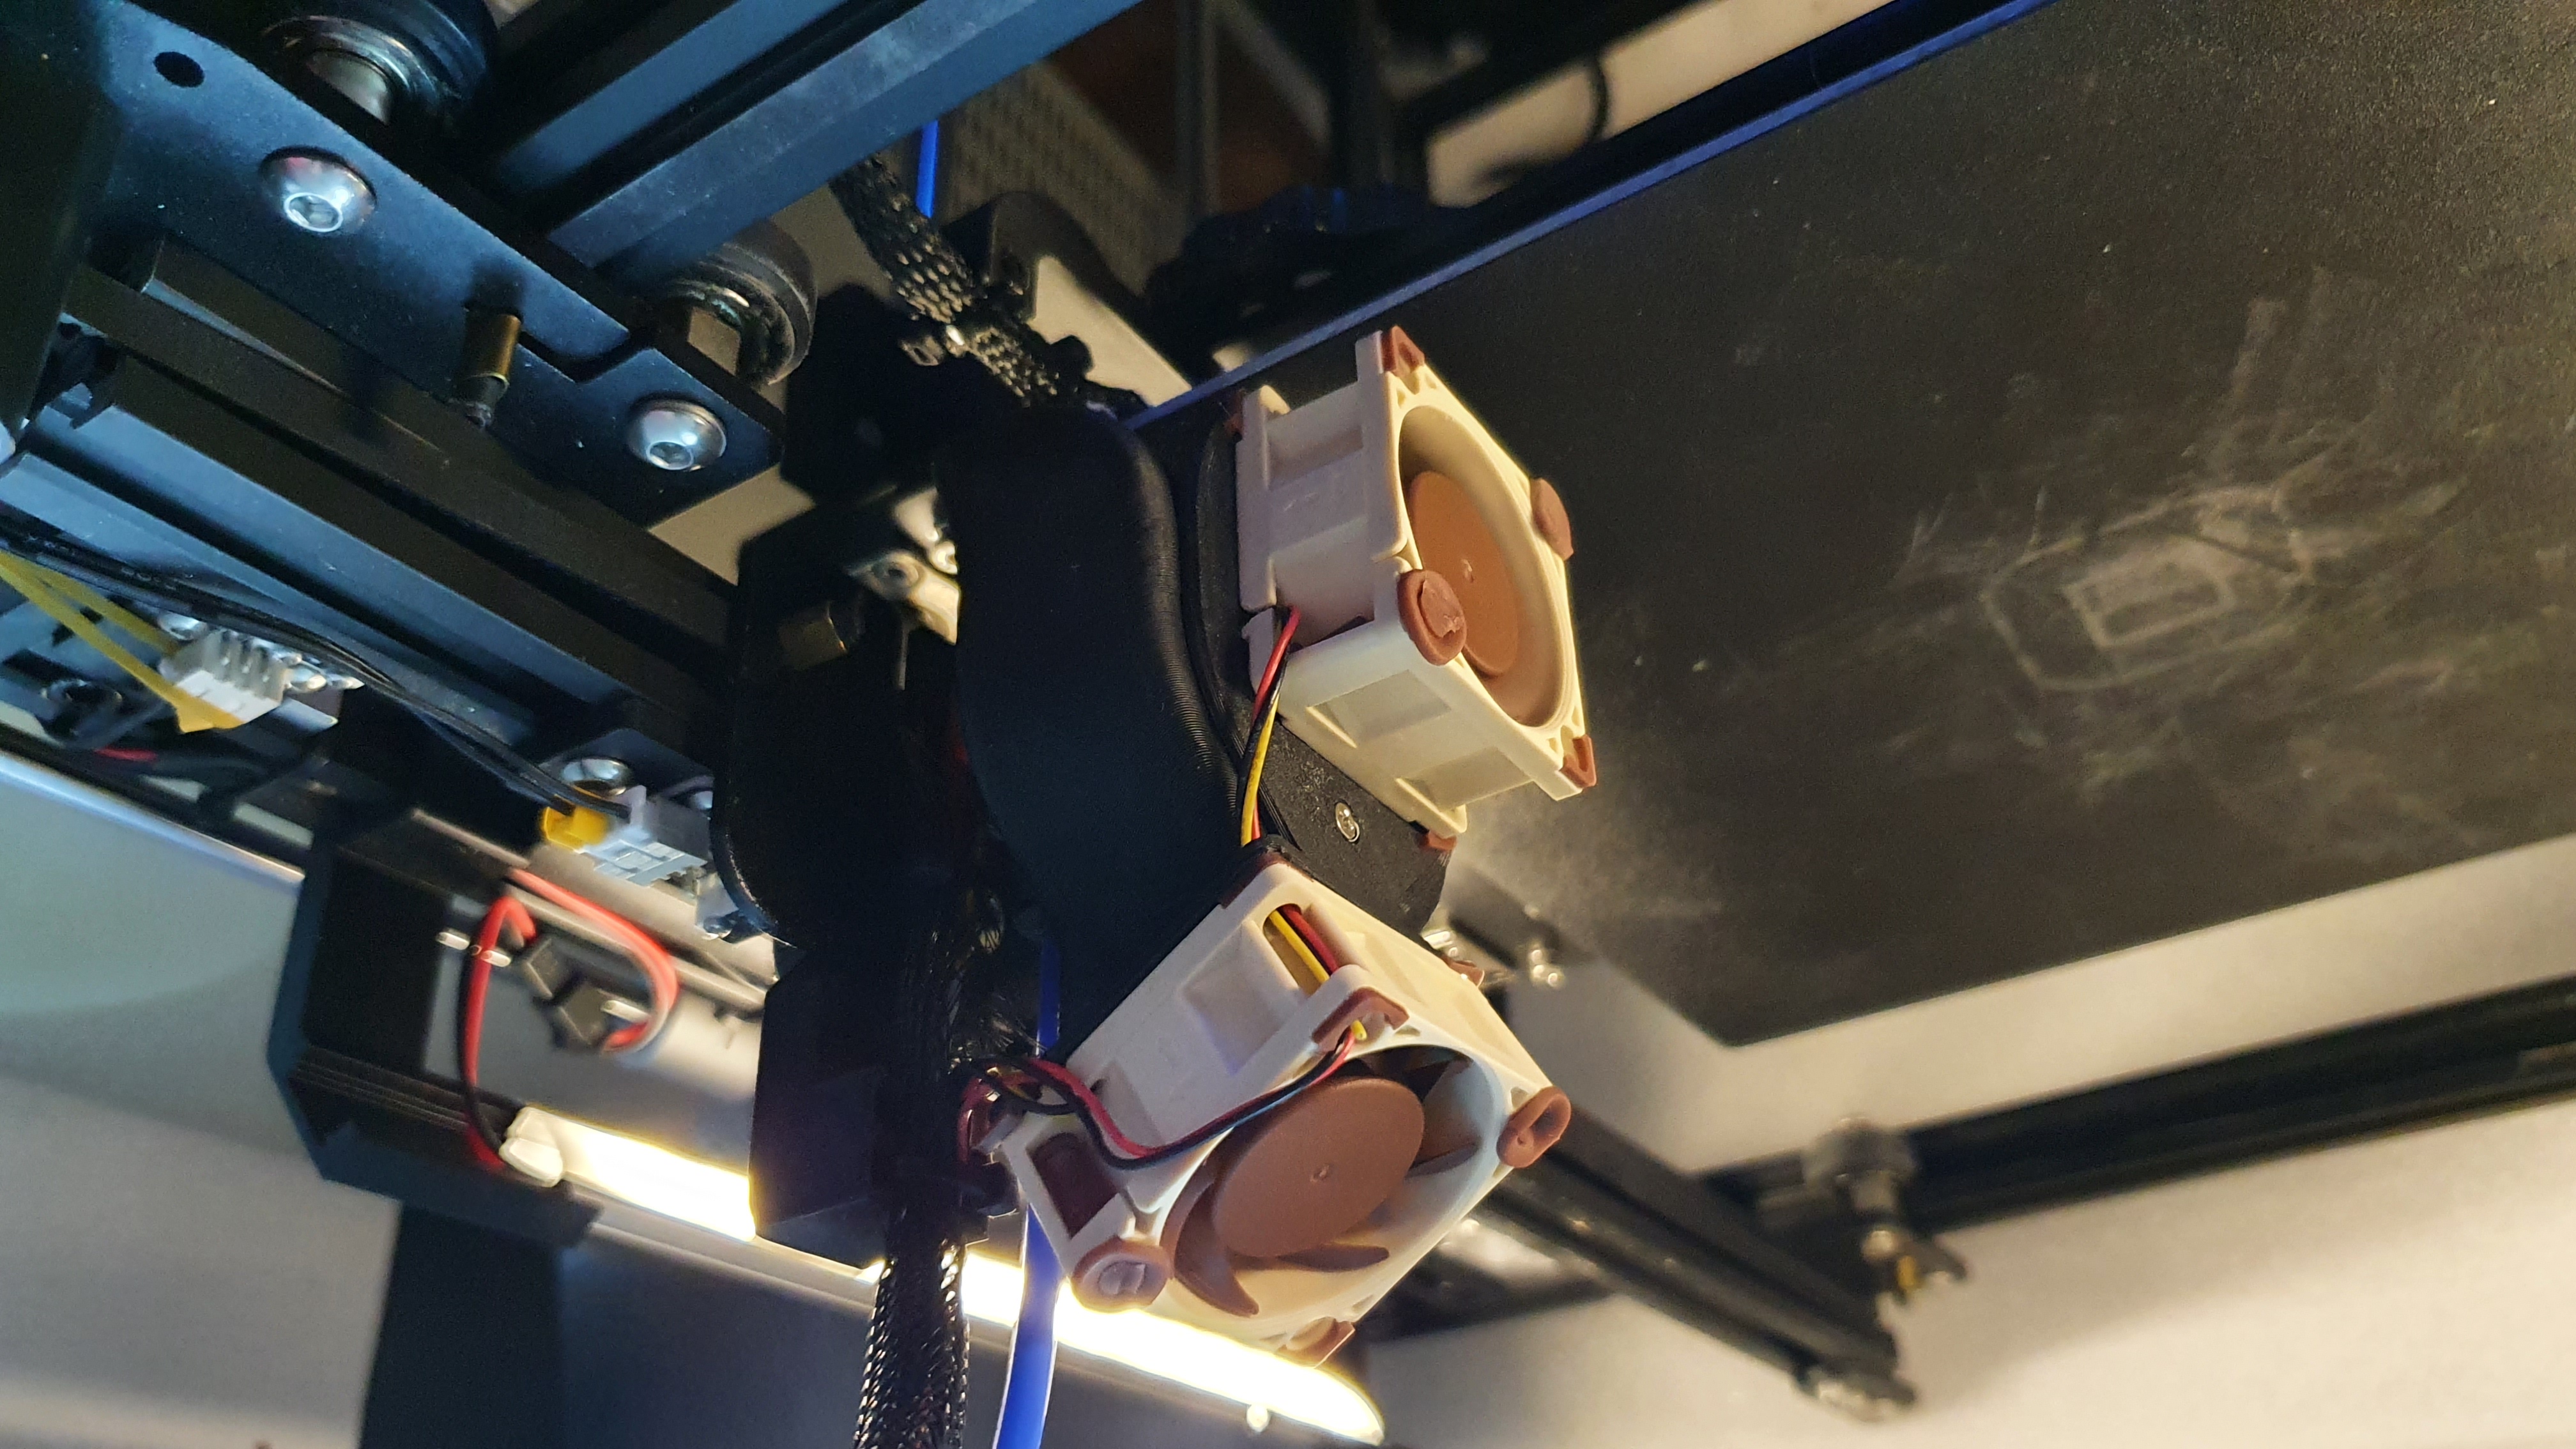
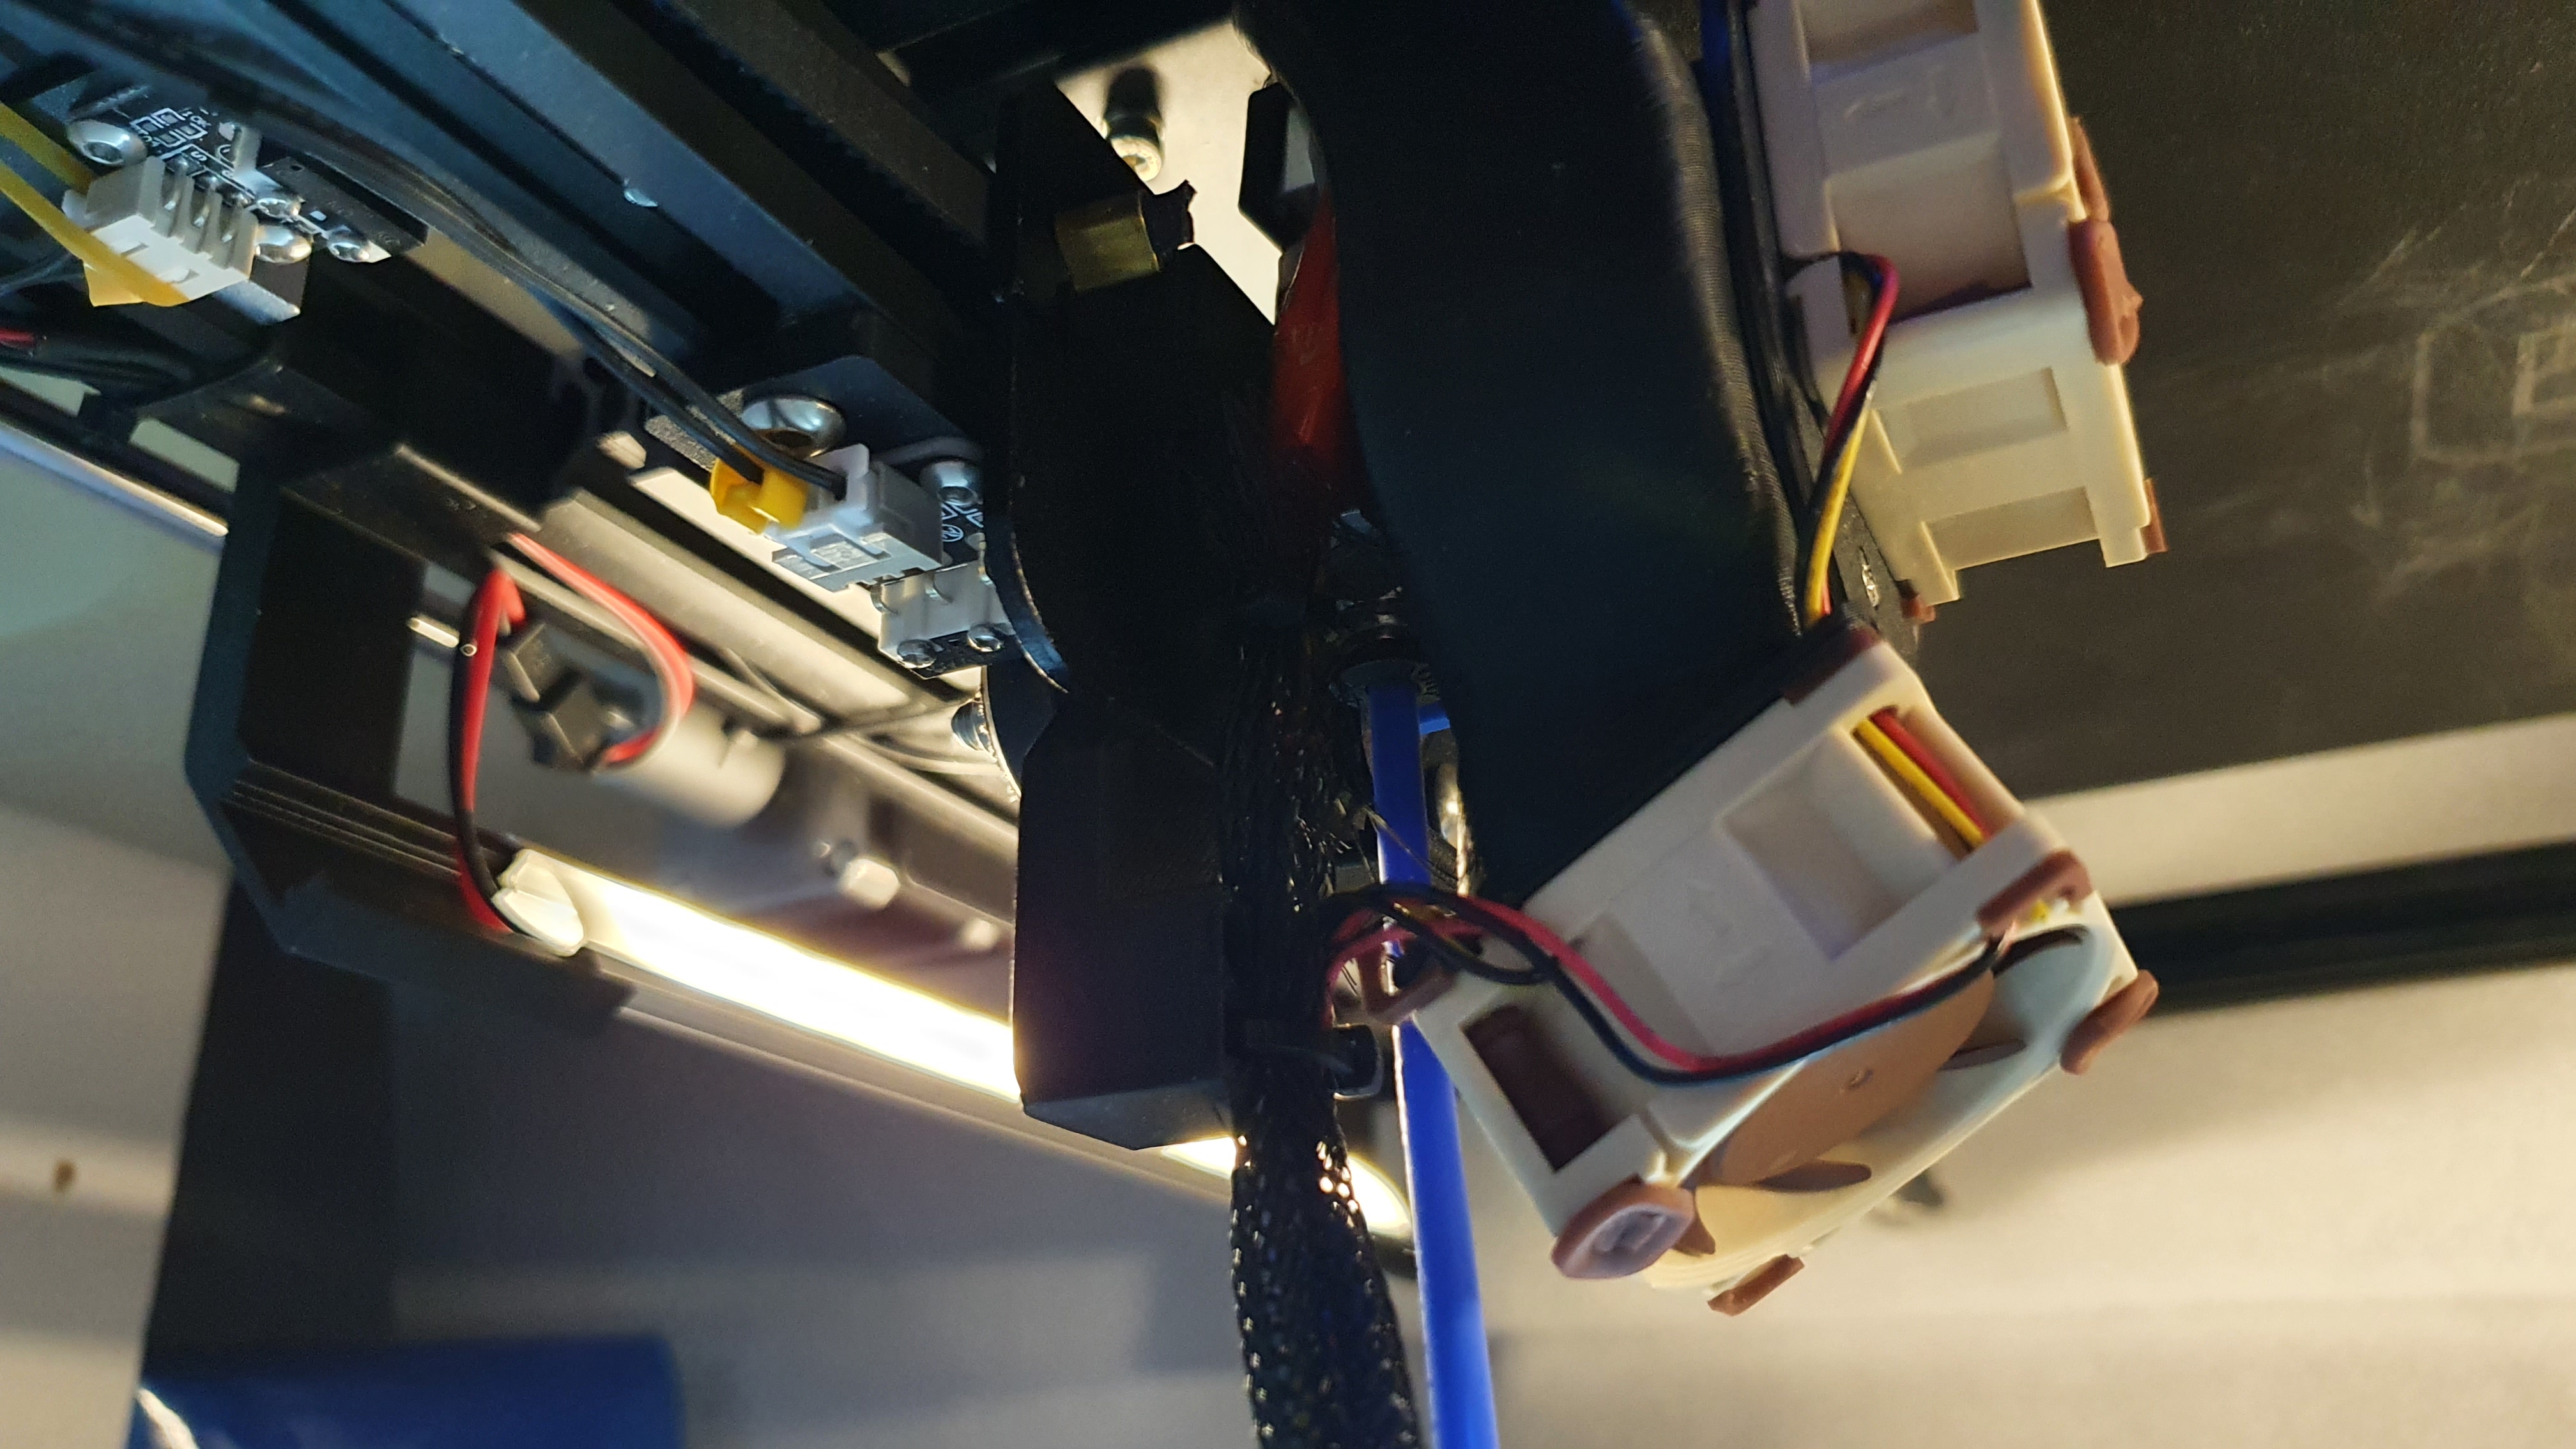
Next step what to make more silence printer, so I needed to upgrade factory fans to Noctua ones. But since Noctua fans needs 12v instead of 24v as standard fan is used. You will need buck converter.
To make these upgrades you will need also soldering iron.
Ebay: https://www.ebay.com/itm/392632505684?ssPageName=STRK%3AMEBIDX%3AIT&_trksid=p2060353.m2749.l2649
Case for buck converter: https://www.thingiverse.com/thing:1625233
Silent fang Noctua V2: https://www.thingiverse.com/thing:4223929
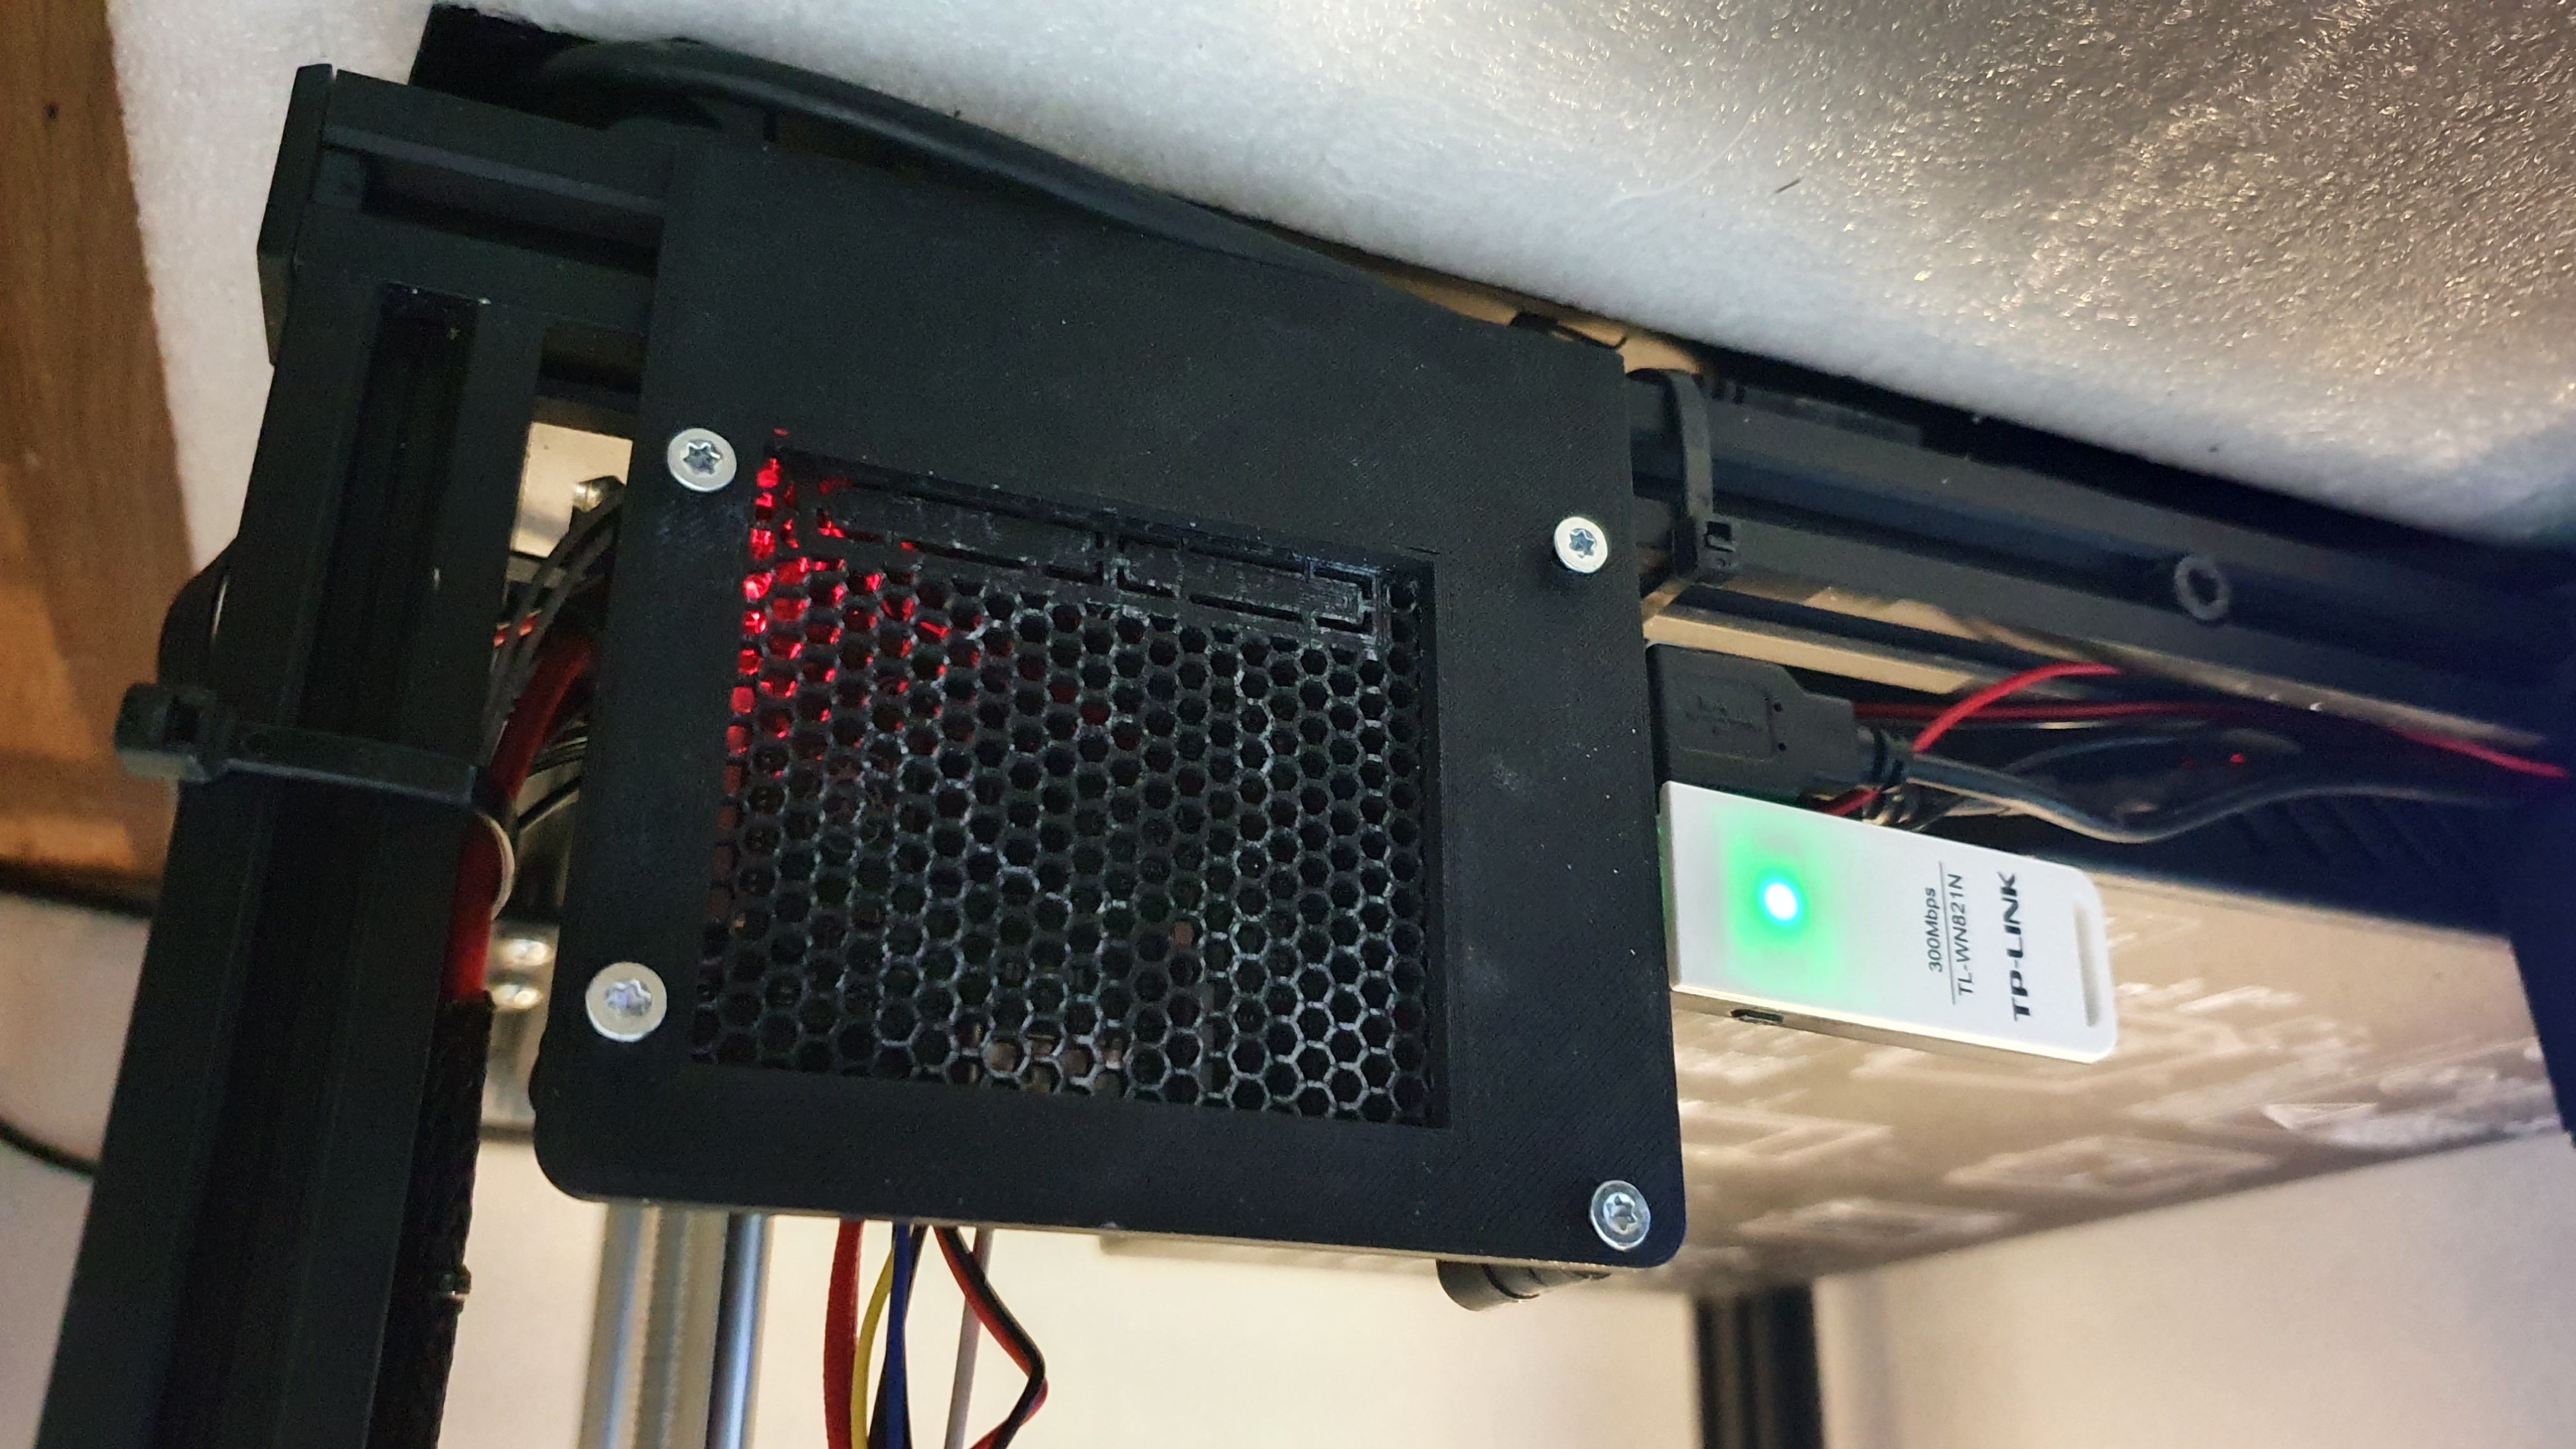
To have the possibility to print remotely and much more, I have install Raspberry pi. Since raspberry pi needs 5v, I have added one more buck converter.
Case for buck converter: https://www.thingiverse.com/thing:1625233
Case for raspberry pi 2 or 3: https://www.thingiverse.com/thing:3361218
Case for raspberry pi 4: https://www.thingiverse.com/thing:3793664
And to mount it to the printer frame I created extra plate:

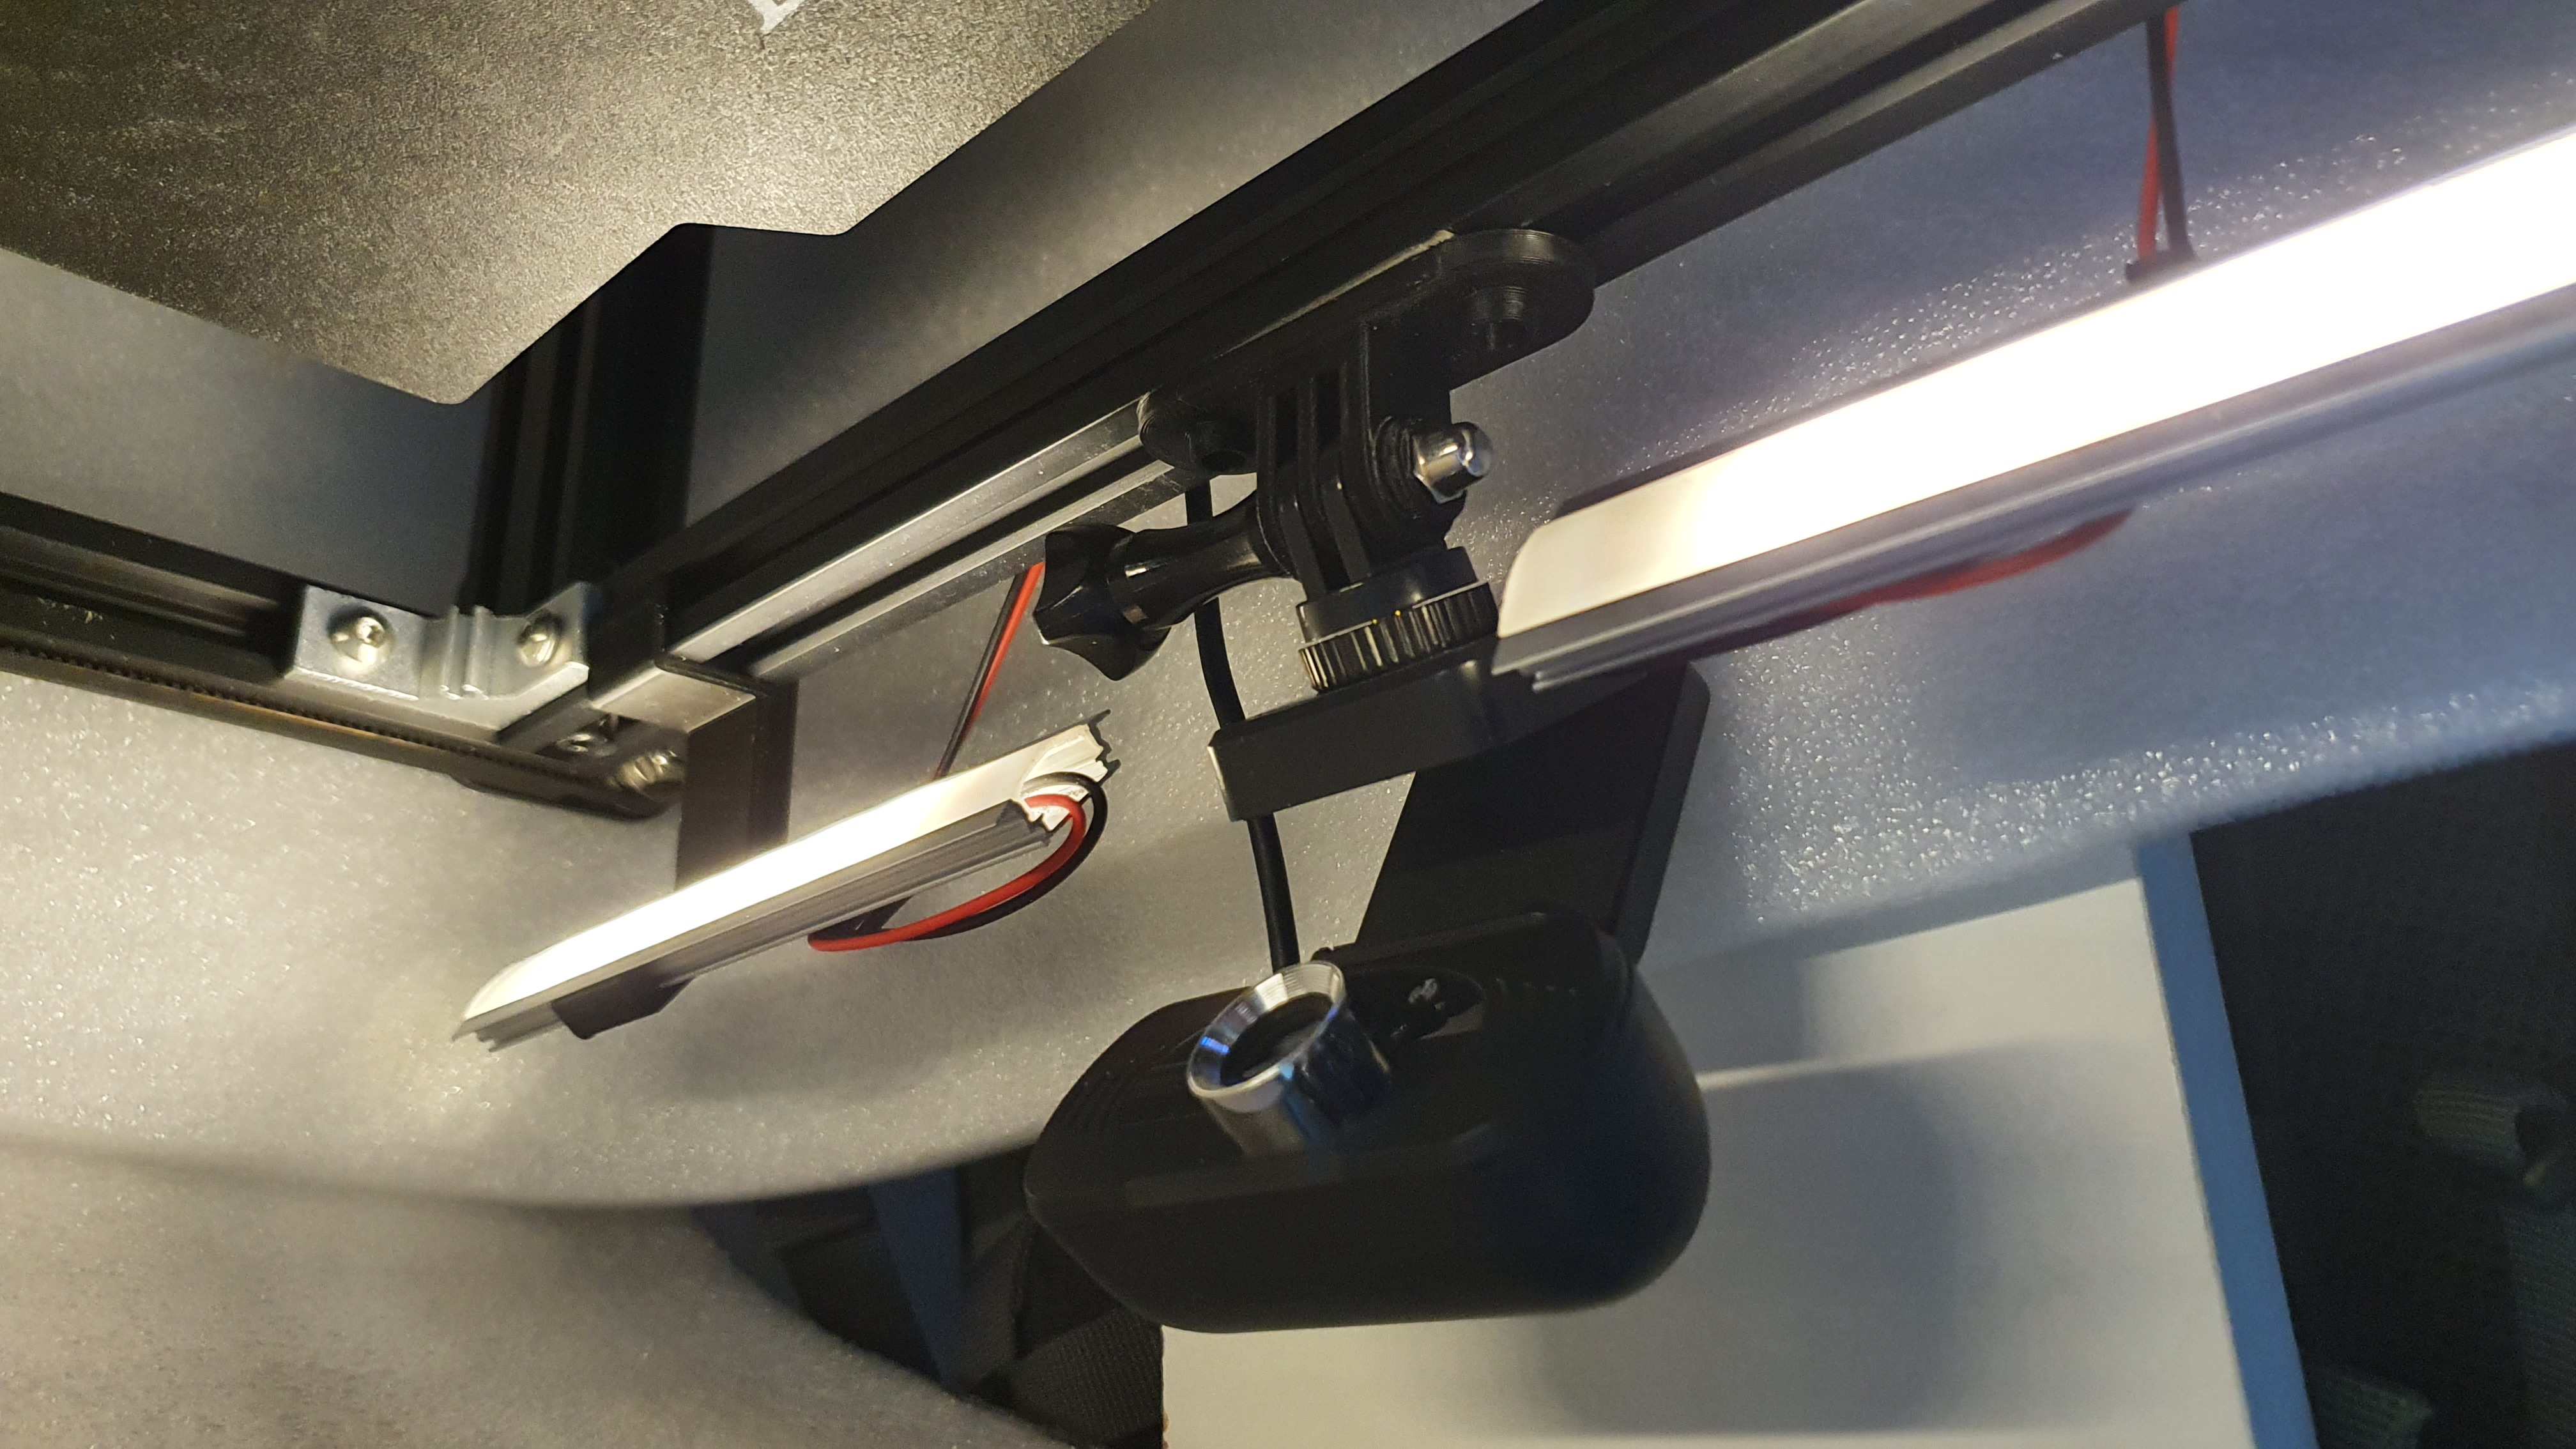
I wanted to have an option to see how it is going while printing. To mount webcam I have printed gopro mounting.
Xiaomi IMILAB 1080P: bought in local shop for 27.26 USD (not the best quality webcam if you are planning to create time-lapse)
Screw mount adapter: https://www.ebay.com/itm/403341195076?hash=item5de9023744:g:vicAAOSwlcBhrzTB (most probably can also be printed, I had one)
GoPro mount: https://www.thingiverse.com/thing:3936314
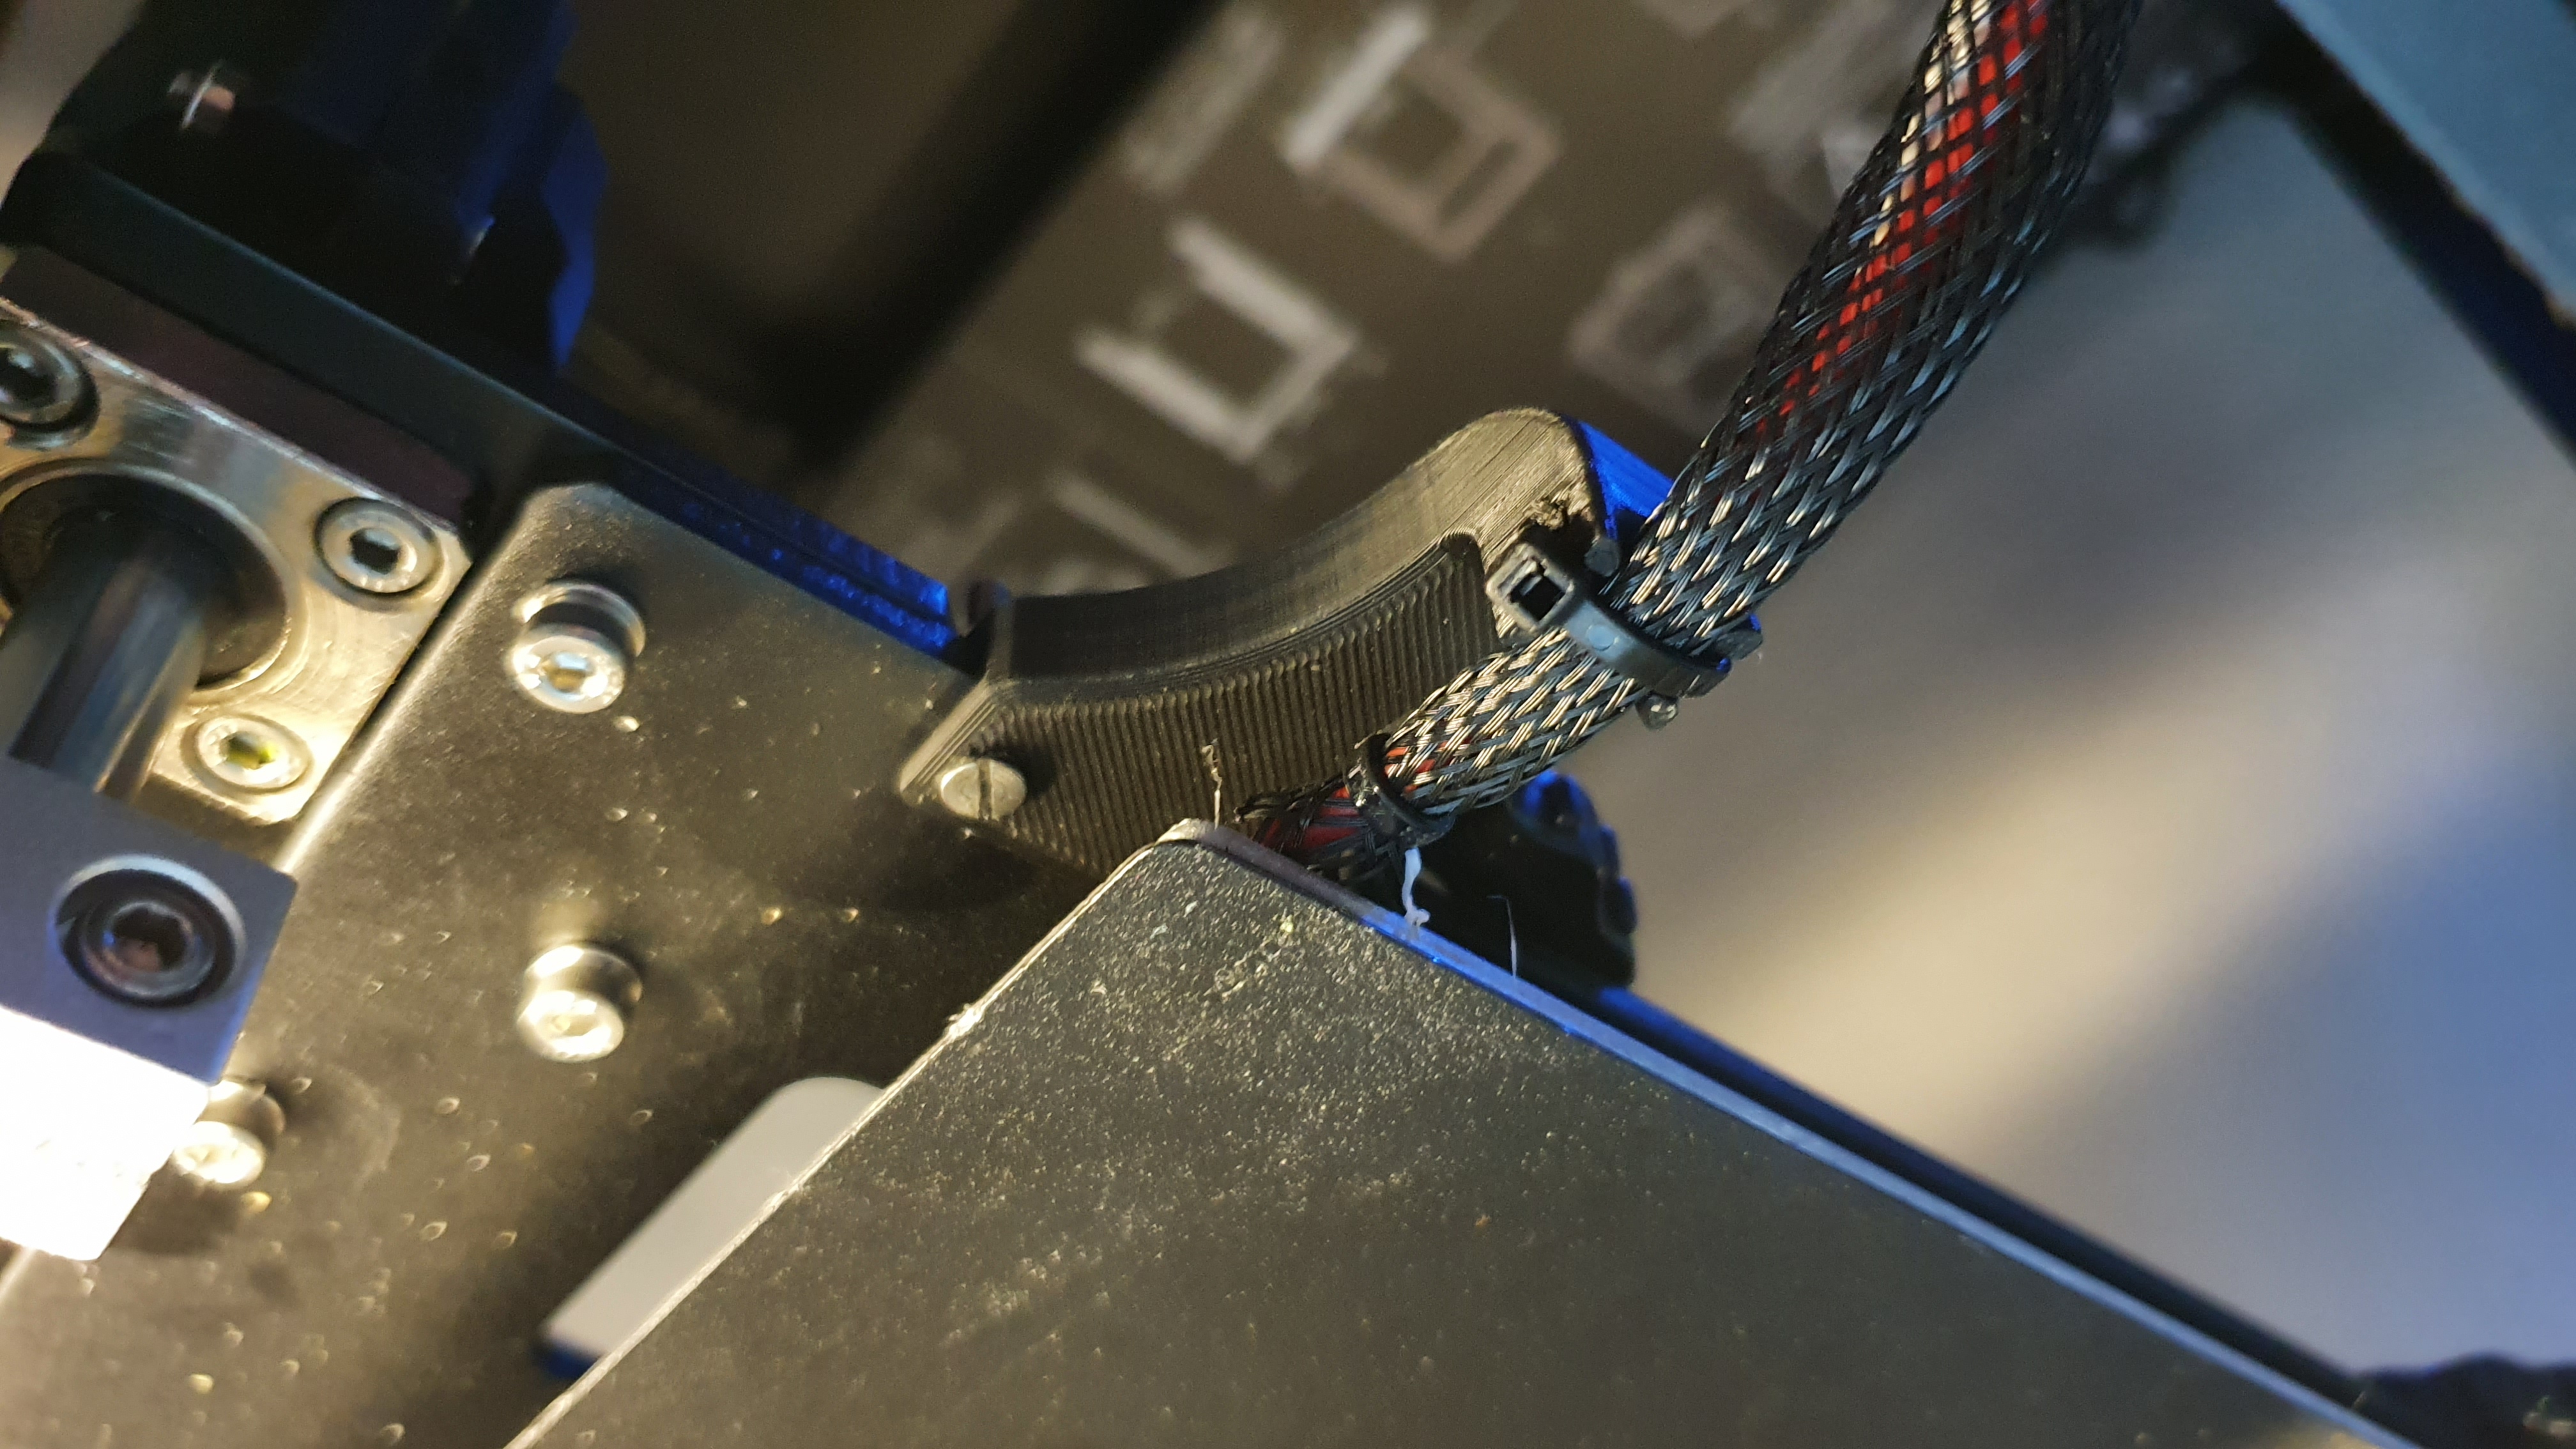
To safe cables from bending.
Hotend Strain Relief: https://www.thingiverse.com/thing:4740312
Bed Strain Relief: https://www.thingiverse.com/thing:3443100
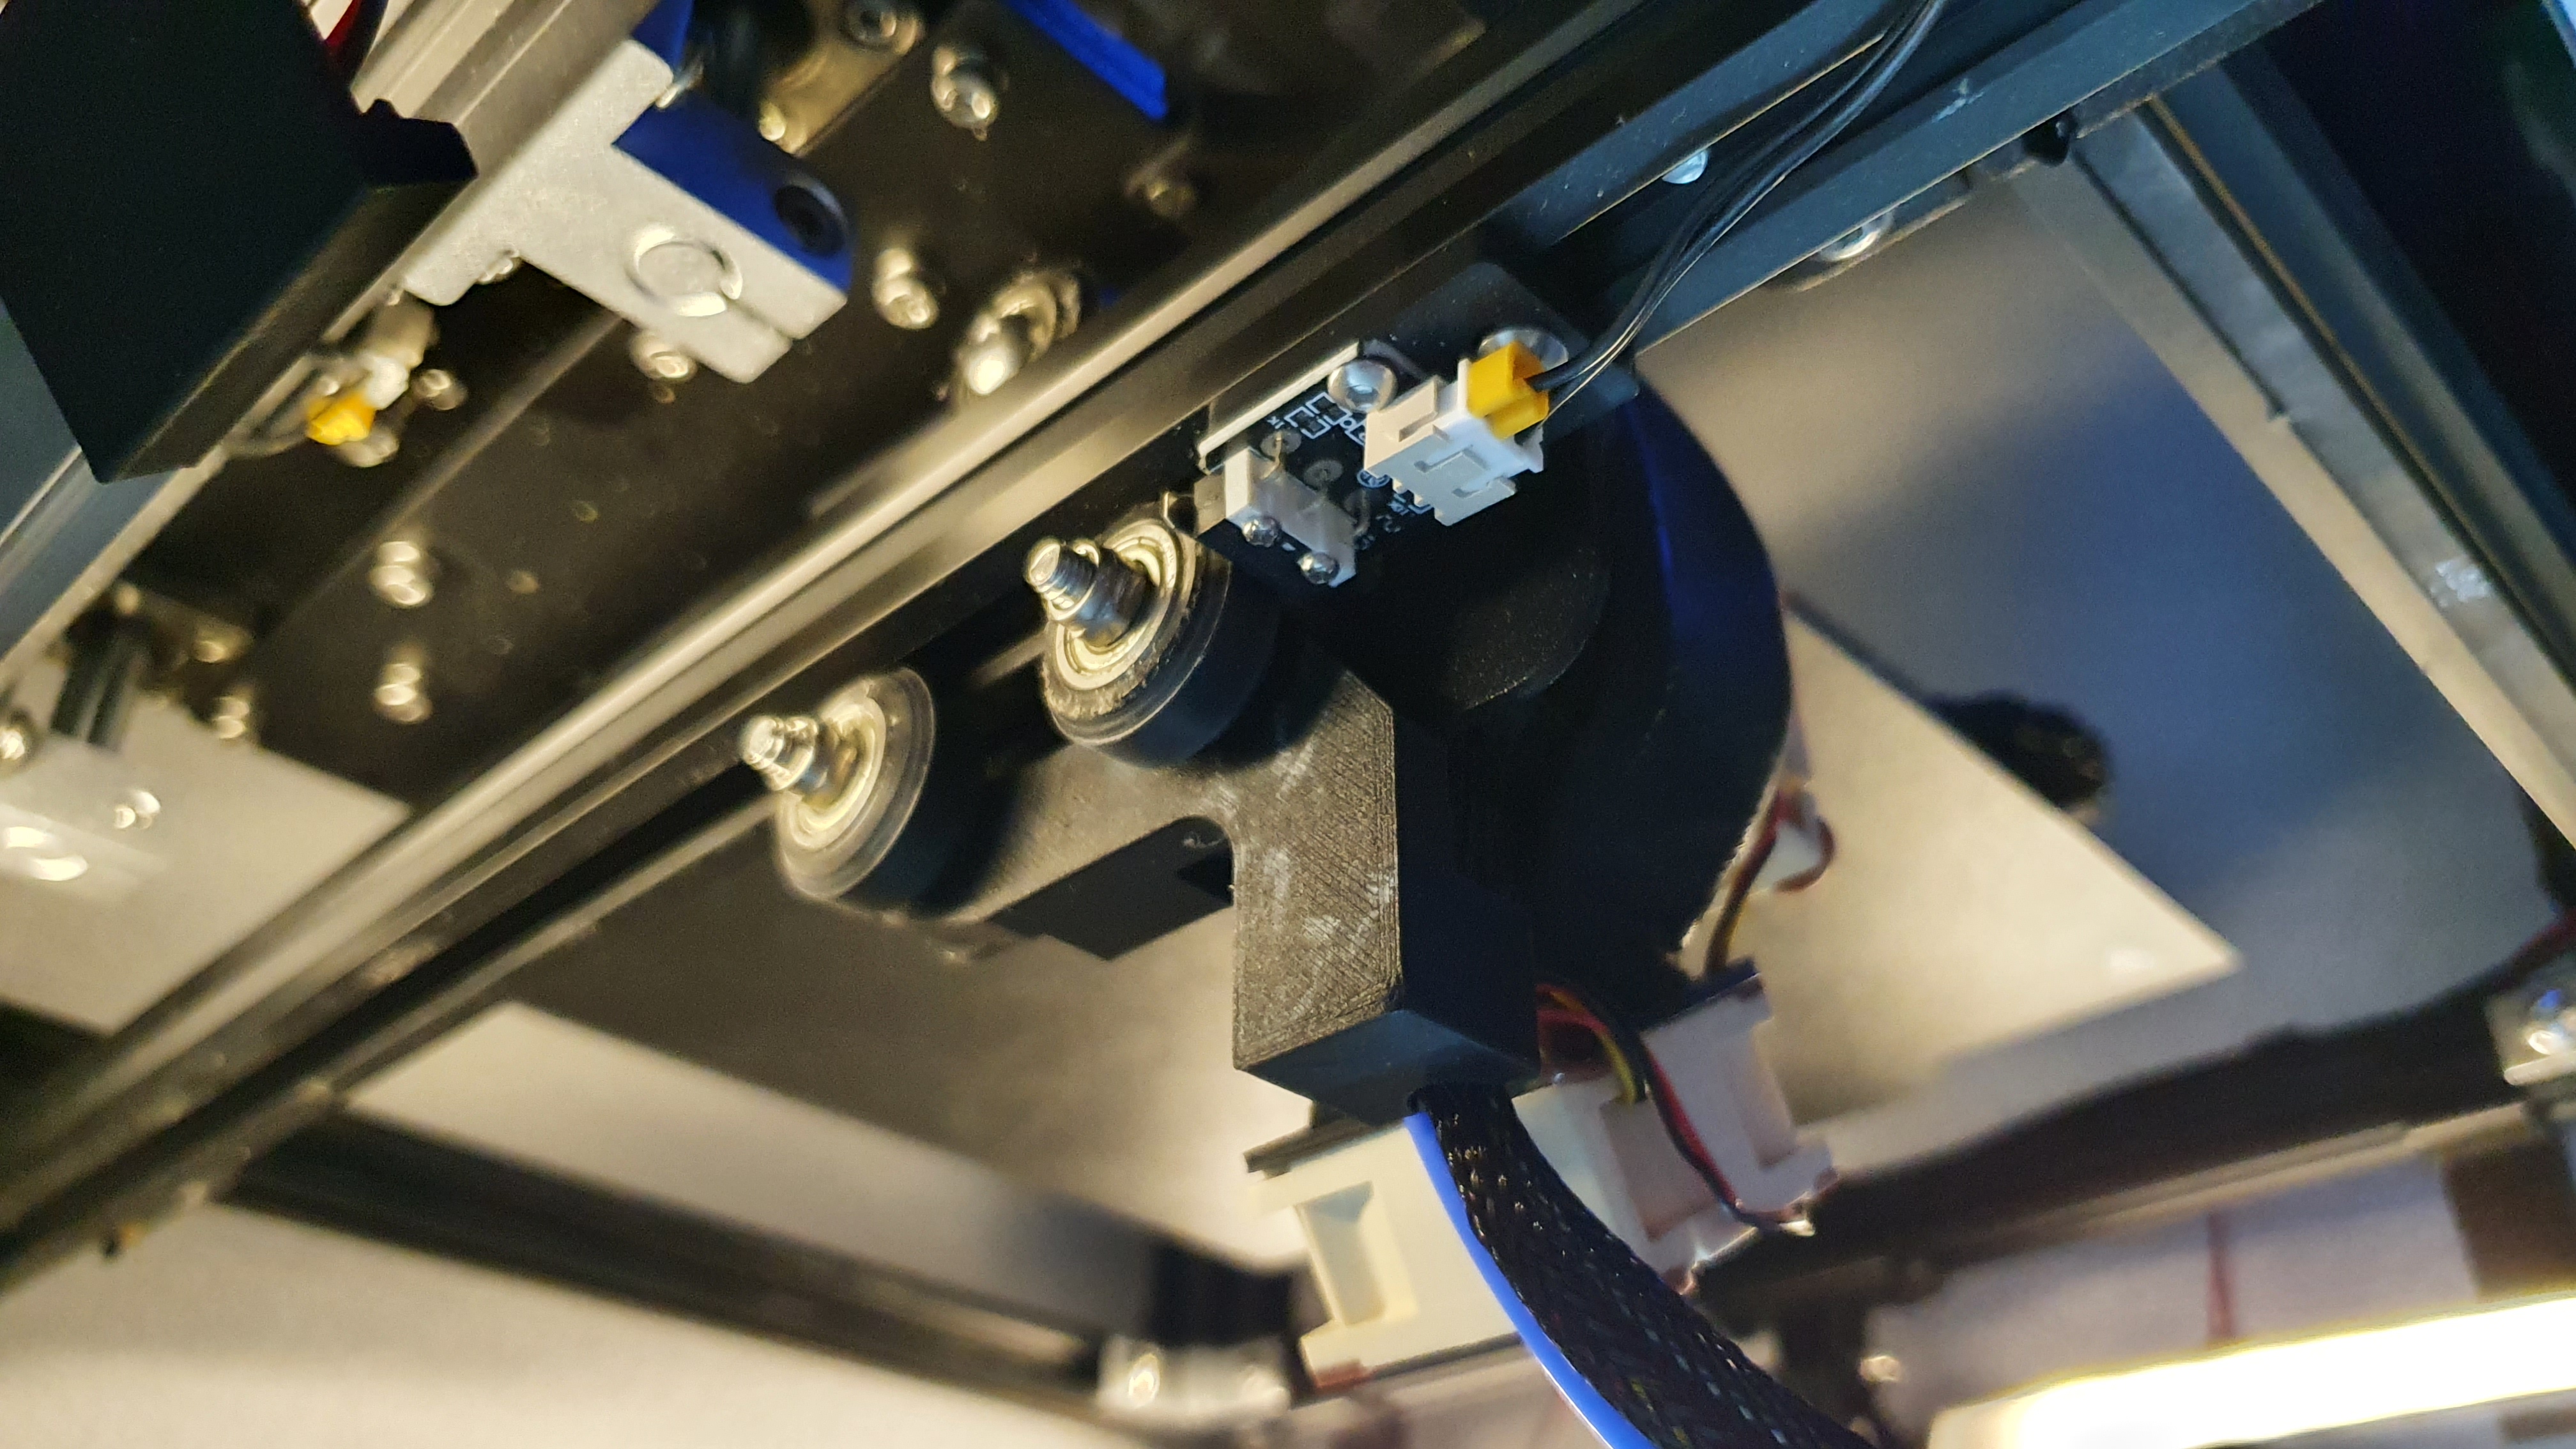
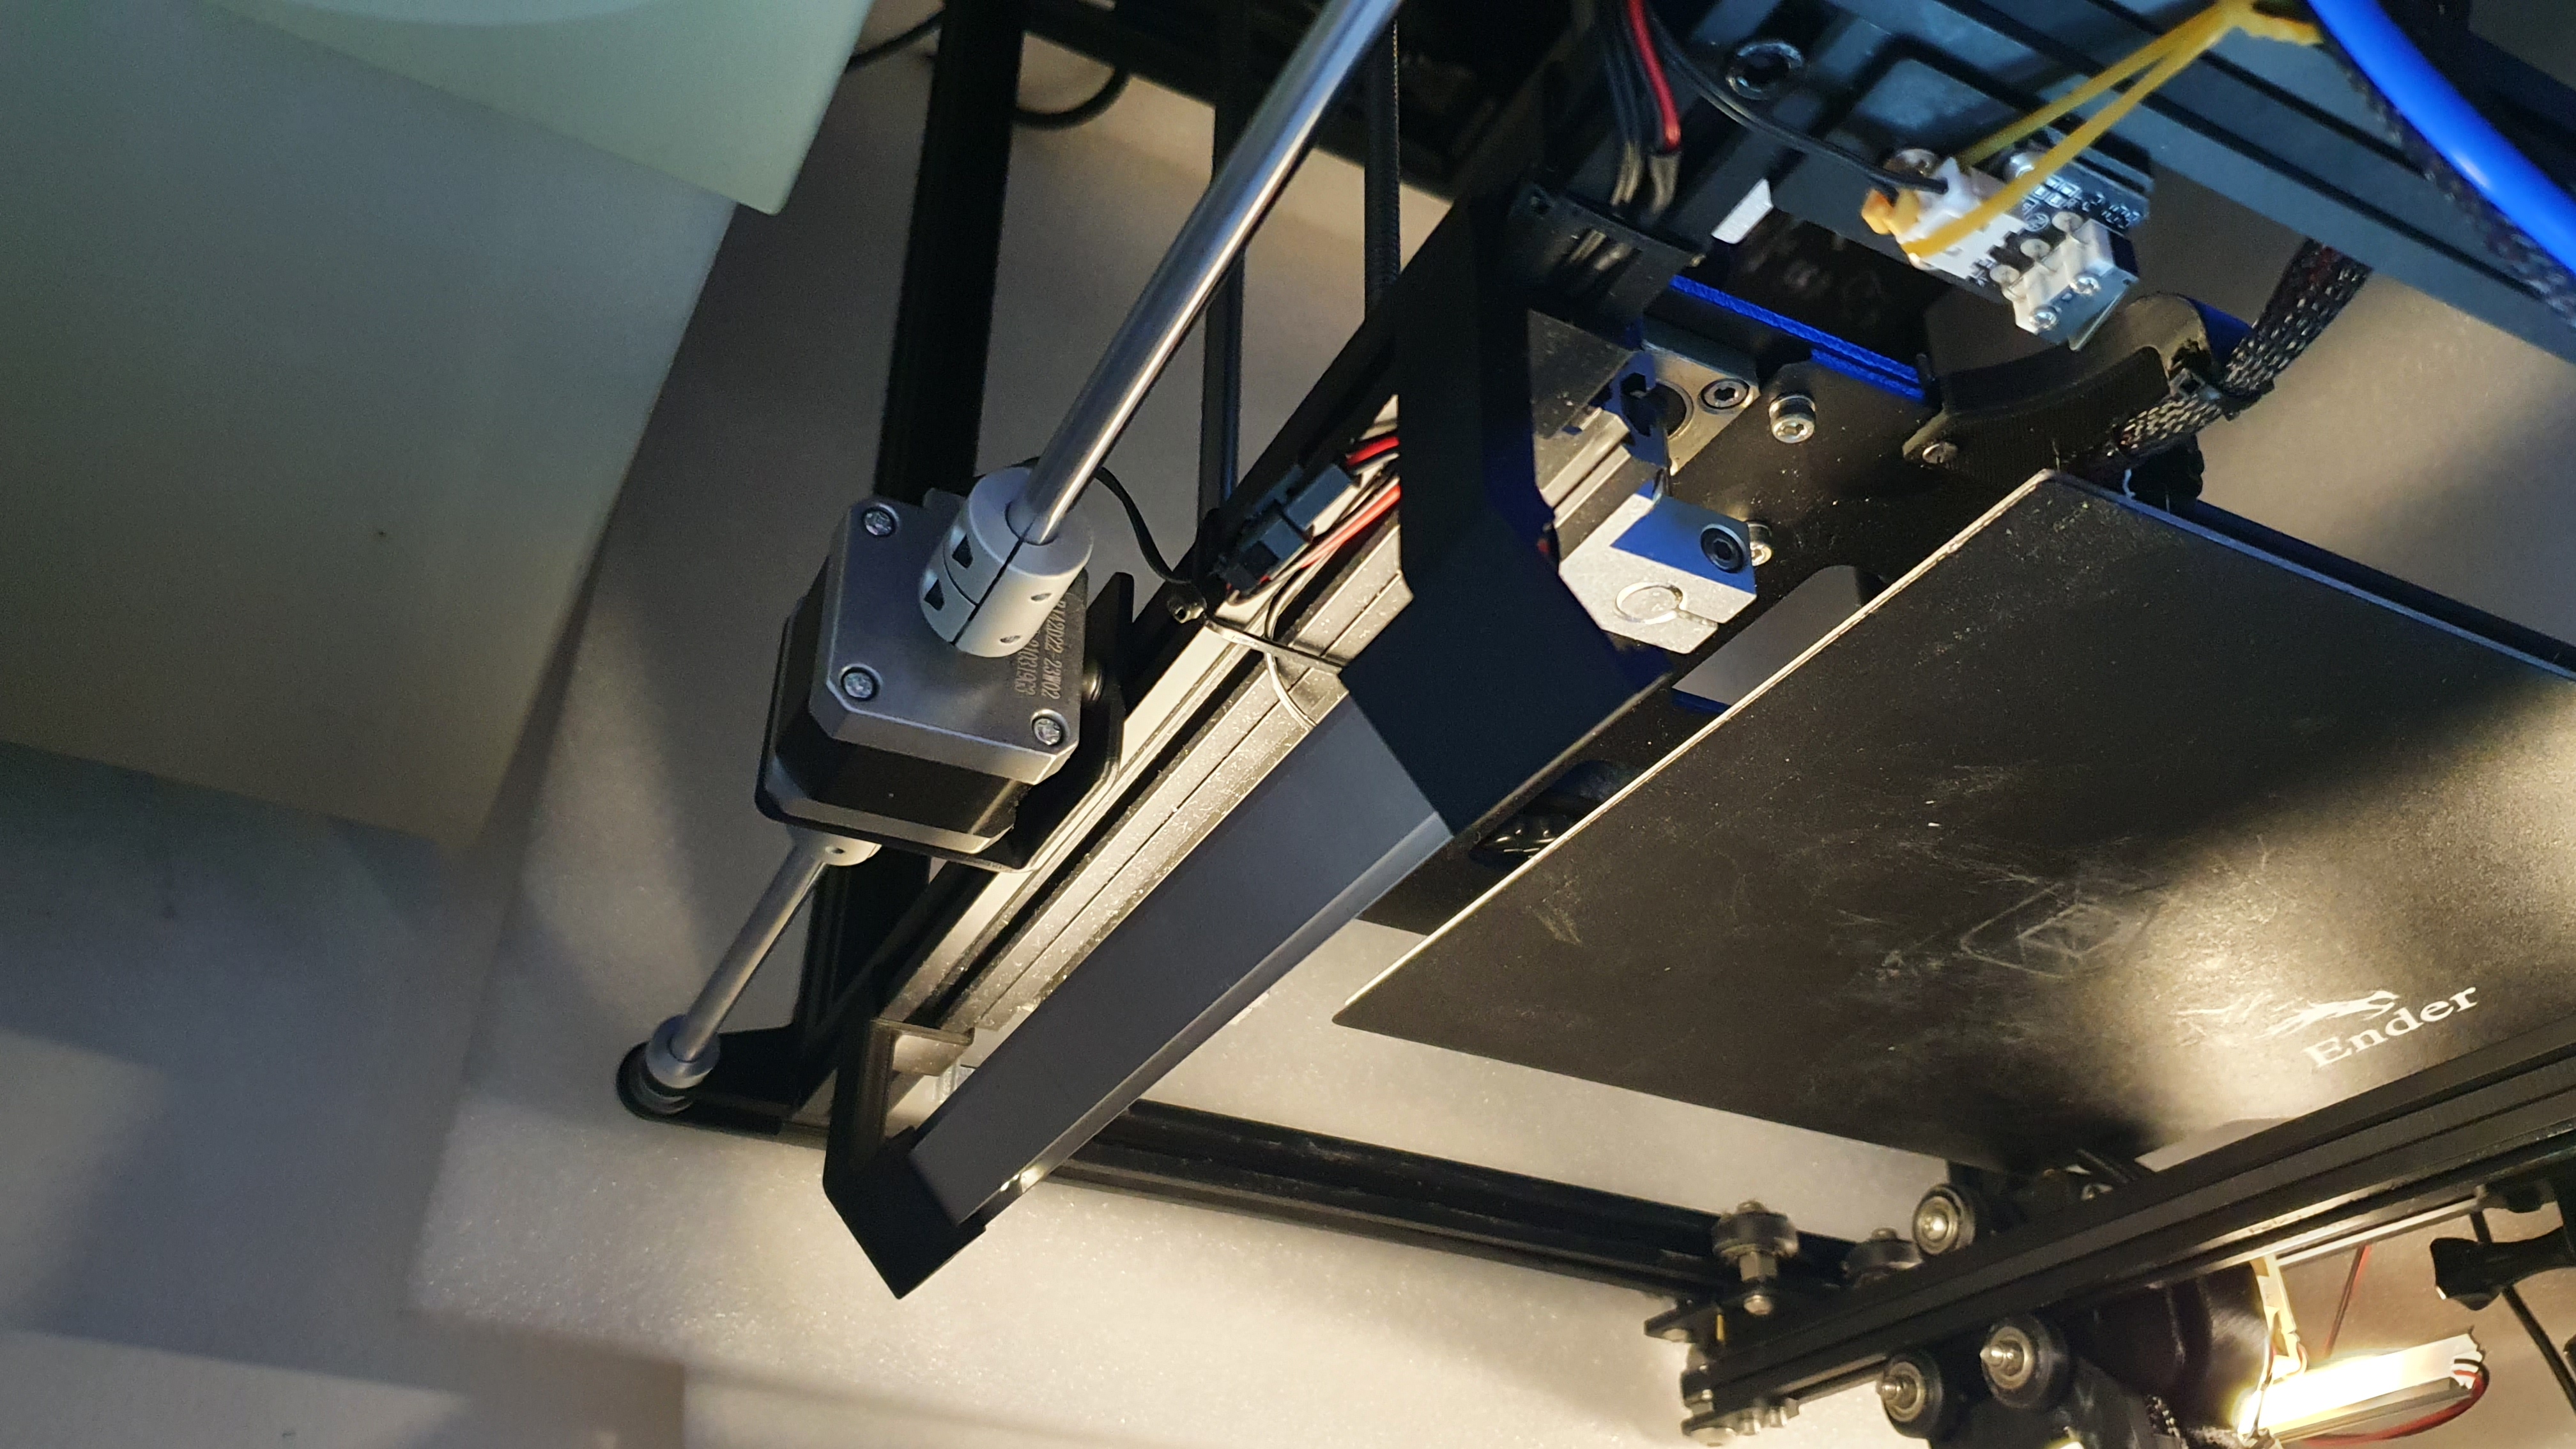
To add some bed supports, I have added this bed support
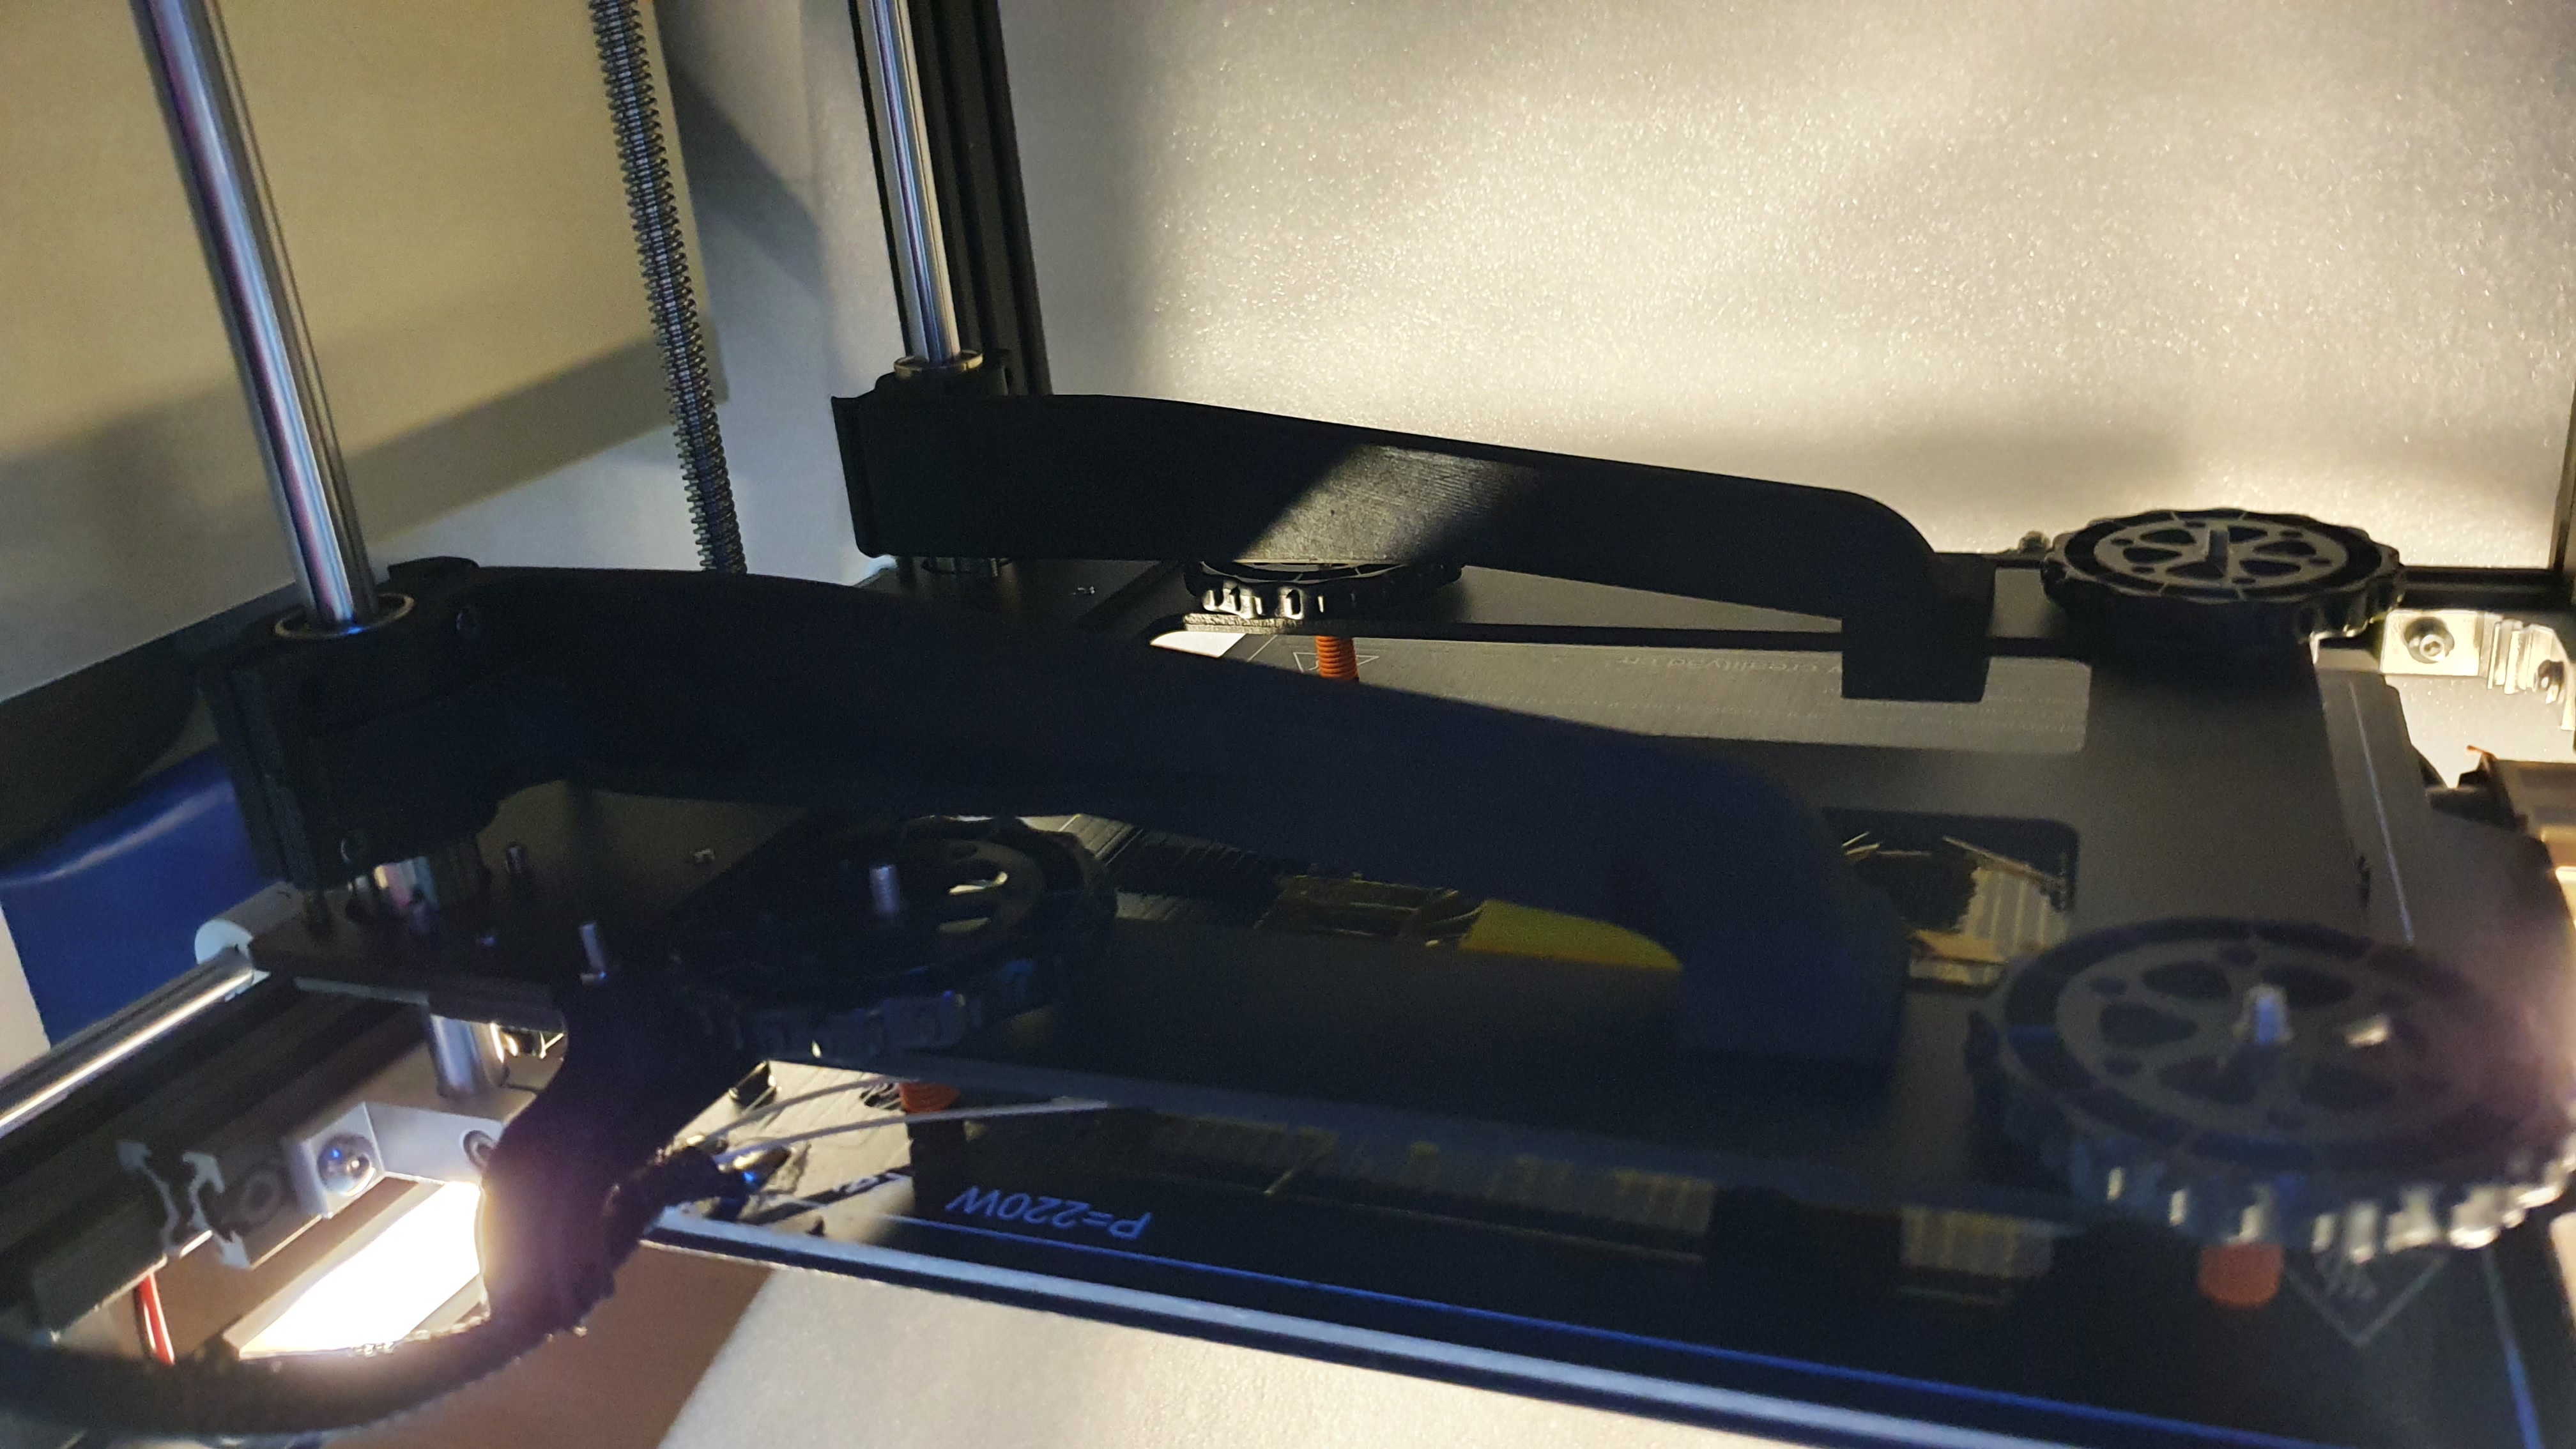
You will need two 608ZZ bearings.

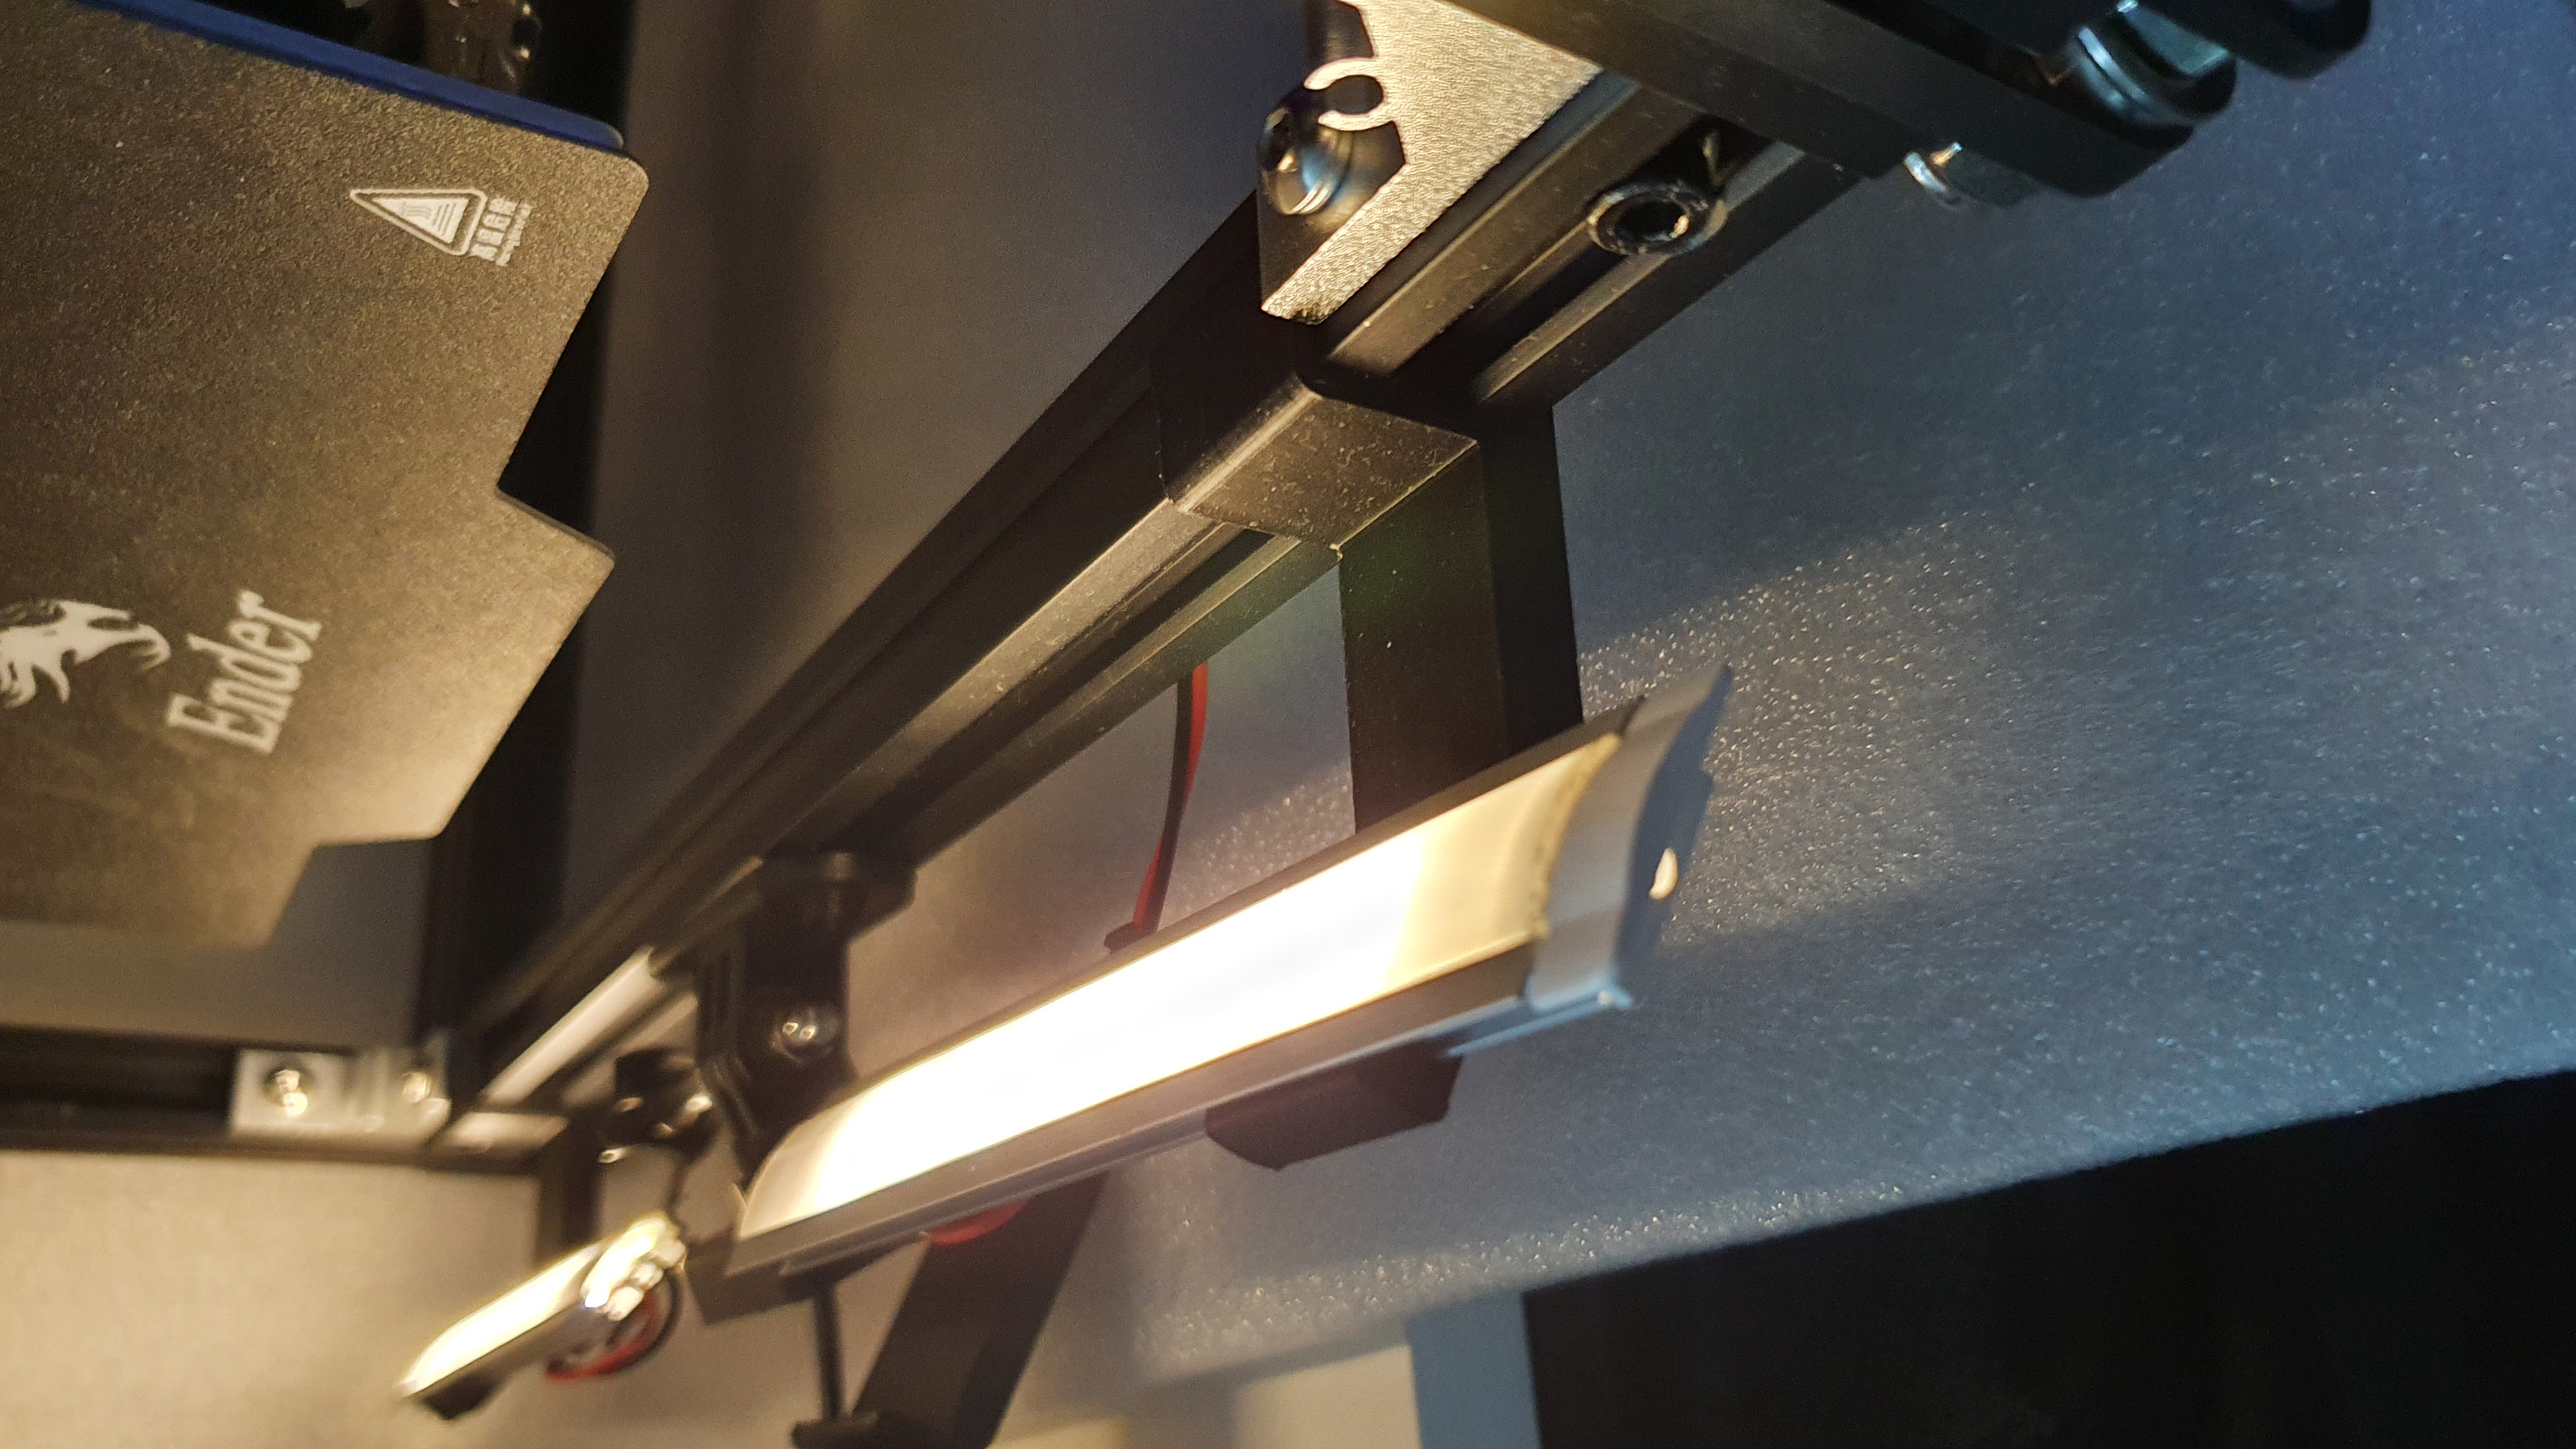
To have possibility to see how printing is going in the dark place I added lights.
Leds strip that I have used is 12v 5730-60leds/m. (but in my opinion it is to bright, so I have added dimmer after)
Ebay: https://www.ebay.com/itm/353852456941
Aluminium Channel For LED Strip - YW-style