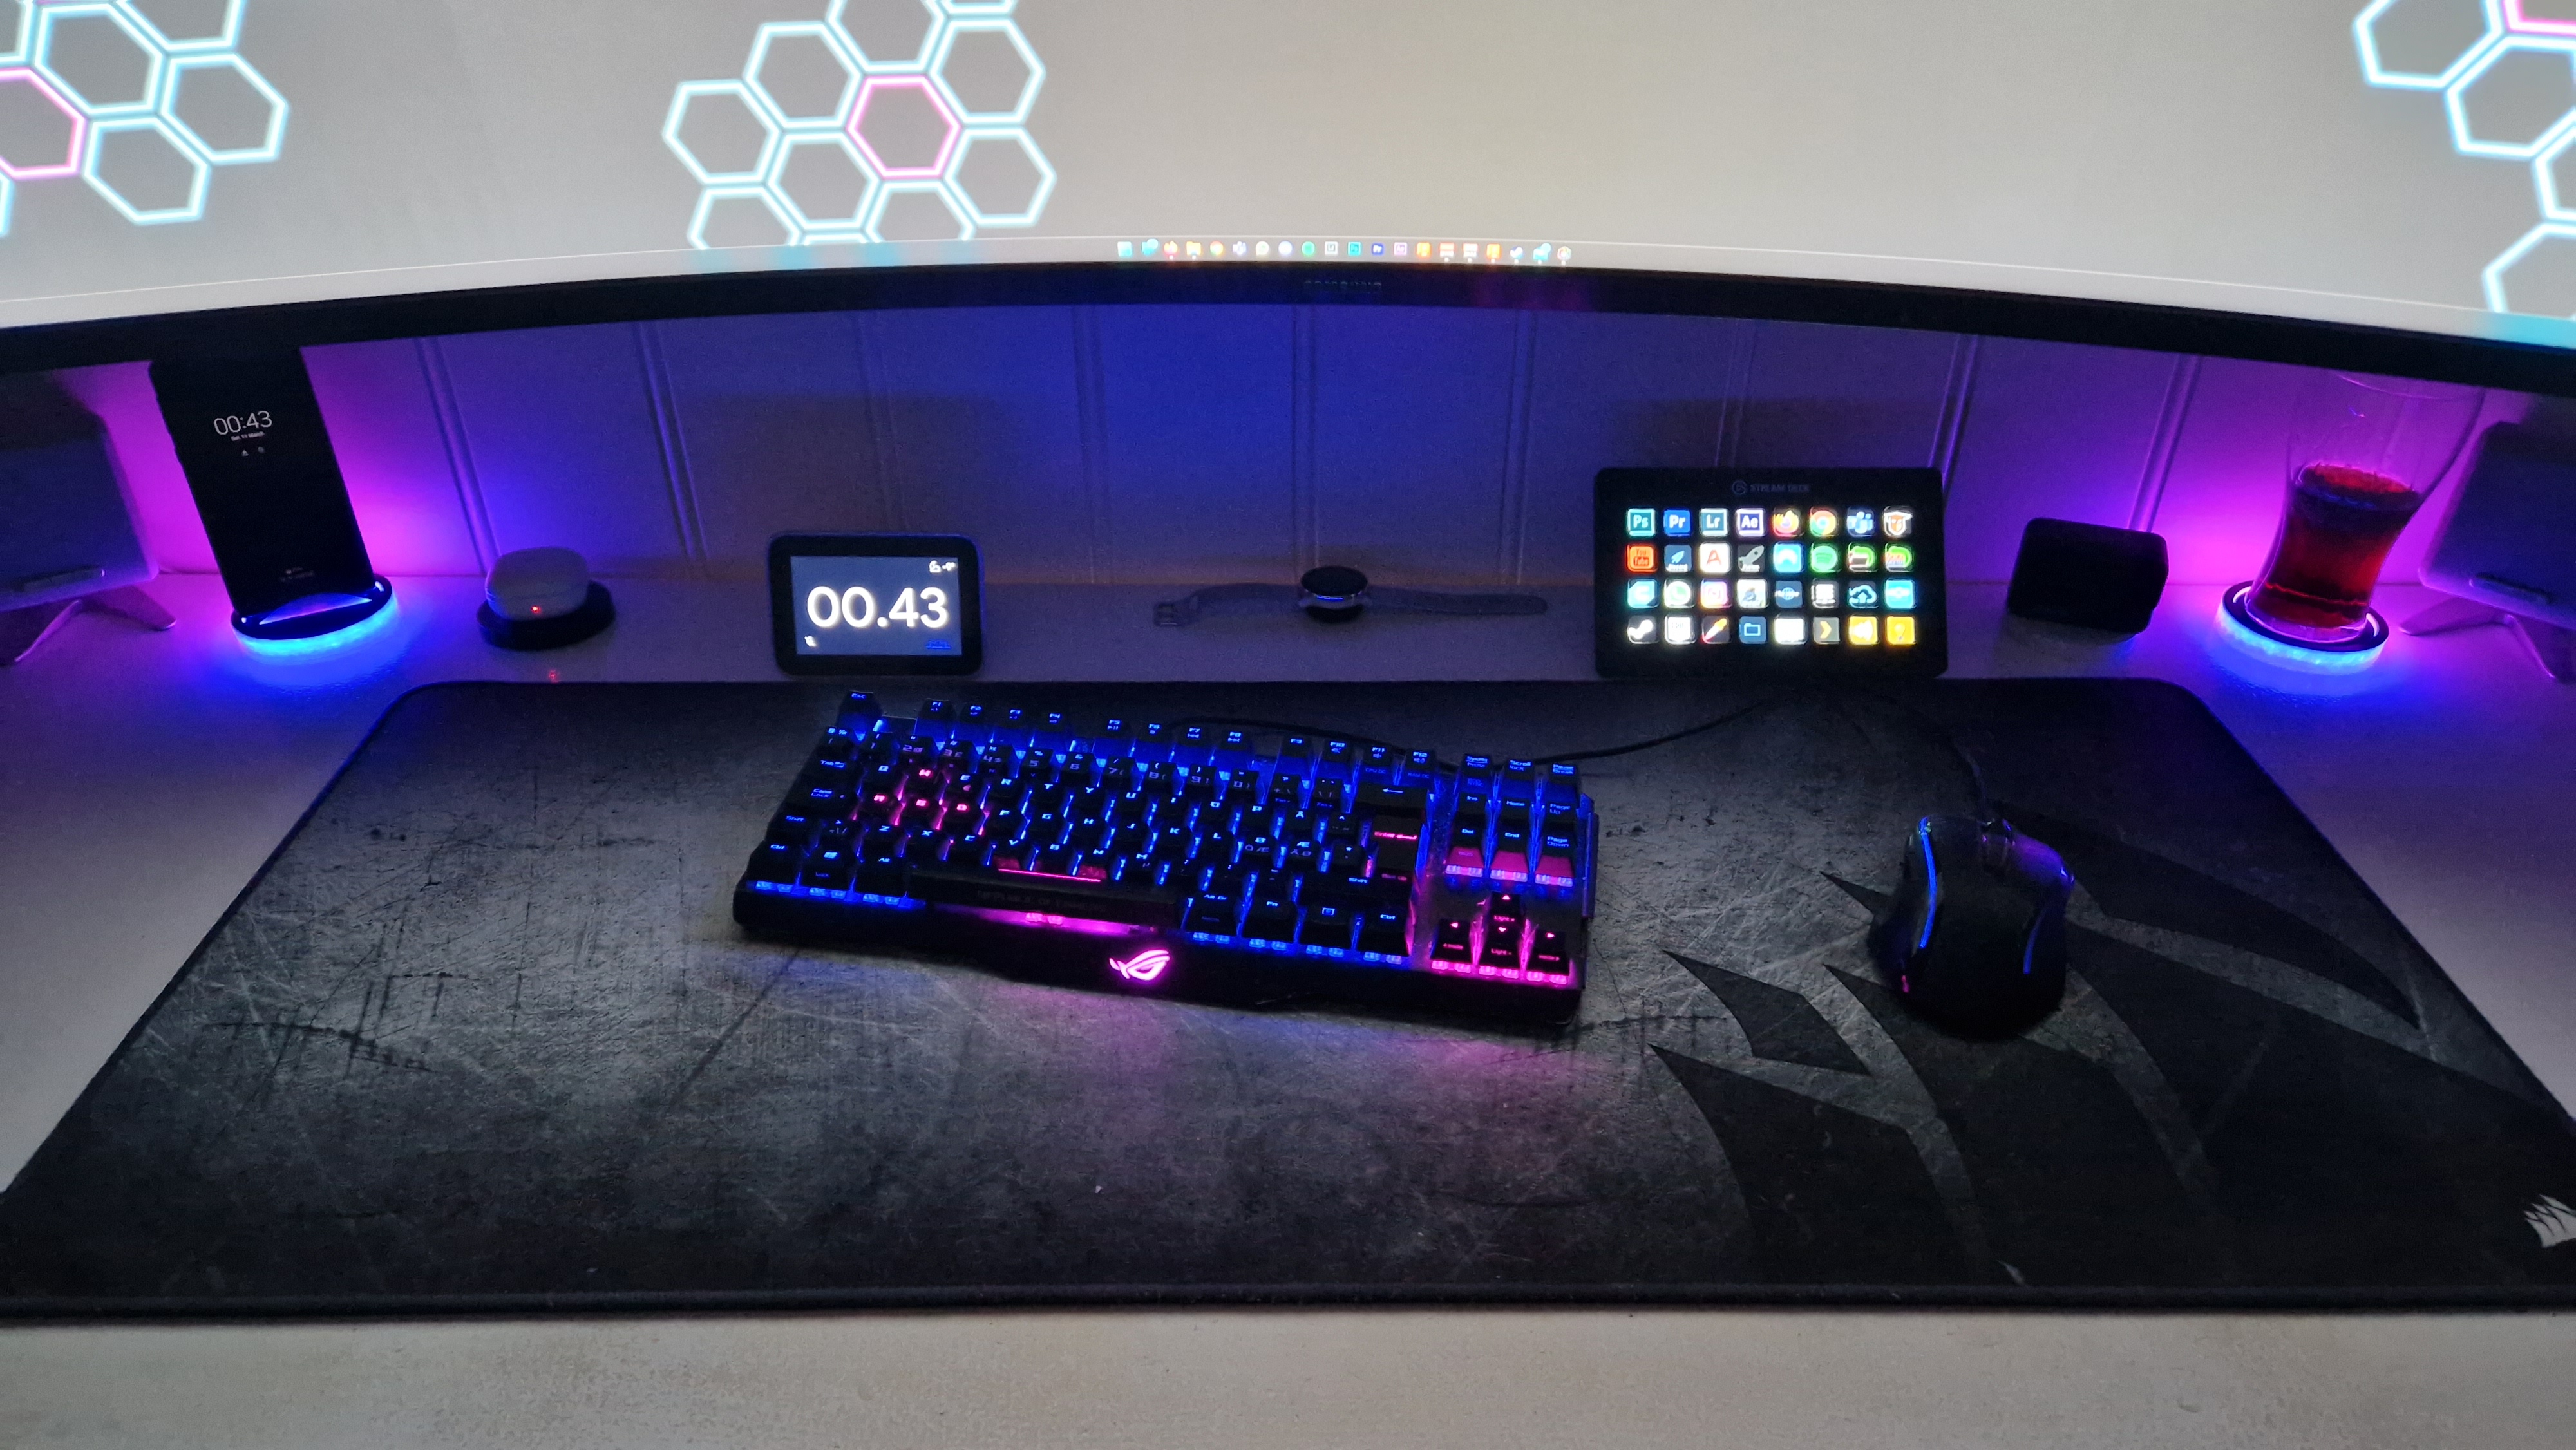
Phone and cup holder
11 March 2023Tech projects
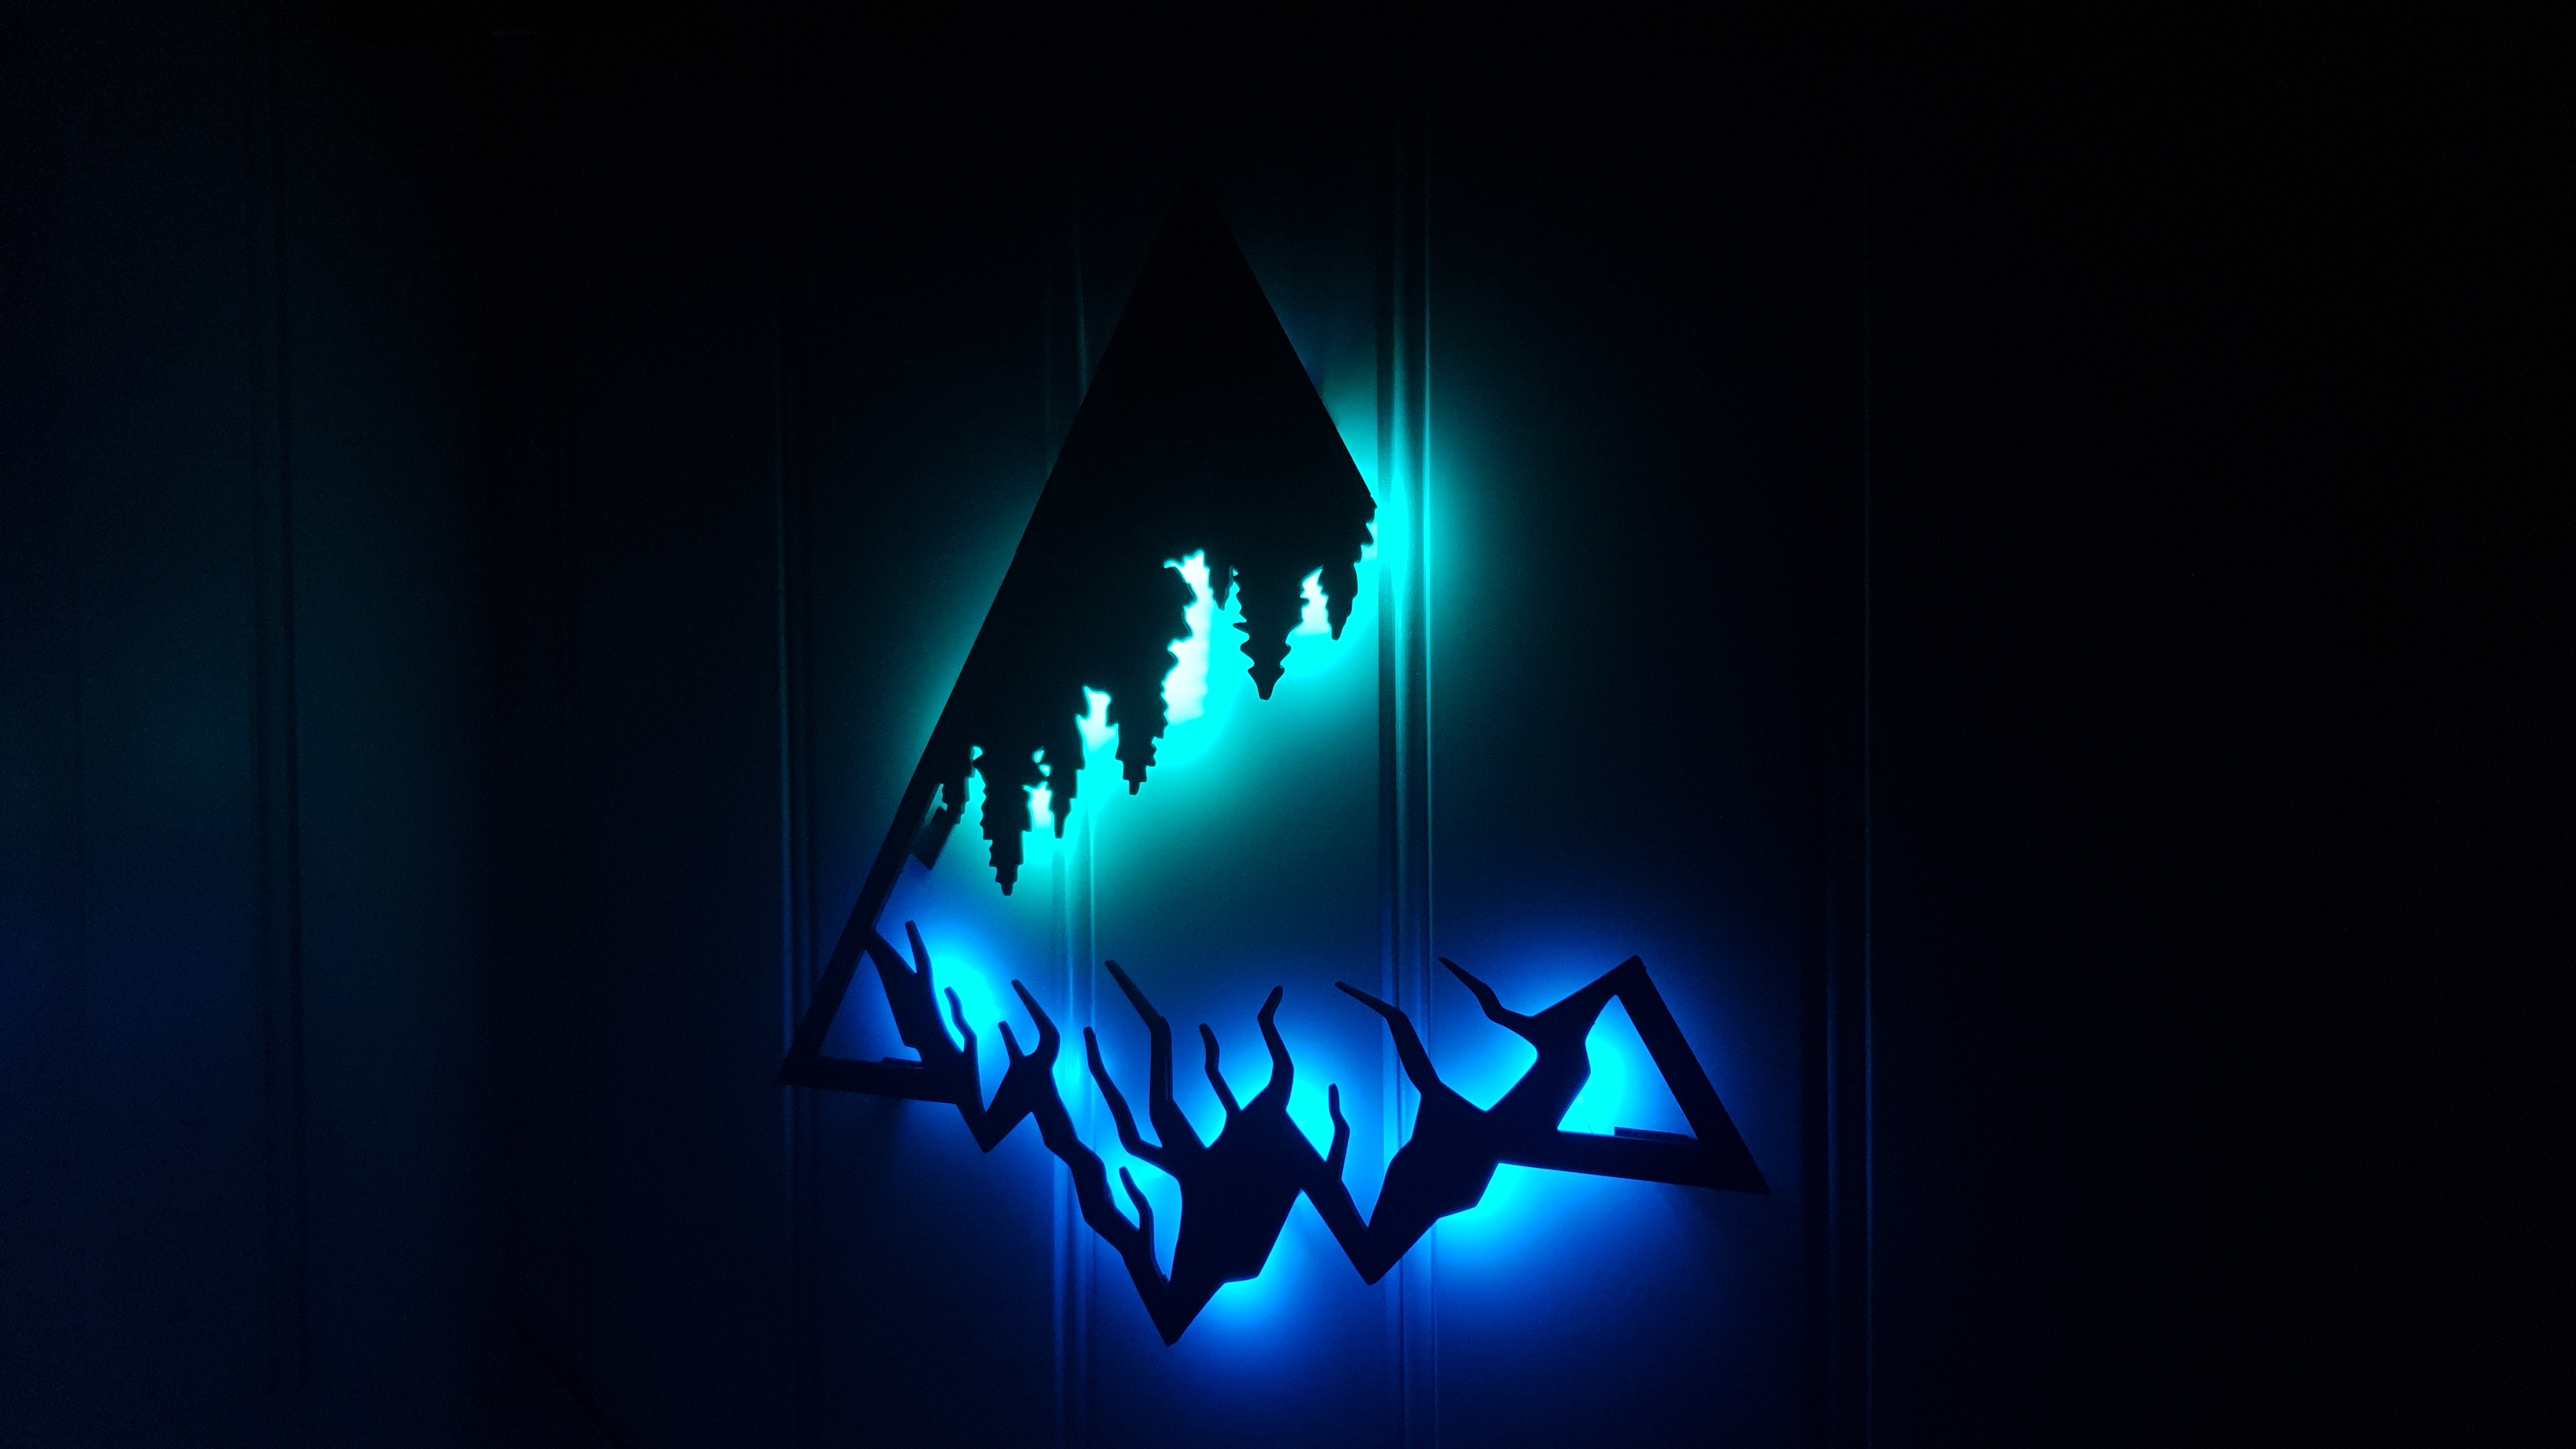
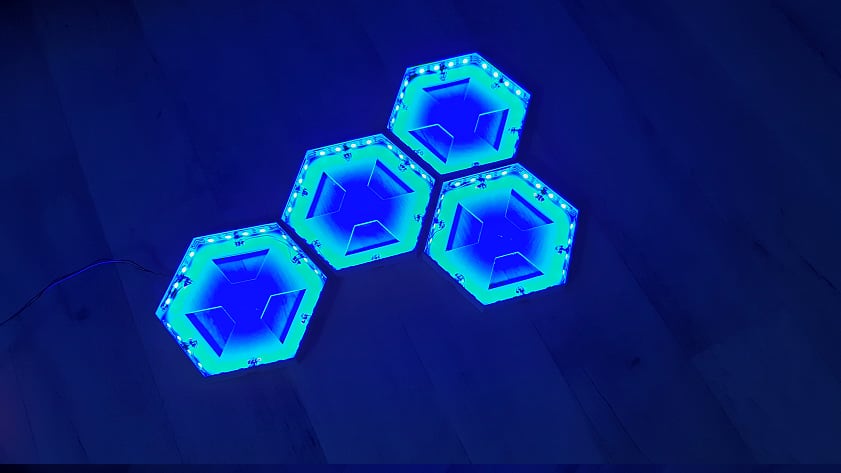
Mountains backlight
06 July 2022Tech projects
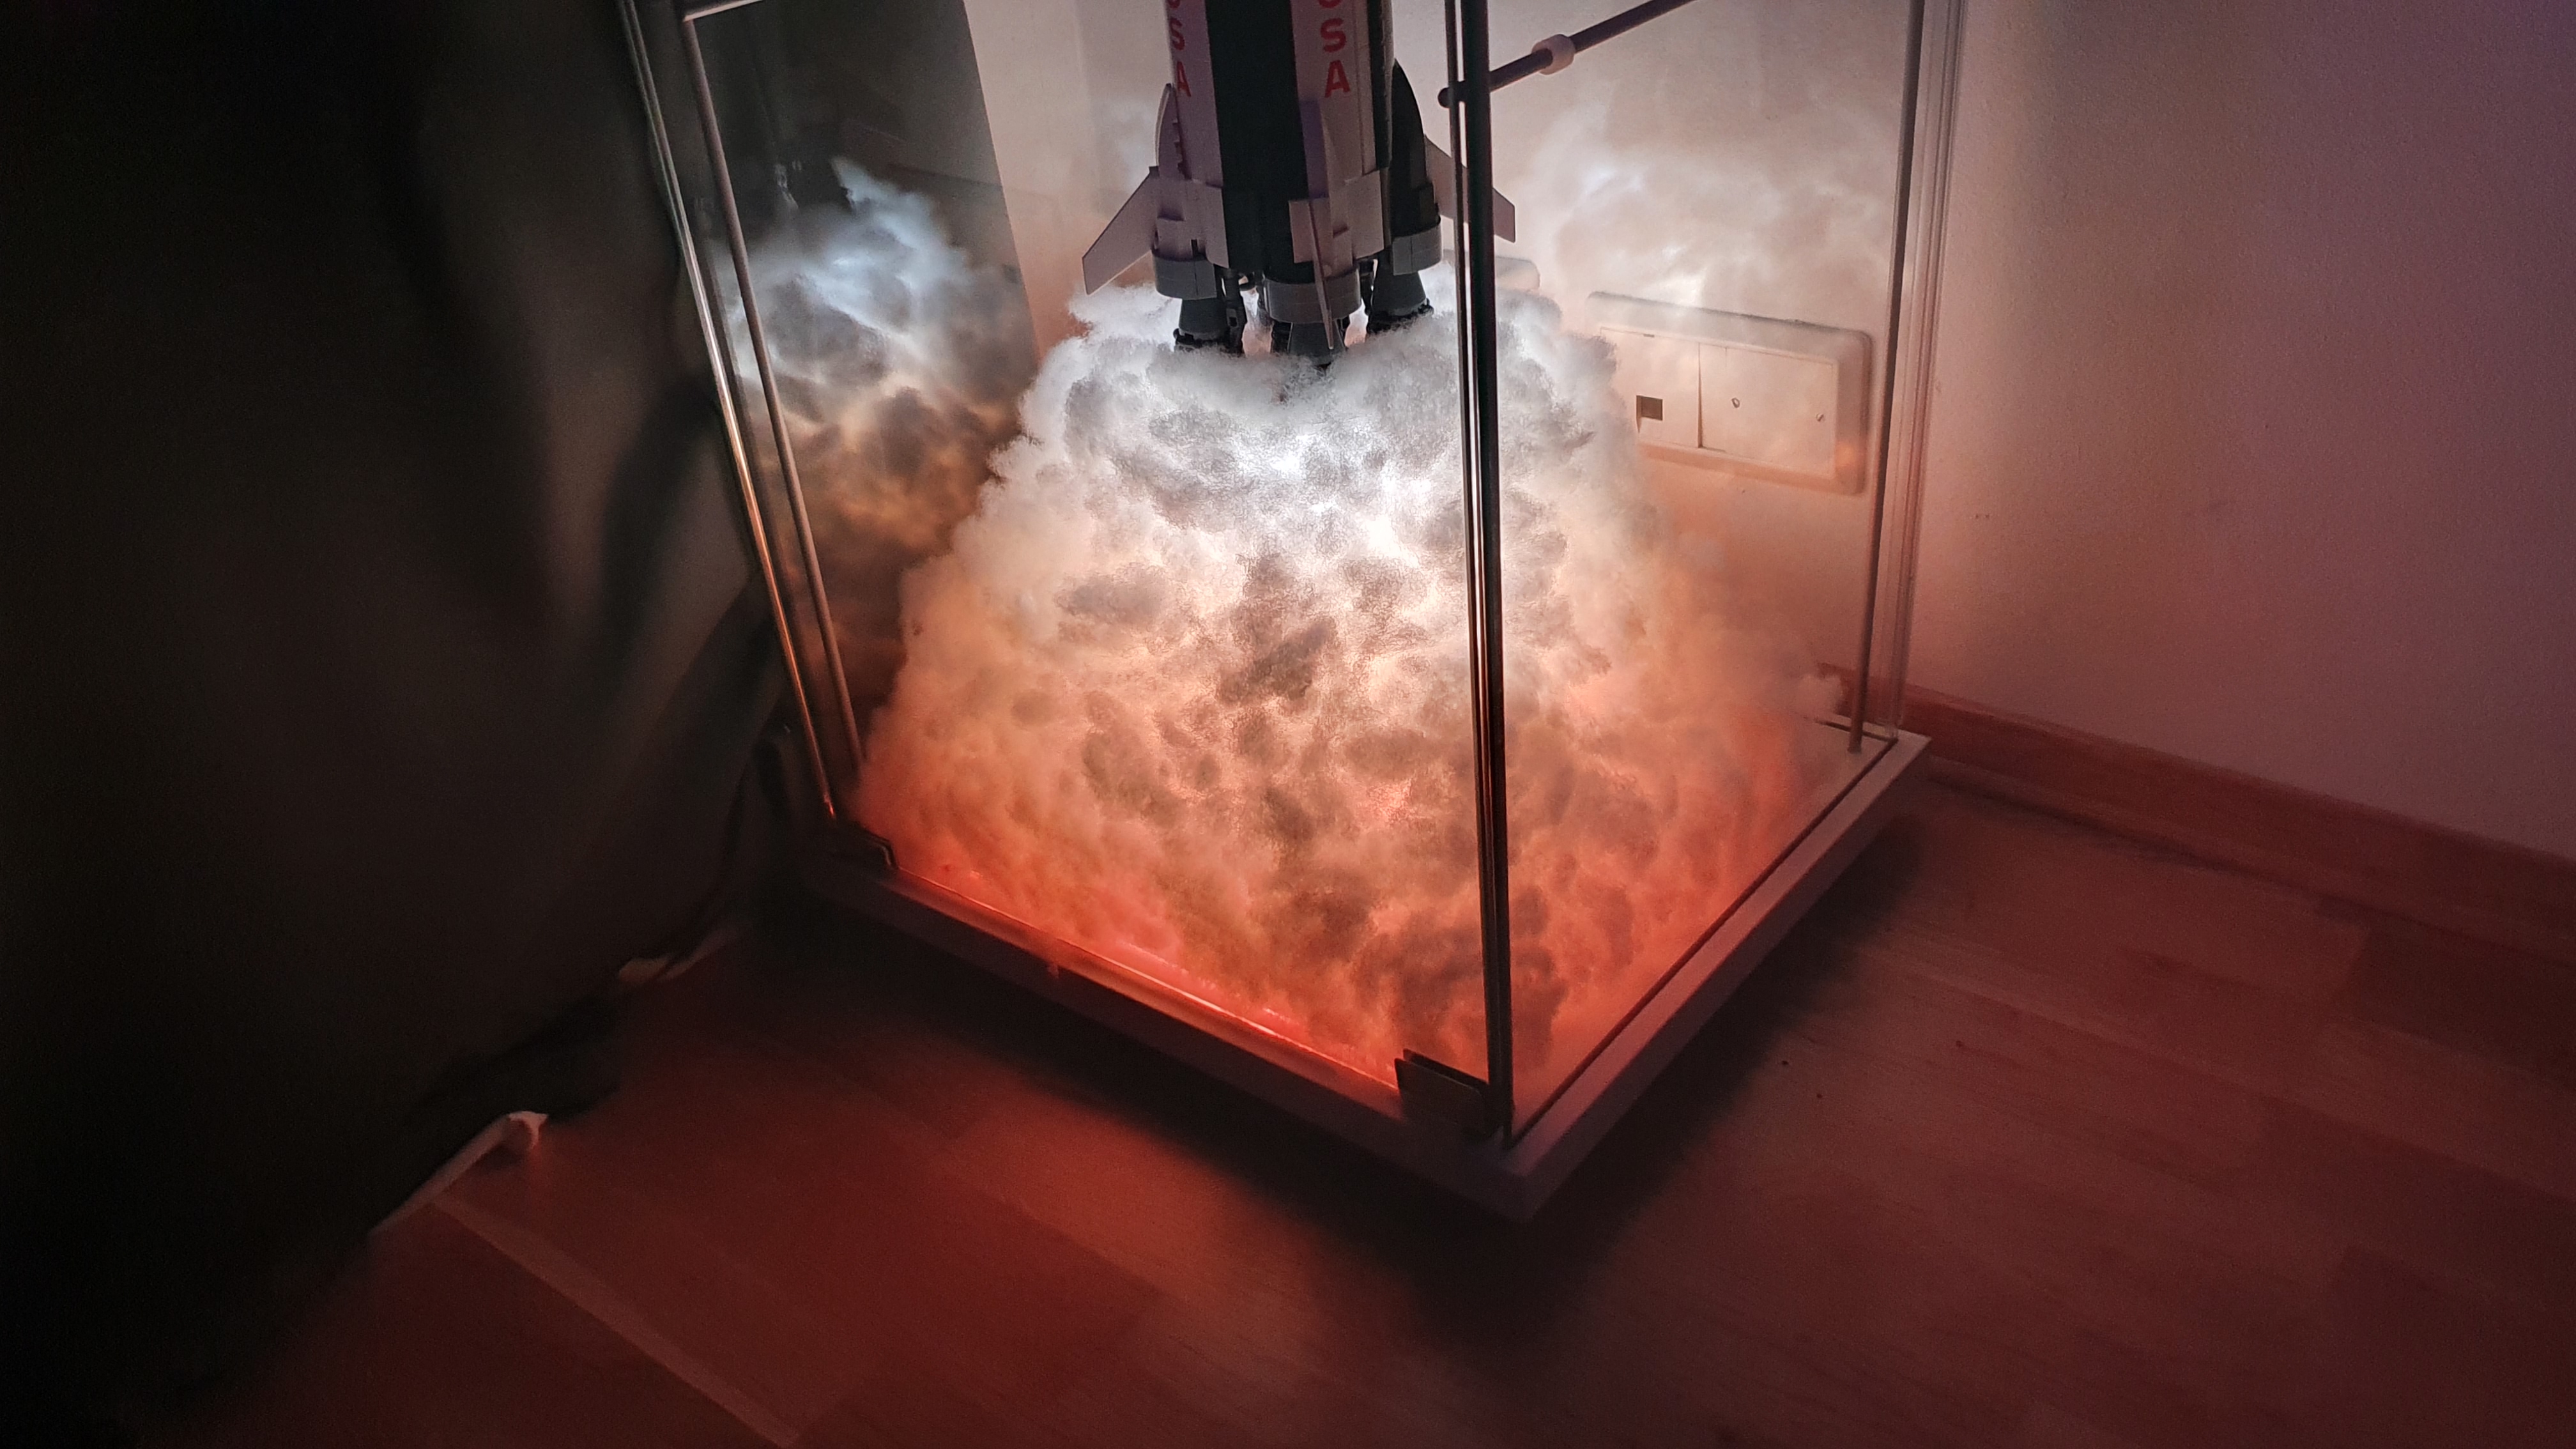
Lego Saturn V Blast off
23 January 2022Tech projects

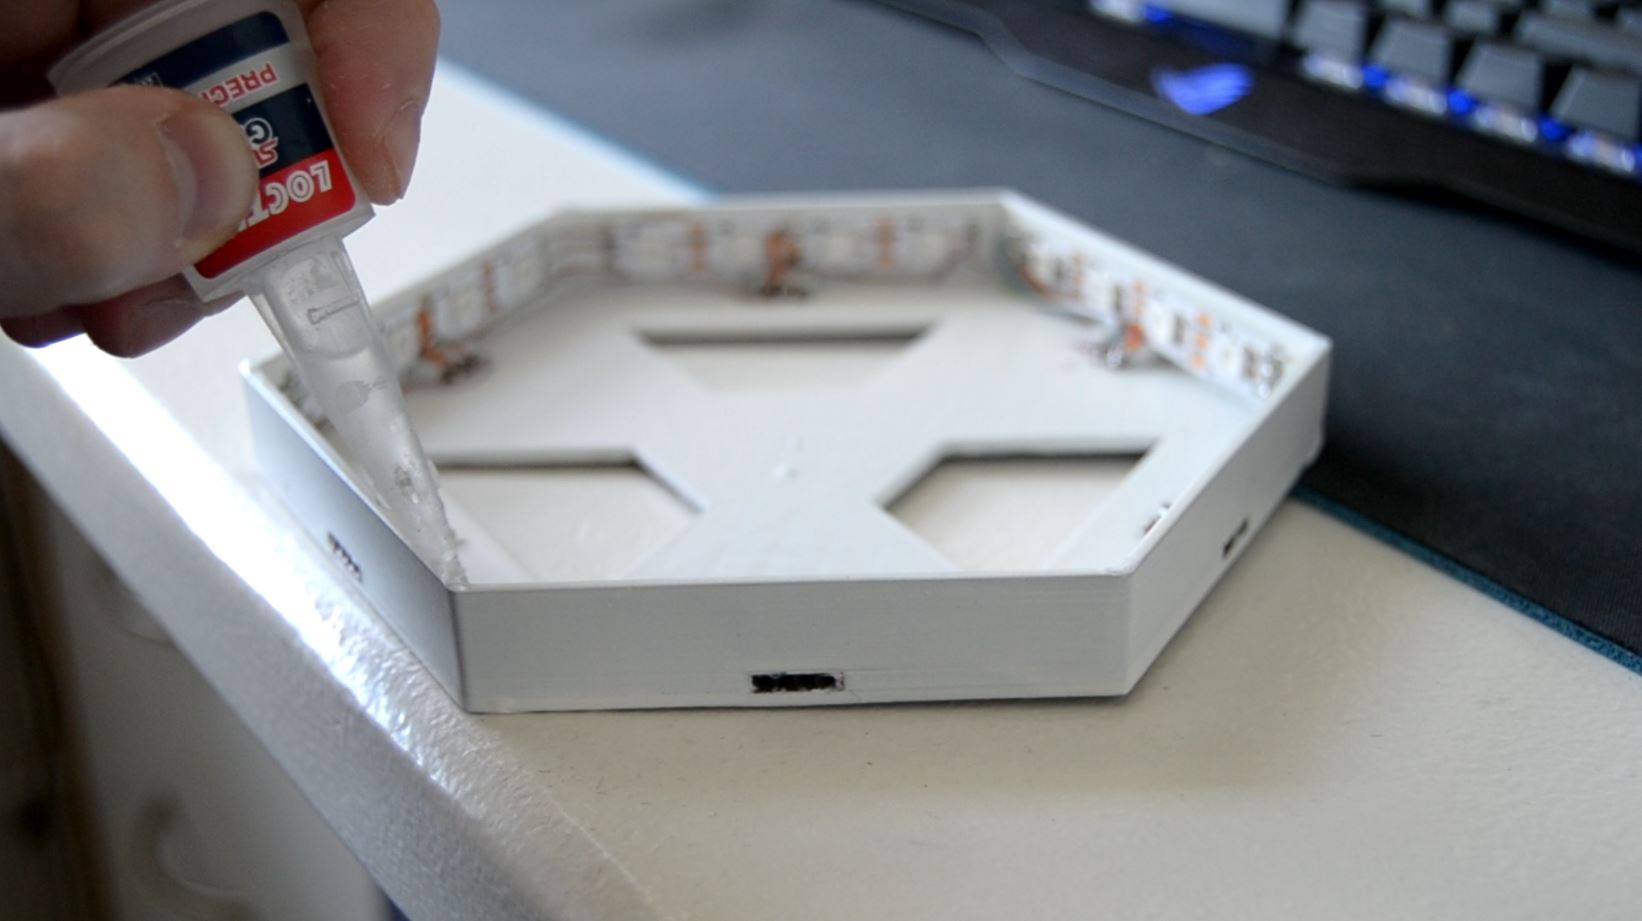
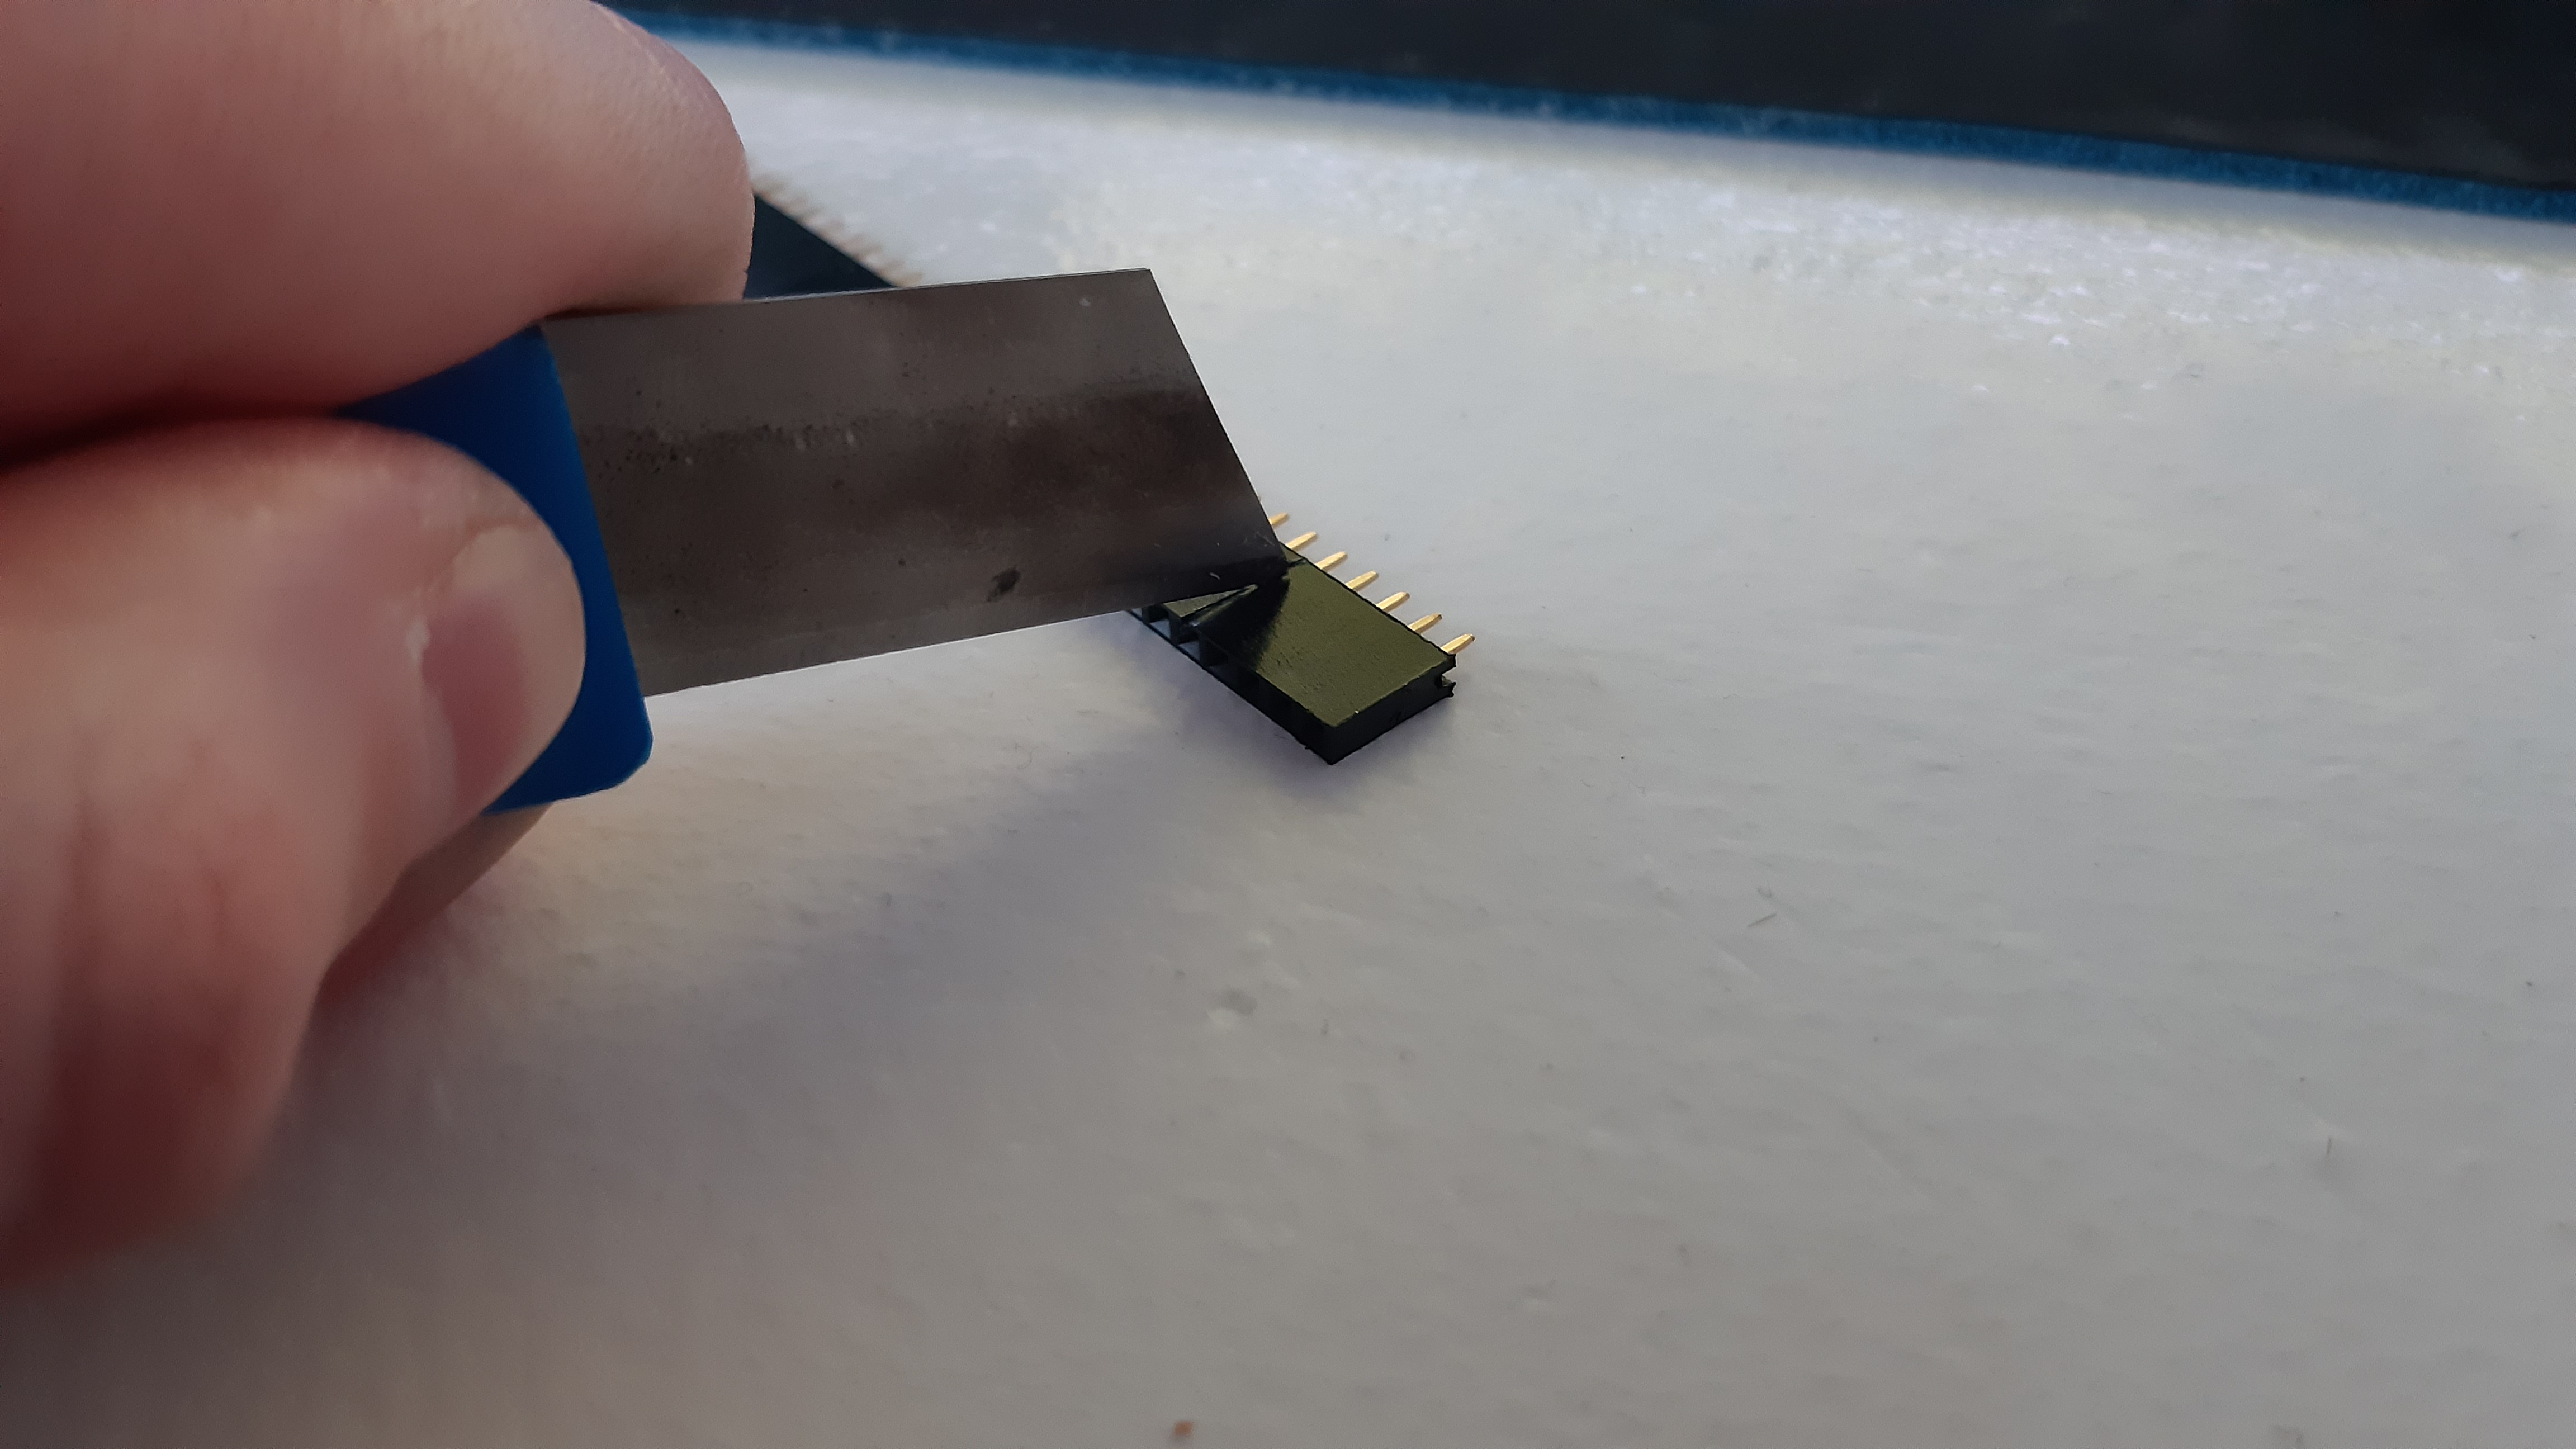
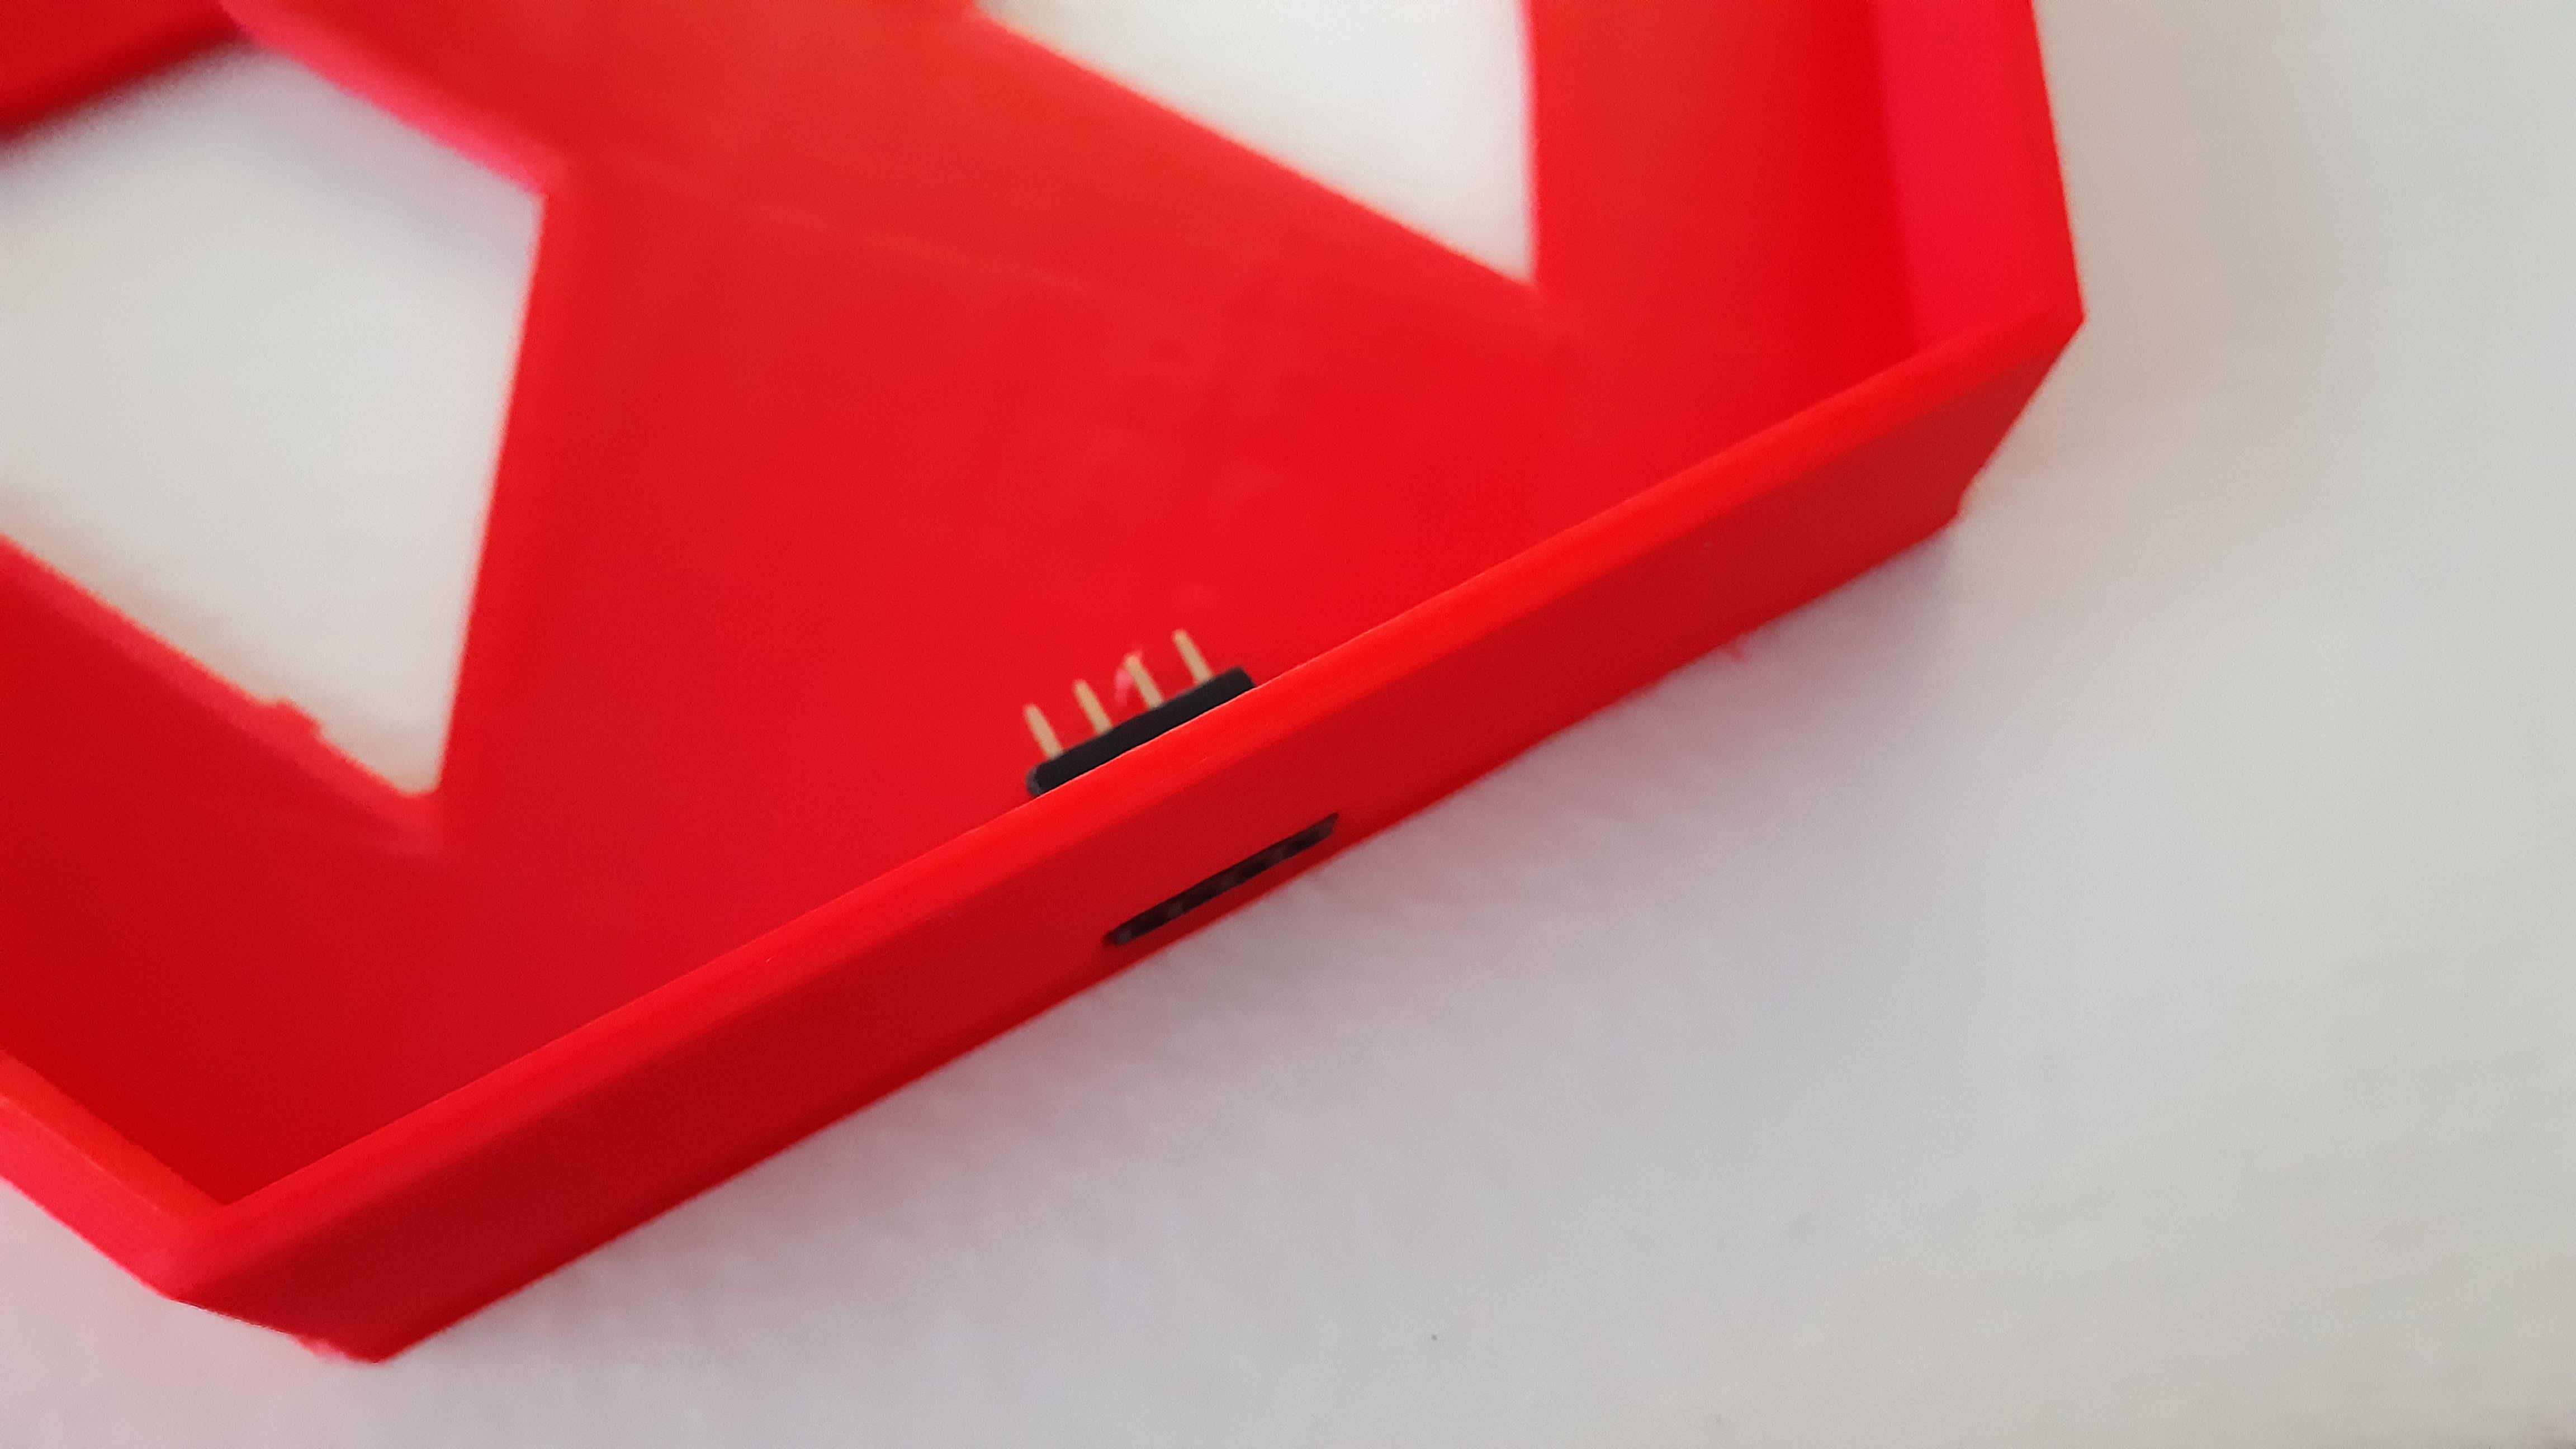
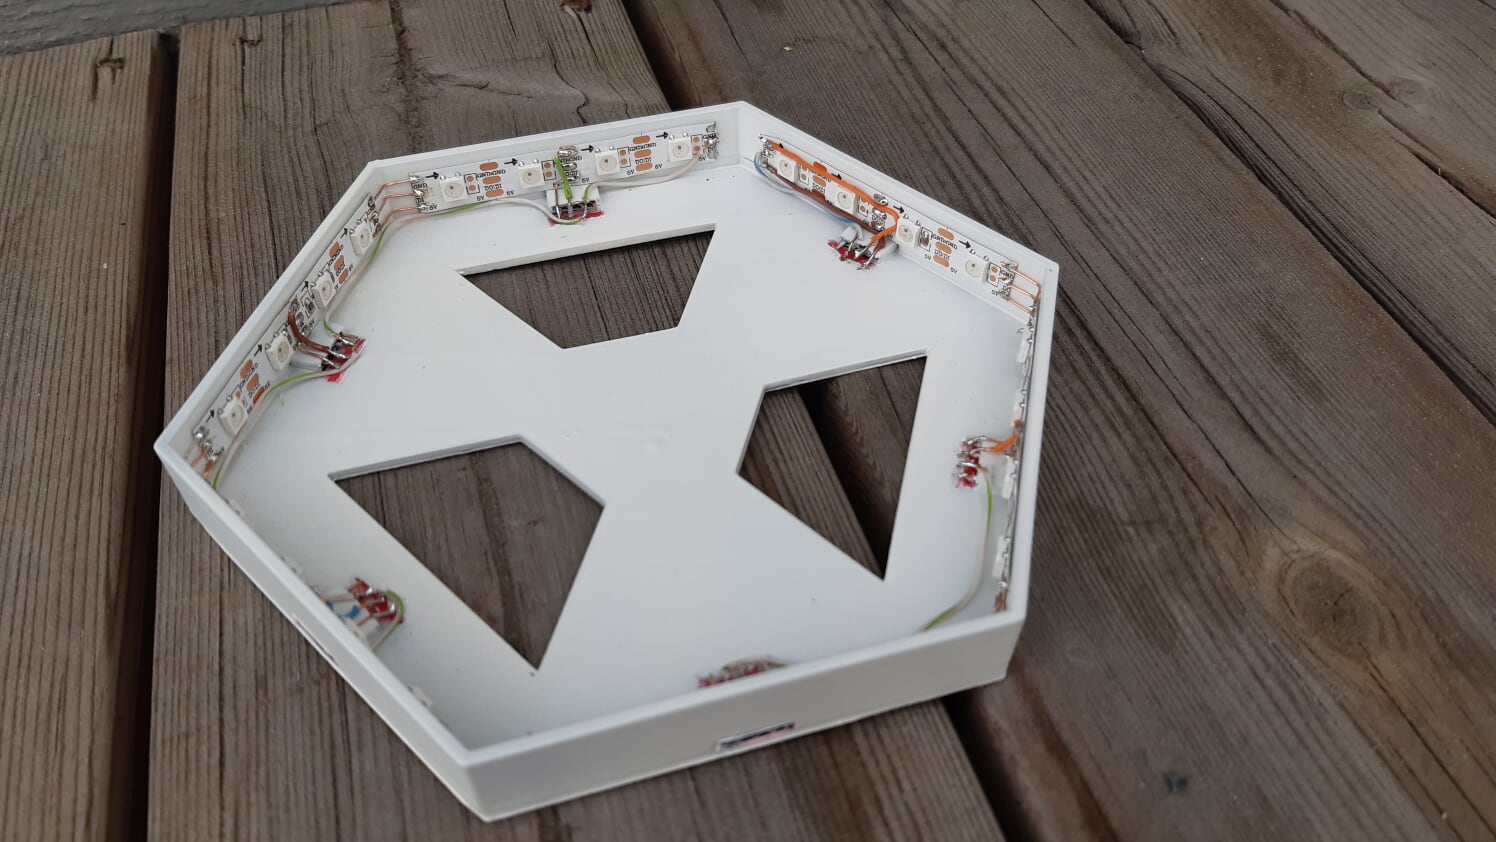
Cut connectors, put them inside the box and cover with tape

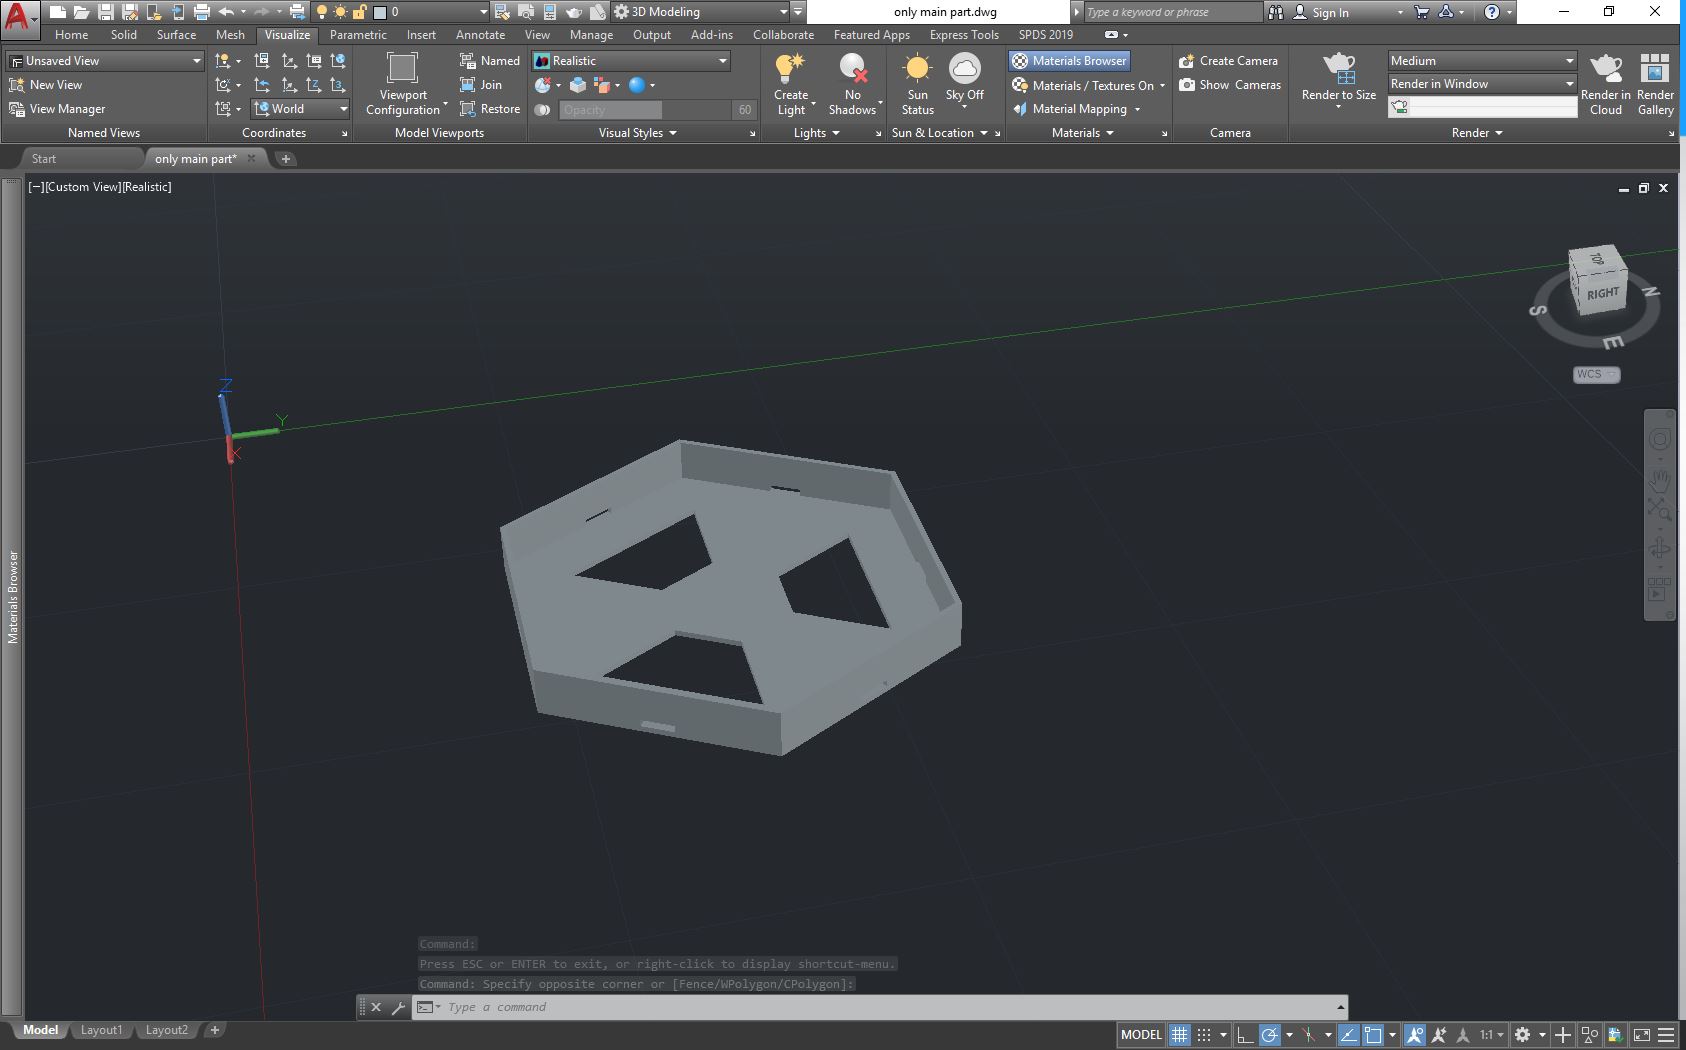
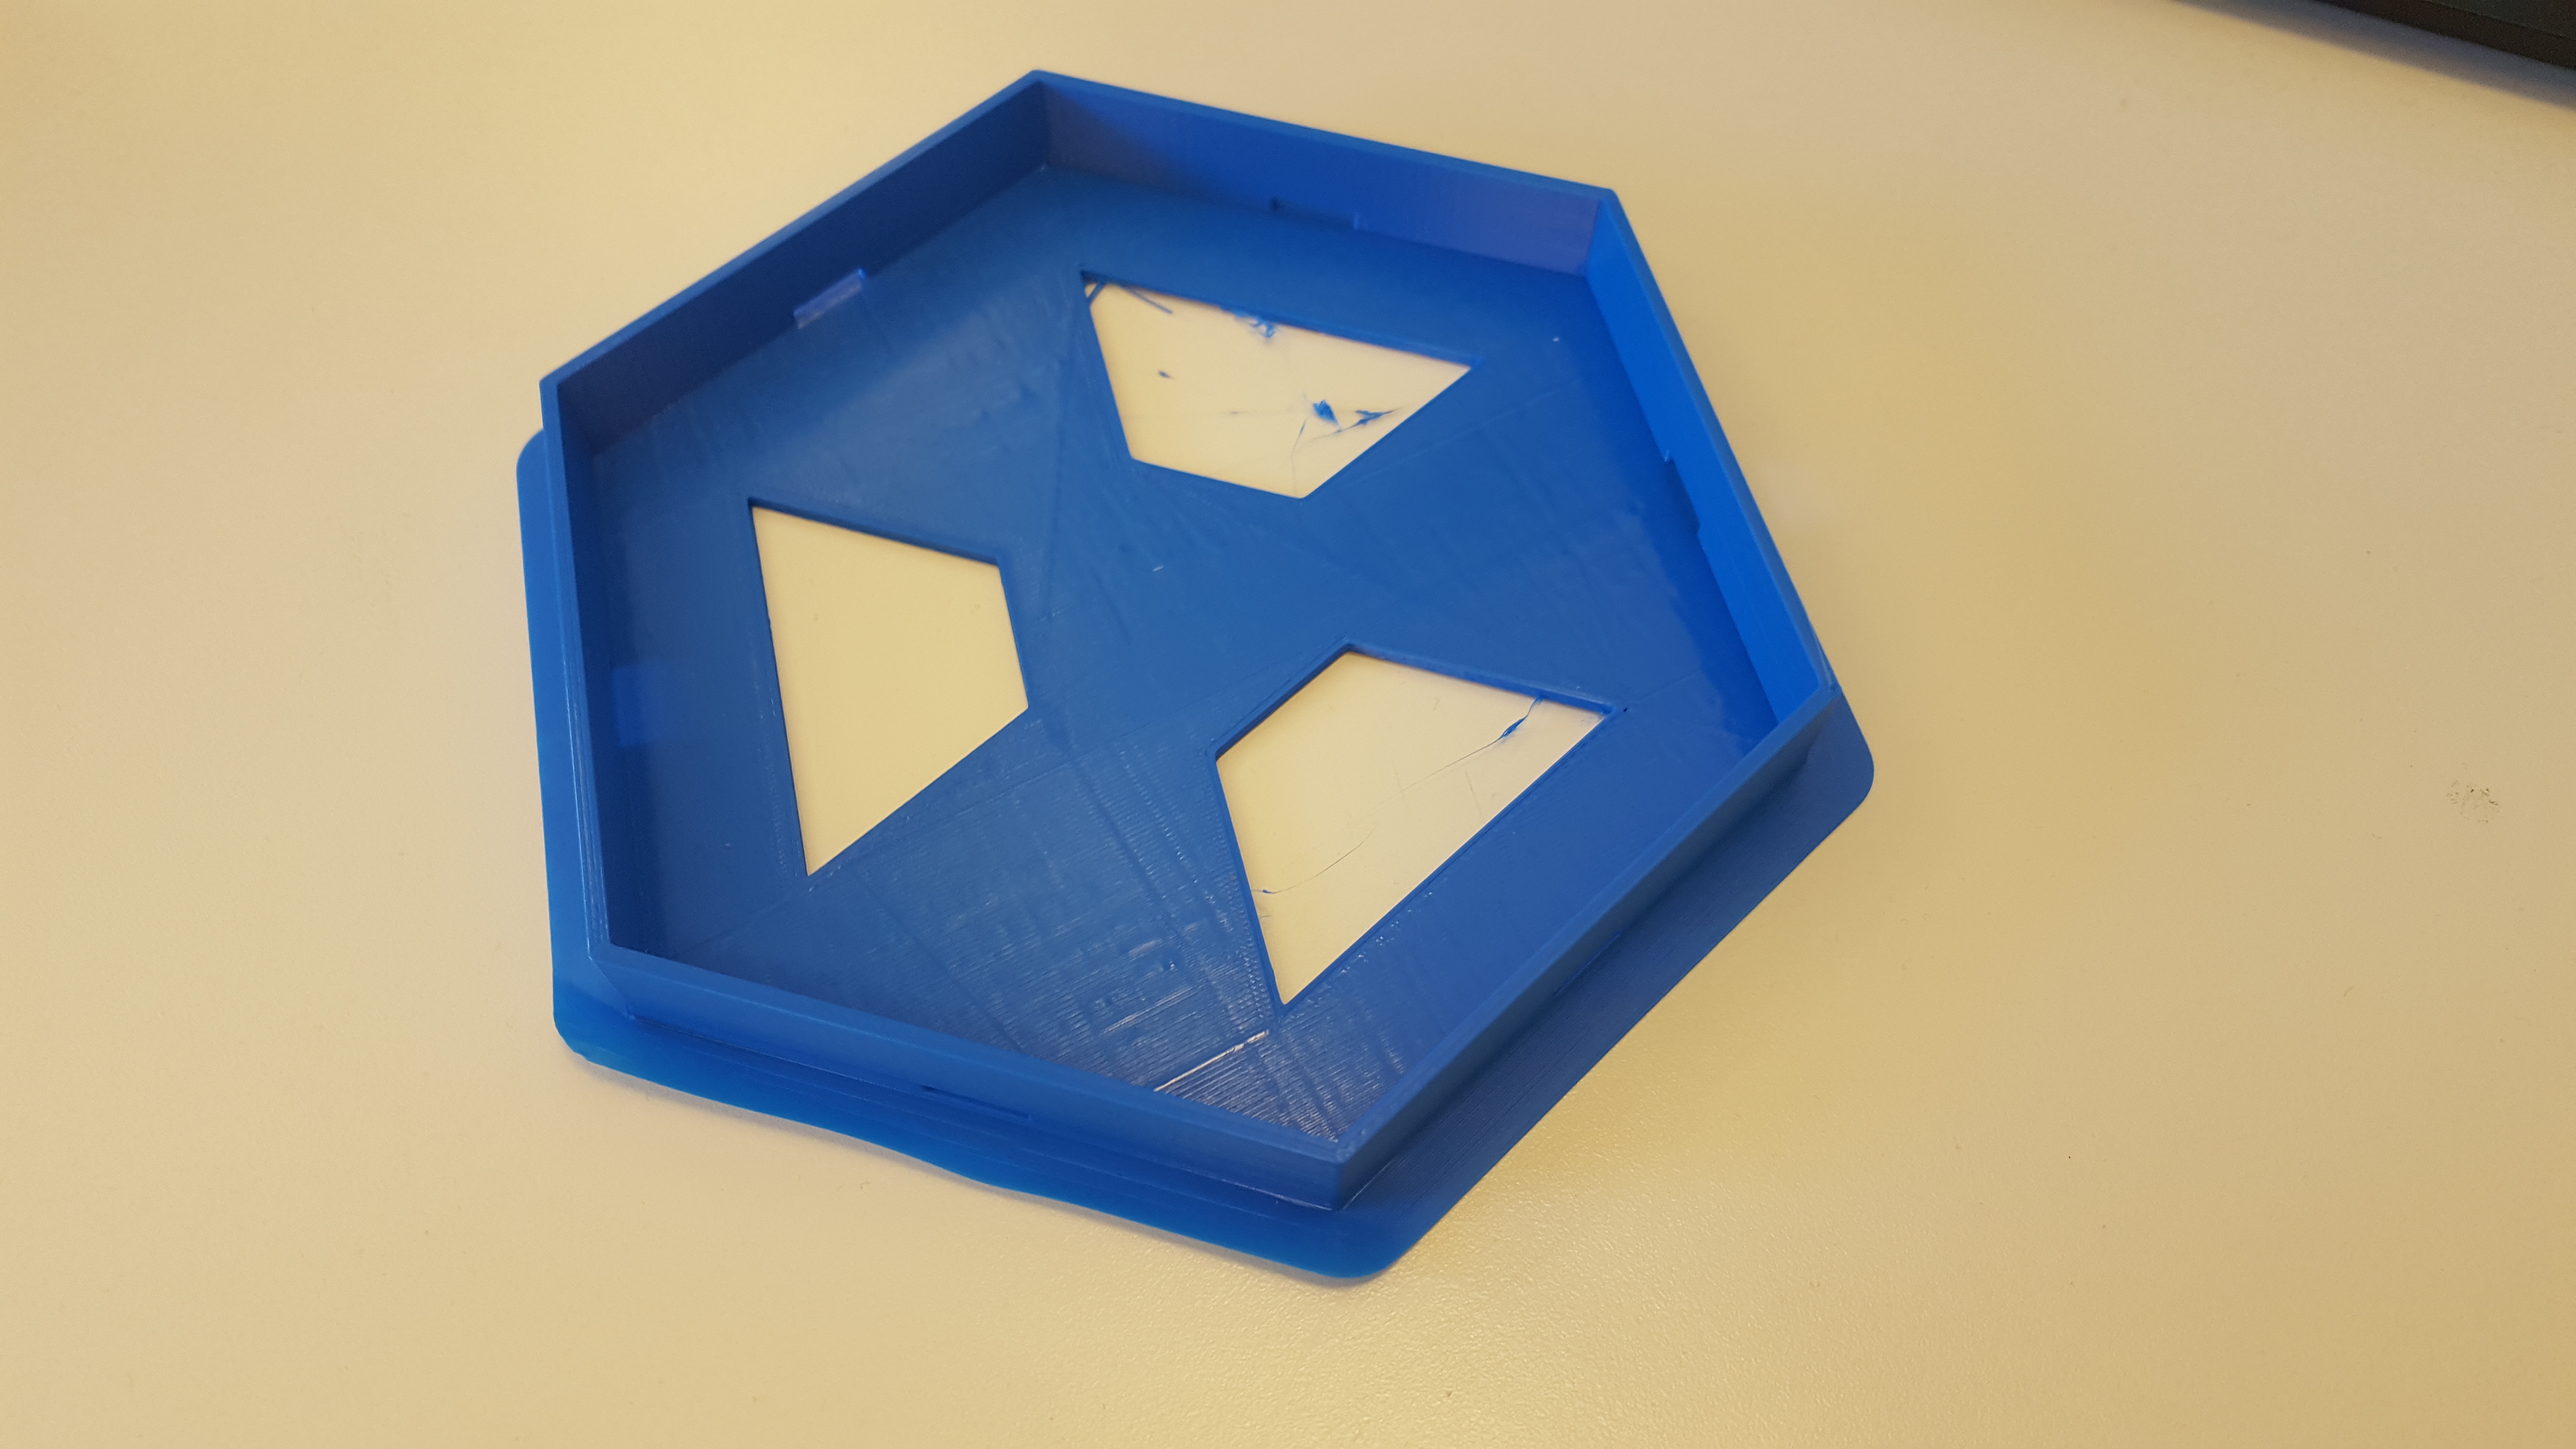
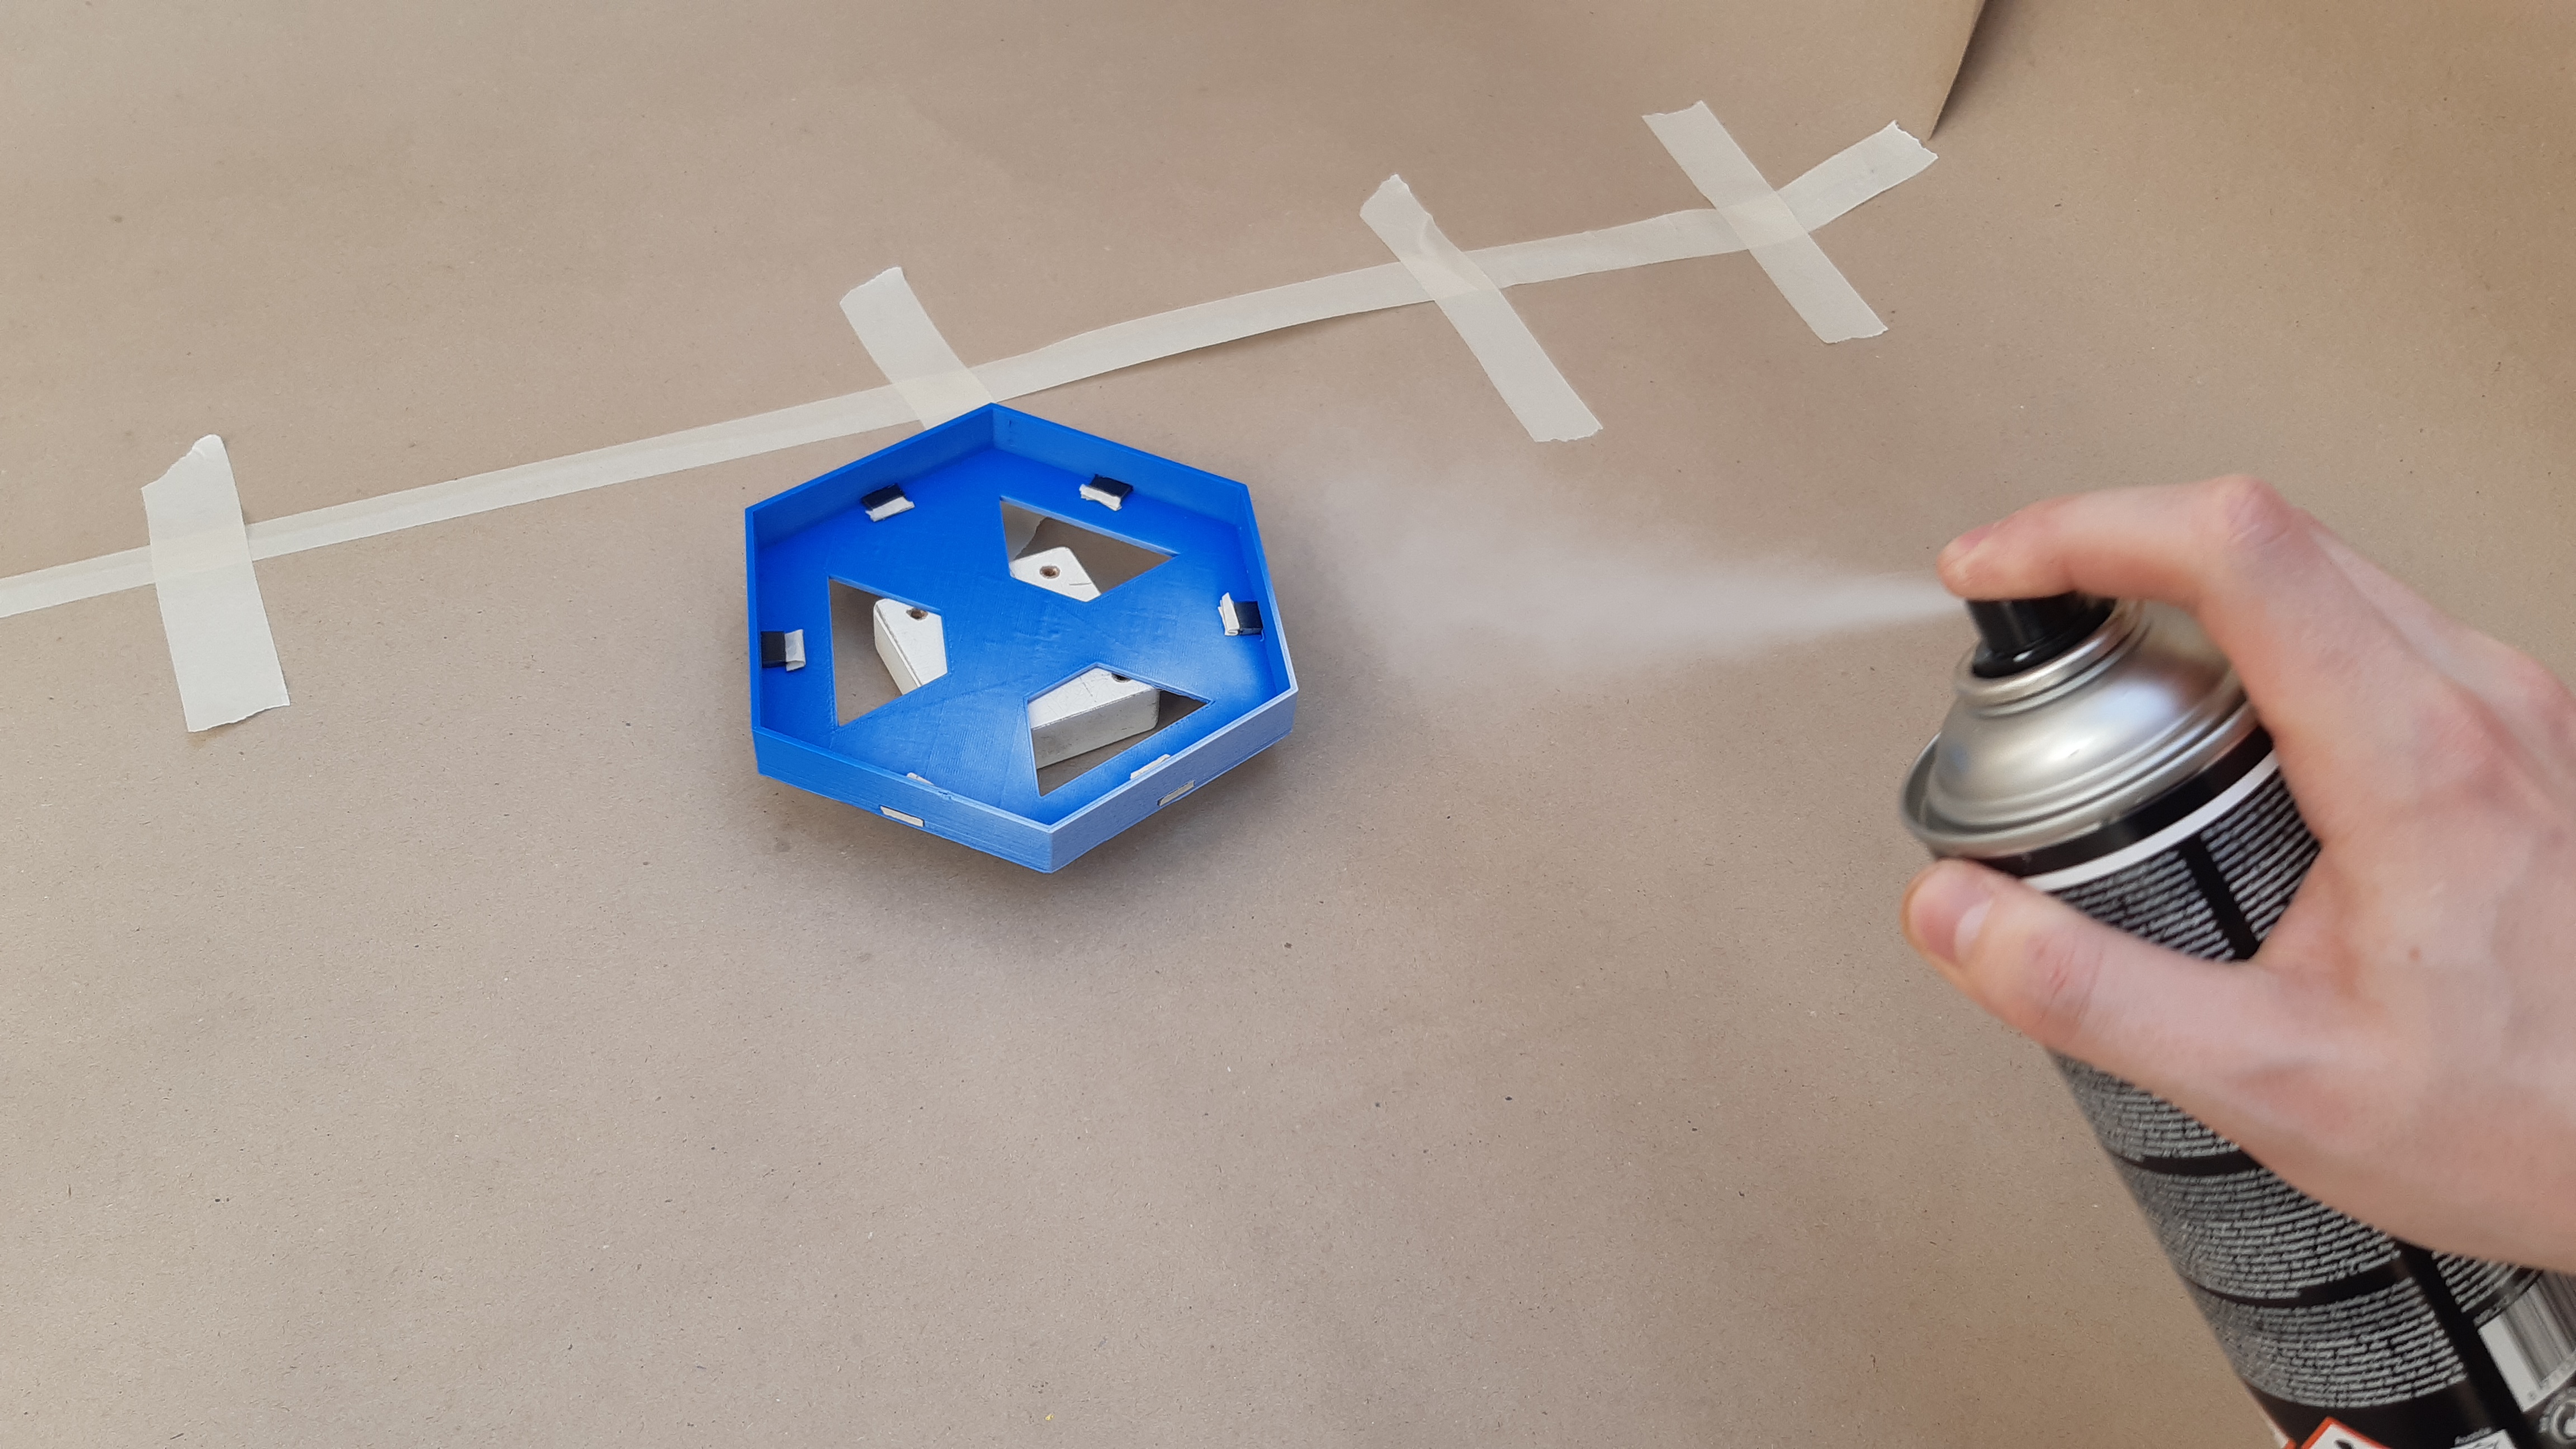
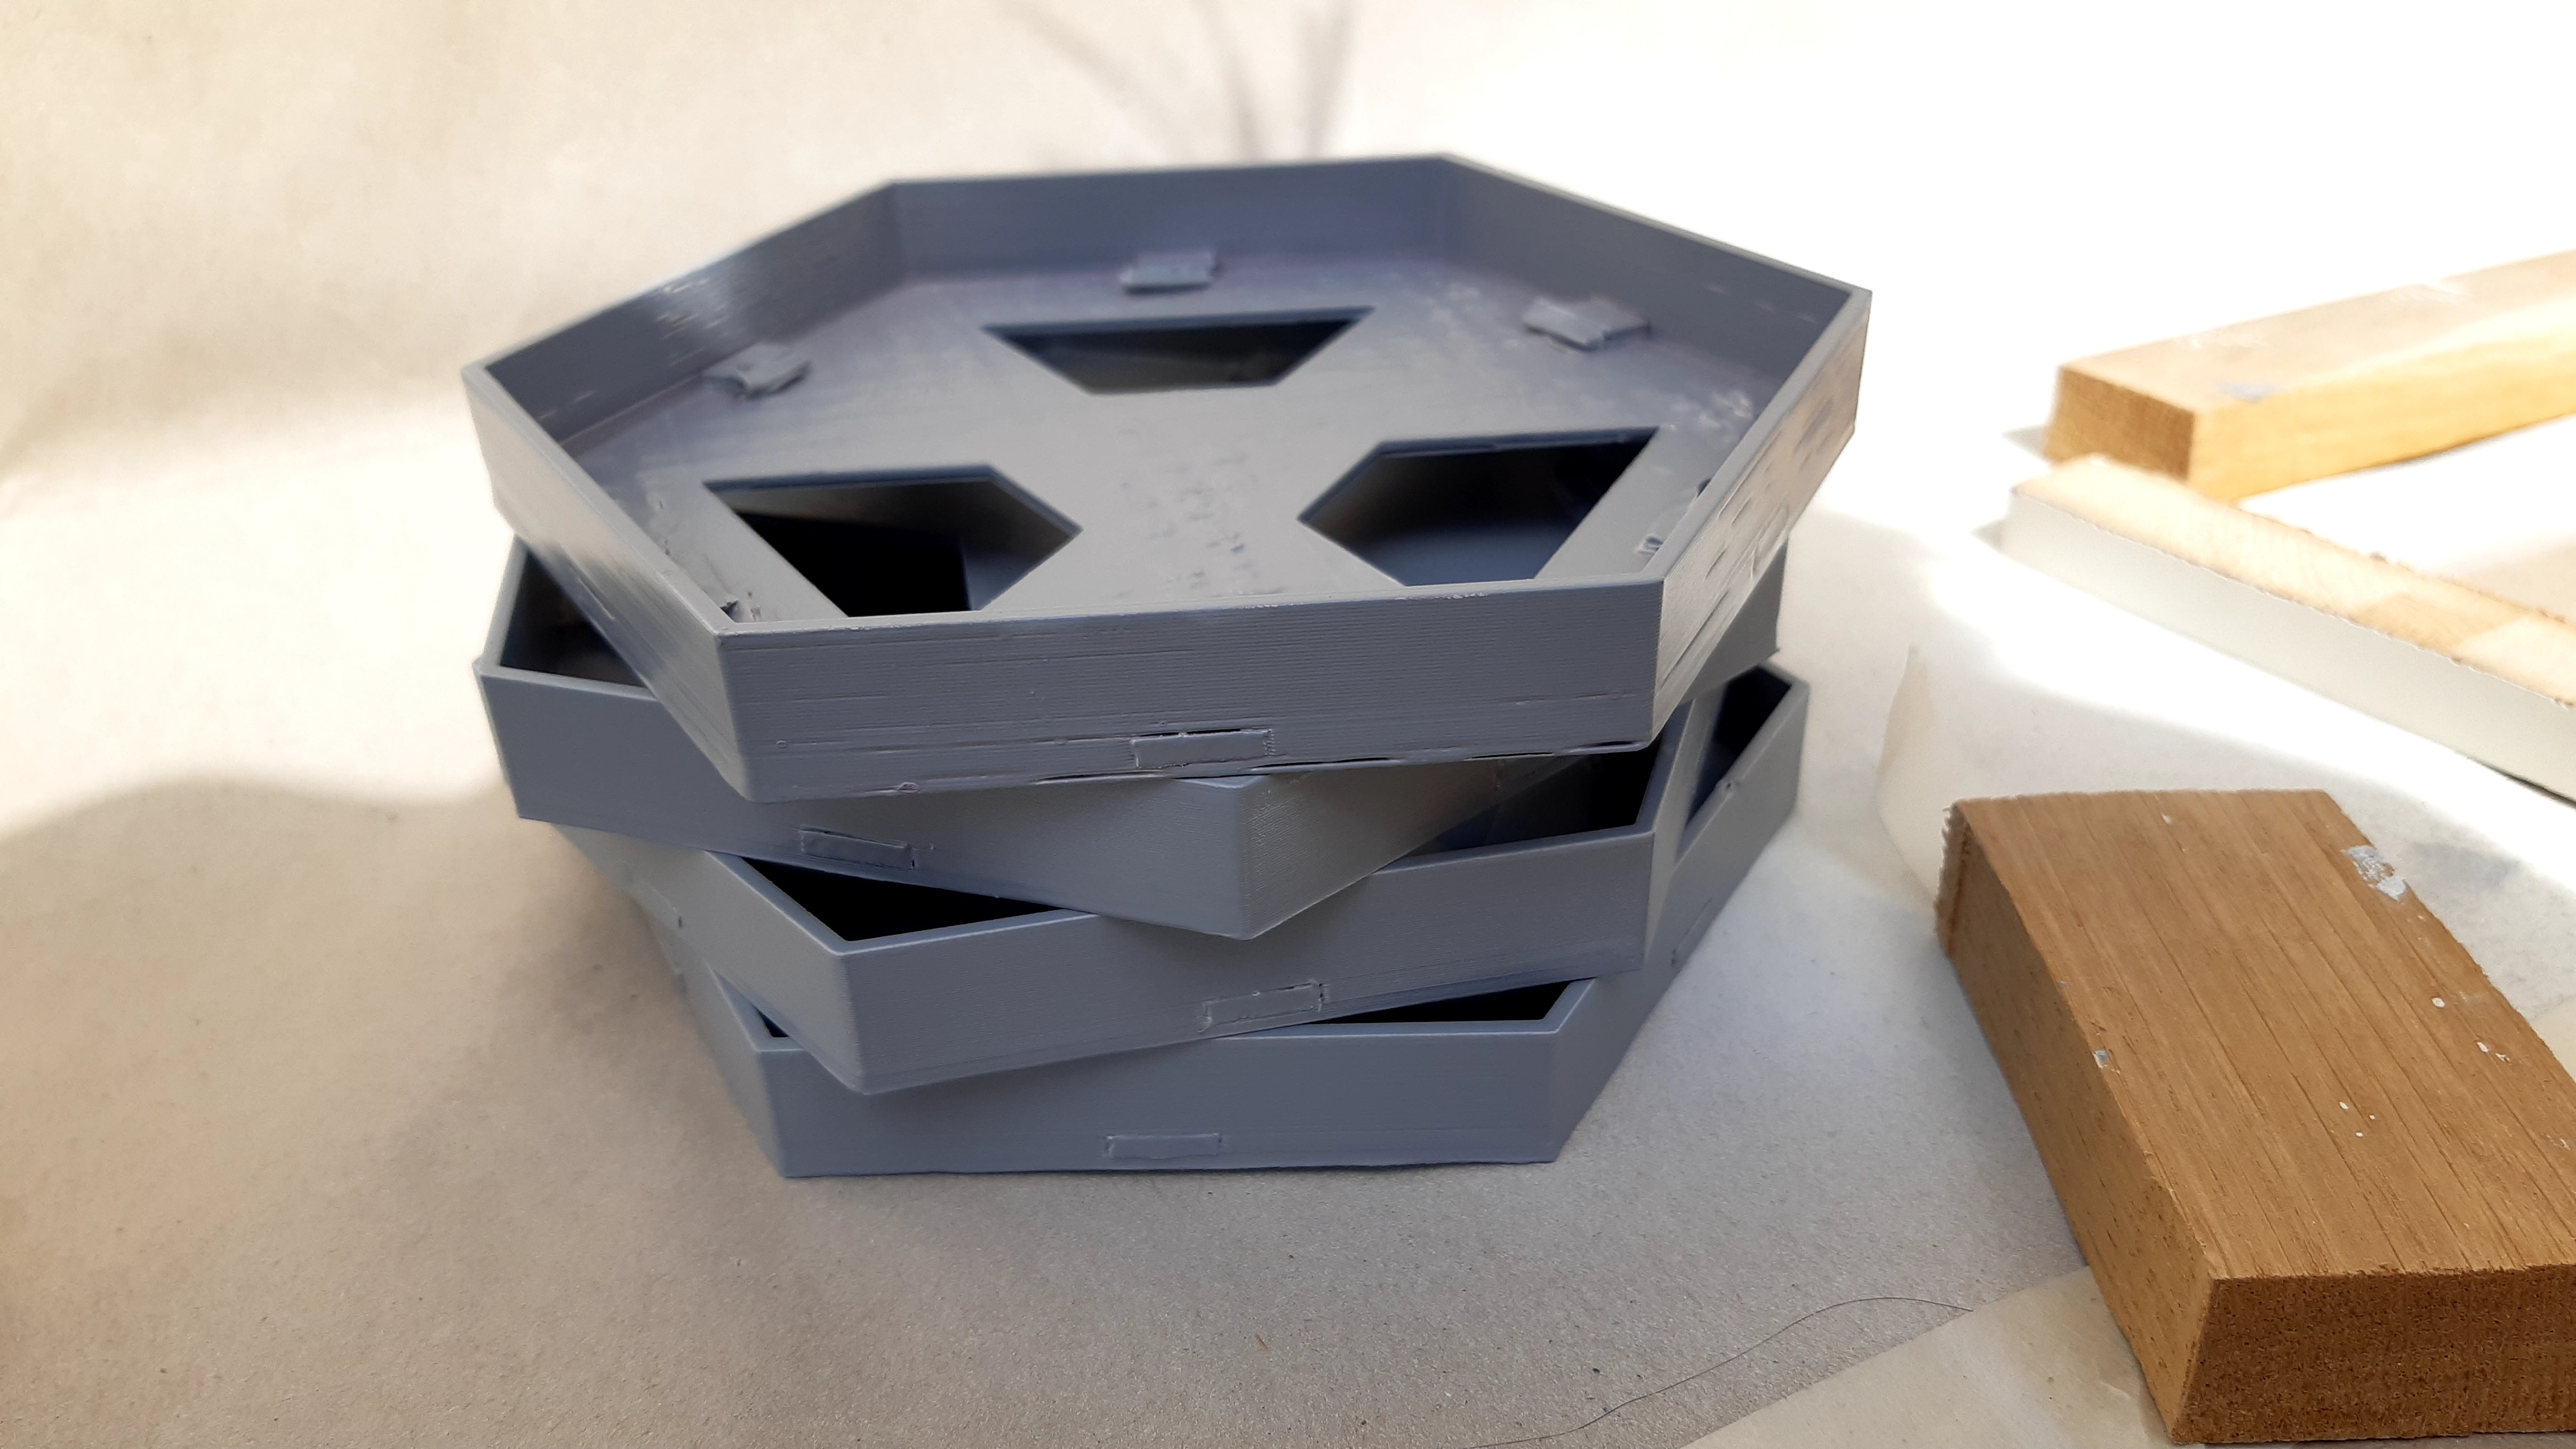
if your 3d model is red color, than it's better to use grey primer first to avoid too many layers of white painting)
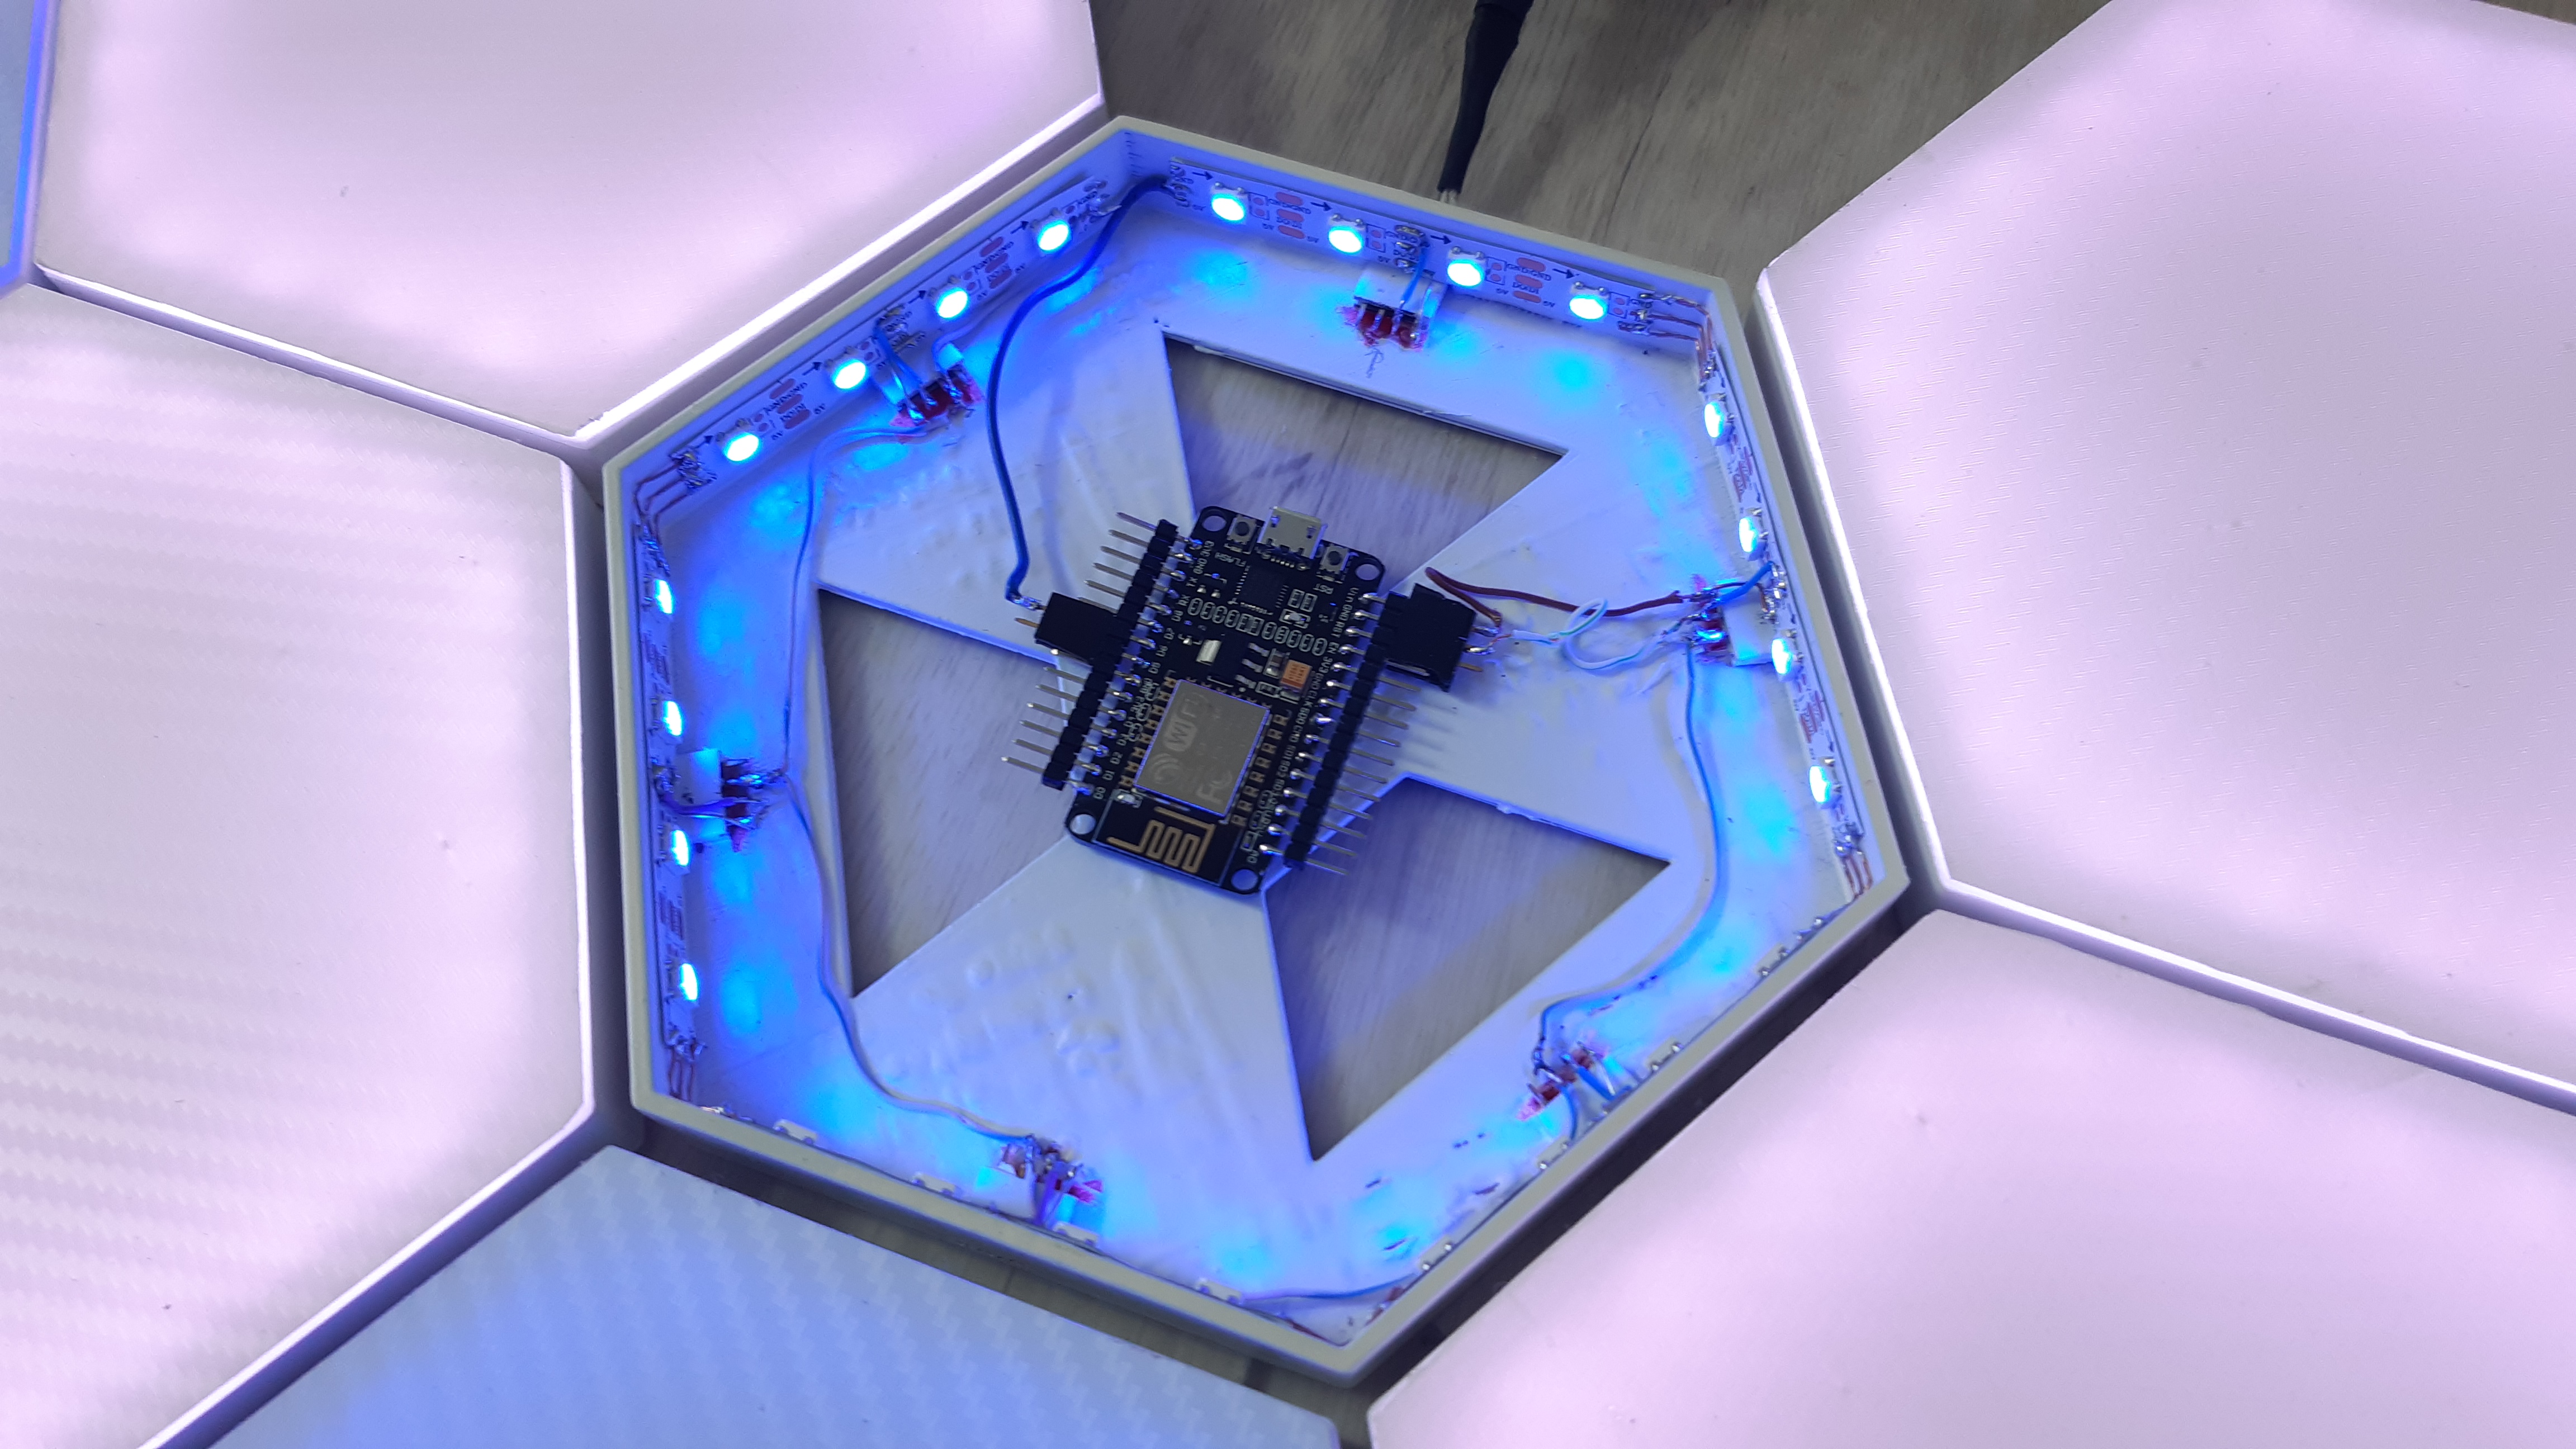
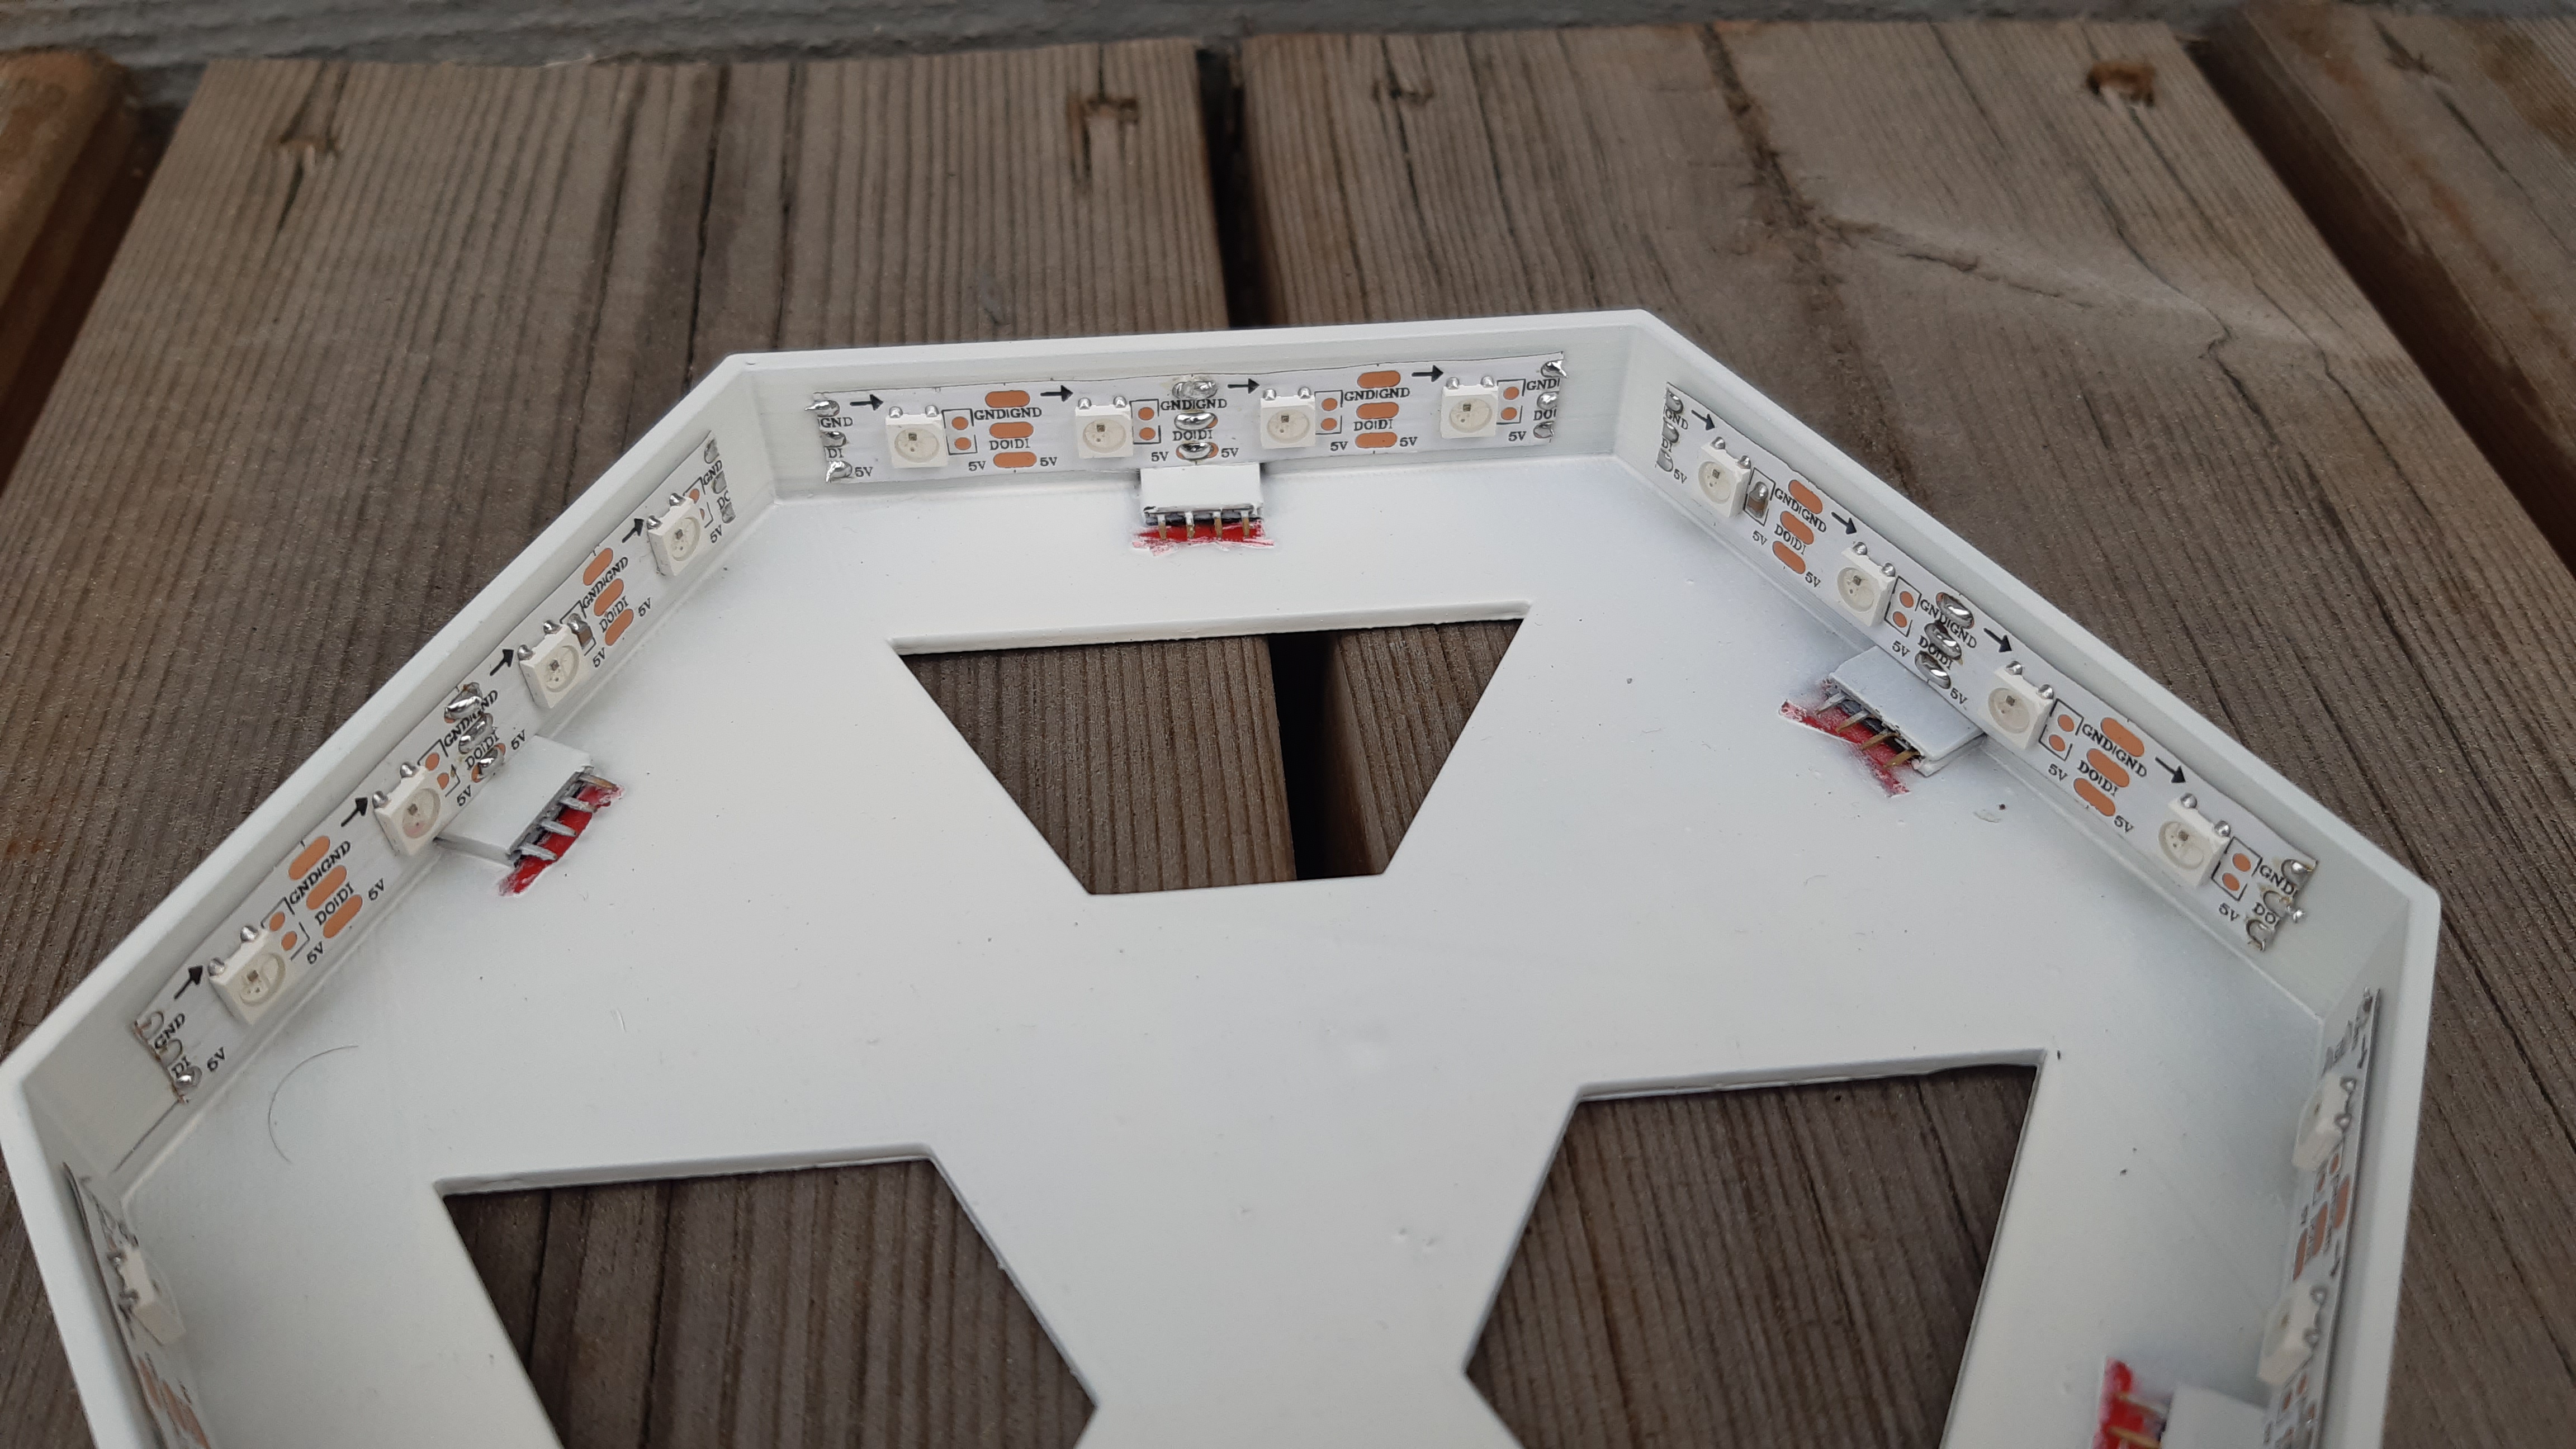
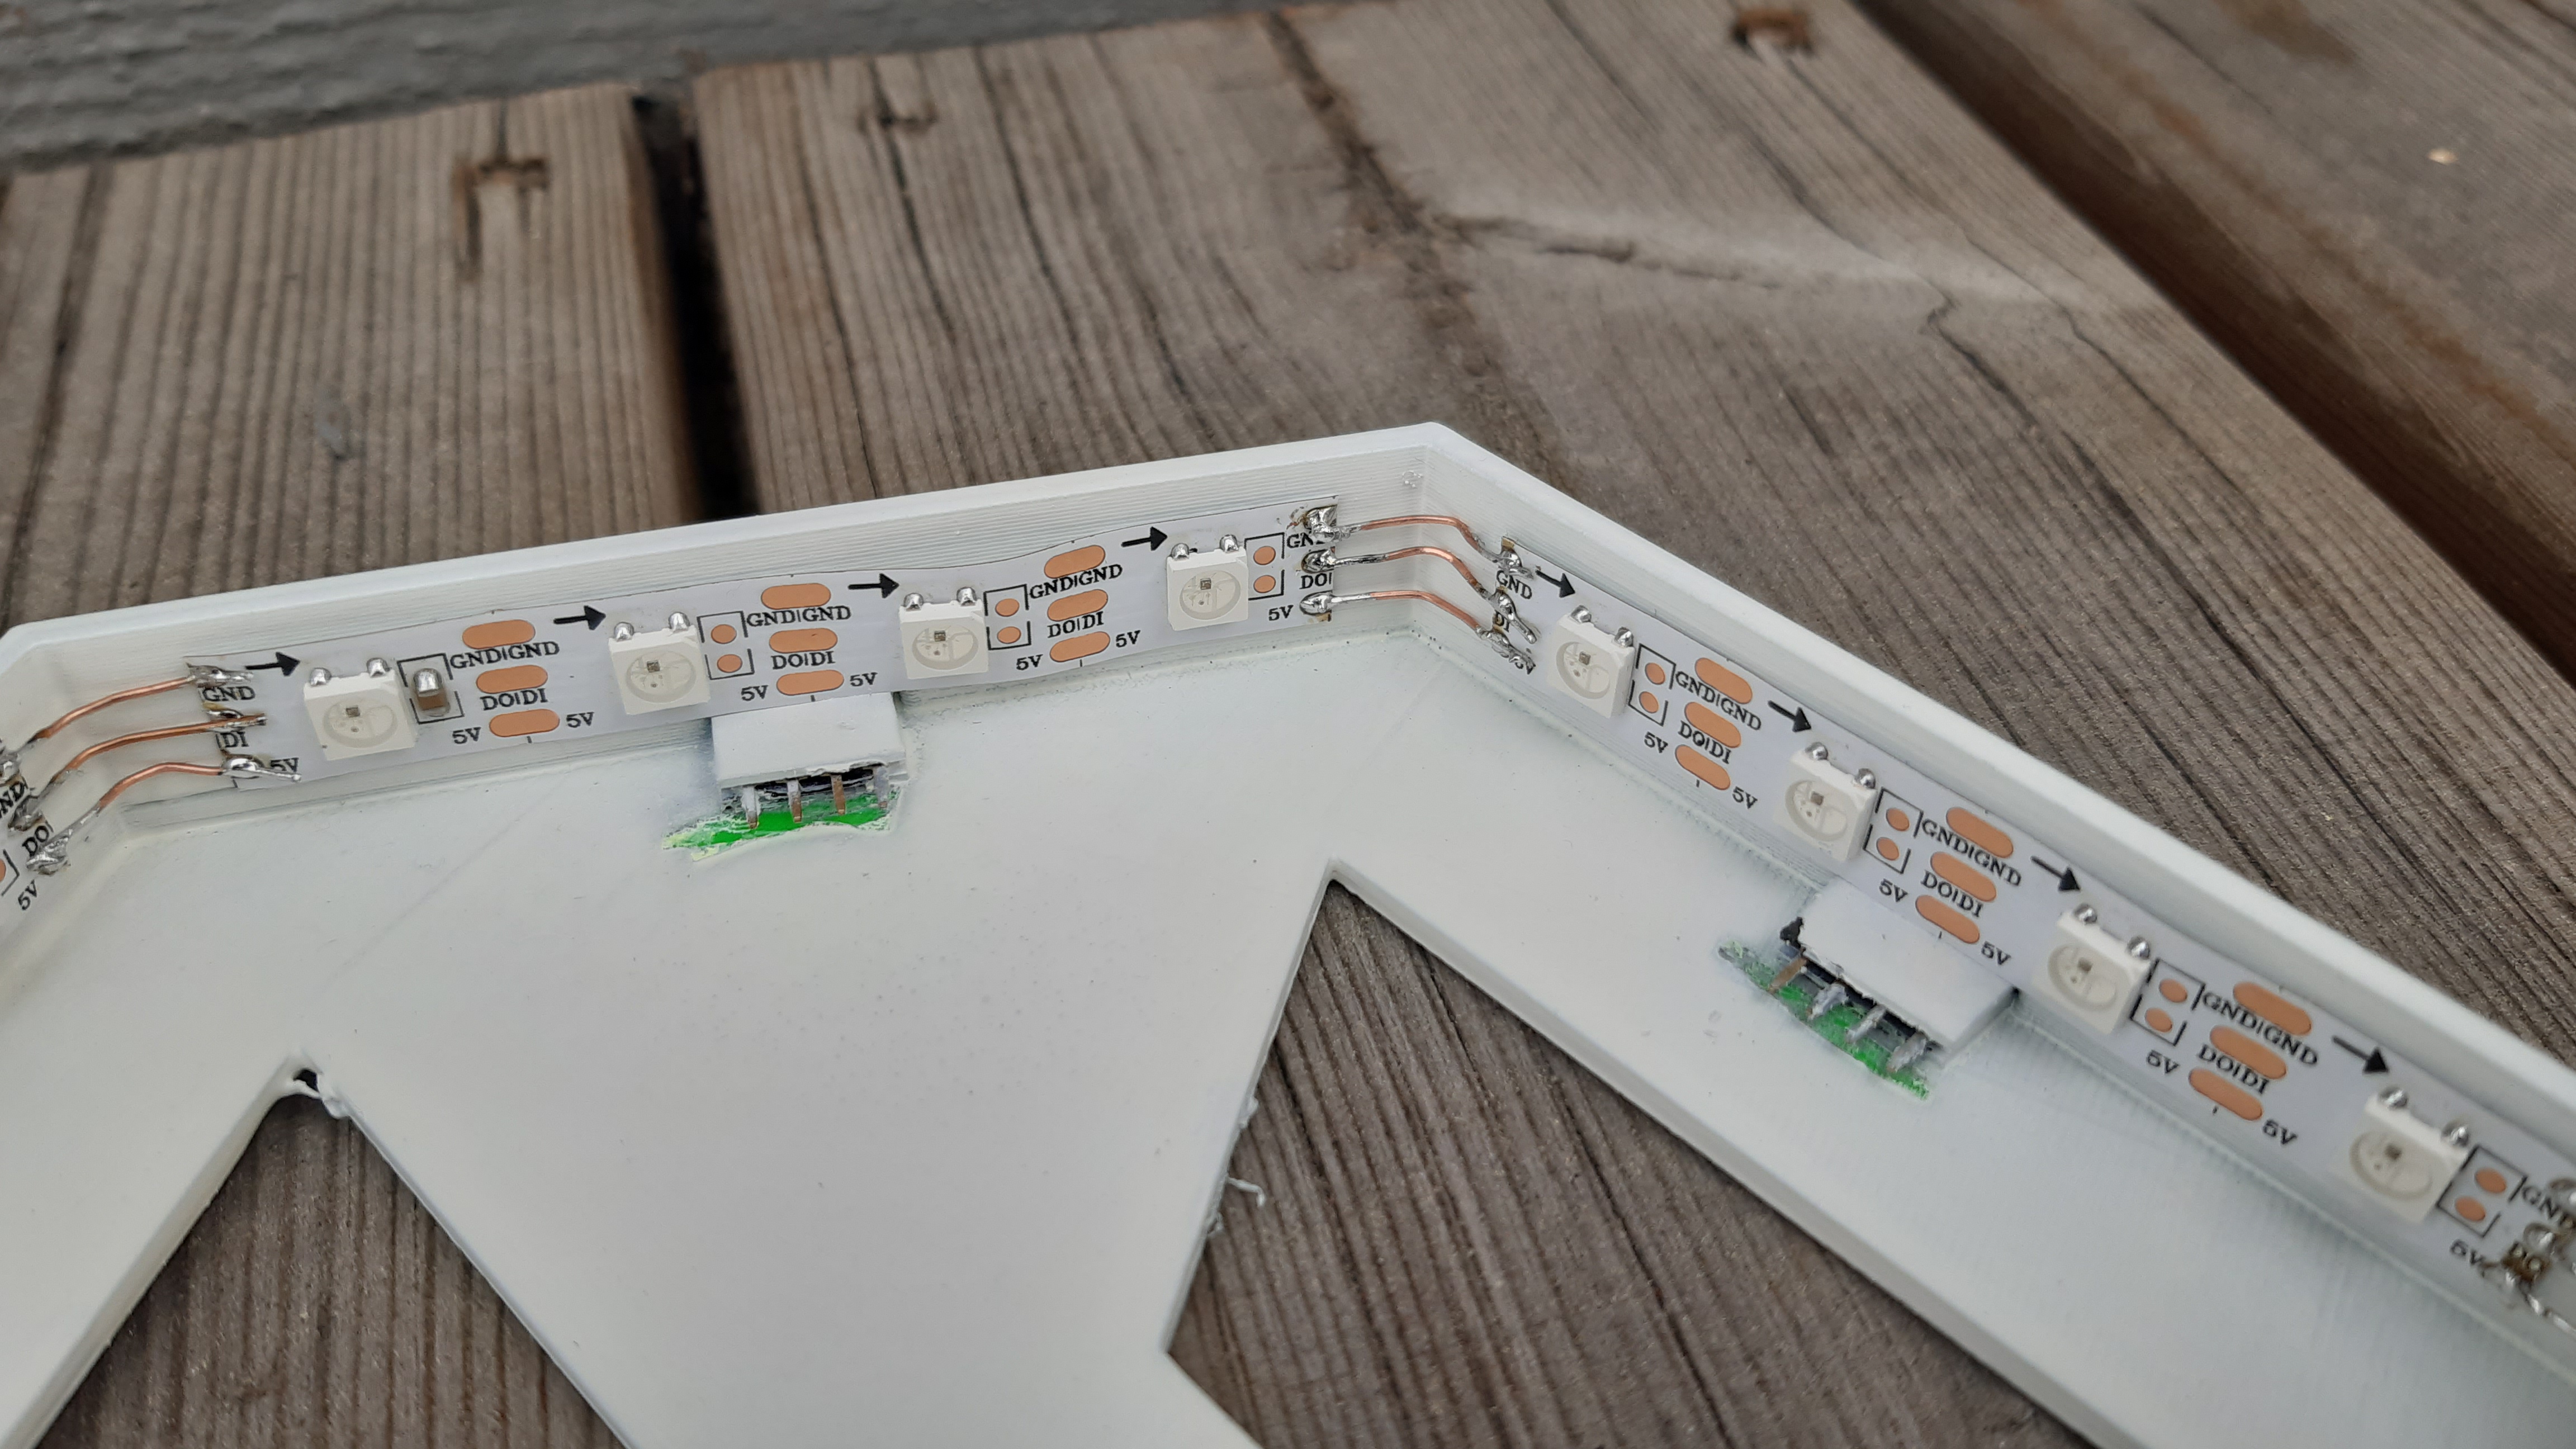
connect led strip
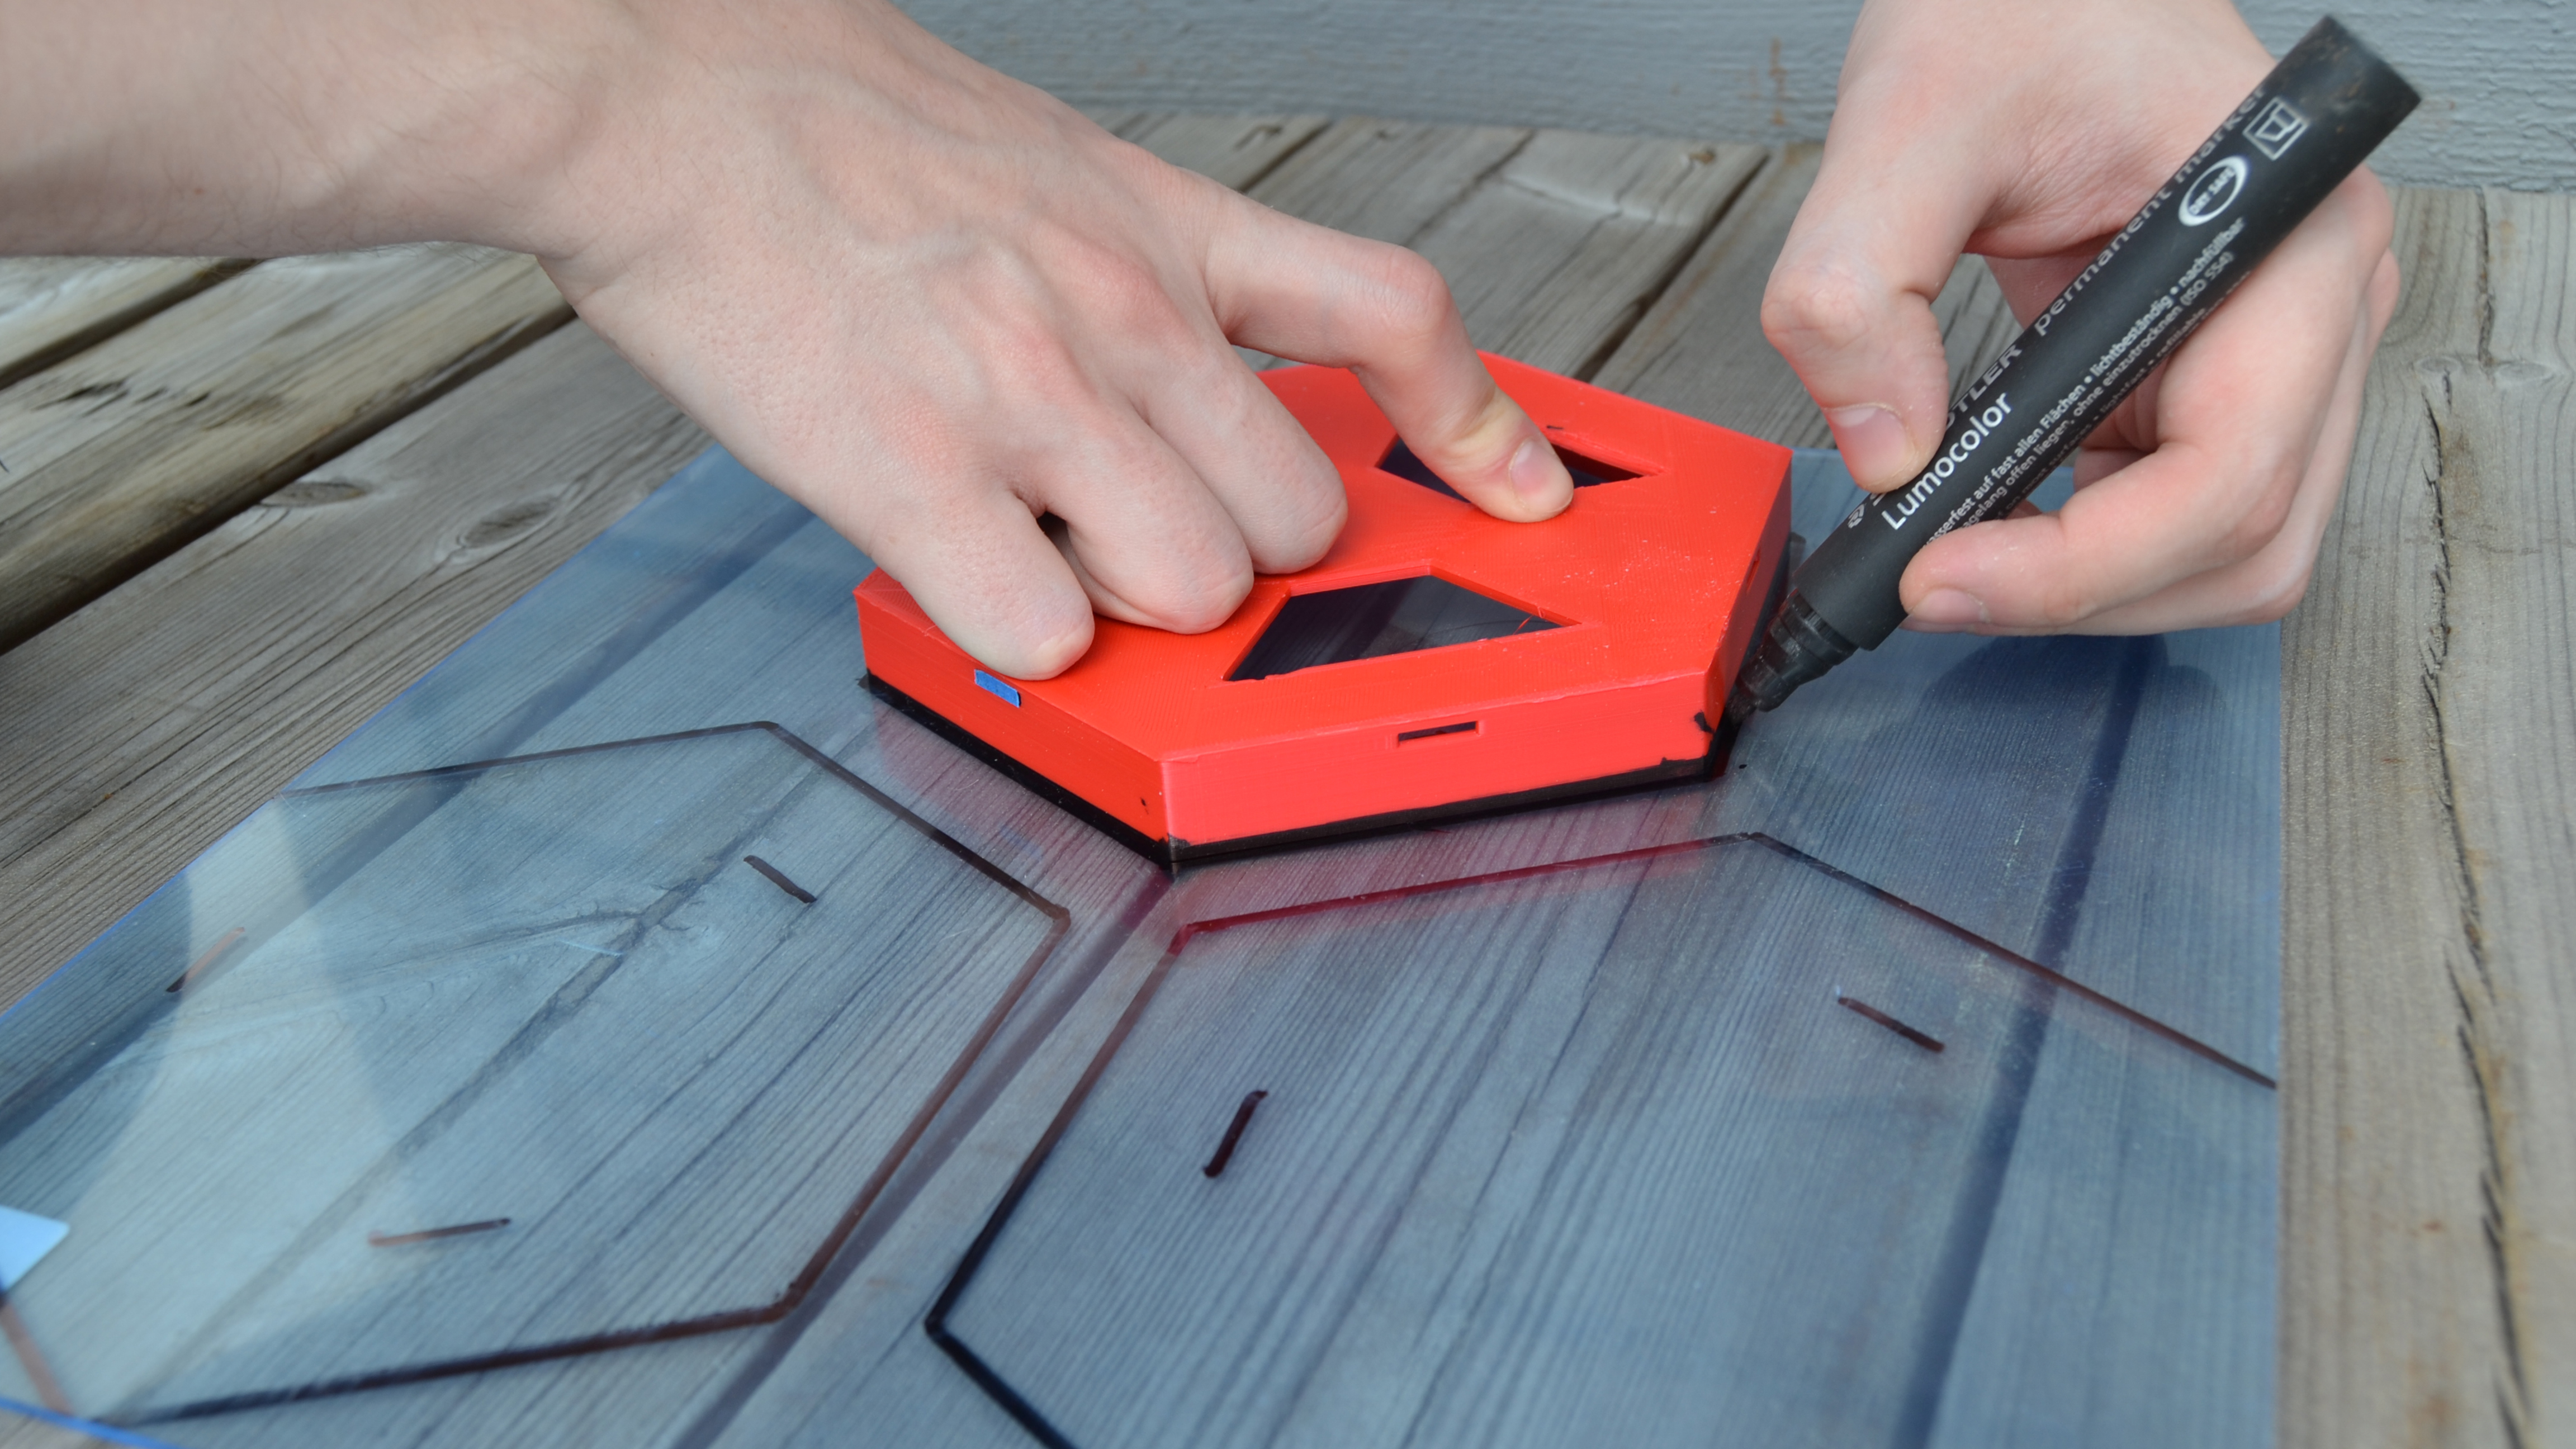
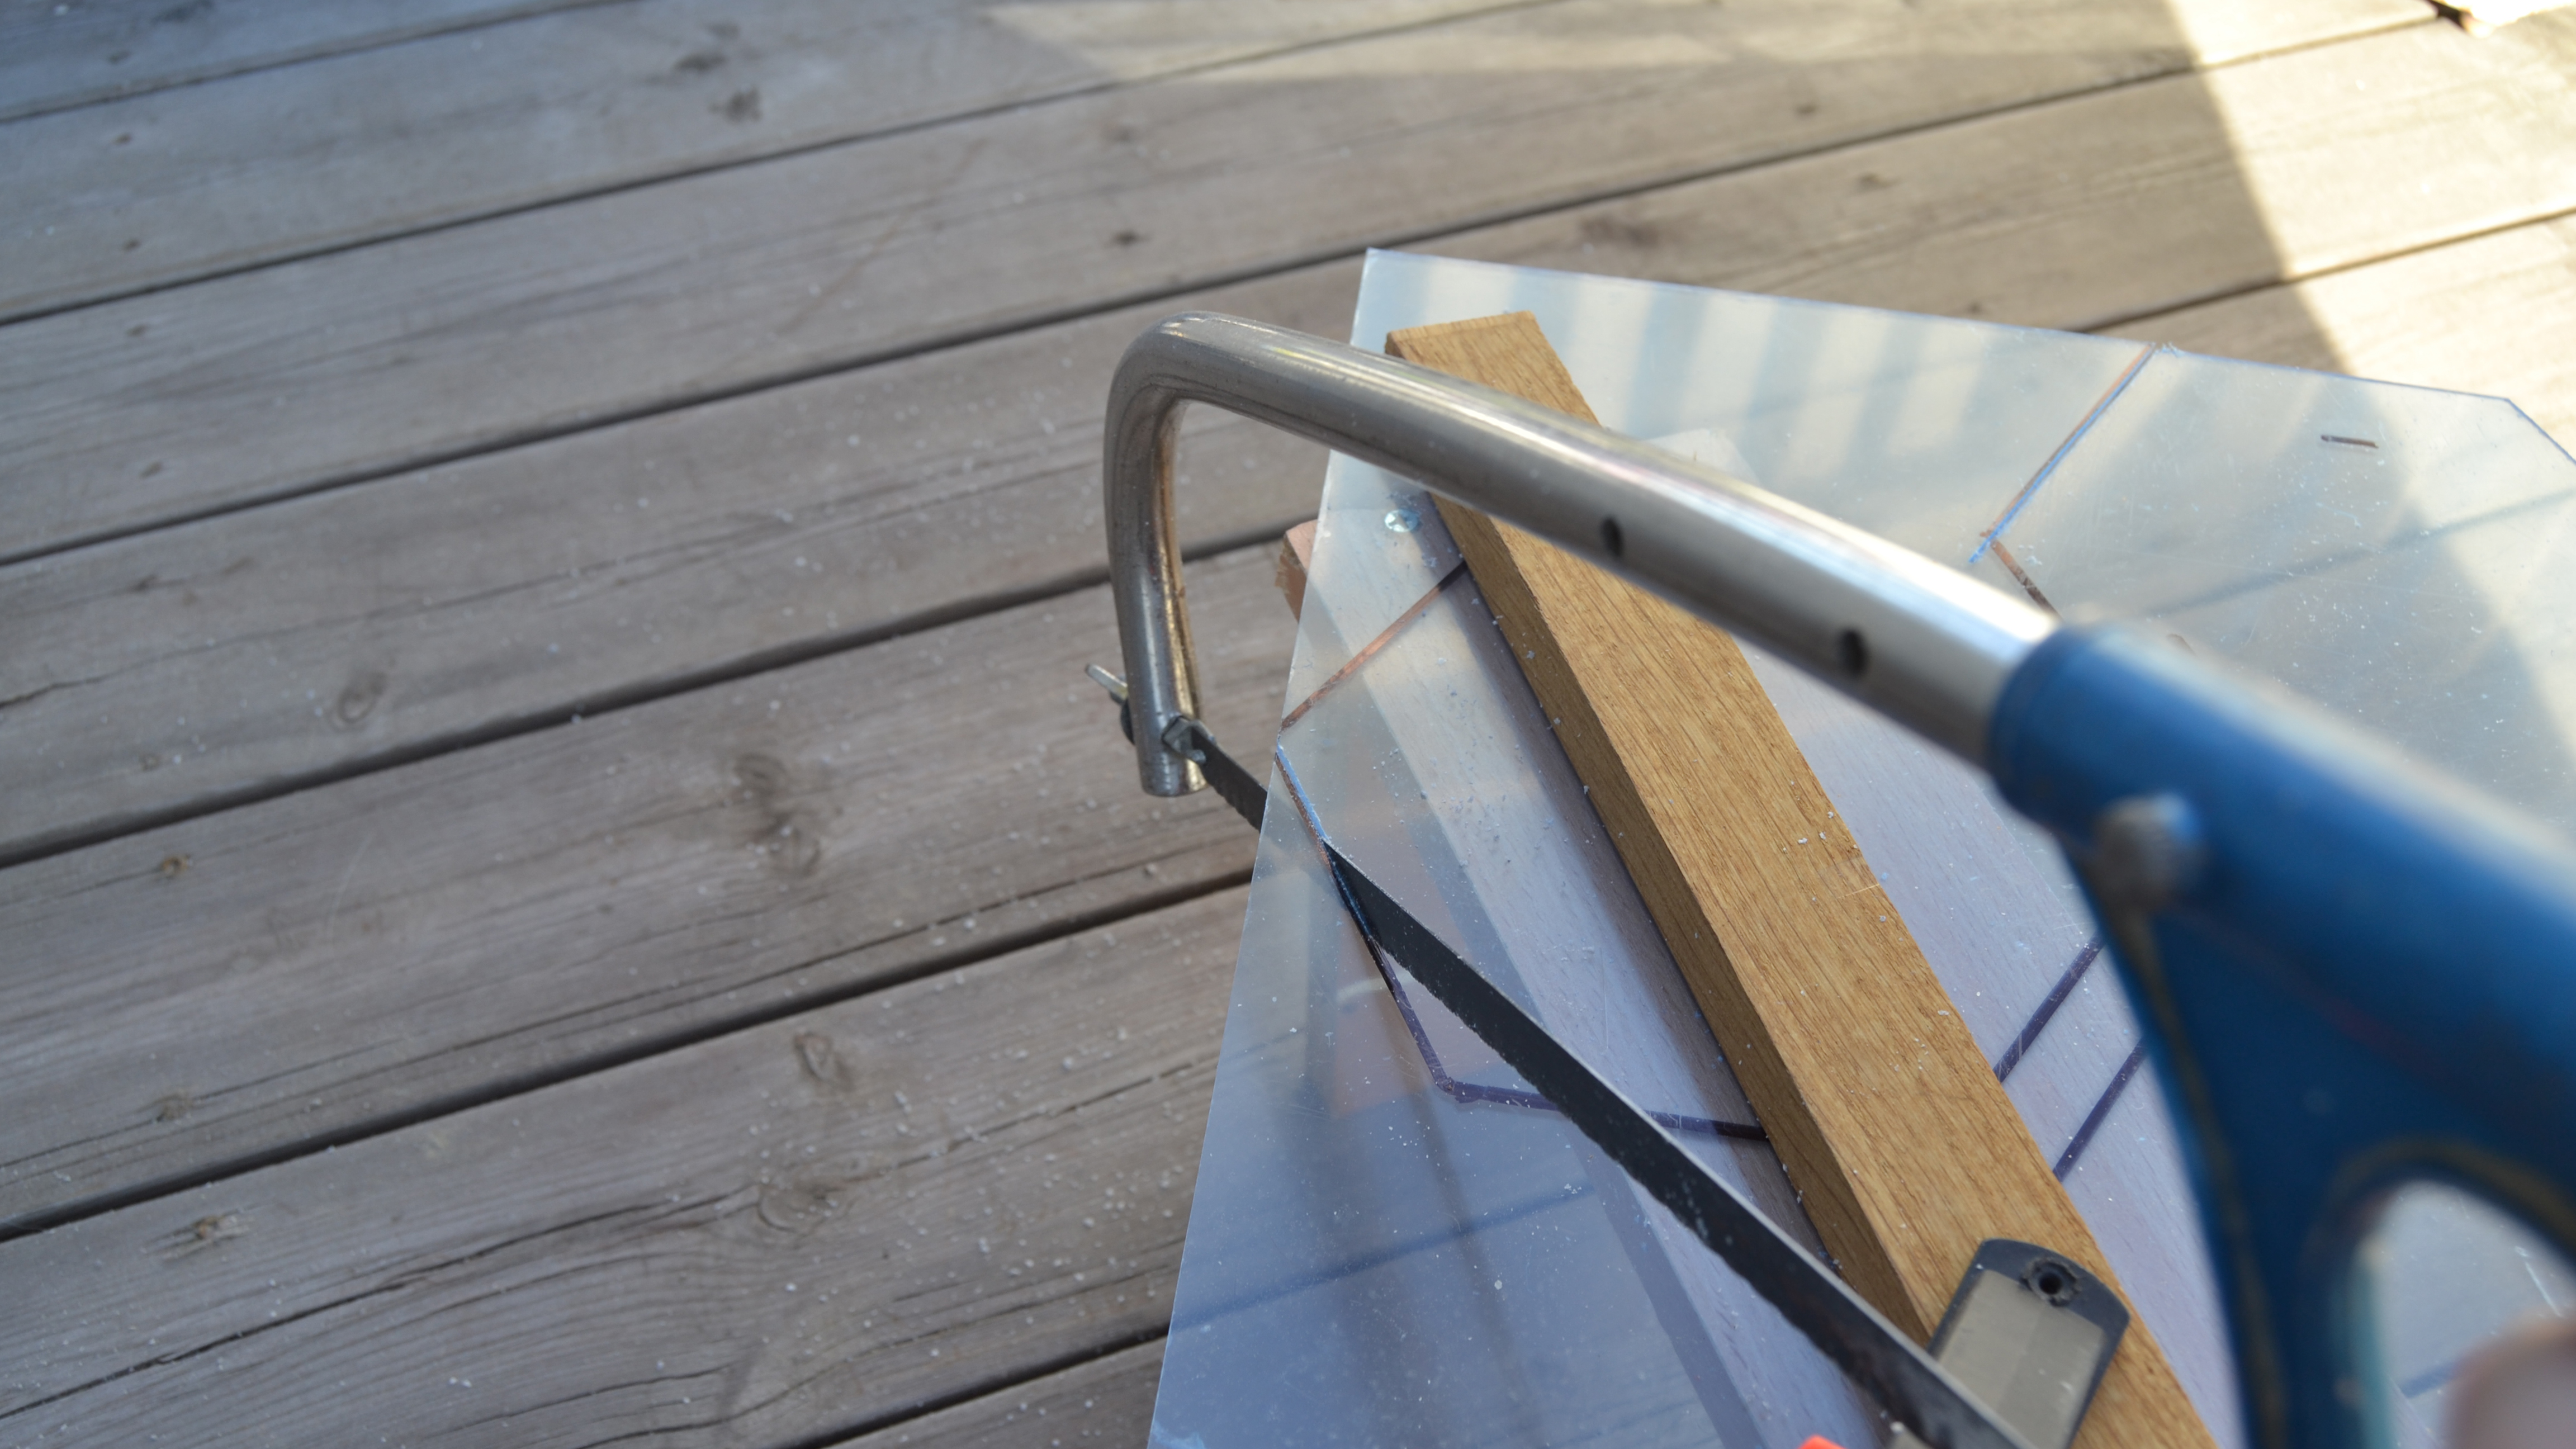
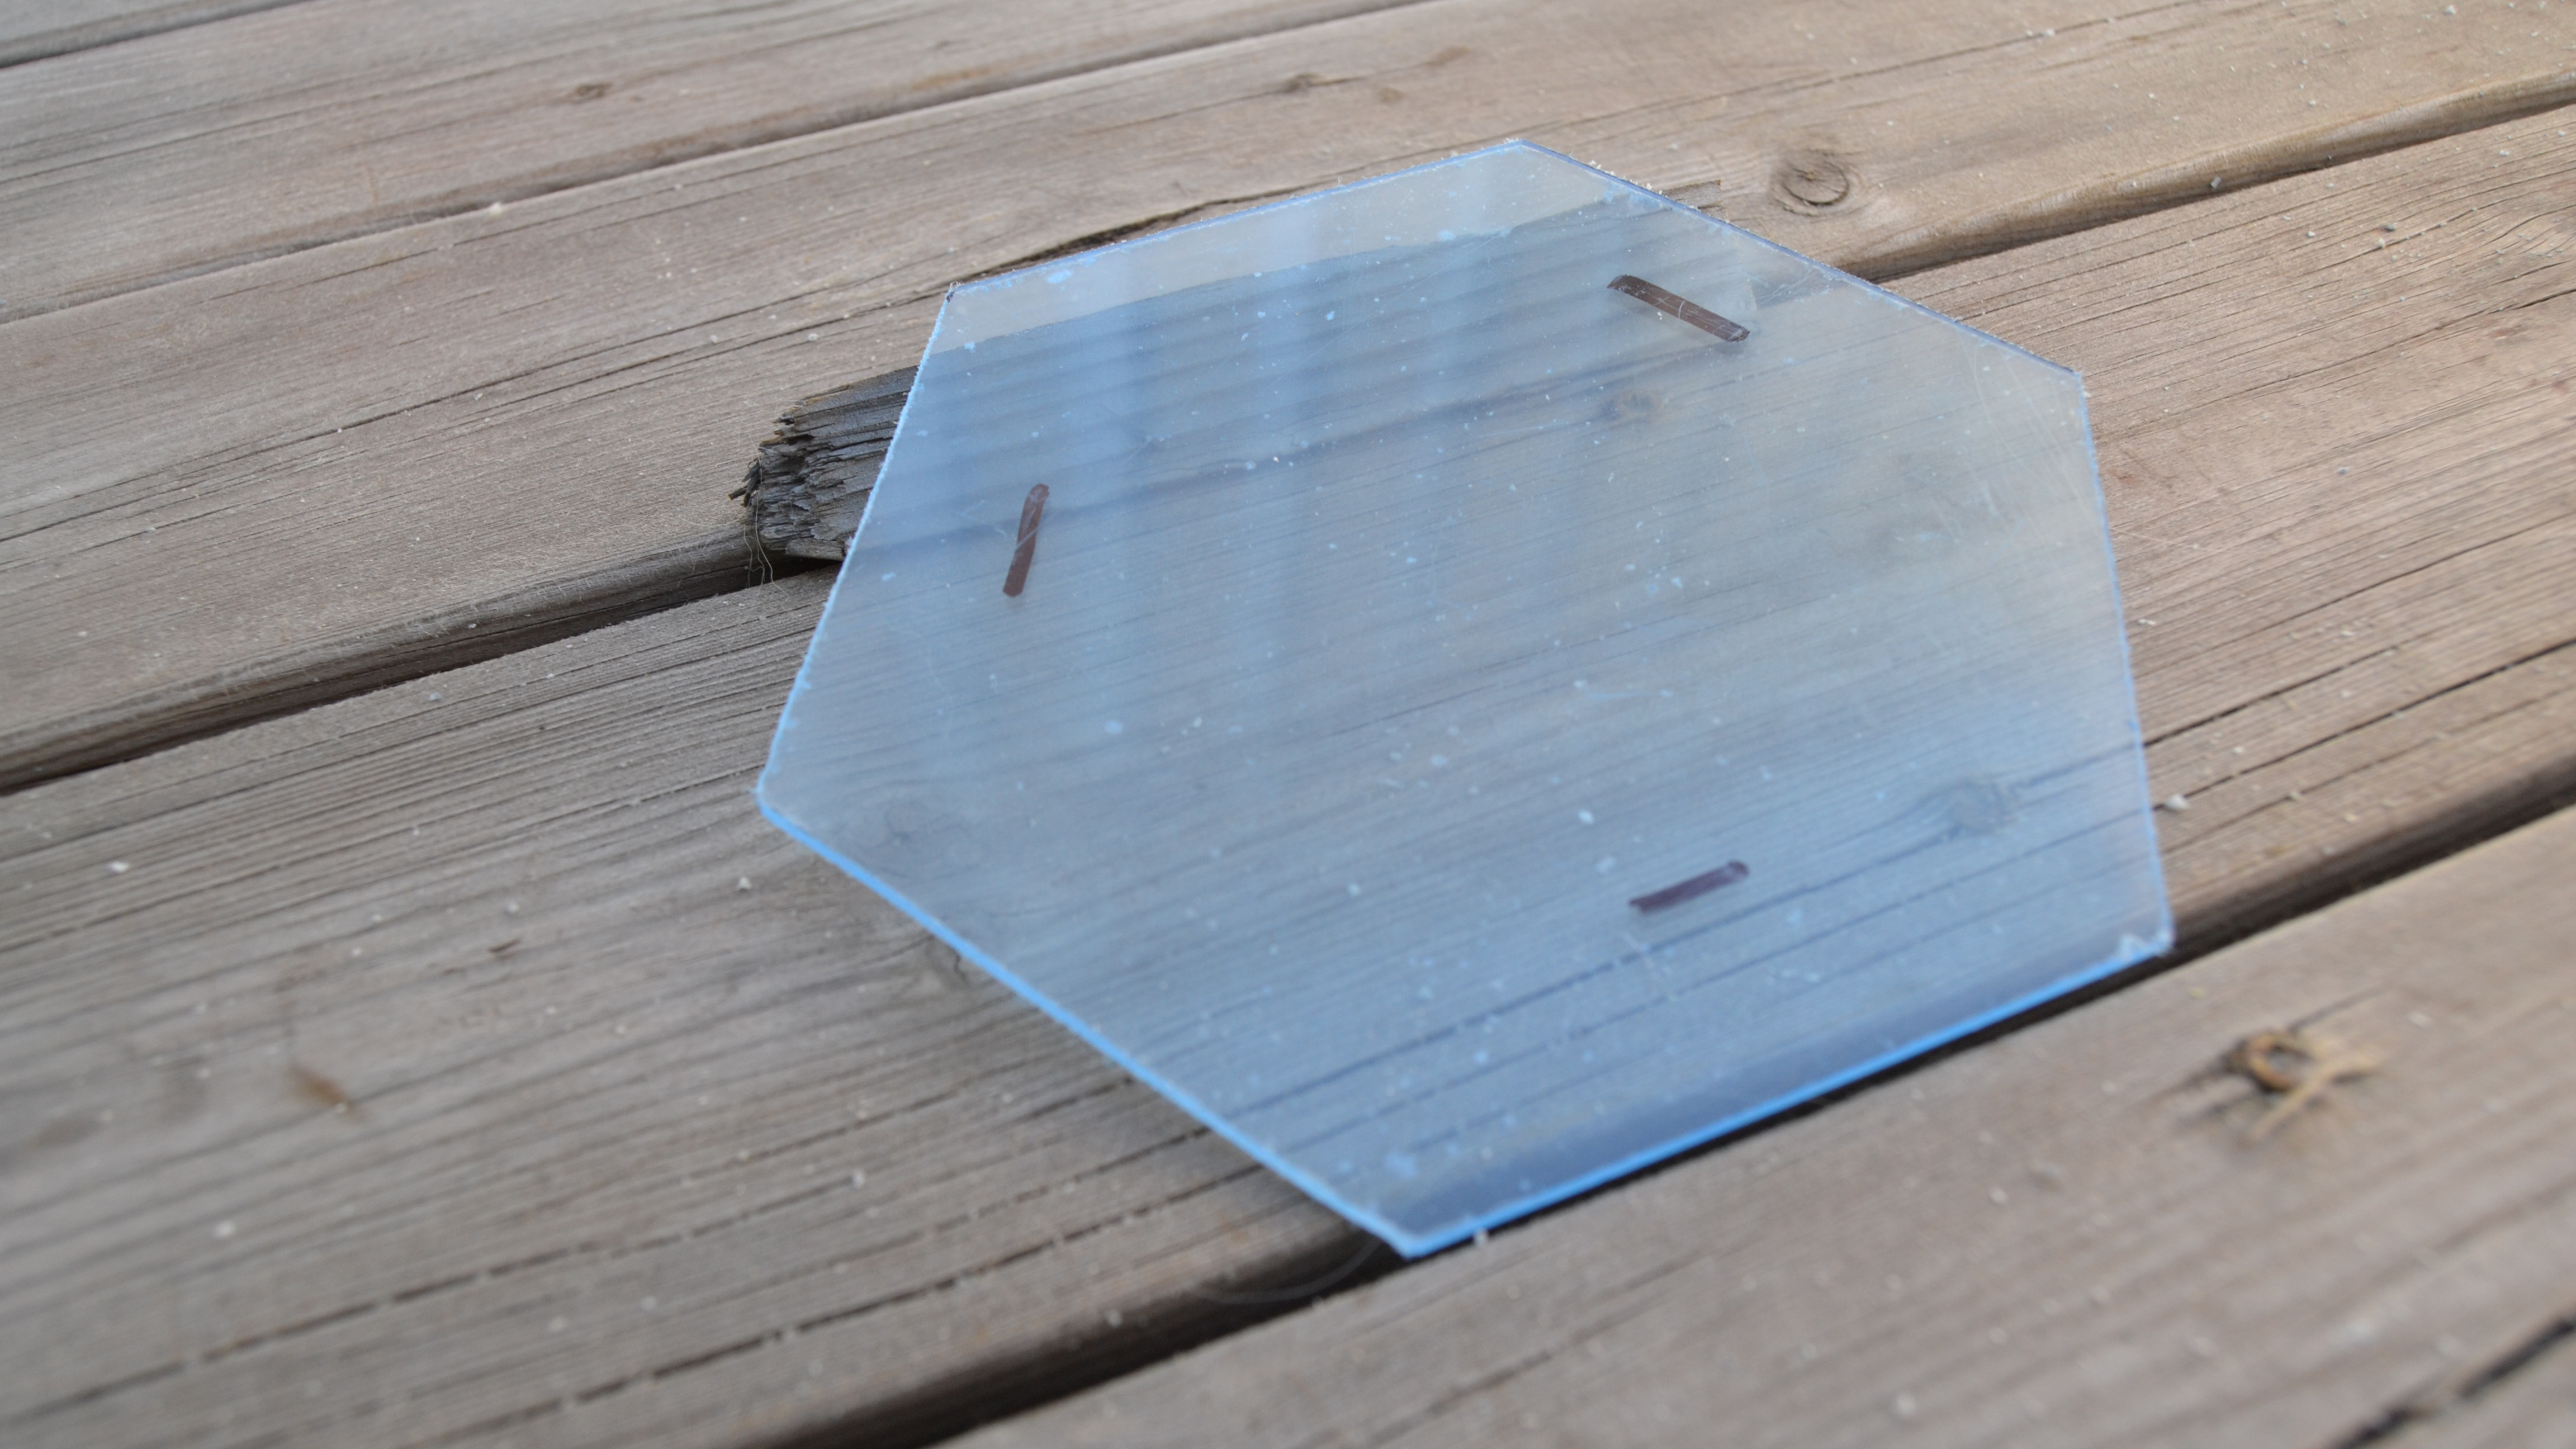
It is easier to scoring and snapping plexiglass, but since i wanted to save some space and I used saw.
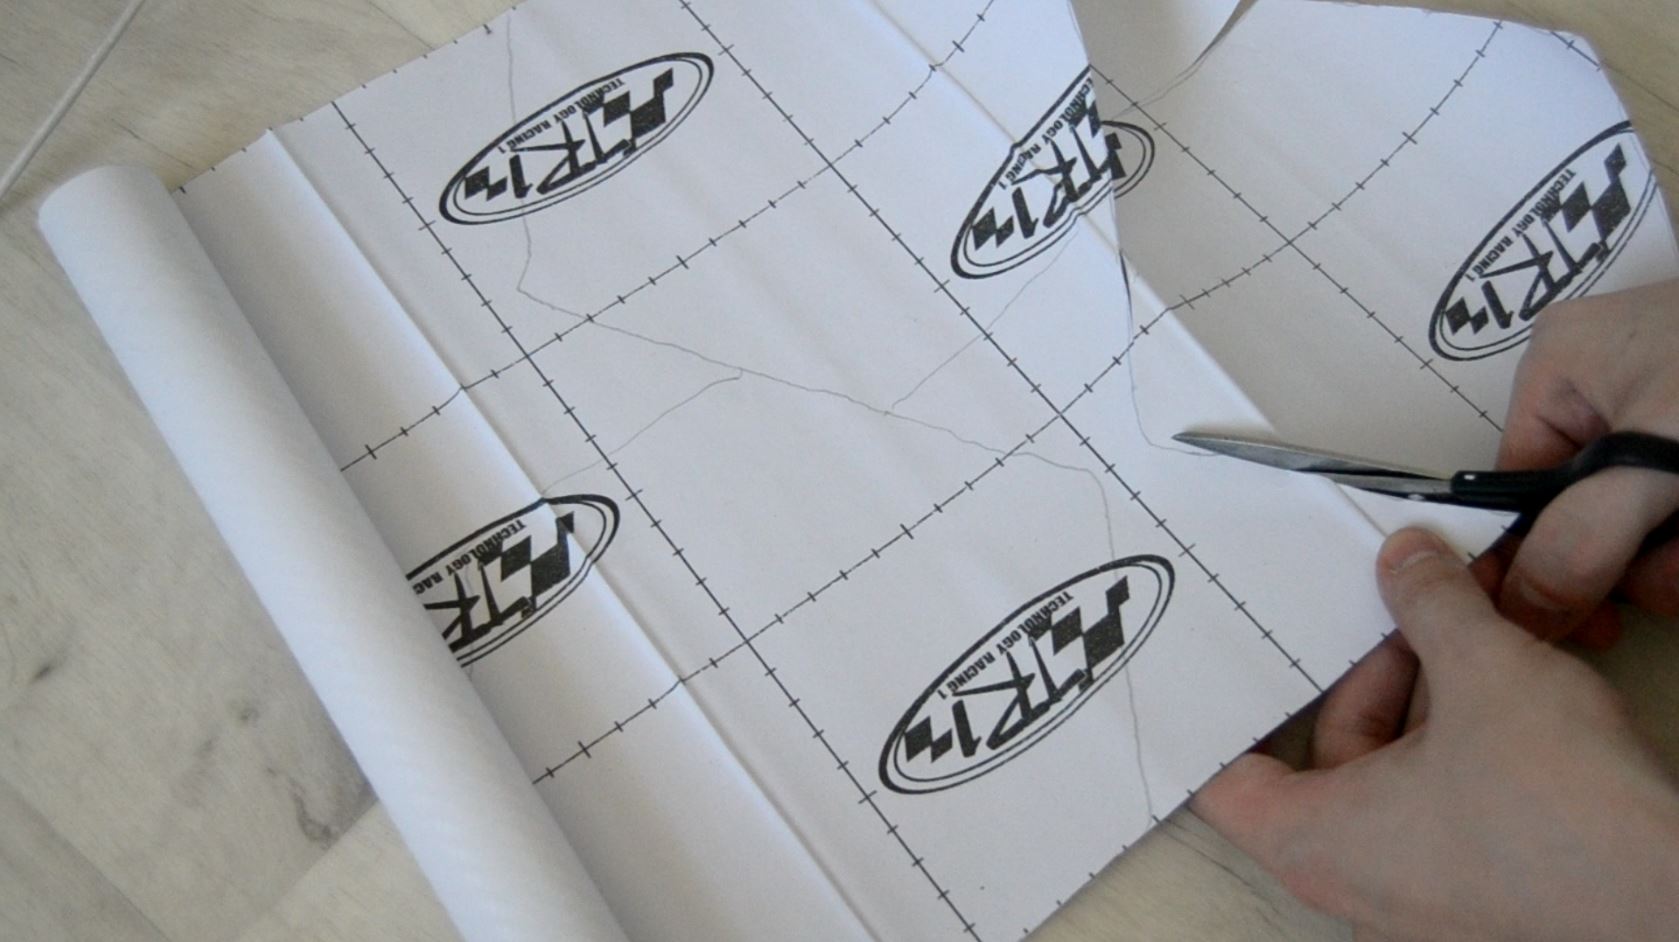
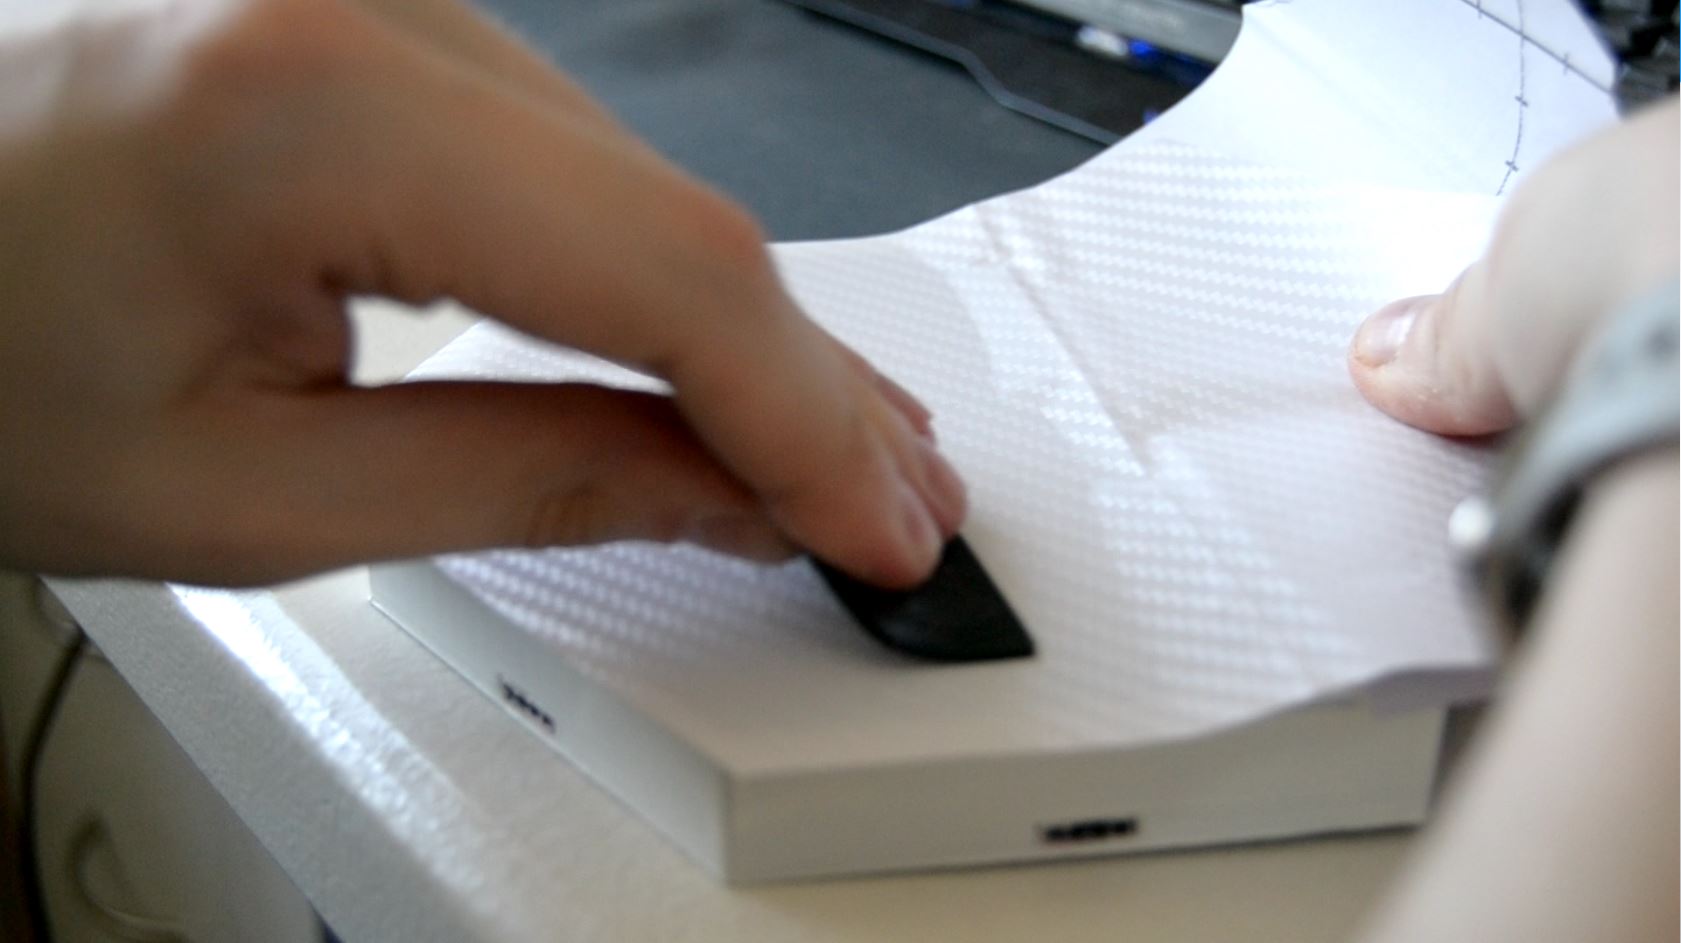
glue top to the main part / cut the fiber vinyl / apply it to the top